A layer cake of Summer House byLily Ashbury was distracting me. I wanted to make something but did not know quite what. This color palette is not my normal look but I just had to make something, anything!
Then I remembered Cynthia Lammon’s project on the moda bake shop shown above. I was immediately inspired. When I have this ” quilt fever” sometimes I am not good at reading the directions, I just jump right on in. Somewhere I missed that Cynthia did this project with a charm pack instead of a layer cake. By then it was too late, I had already matched up my fabrics in sets of two and was pretty determined to cut and sew on Summer House immediately! And I did!
SUPPLY LIST:
1 layer cake of your choice.
3/4 yard sashing and inner border
outer border 1 1/4 yds.
5 blocks across by 5 blocks down
(I used 25 of the layer cakes)
62″ square
Step 1: Pair 2 prints, right side up.
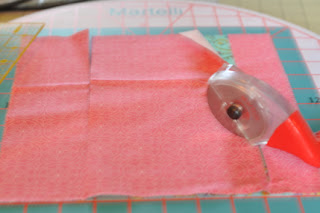
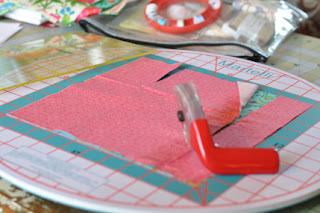
Cut a 2 3/4 strip and a 5 1/2 strip. This will also leave you a 2″ strip which will have used
all 10″ of the layer cake. Set aside the outer strips so you can make additional cut on the center section.
This is where the martenelli rotary mat comes in so handy. Just turn the mat to make your next cuts.
*The diagrams above are just an example of the sizes you can cut the layer cakes. Any measurements will work and create a more free form look. All the blocks will eventually be trimmed to 9″ squares. have fun and create your own varieties.I would love to see your projects.
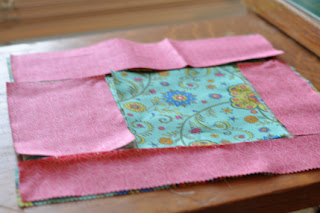
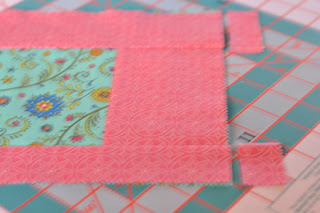
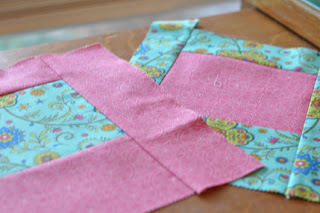
Move the center square to the back of the set of 2 fabrics as shown below. Sew together.
The layer cake is 10″ so you will have a bit extra once you put the blocks together. Trim to 9″ squares.
Block finishes at 8 1/2″
Each set with make 2 blocks- positive and negative.
A moda layer cake has 42 squares so this method will yield 42 blocks. I only used 25.
SASHING
Cut 20 sashing strips, 9″ x 1 3/4″ and join the blocks together. Measure the length of the row and cut strips 1 3/4″ x length. Repeat until all 5 rows are sewn together.

Measure the height of the quilt and cut 2 side strips length x 1 3/4″. Add to the sides creating
a small outer border.
Cut border 6 1/2″ wide.
This collection has wonderful large scale prints so a larger border could be added. This quilt could be made quite a bit larger using the remaining layer cakes. This one is a perfect size for a picnic.
thank you Cynthia for your inspiration.
thanks for stopping by



Love this! I just got my Terrain Layer Cake and now I have something to do with it! Thanks!=)
It looks gorgeous! I've seen so many beautiful versions of this quilt. It works well for so many lines. I just got some Terrain also and this may be the perfect project!