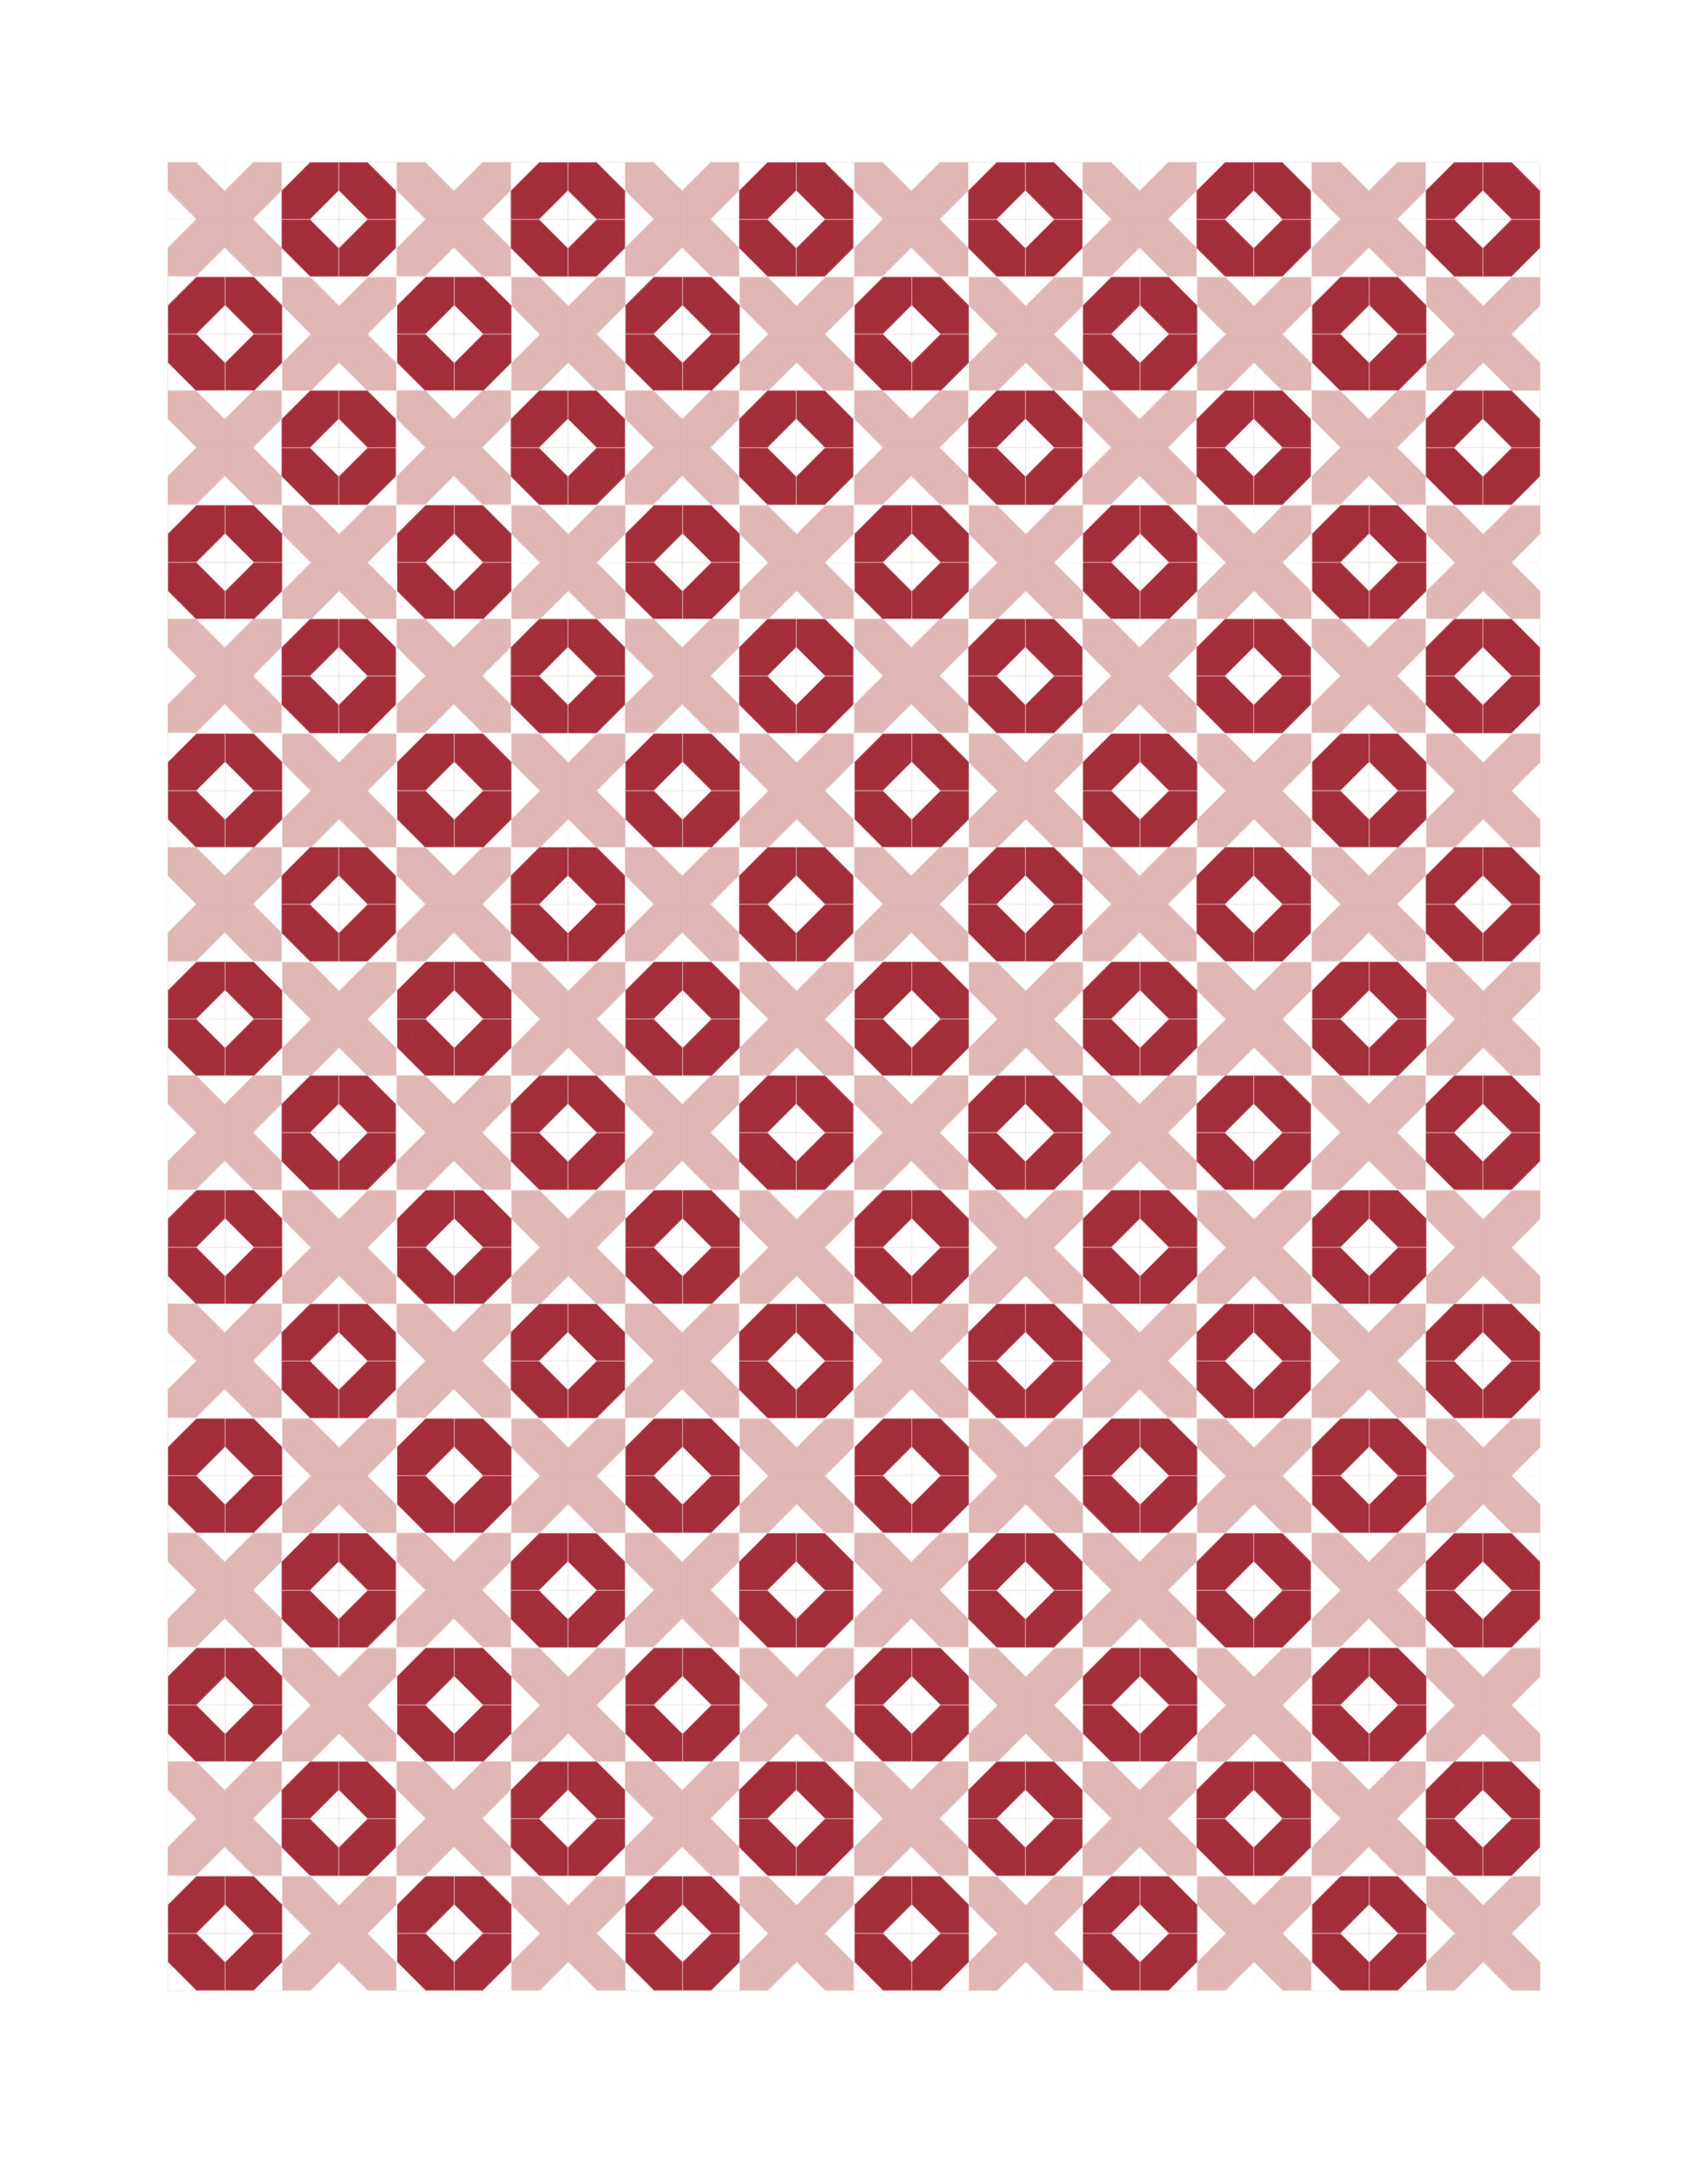
Quilt Love: Exploring the Joy of the “Tiddlywinks” Jelly Roll Pattern
Are you ready for Moda’s Project Jelly Roll Day? 3rd Saturday of September every year.
But first……
I cannot help but dedicate this years Project Jelly Roll to a friend of mine that was part of the inspiration on the development of Moda’s Jelly Rolls, Daniela Stout. Daniela recently passed away from a 4 year battle with Ovarian Cancer. Daniela was the owner of Cozy Quillts, in El Cajon, California. She was the creator of a program and patterns named, The Strip Club. Daniela inspired us with the opportunity to create wonderful quilts using 2 1/2″ strips but also allowed us to poke fun at our craft. Just imagine leaving the house and saying I am headed to the StripClub. Daniela was instrumental in creating the need for strips and Moda took it one step further, Strips that are precut.
Here we go….
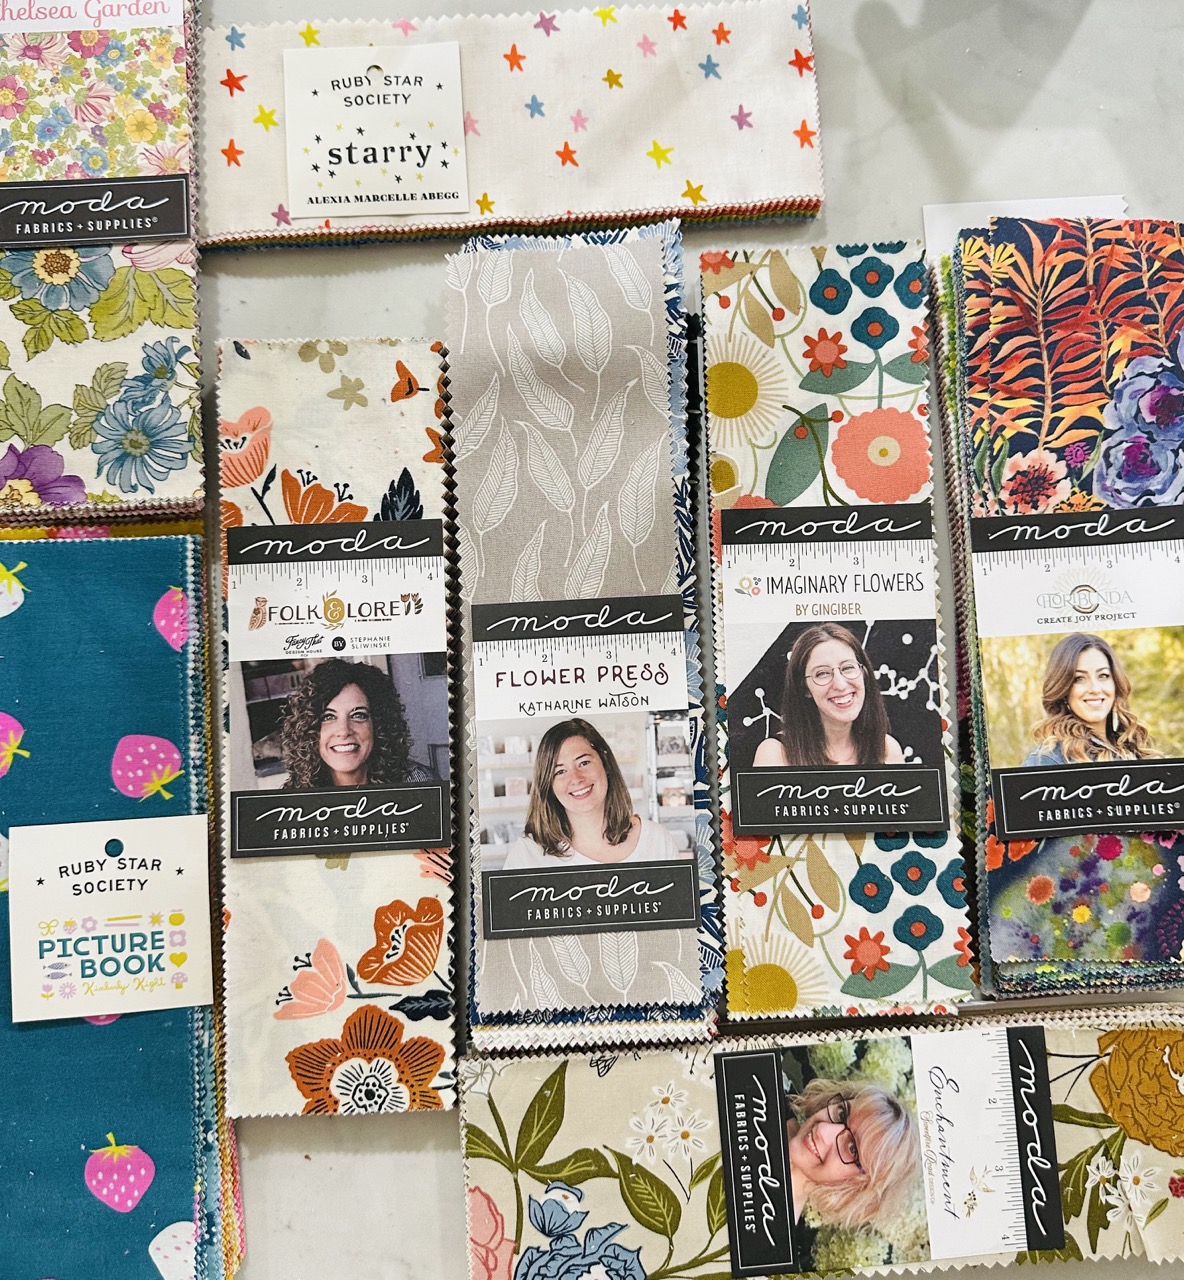
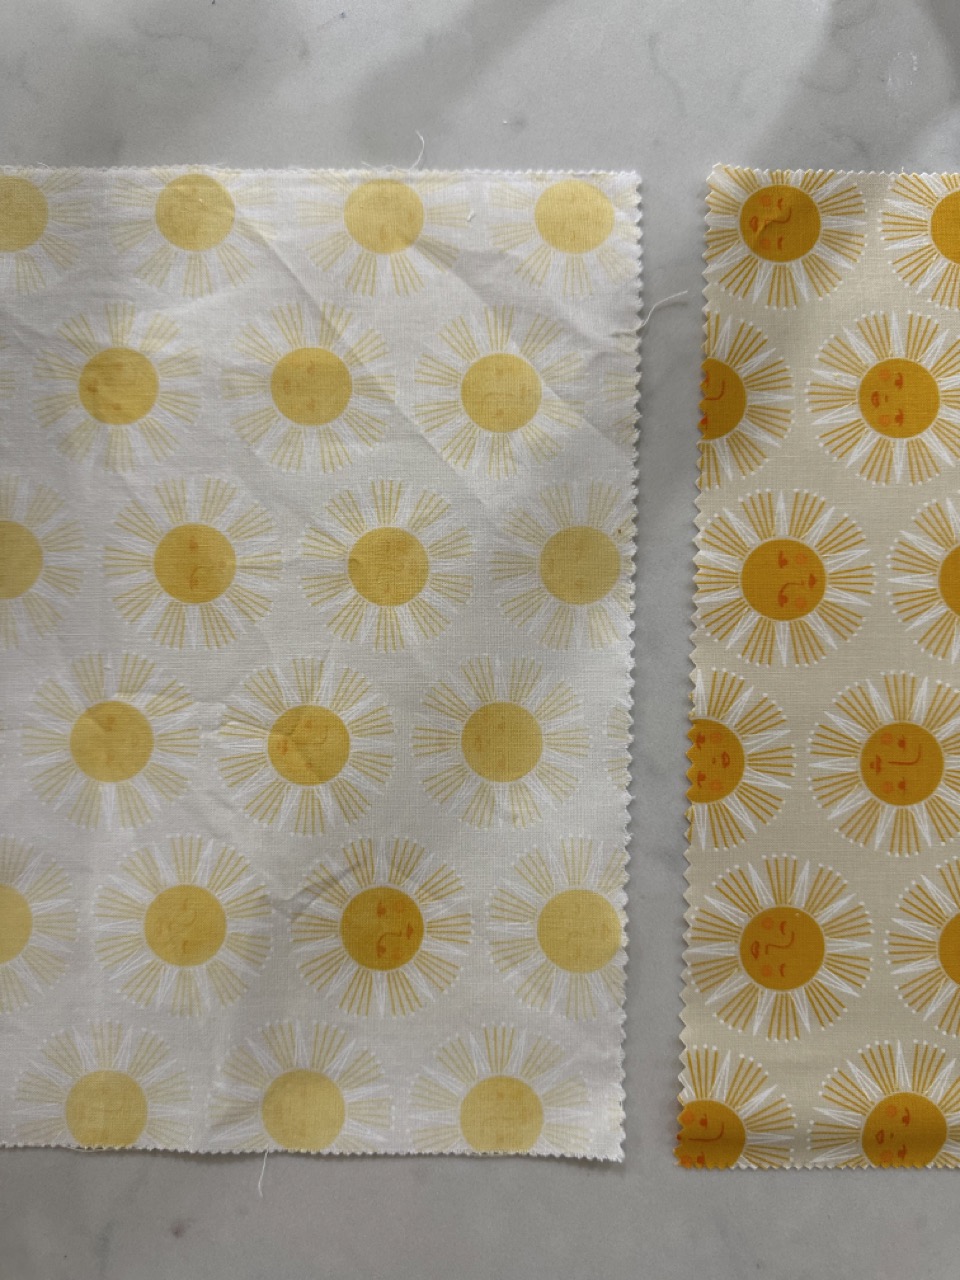
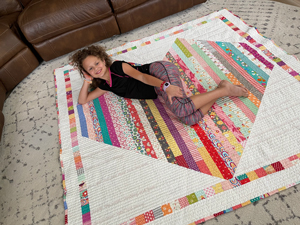
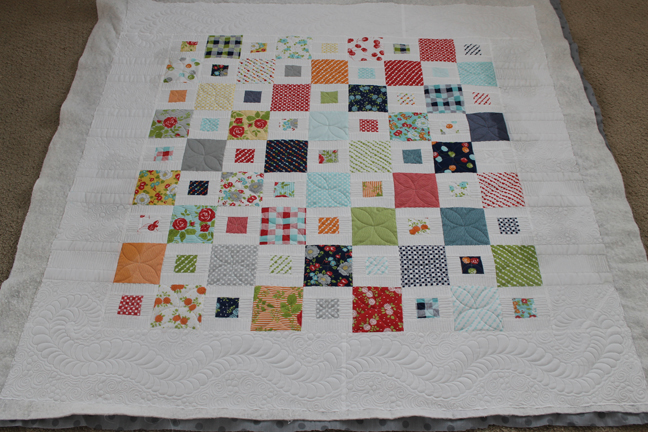
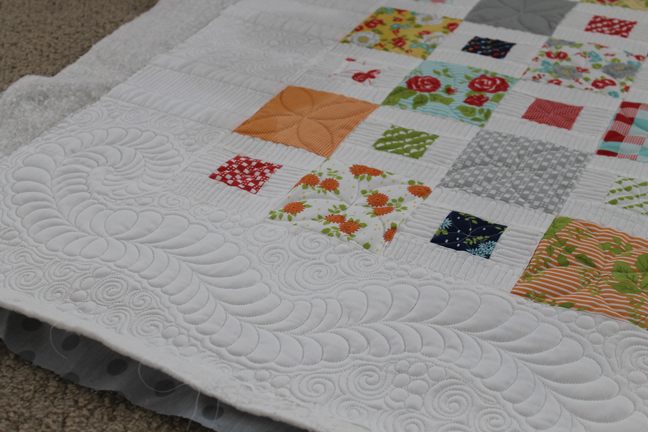
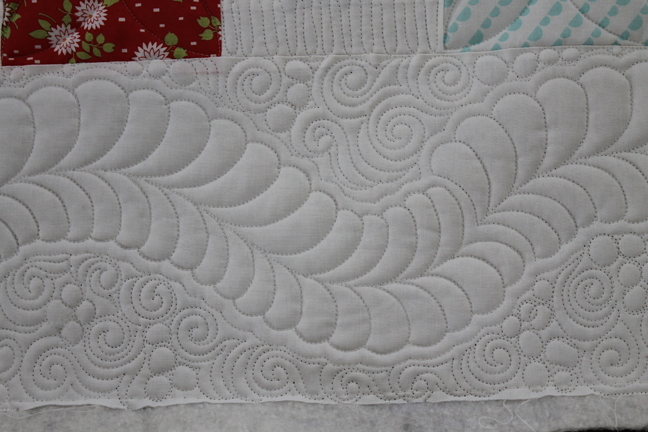
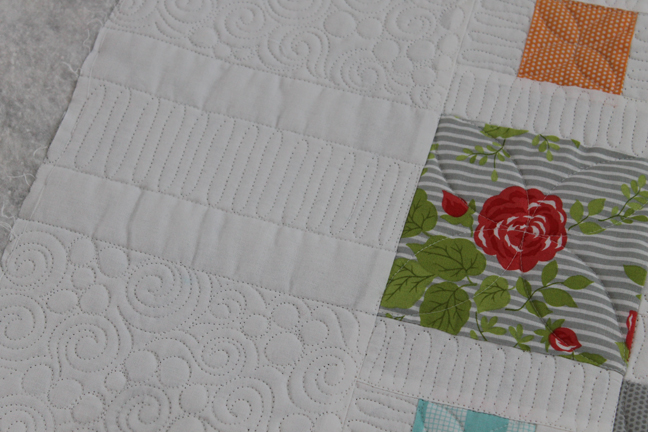
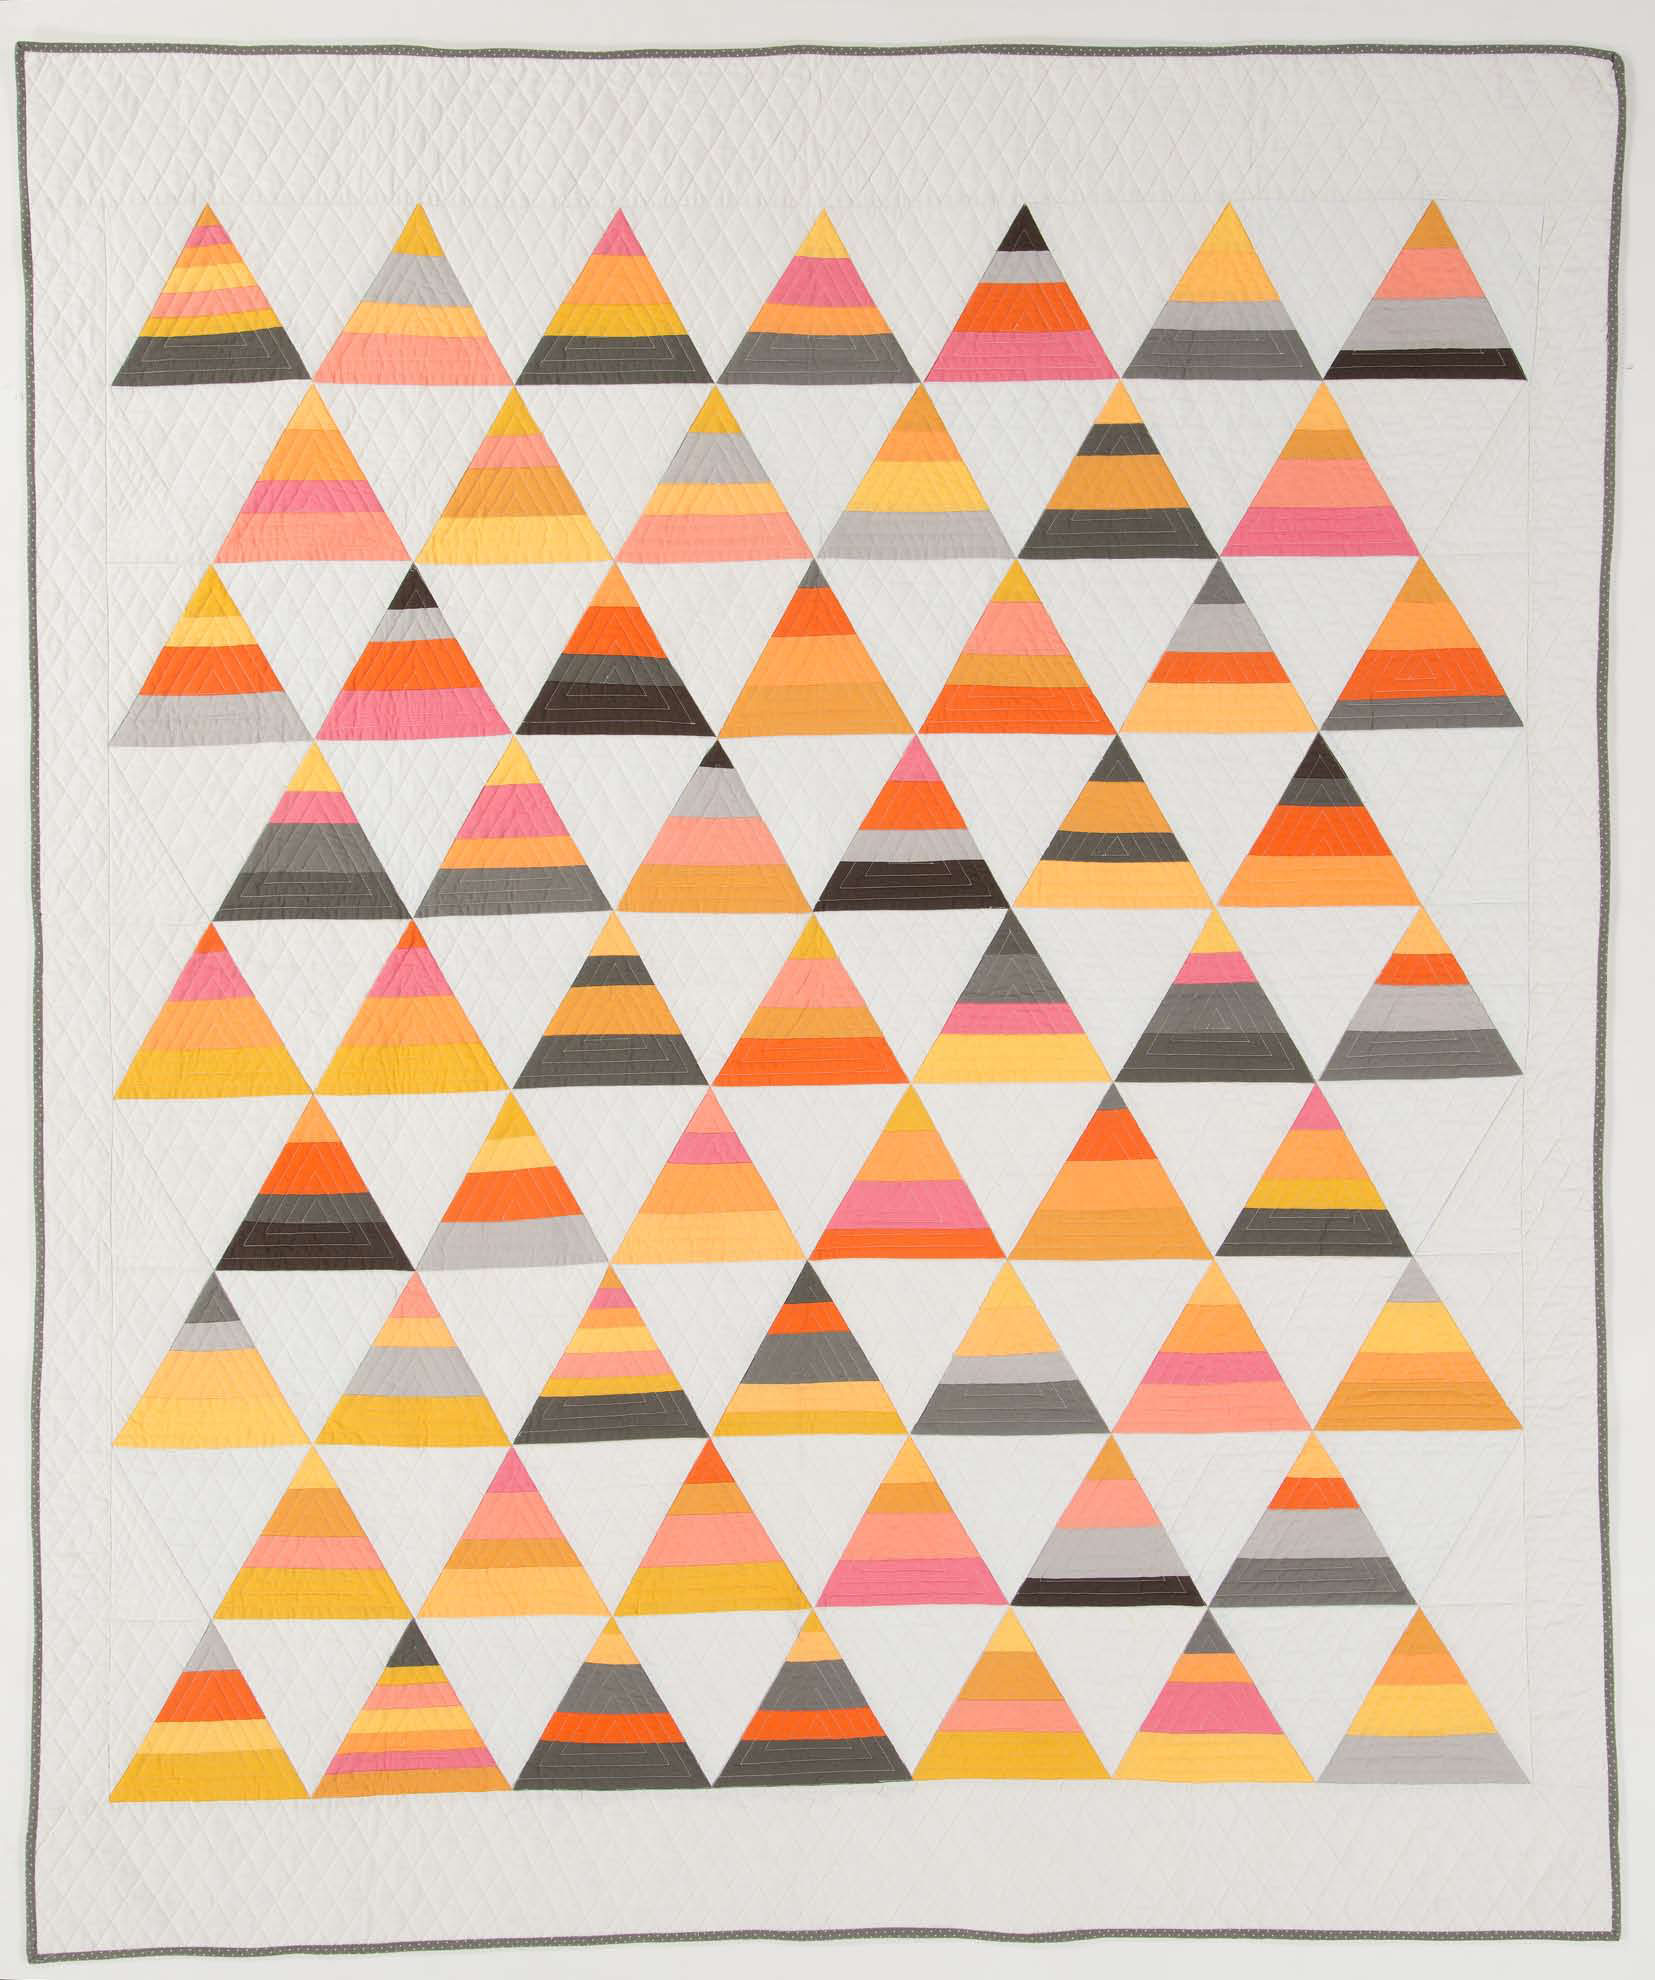
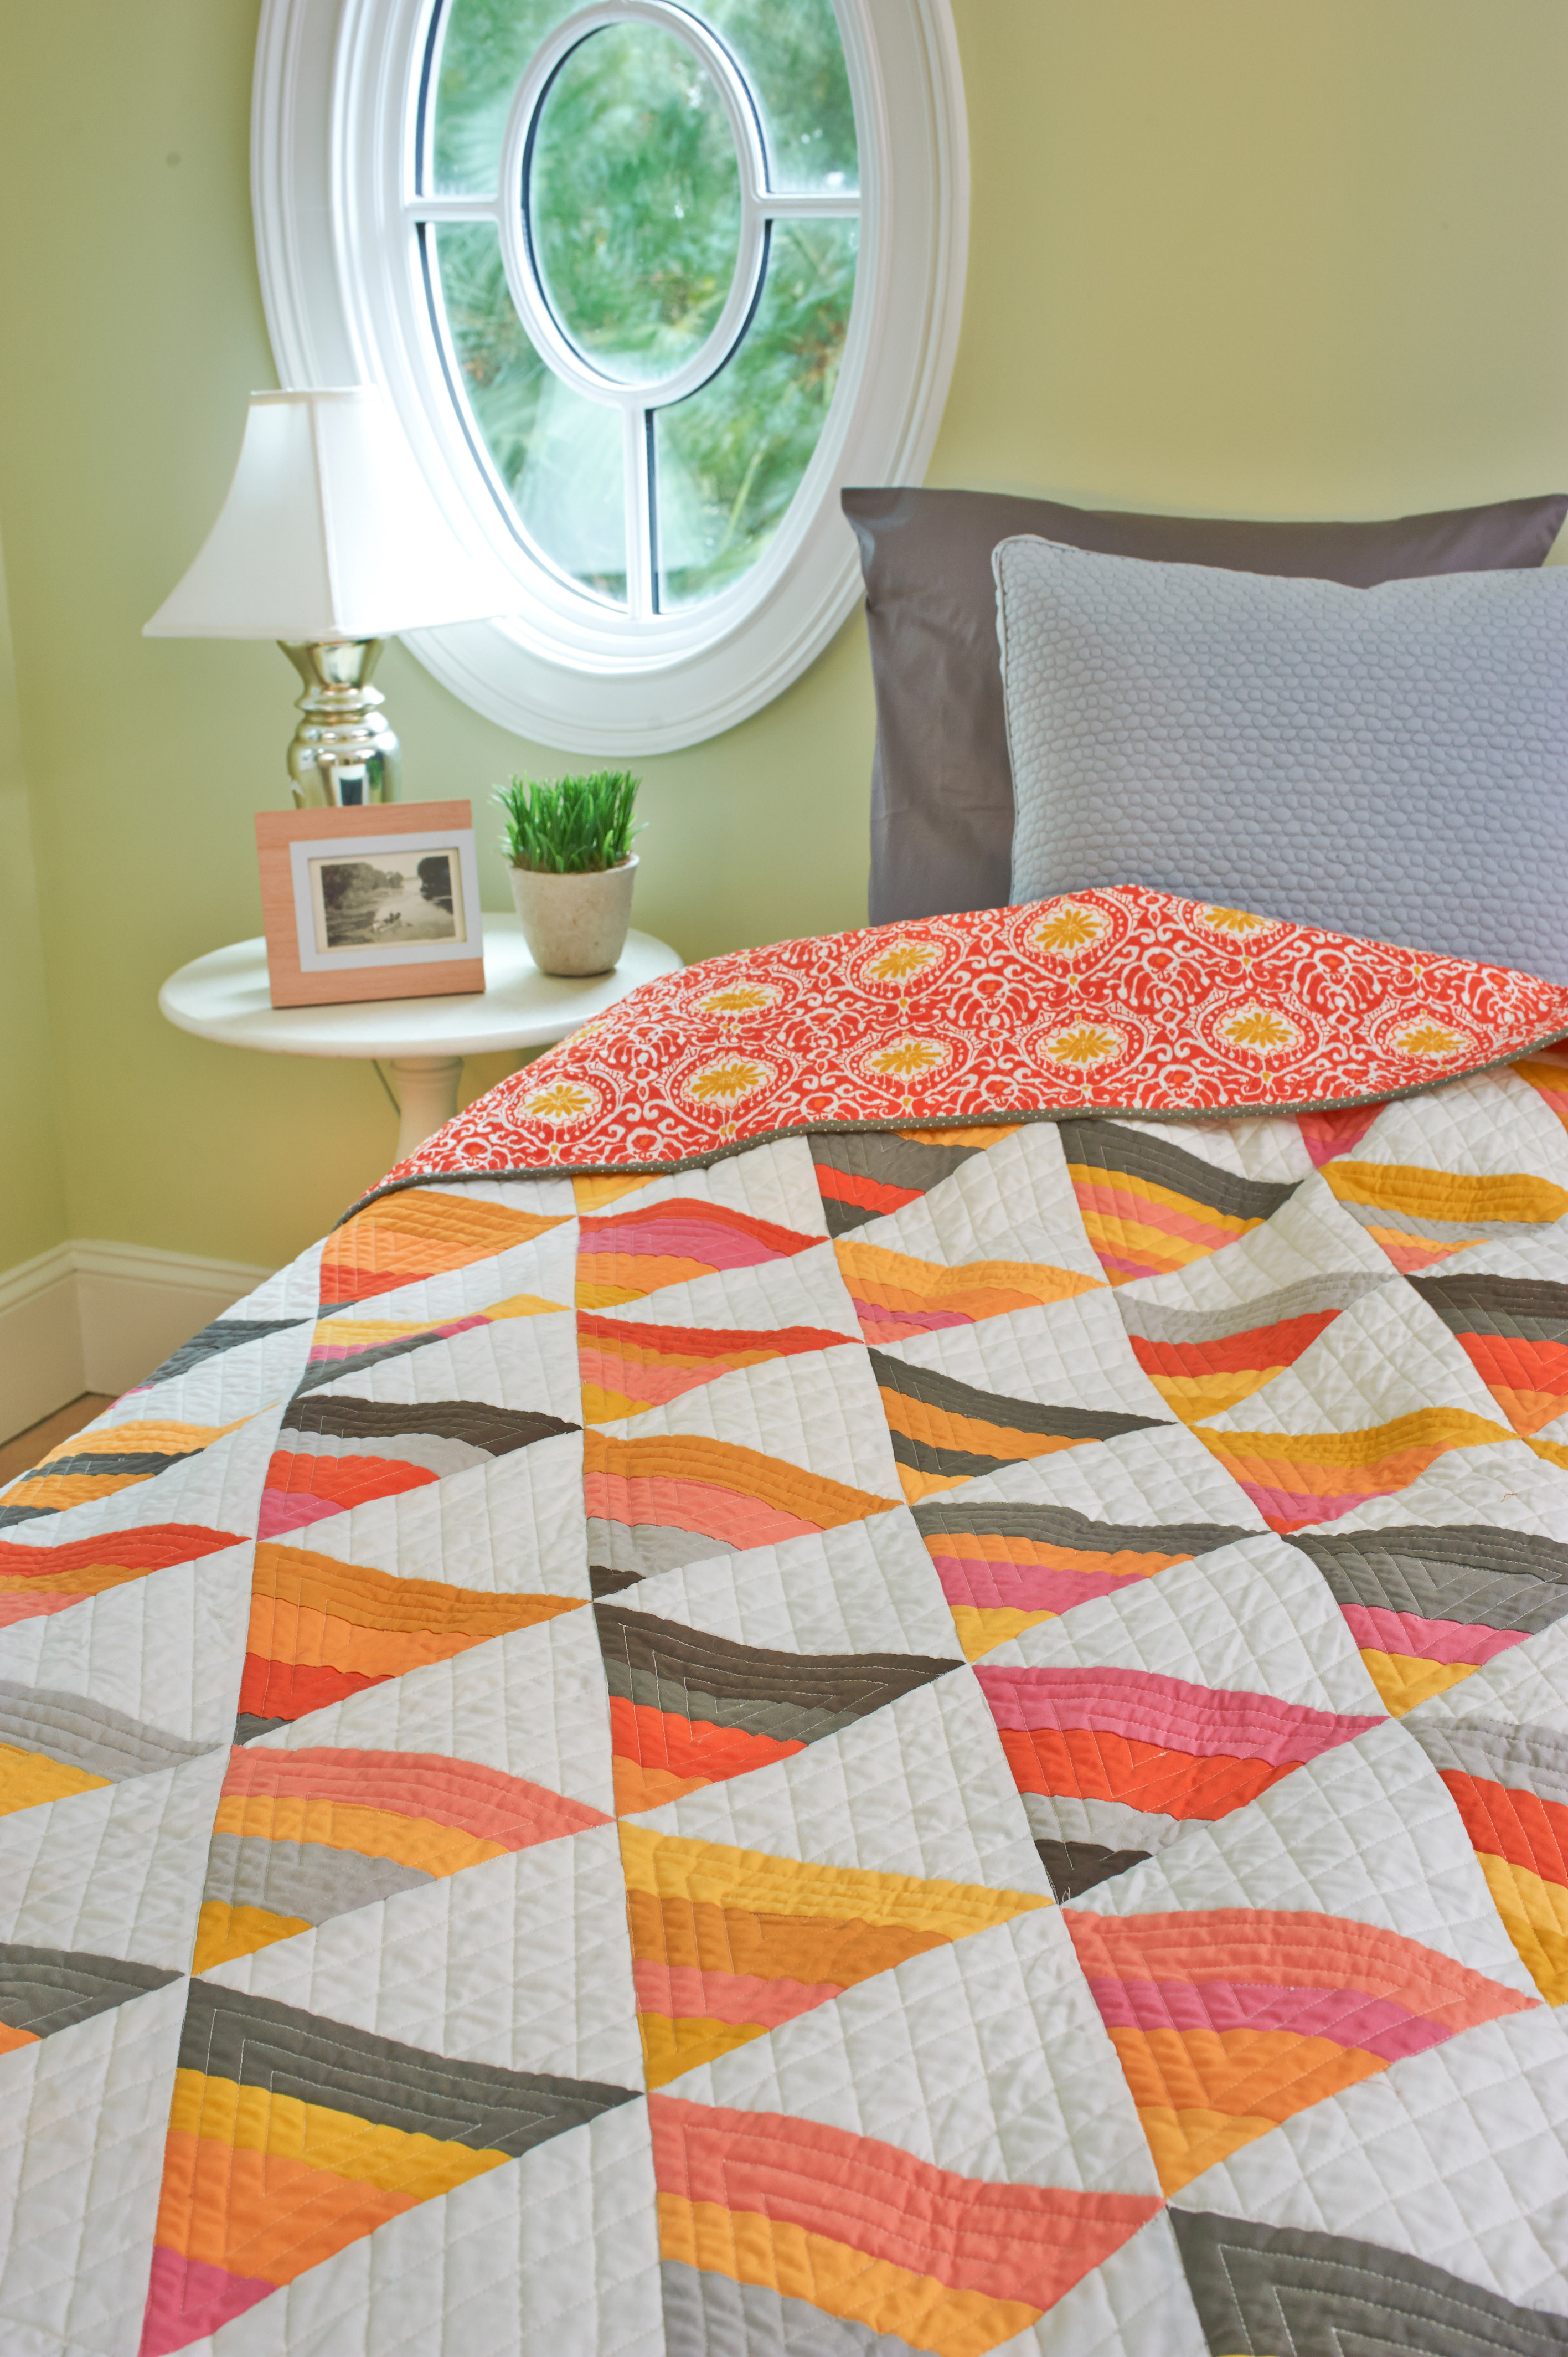
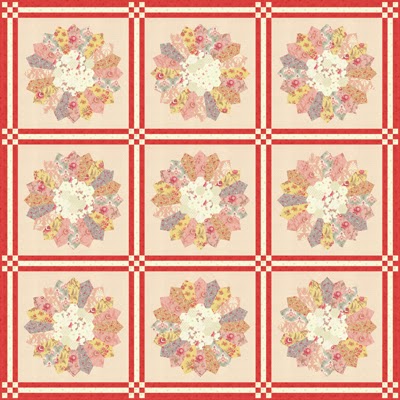
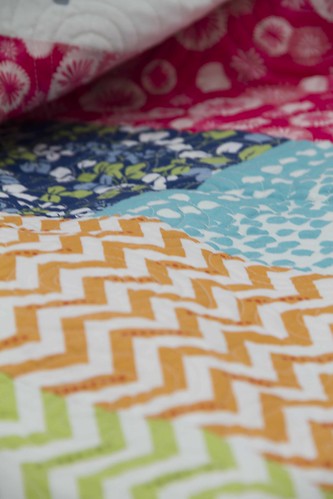
This past week the team at Moda Fabrics (thank you Annie and Kelsey) shared a quilt I made in anticipation of National Sew A Jelly Roll Day. I guess just for long term documentation, I wanted to share this on my feed also. I love, love, love Anne Sutton’s fabric lines. For this project, I knew the signature print was perfect for wide sashing so I dove right in.
If you haven’t already, check out this fantastic tutorial video on Tiddlywinks here, where I break down the process step by step. Spoiler alert: you’ll fall in love with how easy and fun it is!
<iframe width=”560″ height=”315″ src=”https://www.youtube.com/embed/1GGv_3lq-9U?si=Z_TdWVUsxy49t_BF” title=”YouTube video player” frameborder=”0″ allow=”accelerometer; autoplay; clipboard-write; encrypted-media; gyroscope; picture-in-picture; web-share” referrerpolicy=”strict-origin-when-cross-origin” allowfullscreen></iframe>
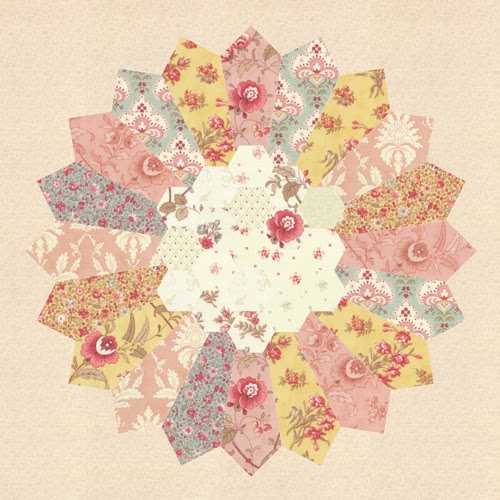
Why the Tiddlywinks Pattern?
The Tiddlywinks pattern is perfect for those days when you want a light-hearted, cheerful quilt but want to try something a little different for a creative challenge. This pattern stand outs in whatever fabric choices you use.

What’s So Special About Jelly Rolls?
For those of you who are newer to the quilting world, Jelly Rolls are collections of pre-cut Moda fabric strips (2.5 inches wide) that take much of the prep work out of the equation. That means less time cutting and more time stitching! There are jillions of ways to cut, slice and dice JellyRolls and tools and gadgets to make this easier.
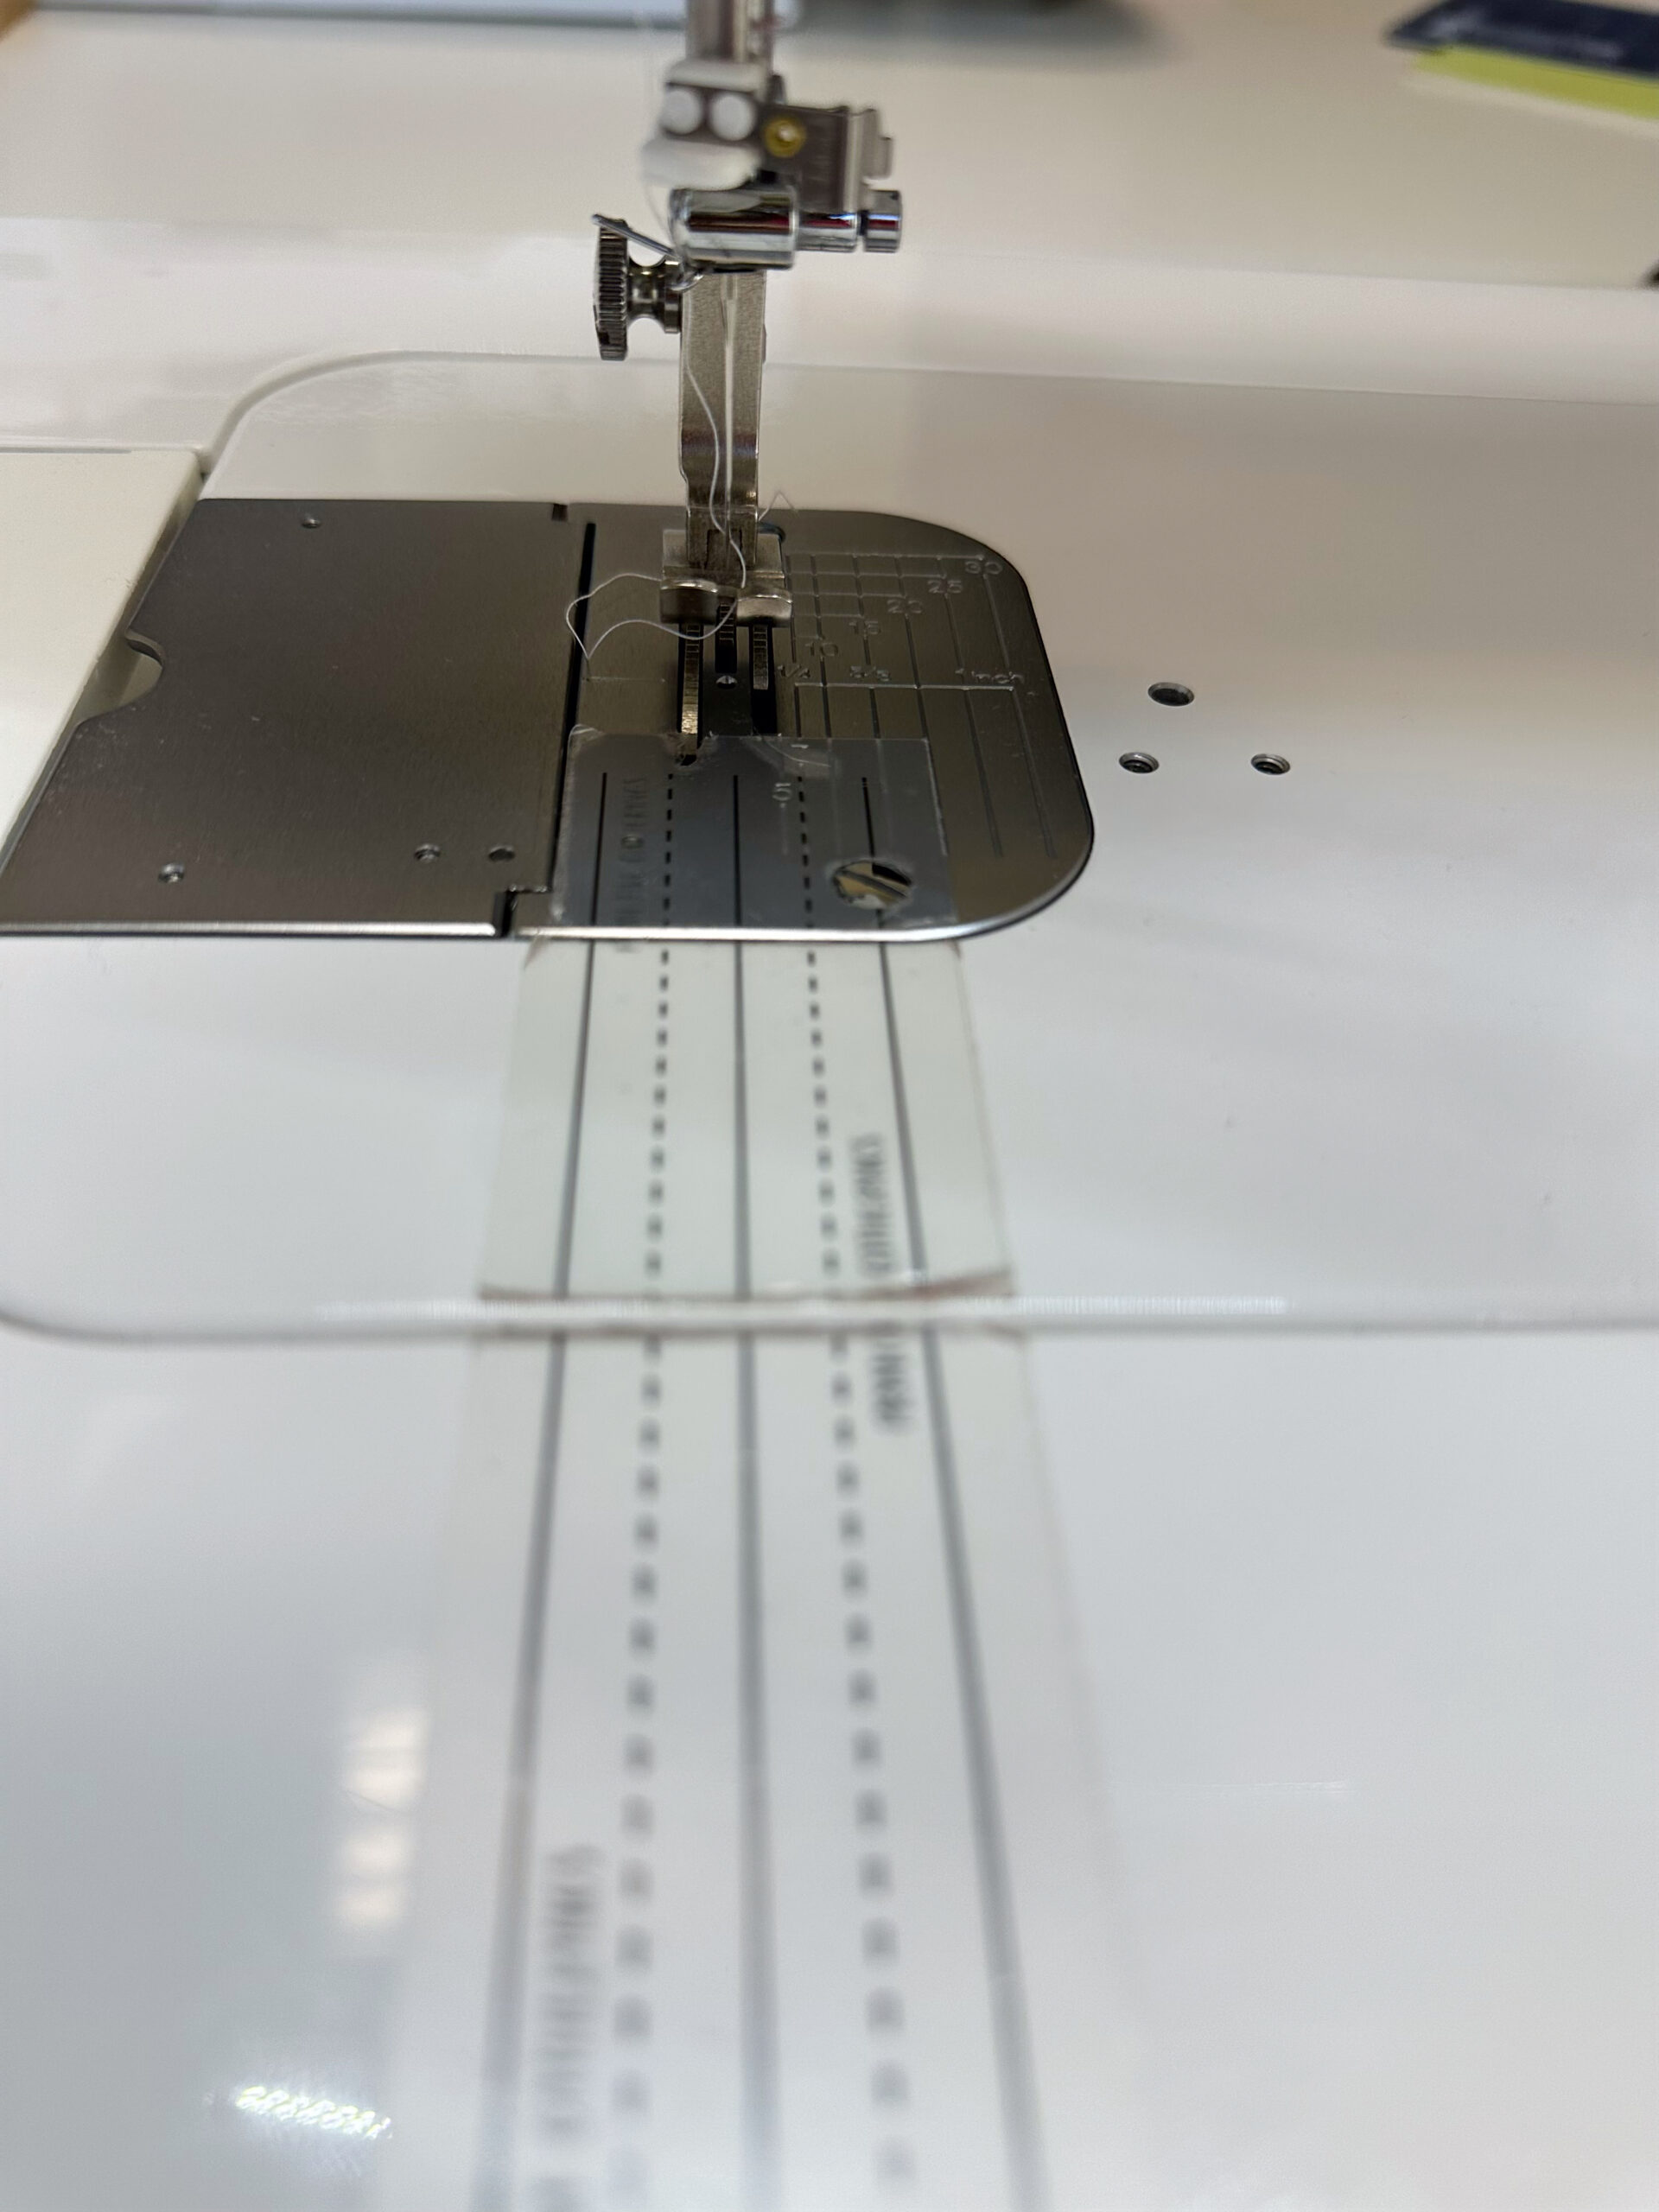
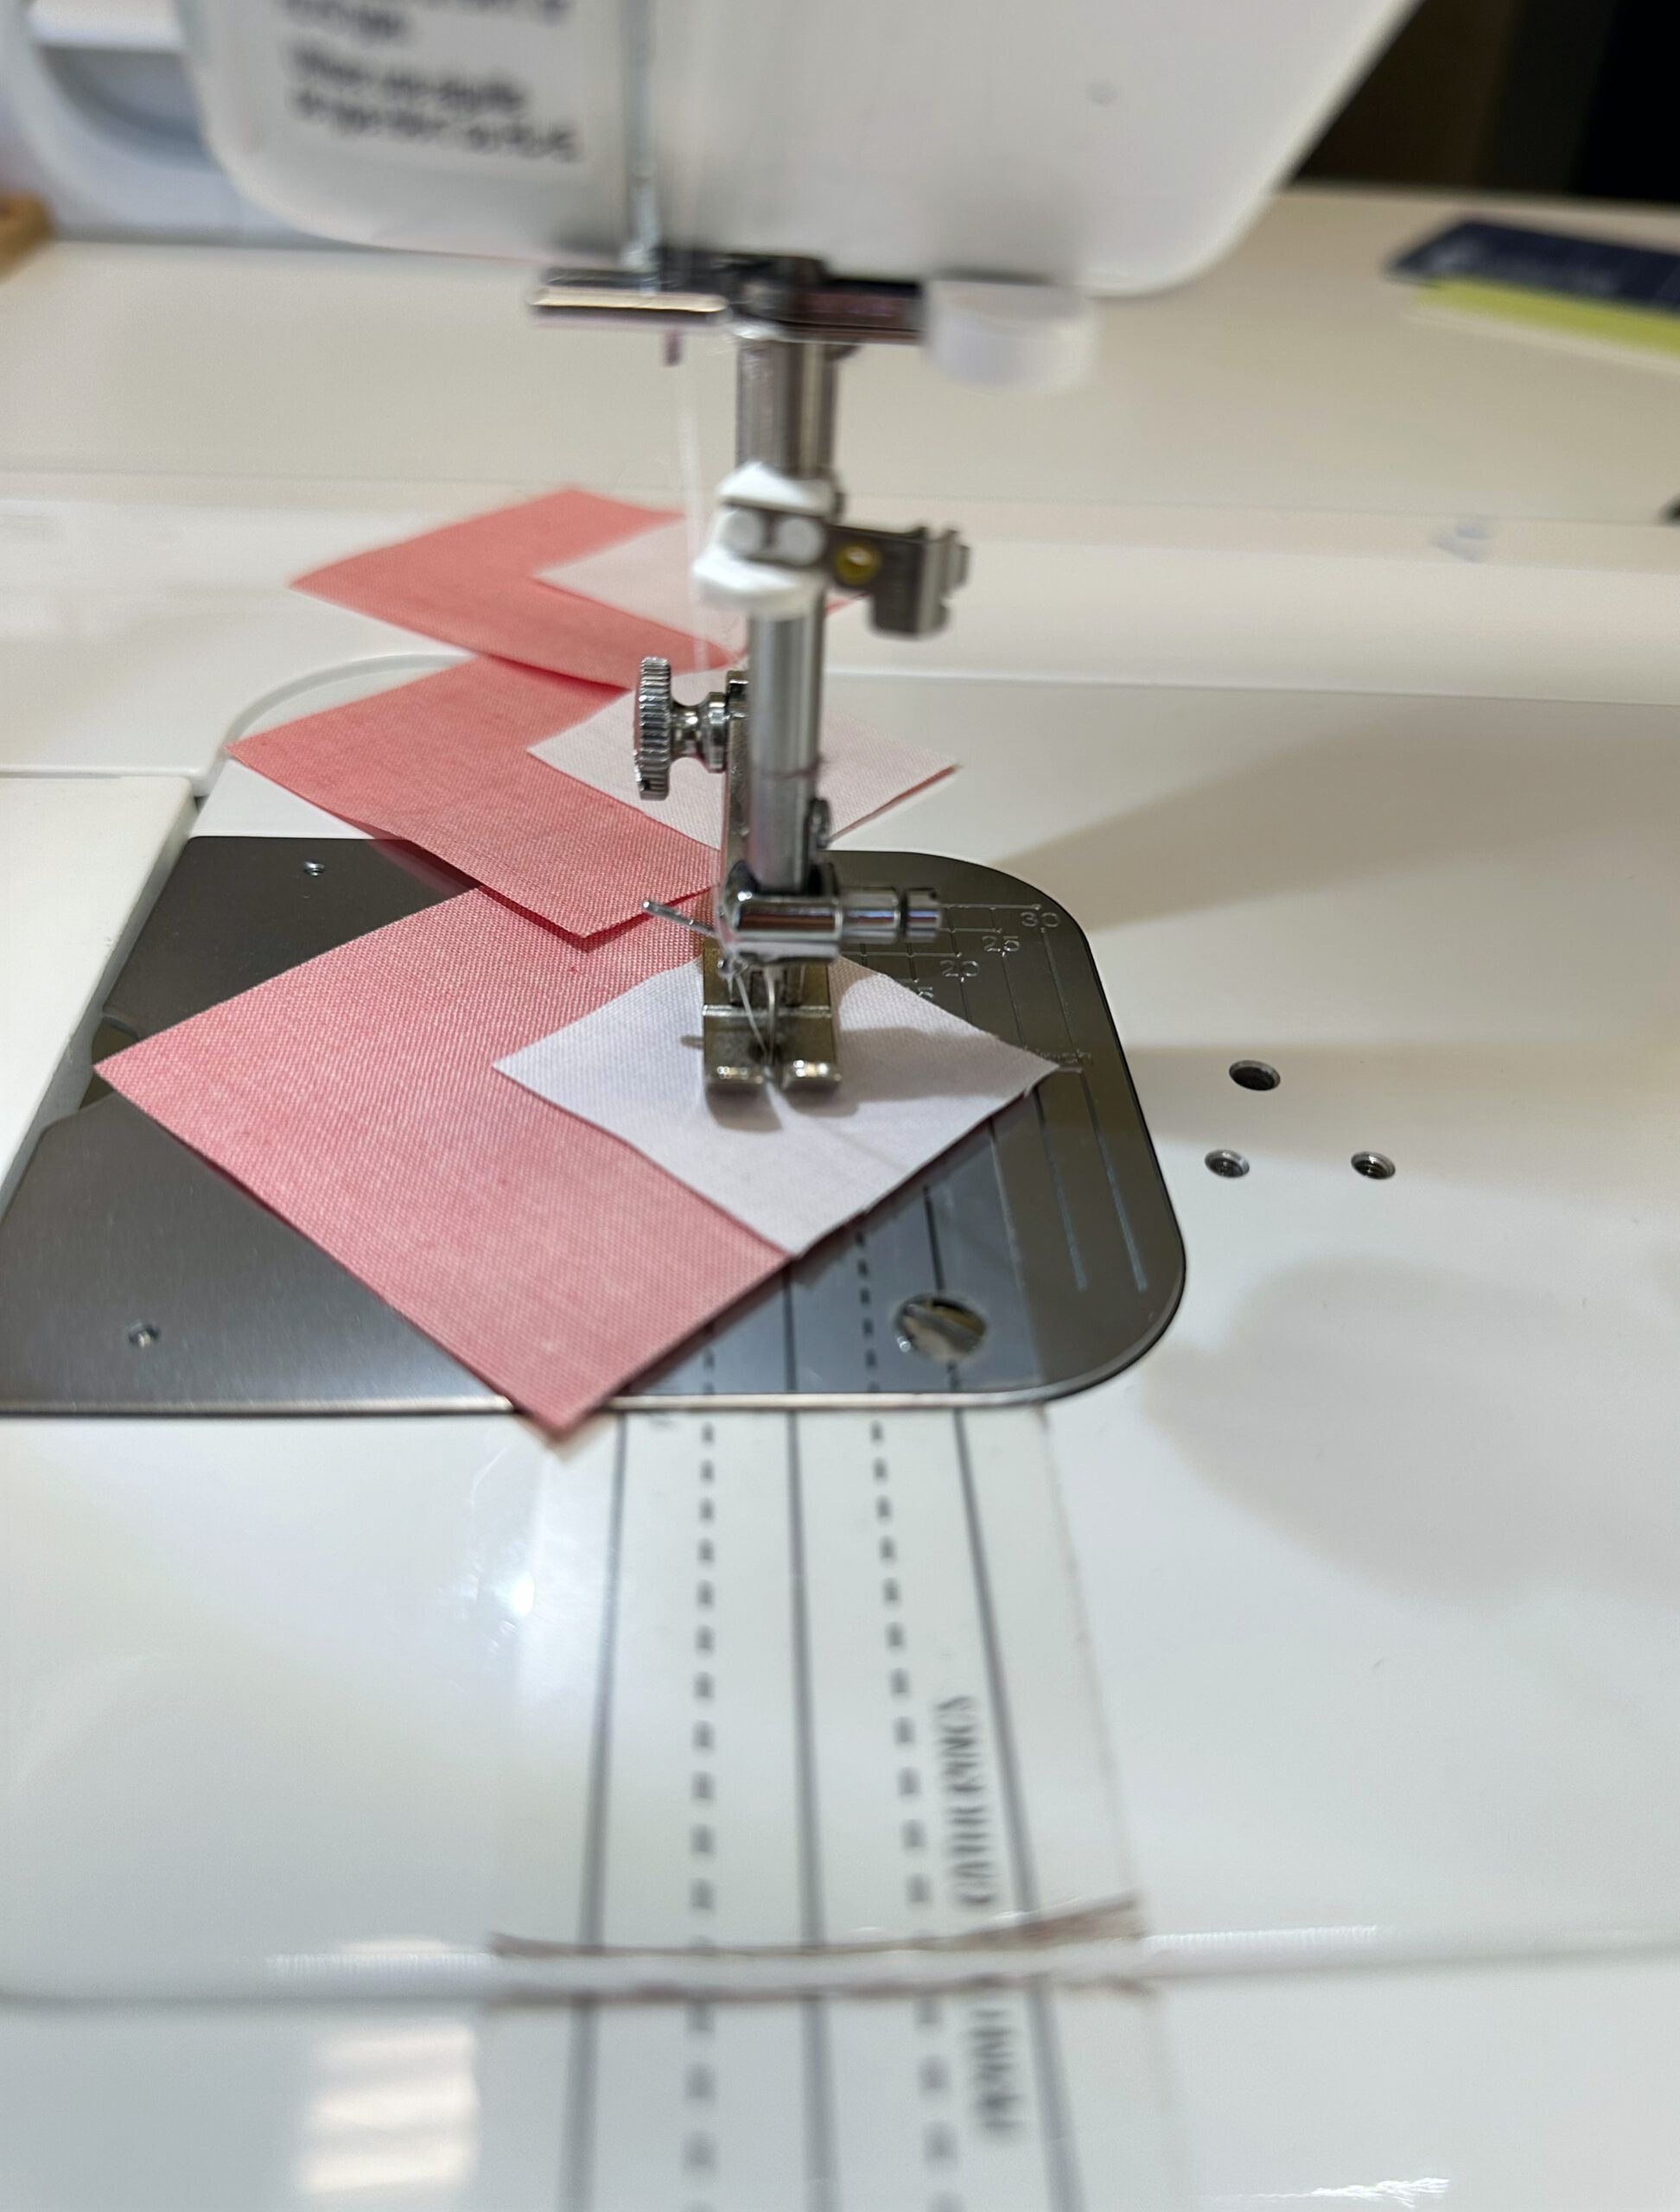
Key Tips from the Tutorial
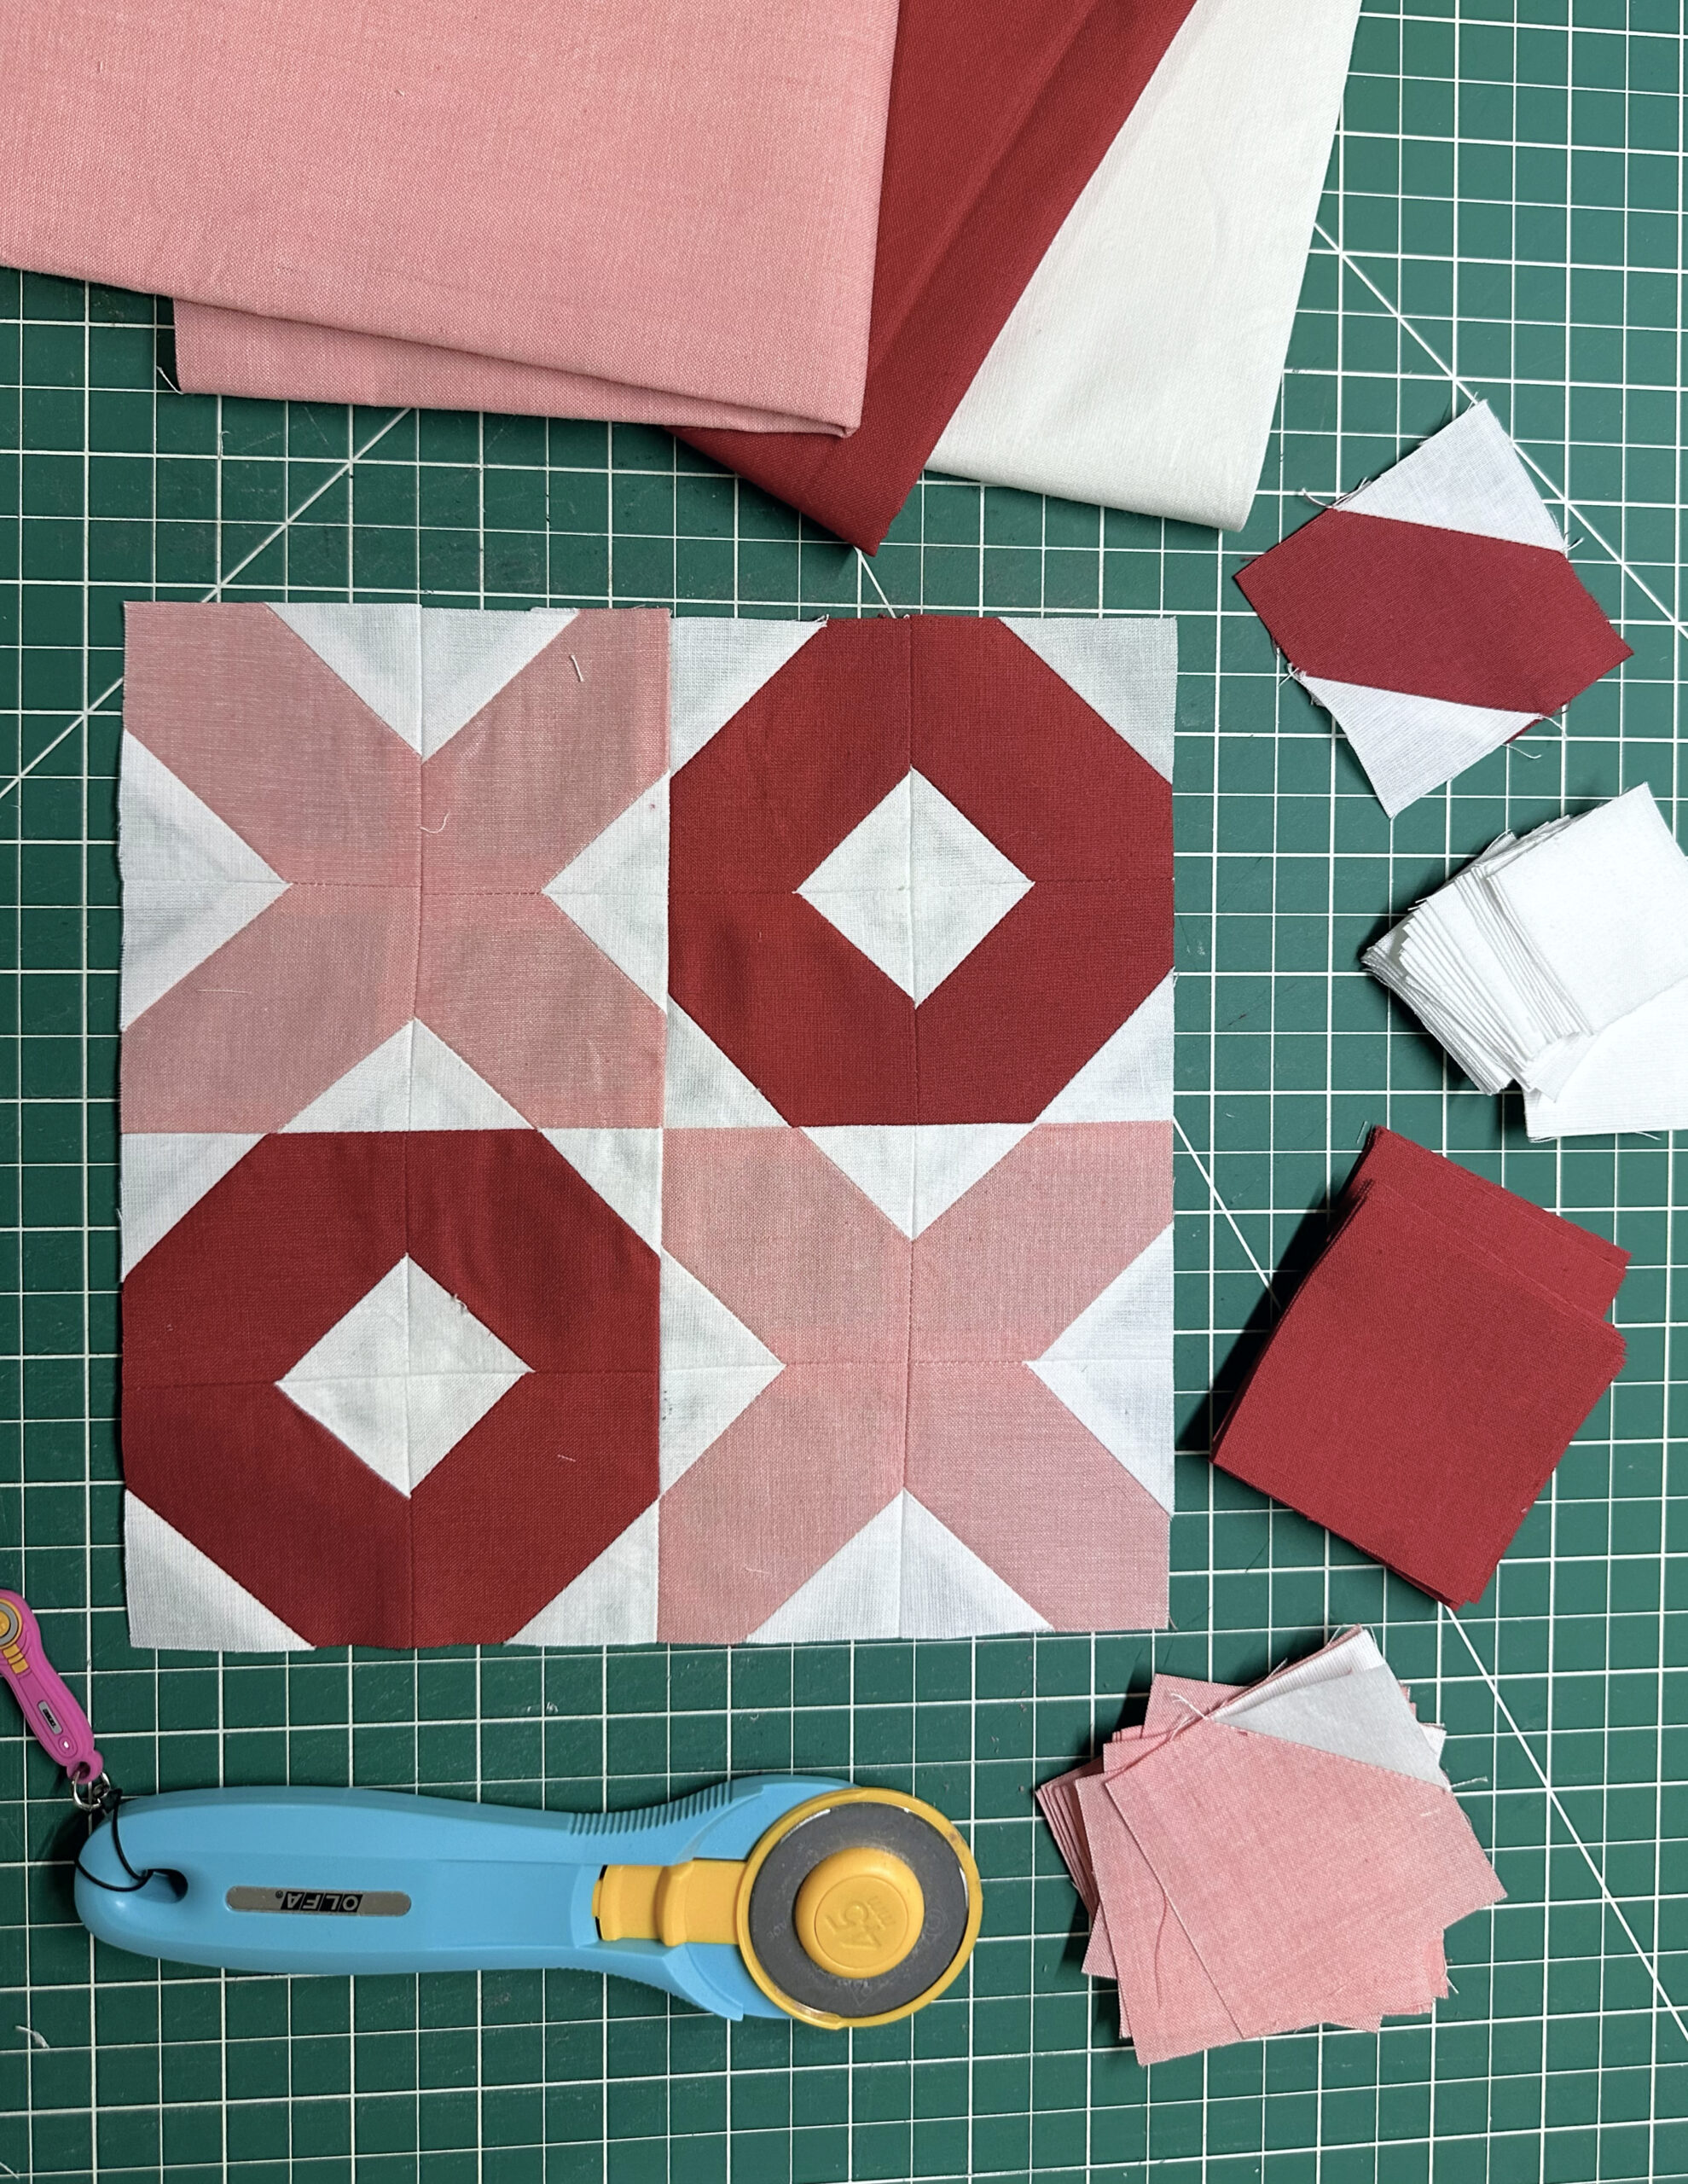
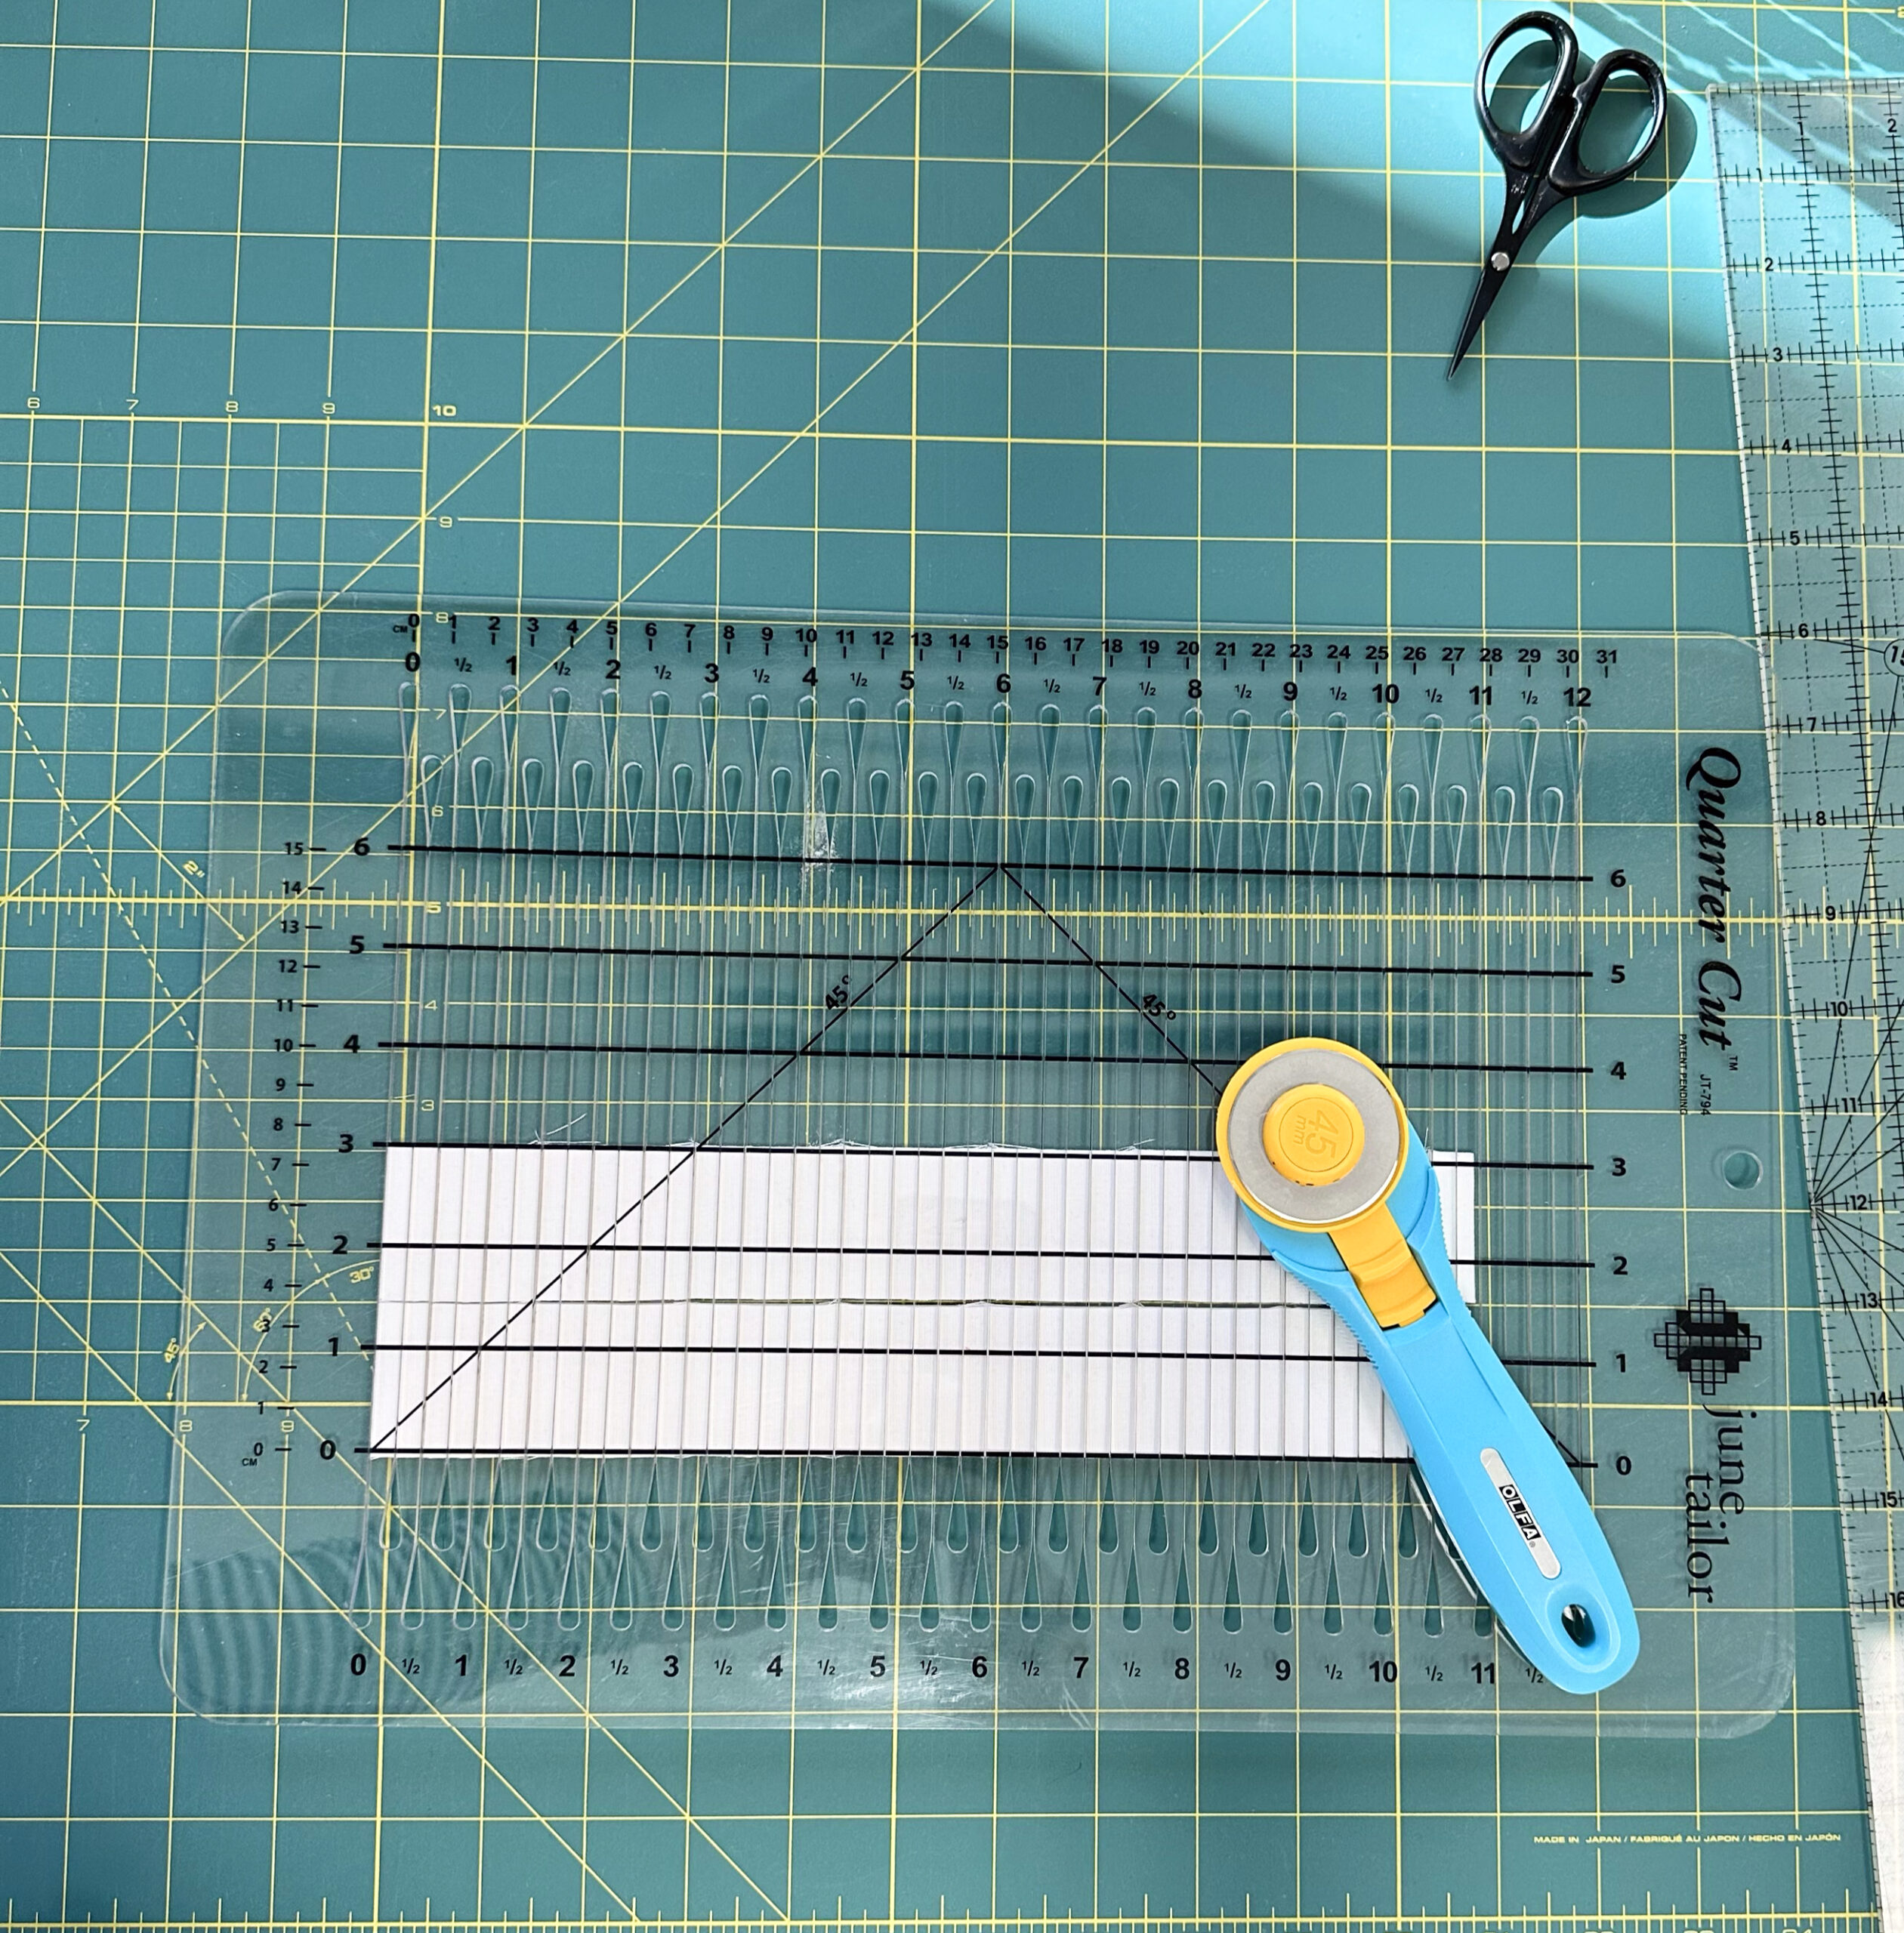
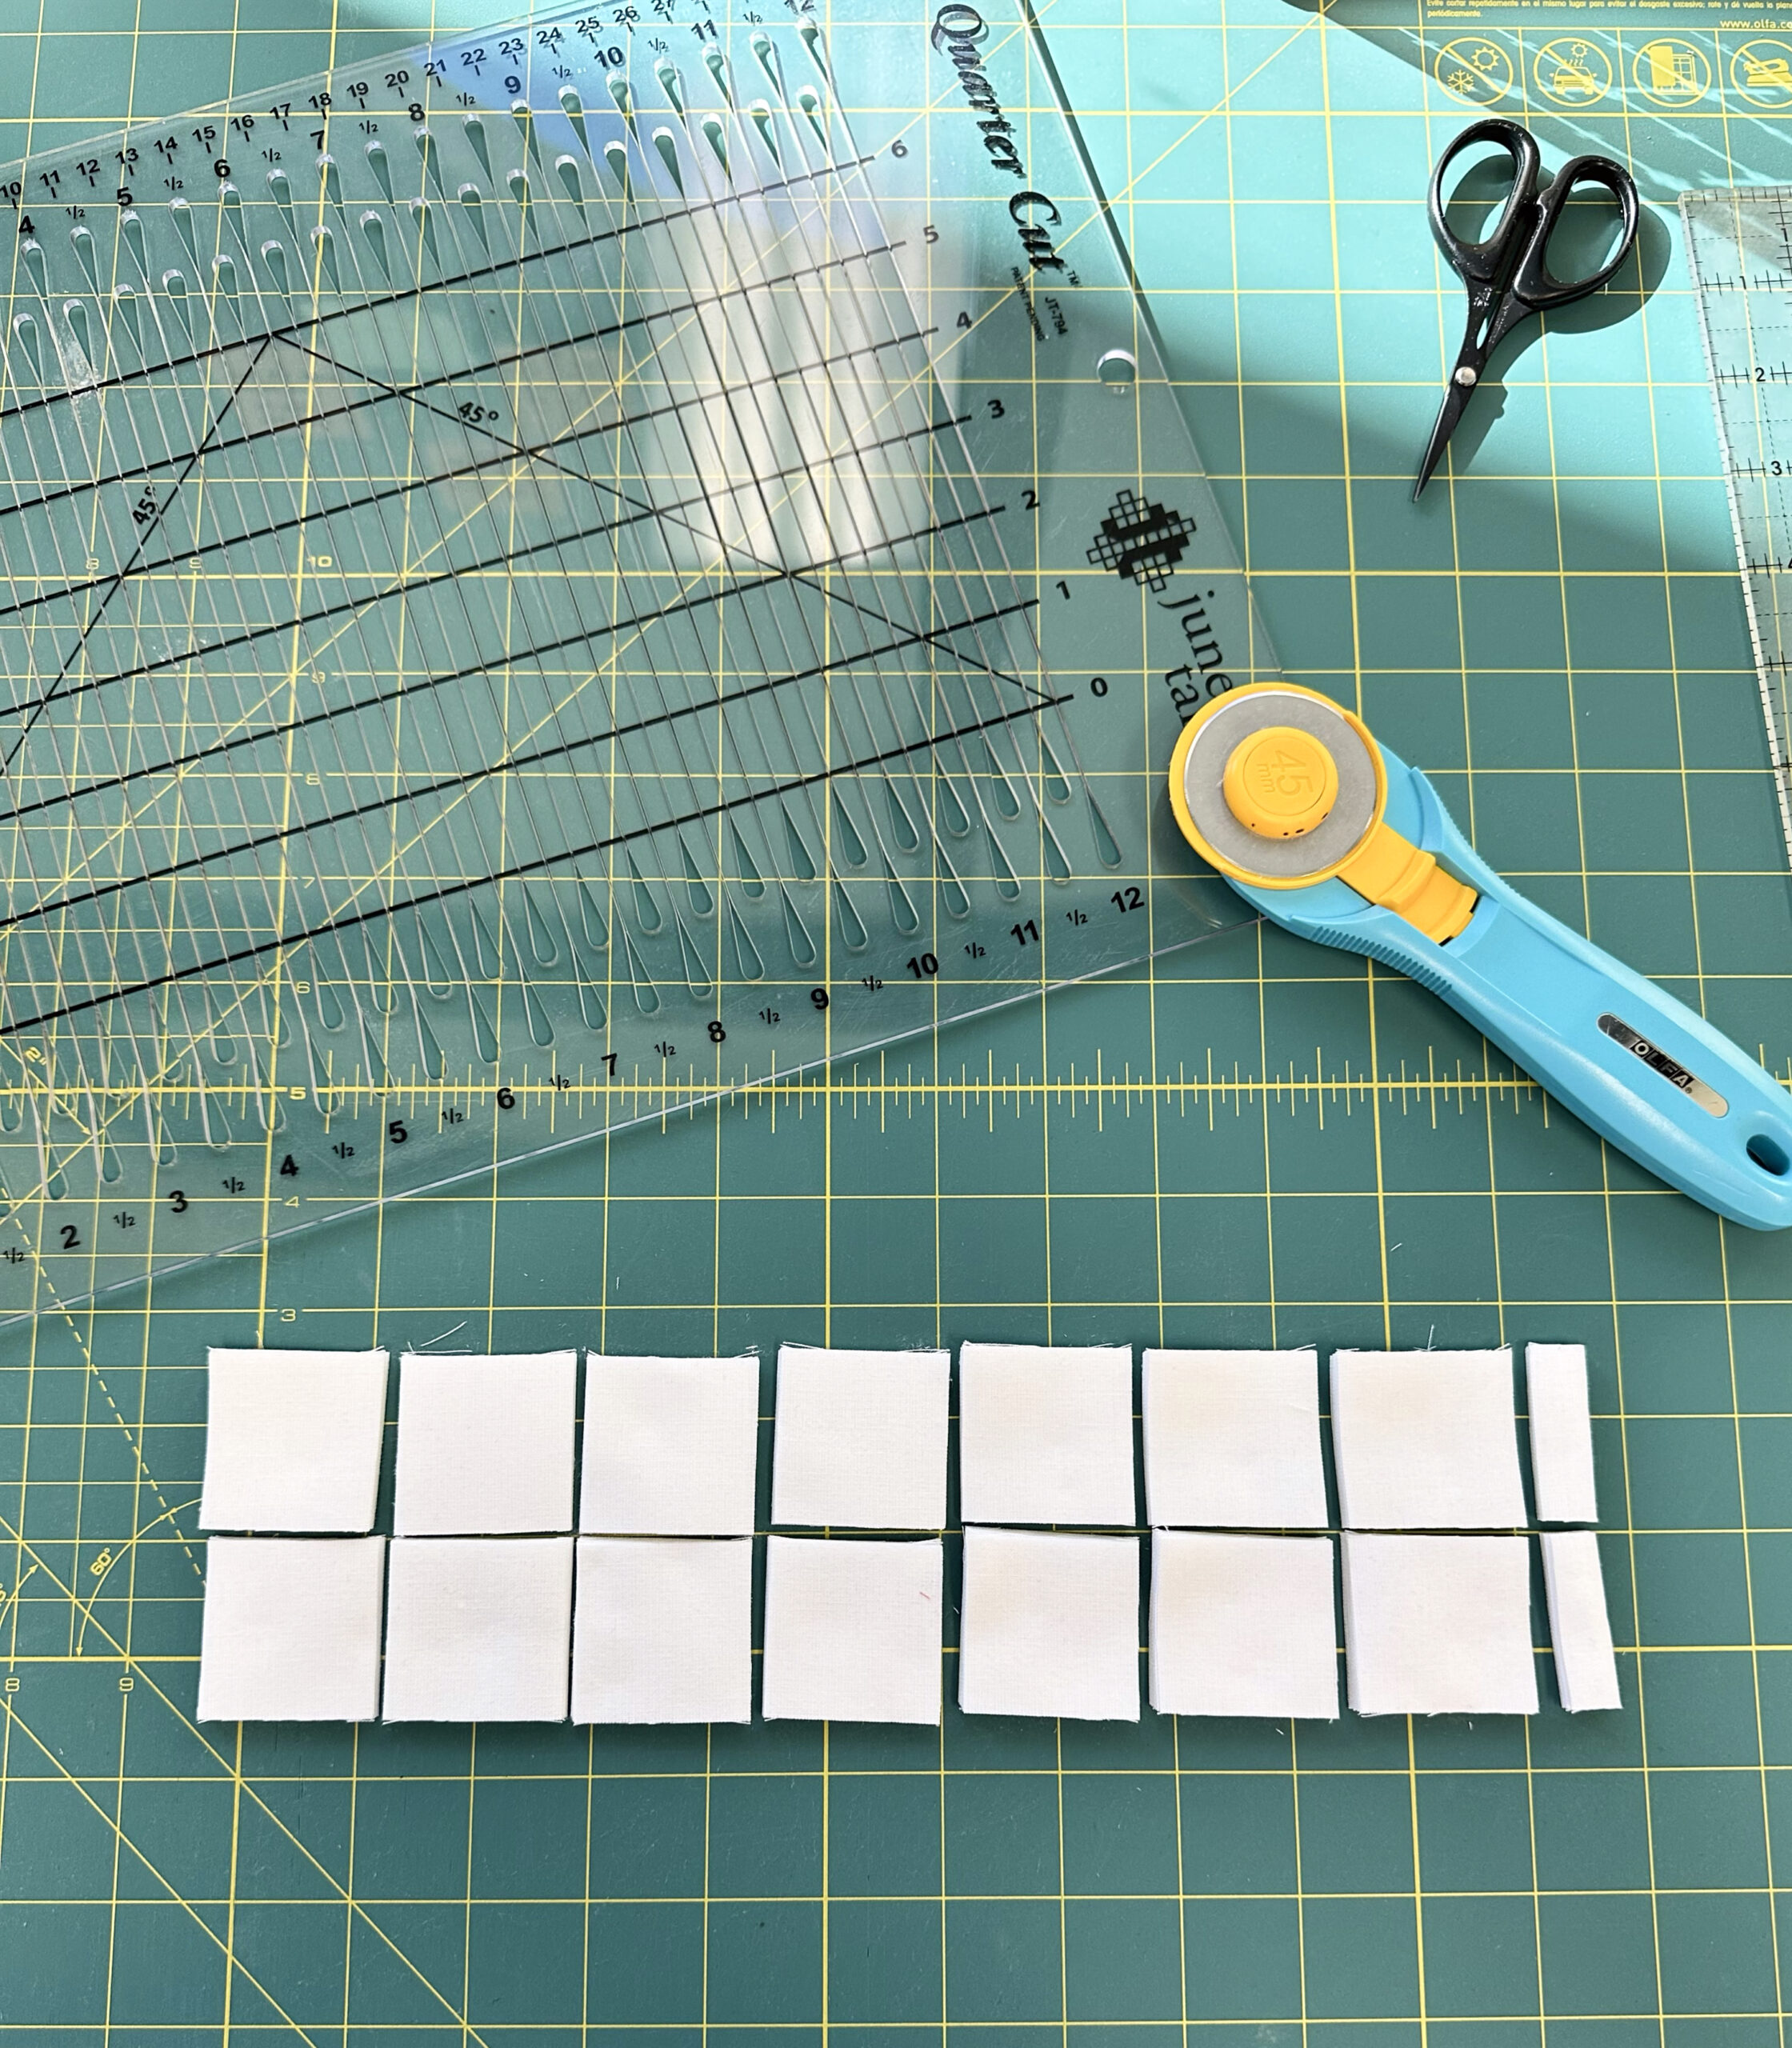
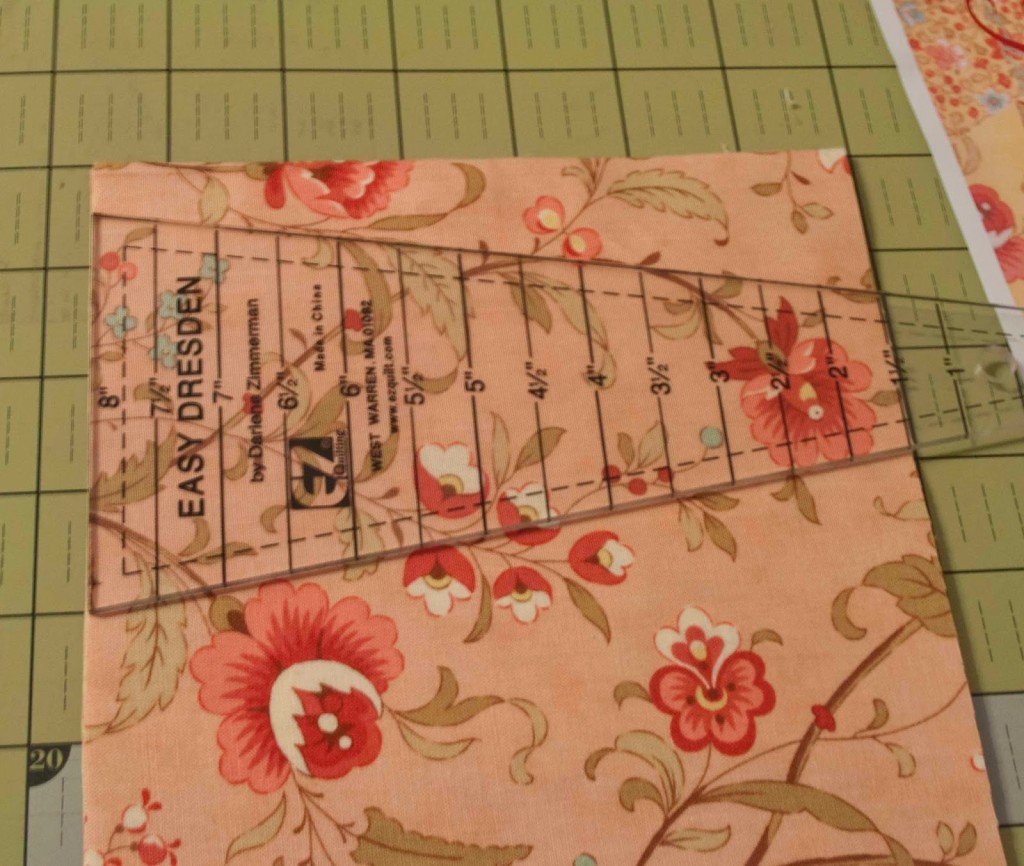
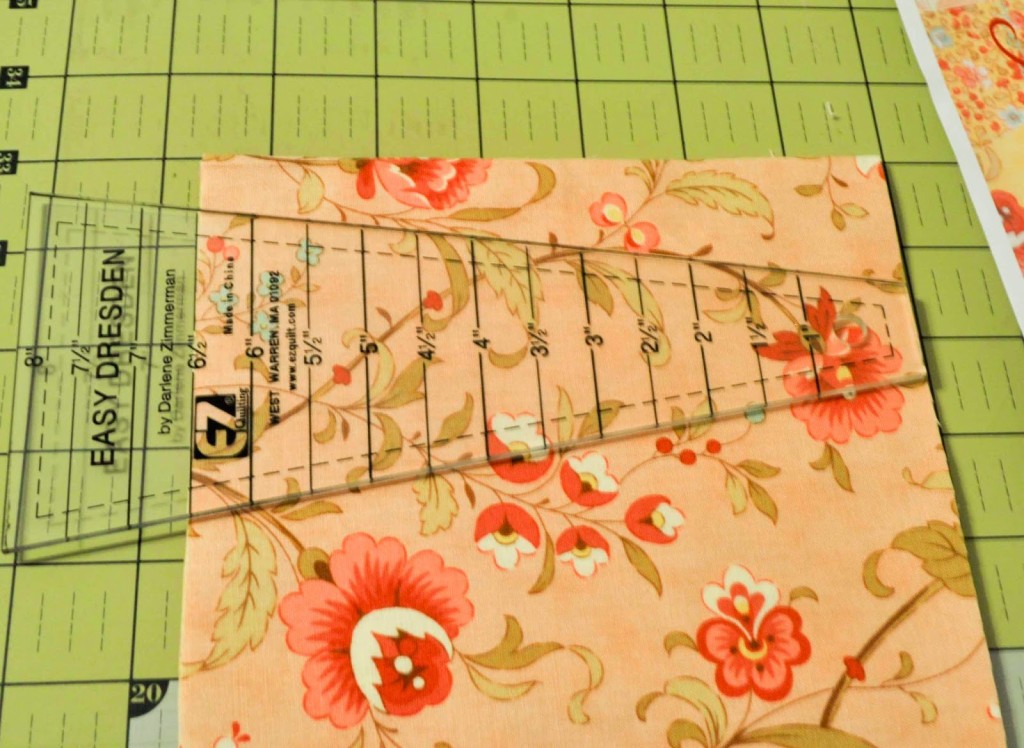
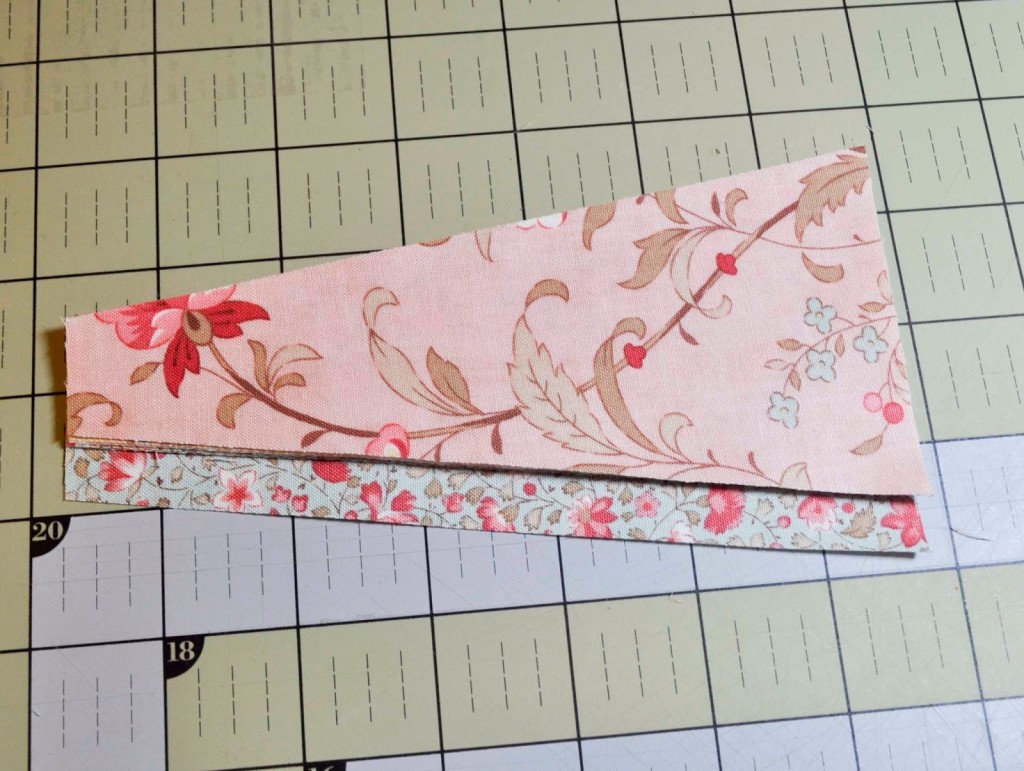
- Efficient Strip Cutting: Jelly Rolls make strip piecing a breeze, and the Tiddlywinks pattern uses this technique to its full advantage. The video explains how to cut your strips into neat units, ensuring your hexagons will assemble into smooth and precise shapes..
- Row Assembly: The tutorial walks you through method for stitching the rows into bite size sections. There are small manageable steps, so it doesn’t feel overwhelming. Plus, with the pre-cut strips, you can focus on the creative process rather than stressing over accuracy.
- Pressing for Success: There’s an emphasis on pressing your seams correctly, which is especially important for this design. It’s the little things that make the blocks lie flatter and look sharper, and this video tutorial really drives that home.
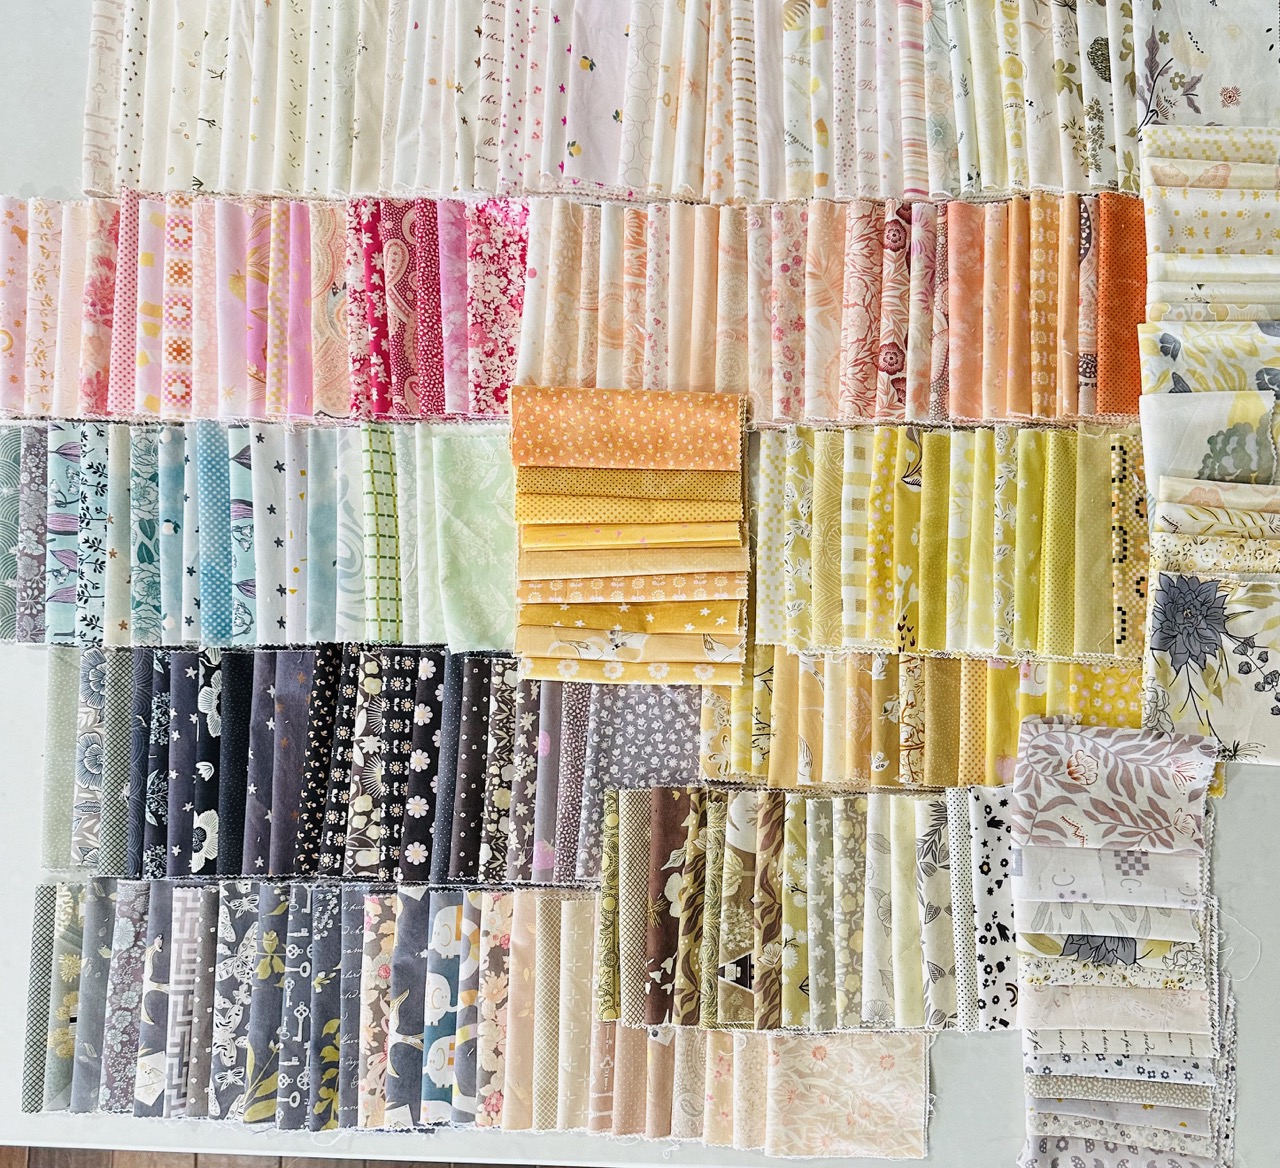
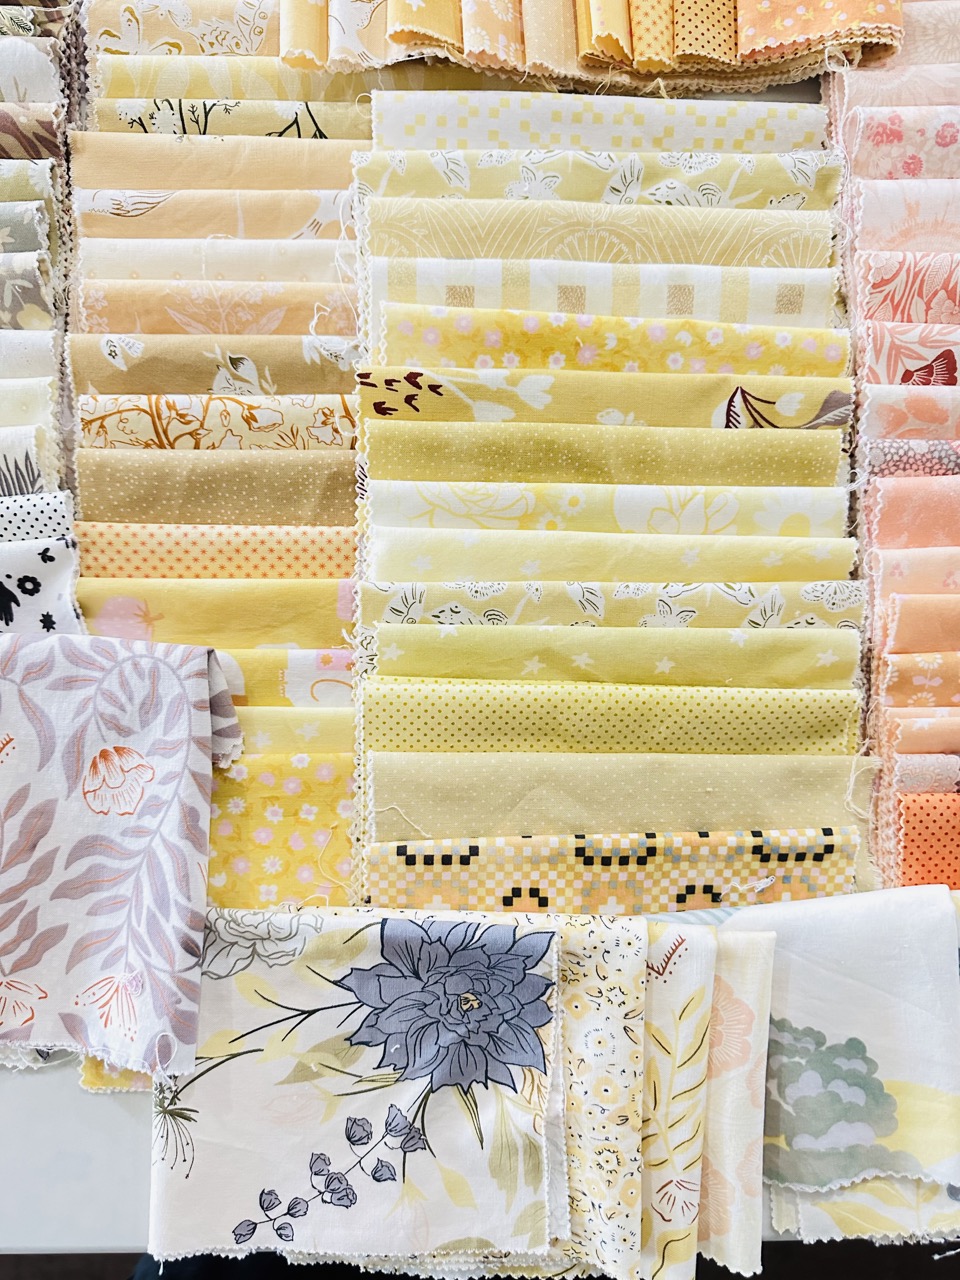
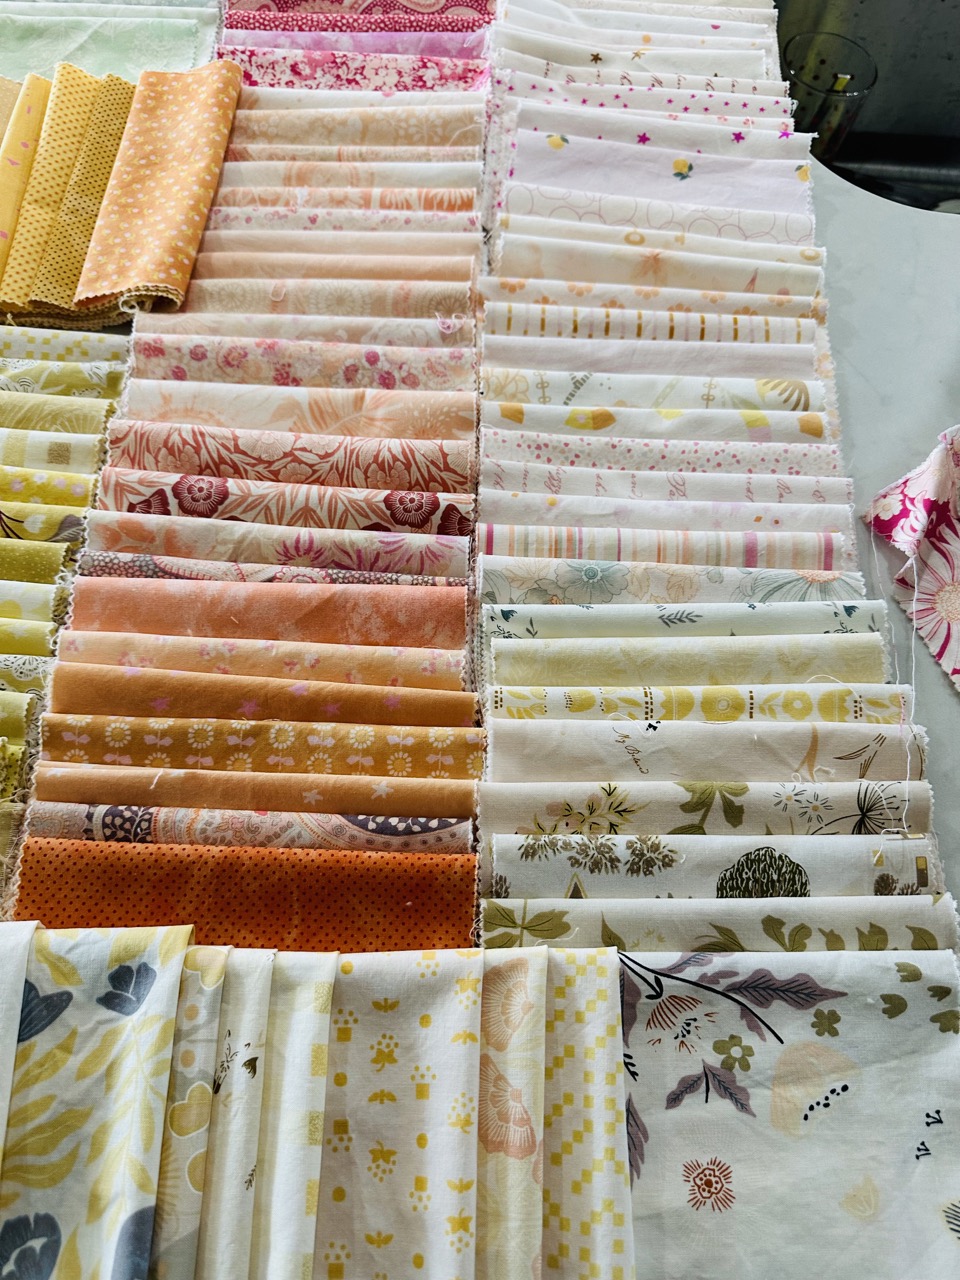
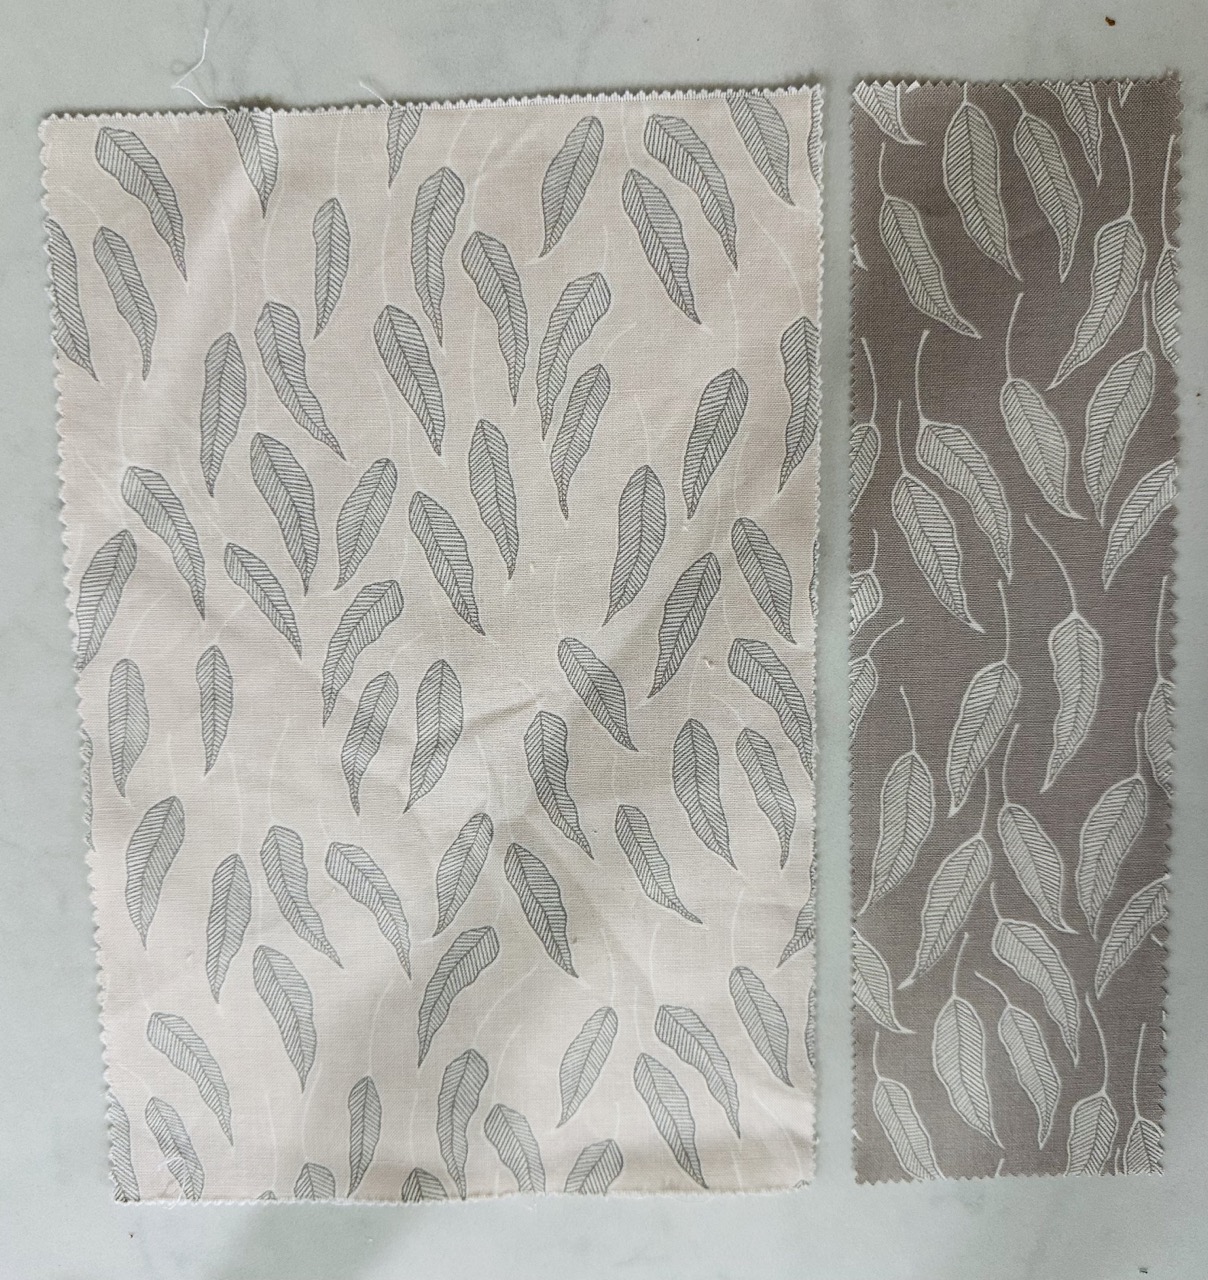
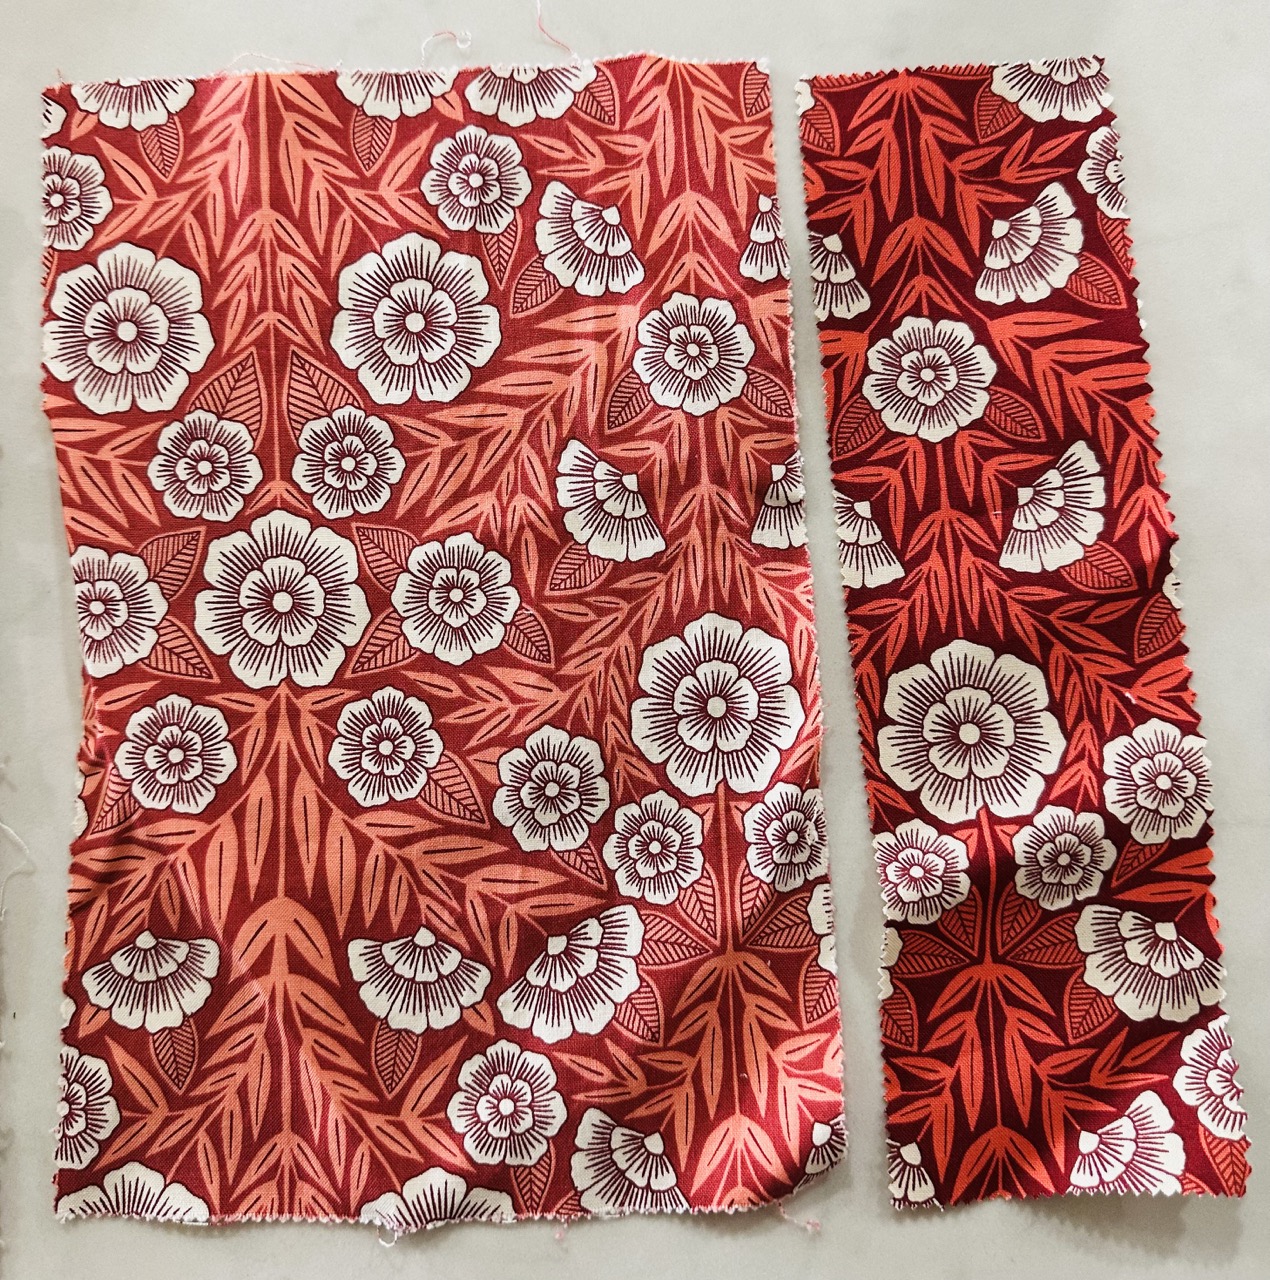
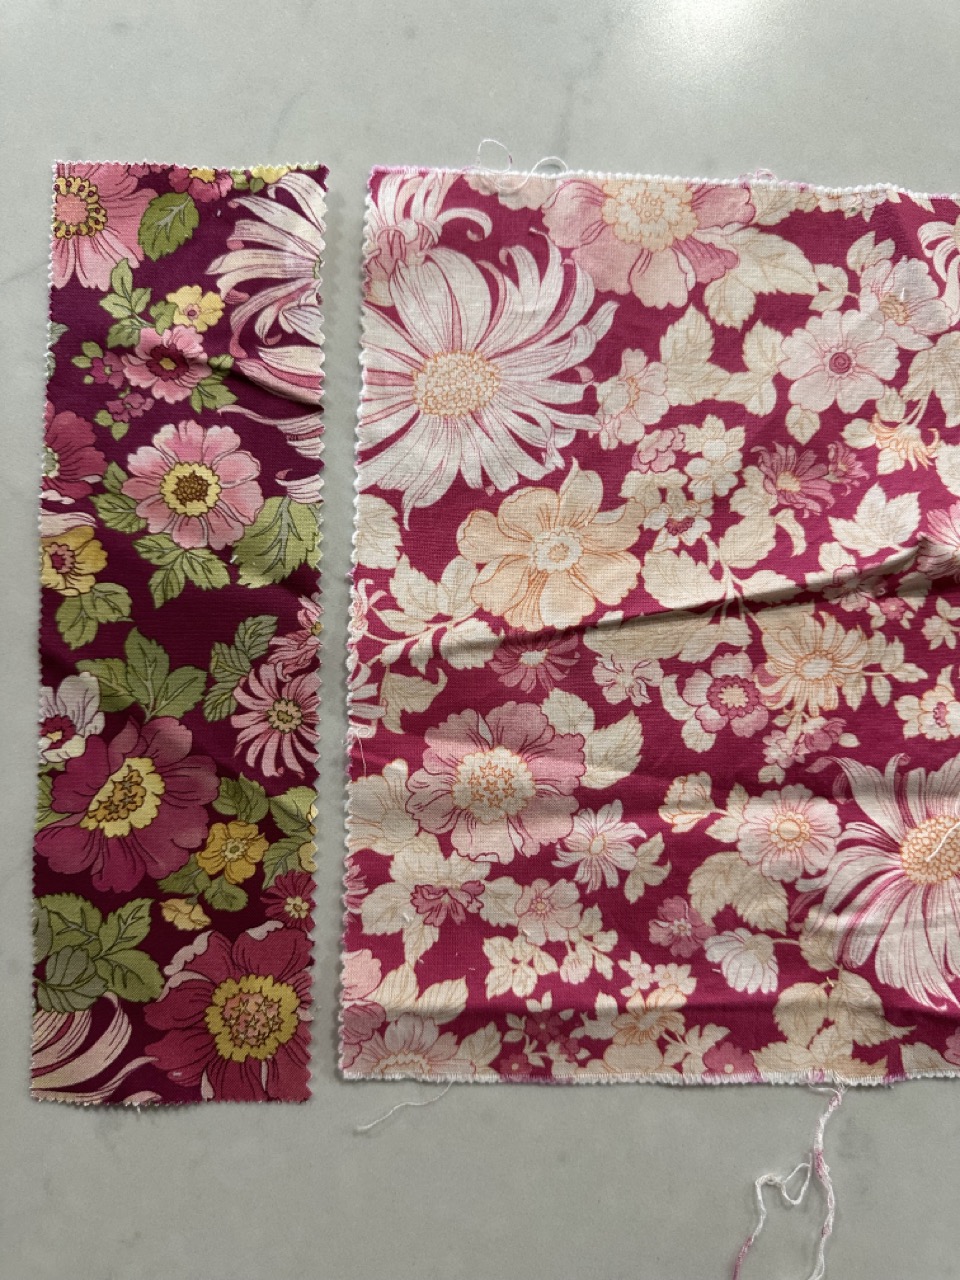
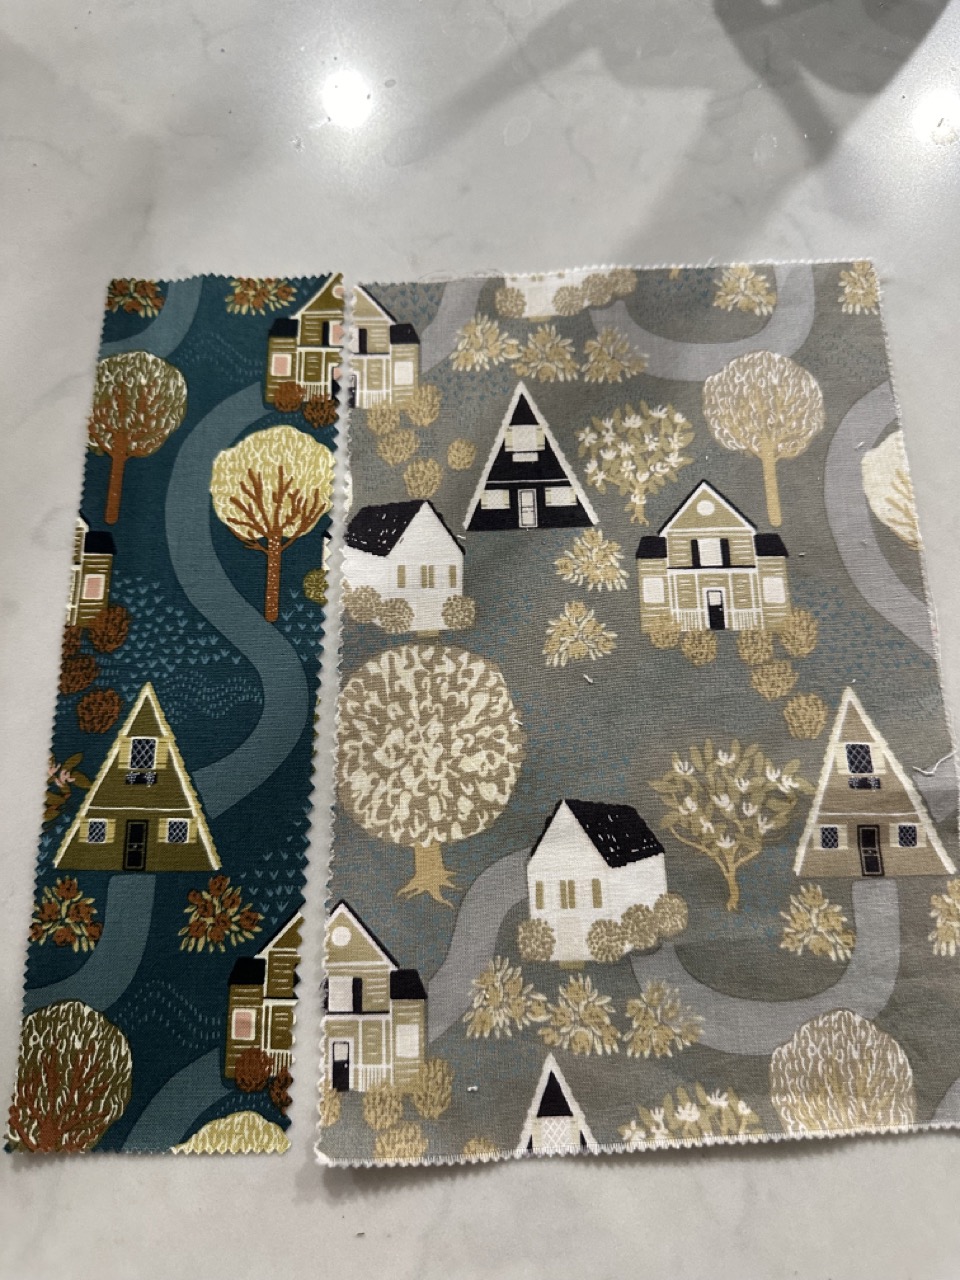
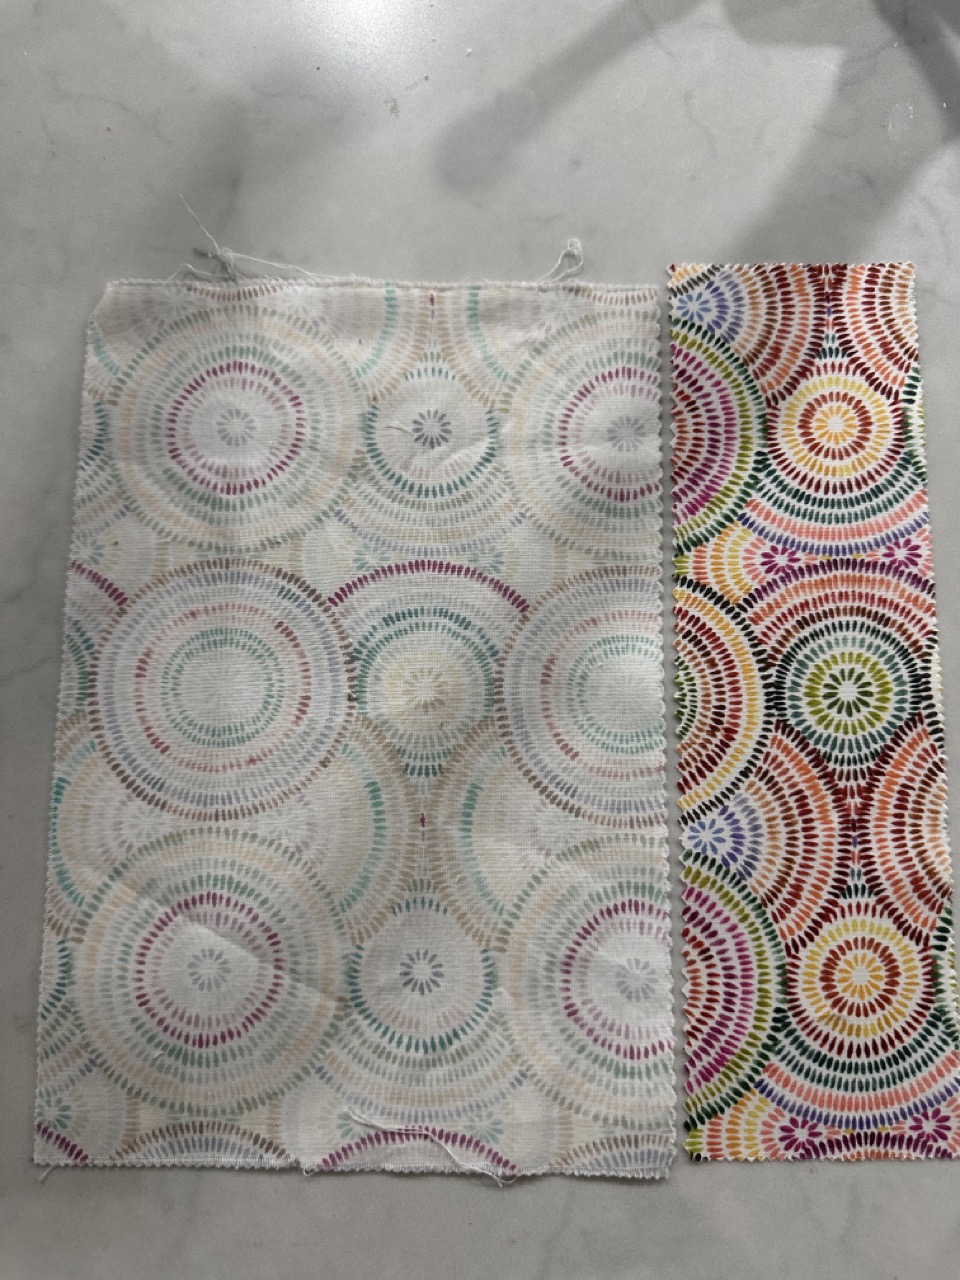
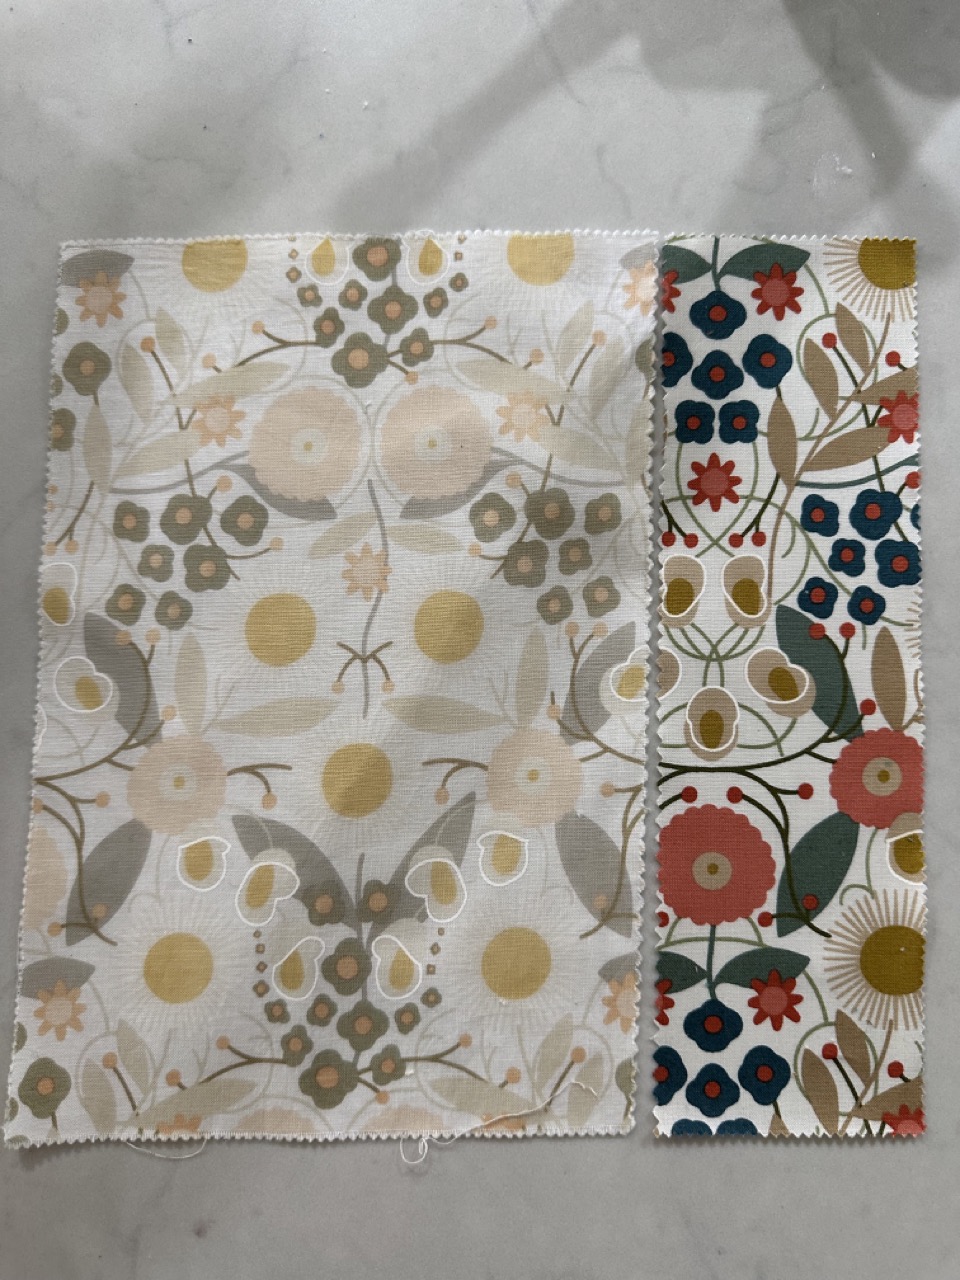
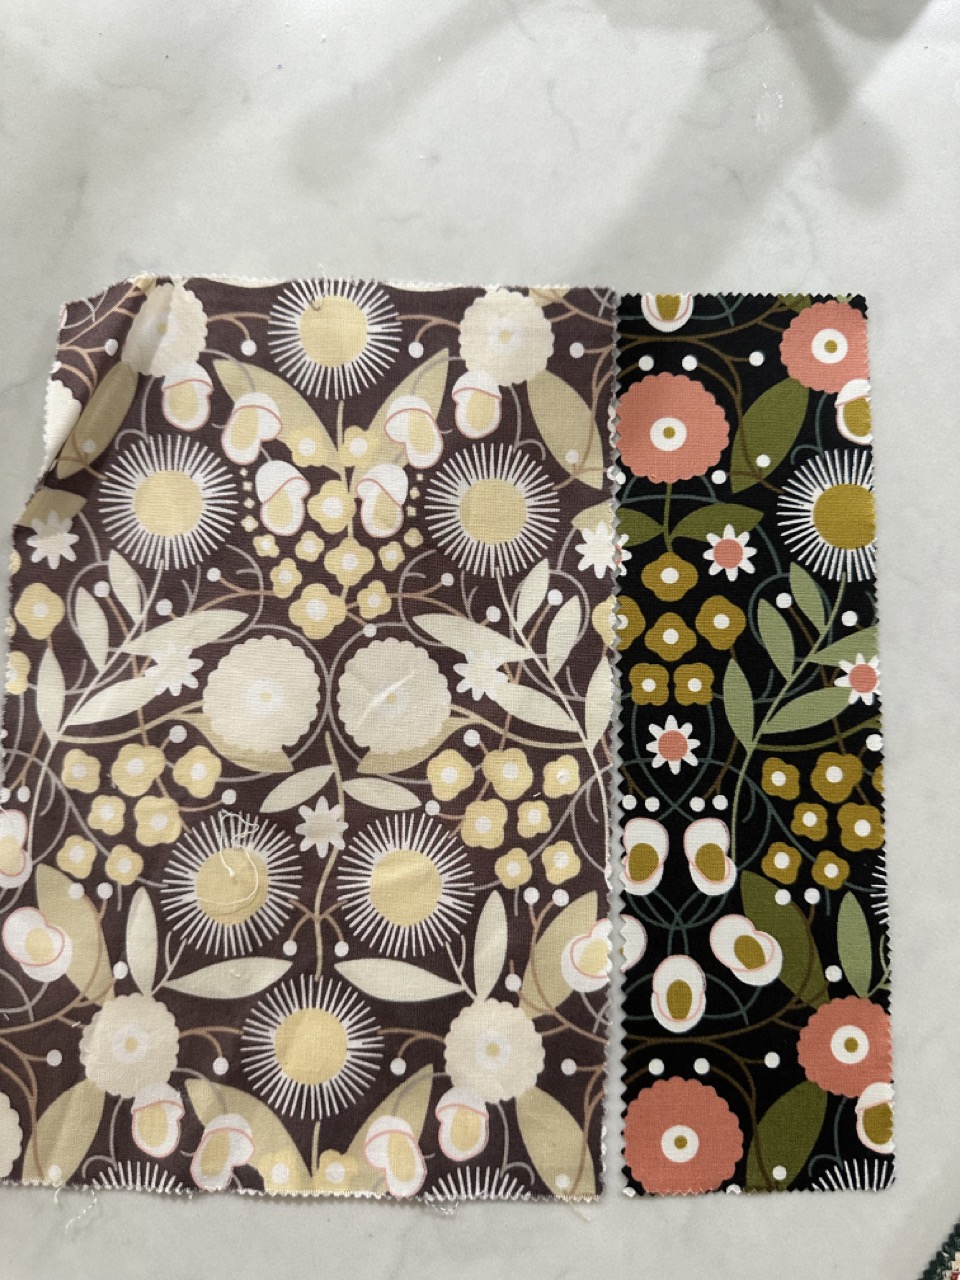
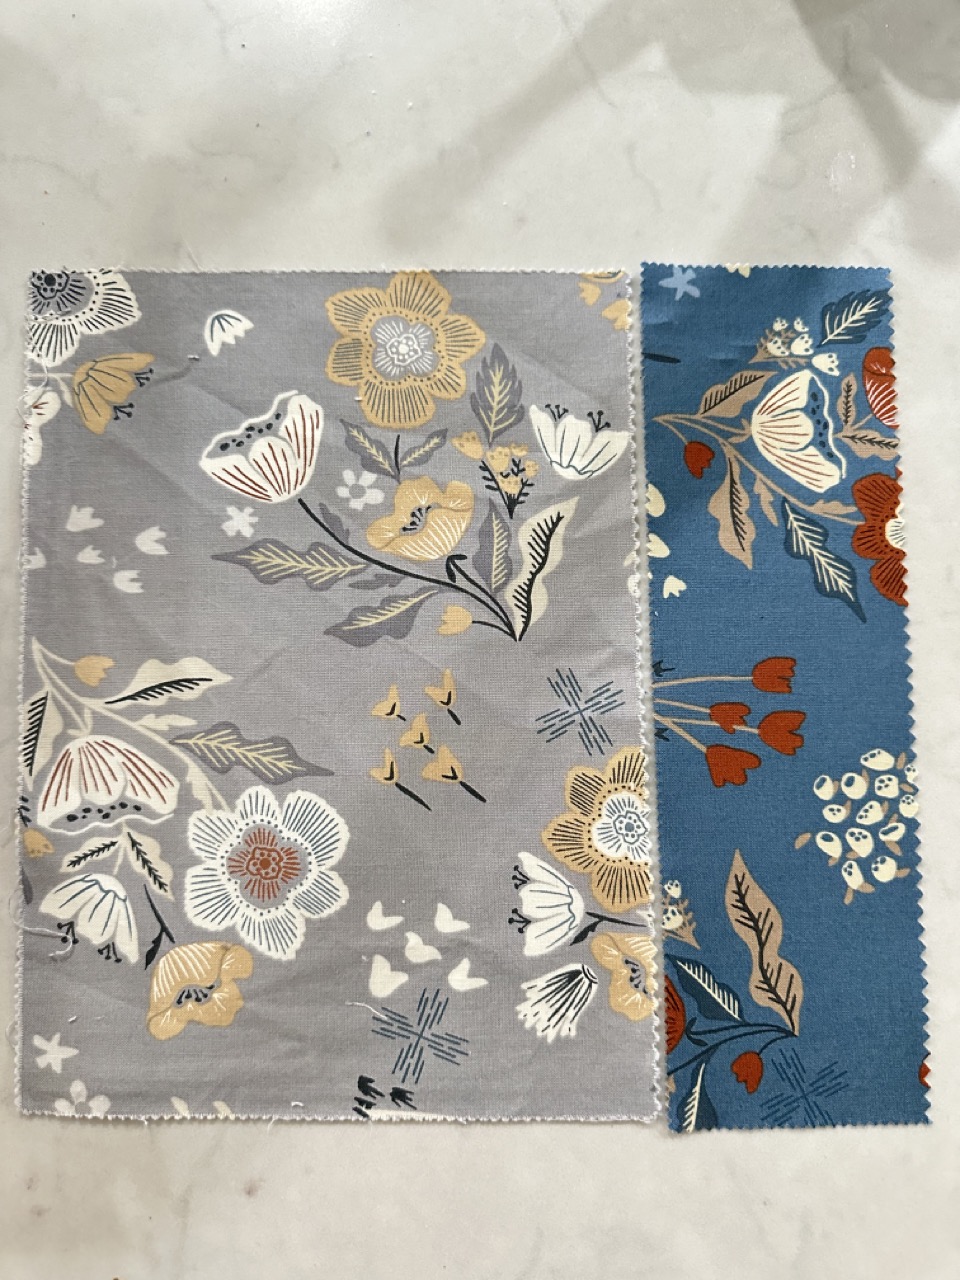
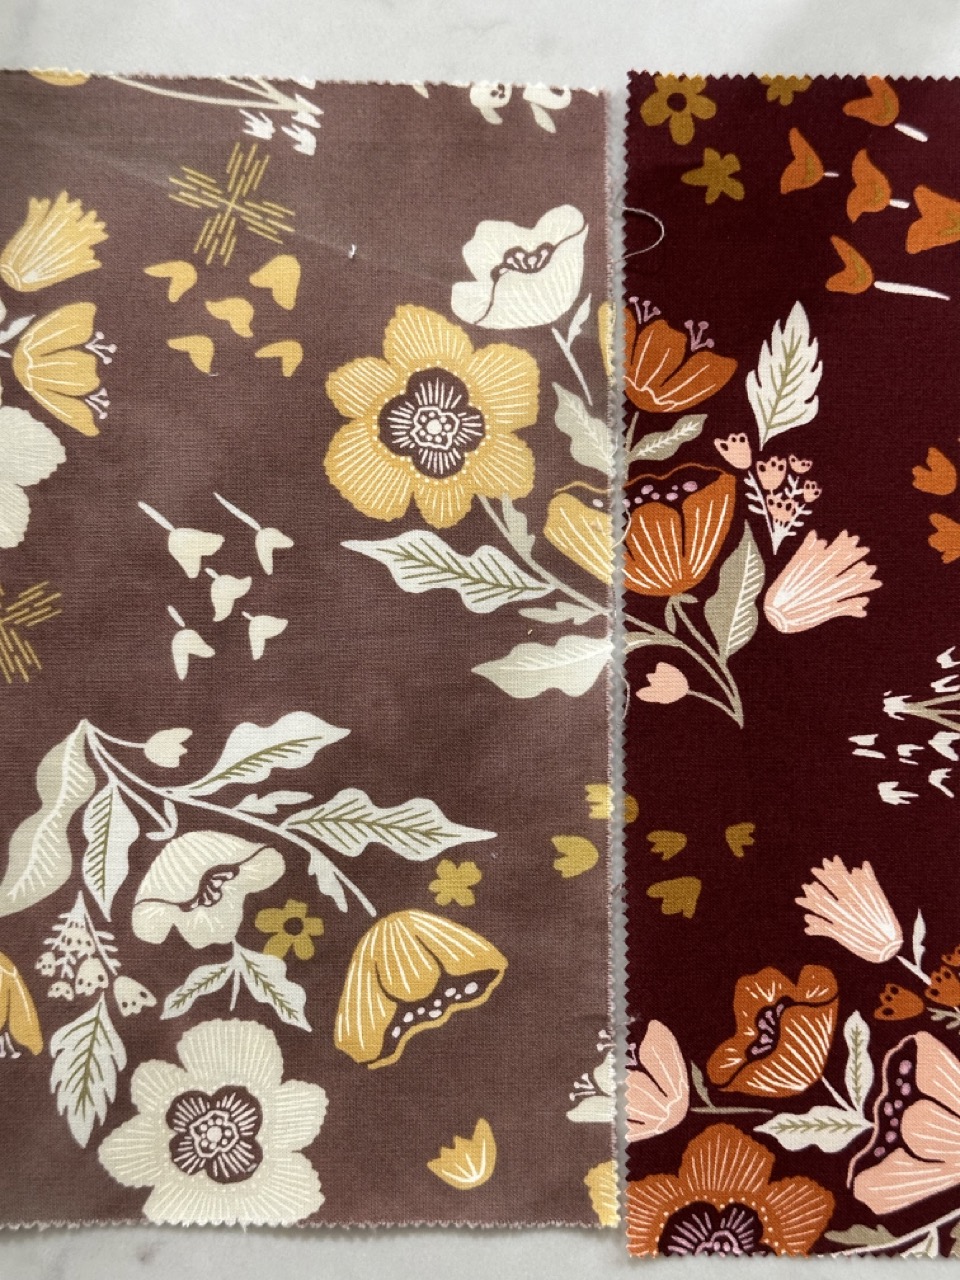
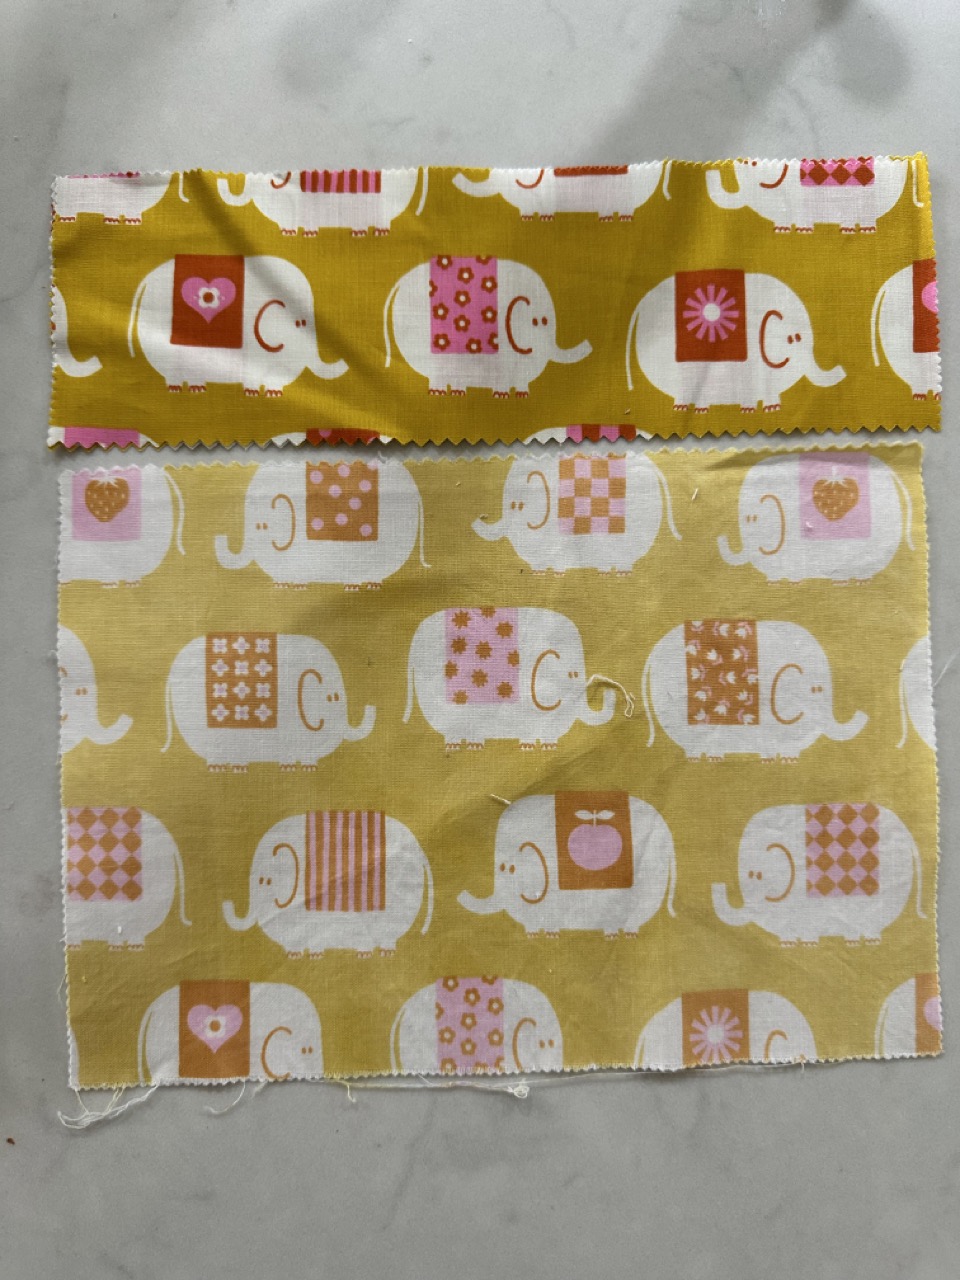
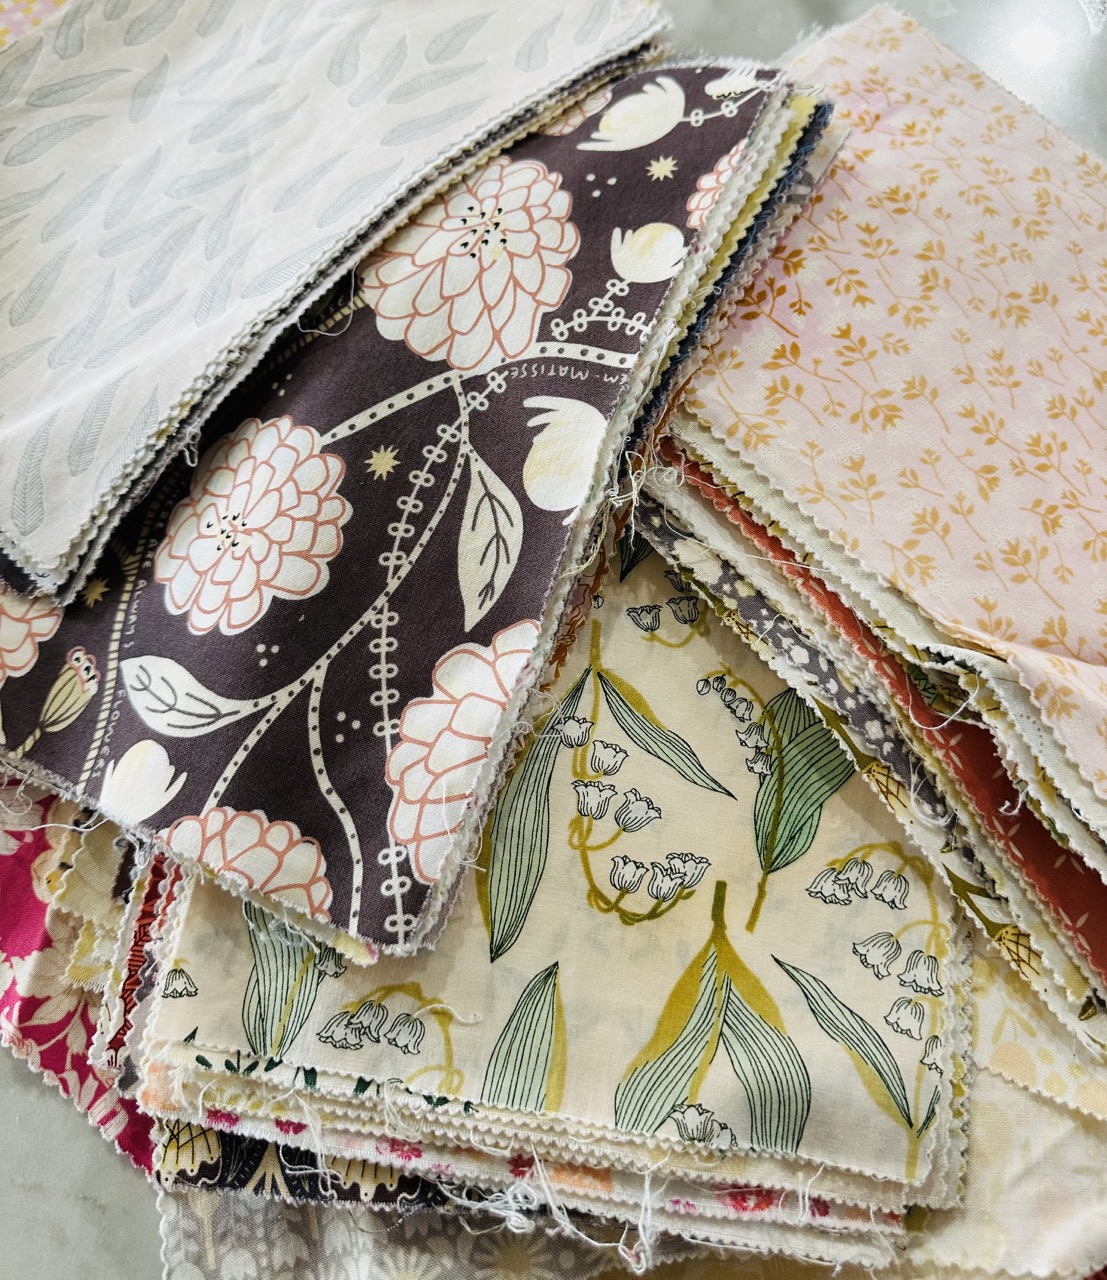
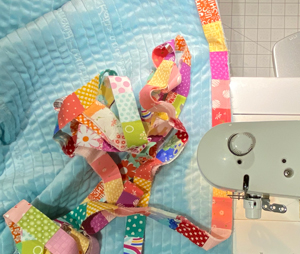
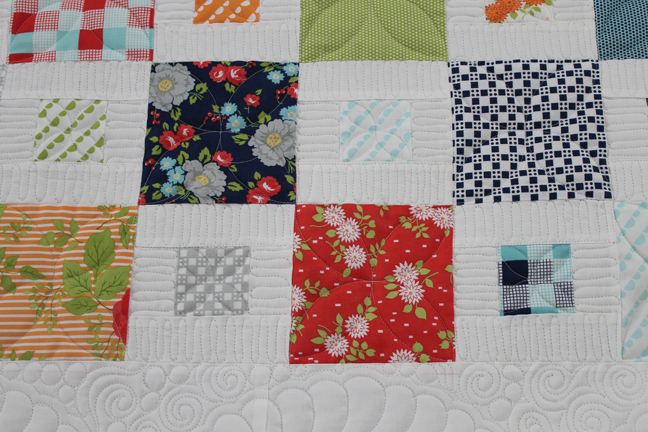
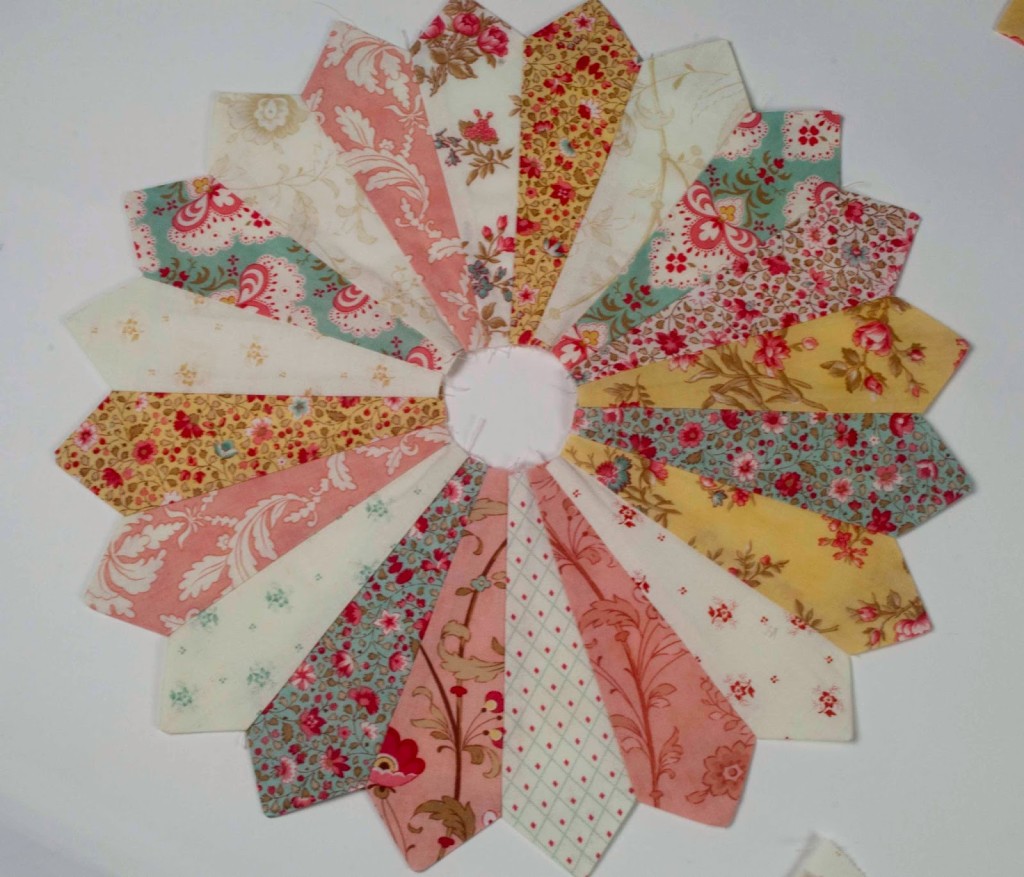
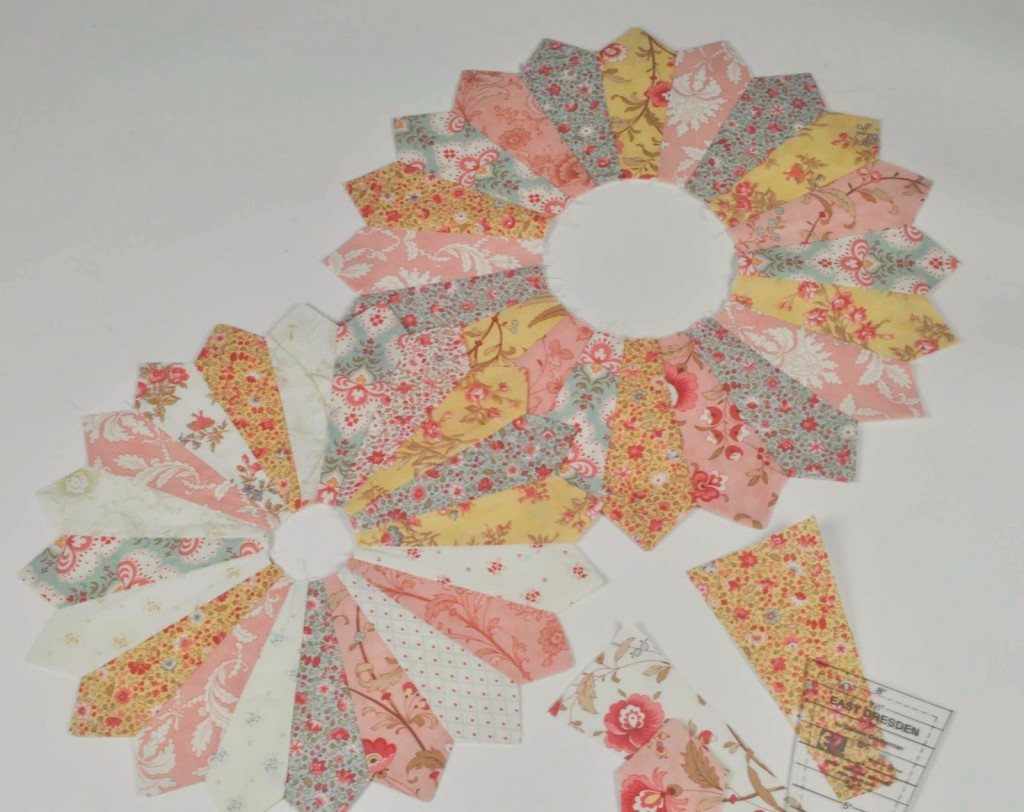
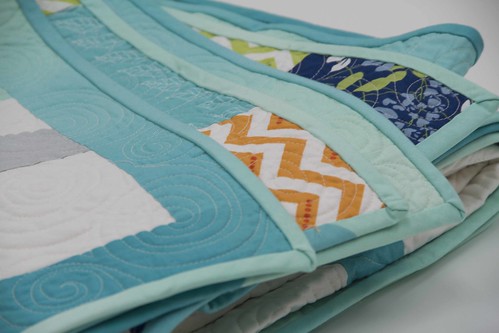
- Choosing Fabrics: Tiddlywinks quilt uses a playful combination of bright, happy fabrics, but one of the best parts of working with Jelly Rolls is that you can pick any combination that speaks to you. I combined 2 different JellyRolls plus a few scrap strips to add some geometric. I have saved some of the strips as a possibility for binding.

My Experience with Tiddlywinks
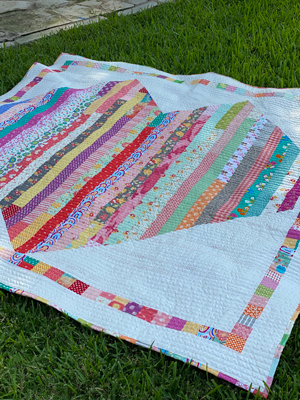
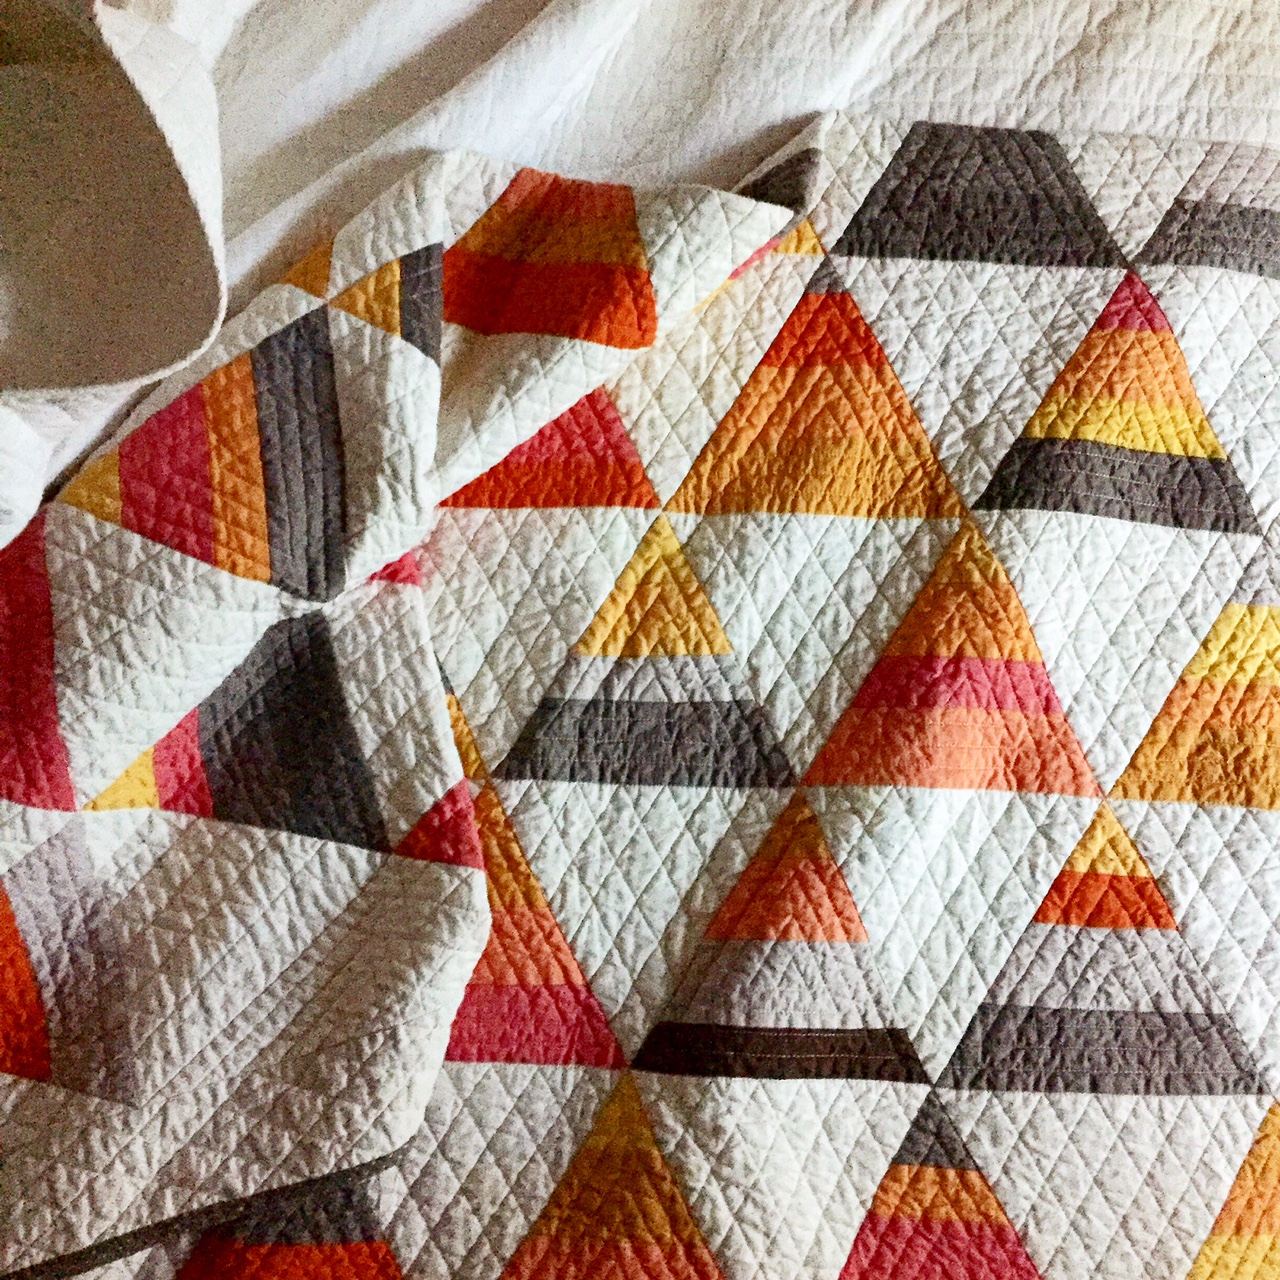
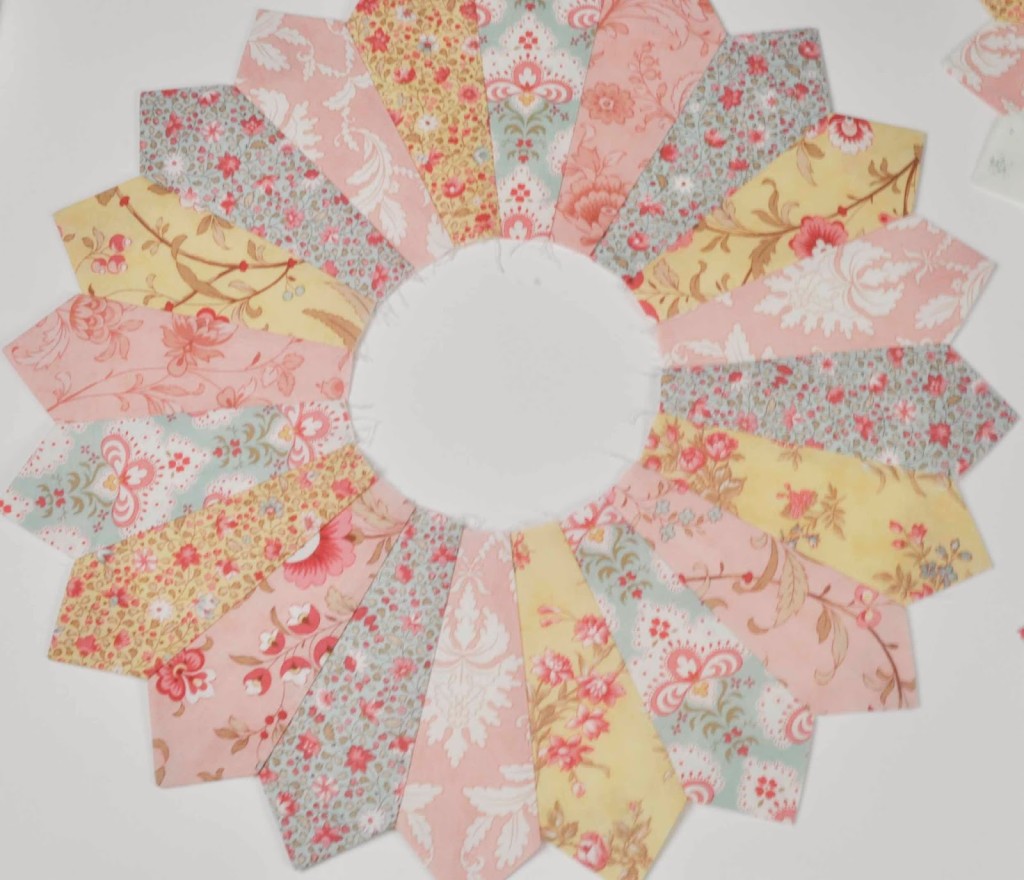
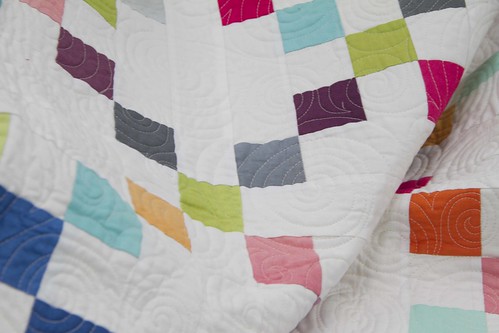
As soon as I saw this pattern, I knew it was exactly what I needed. The Tiddlywinks quilt is such a joyous project, and the circles created by the Jelly Roll strips make the pattern feel fresh and modern, while still honoring classic quilting techniques. I chose a Jelly Roll with a mix of vibrant prints and softer tones, and I couldn’t be happier with the way it turned out.
Working on this quilt has been such a refreshing change of pace. The hexagons add a playful touch that makes the quilt feel romantic and full of movement. And honestly, the ease of using pre-cuts gave me more time to just enjoy the process—no stress over cutting everything perfectly!
Are you going to be sewing anything on Jelly Roll day?
Until next time, happy stitching, and may your quilts always be full of joy!
- modalissa