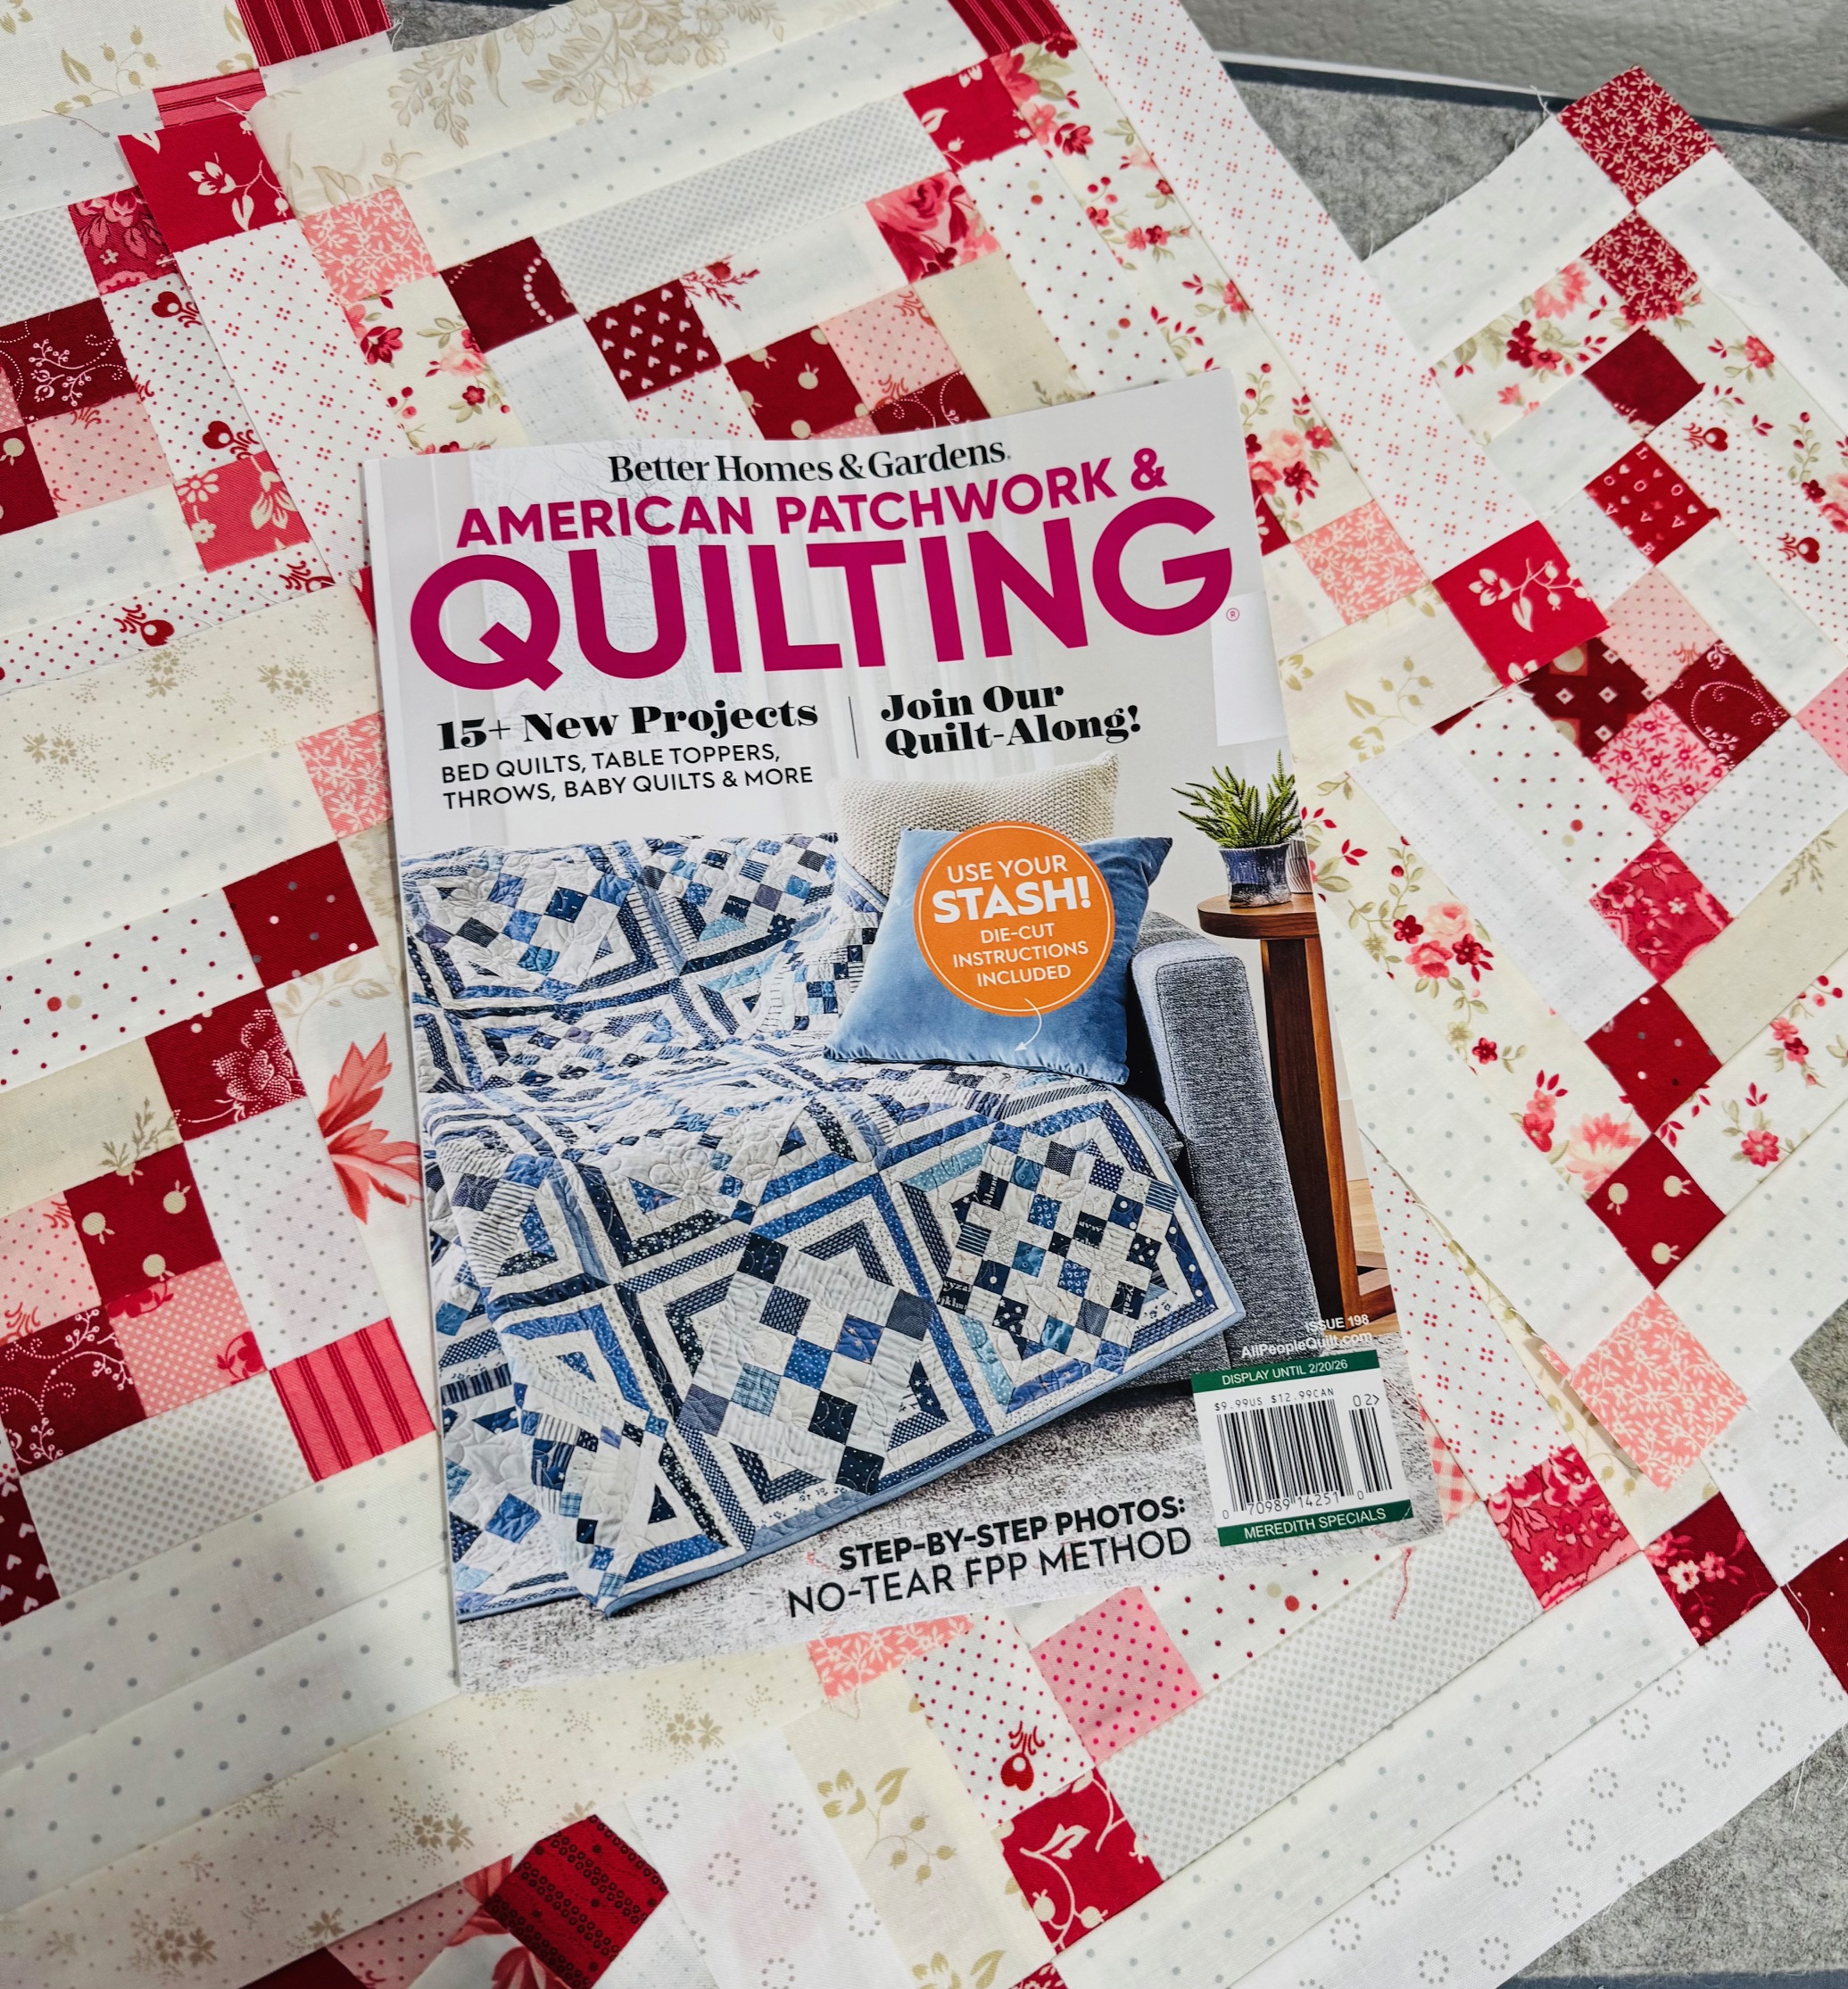
We are on week 3 of the True Blue QAL with American Patchwork & Quilting. Yes I am making a red version so it seems silly every time I type the words True Blue.
Quiltalong – week 3
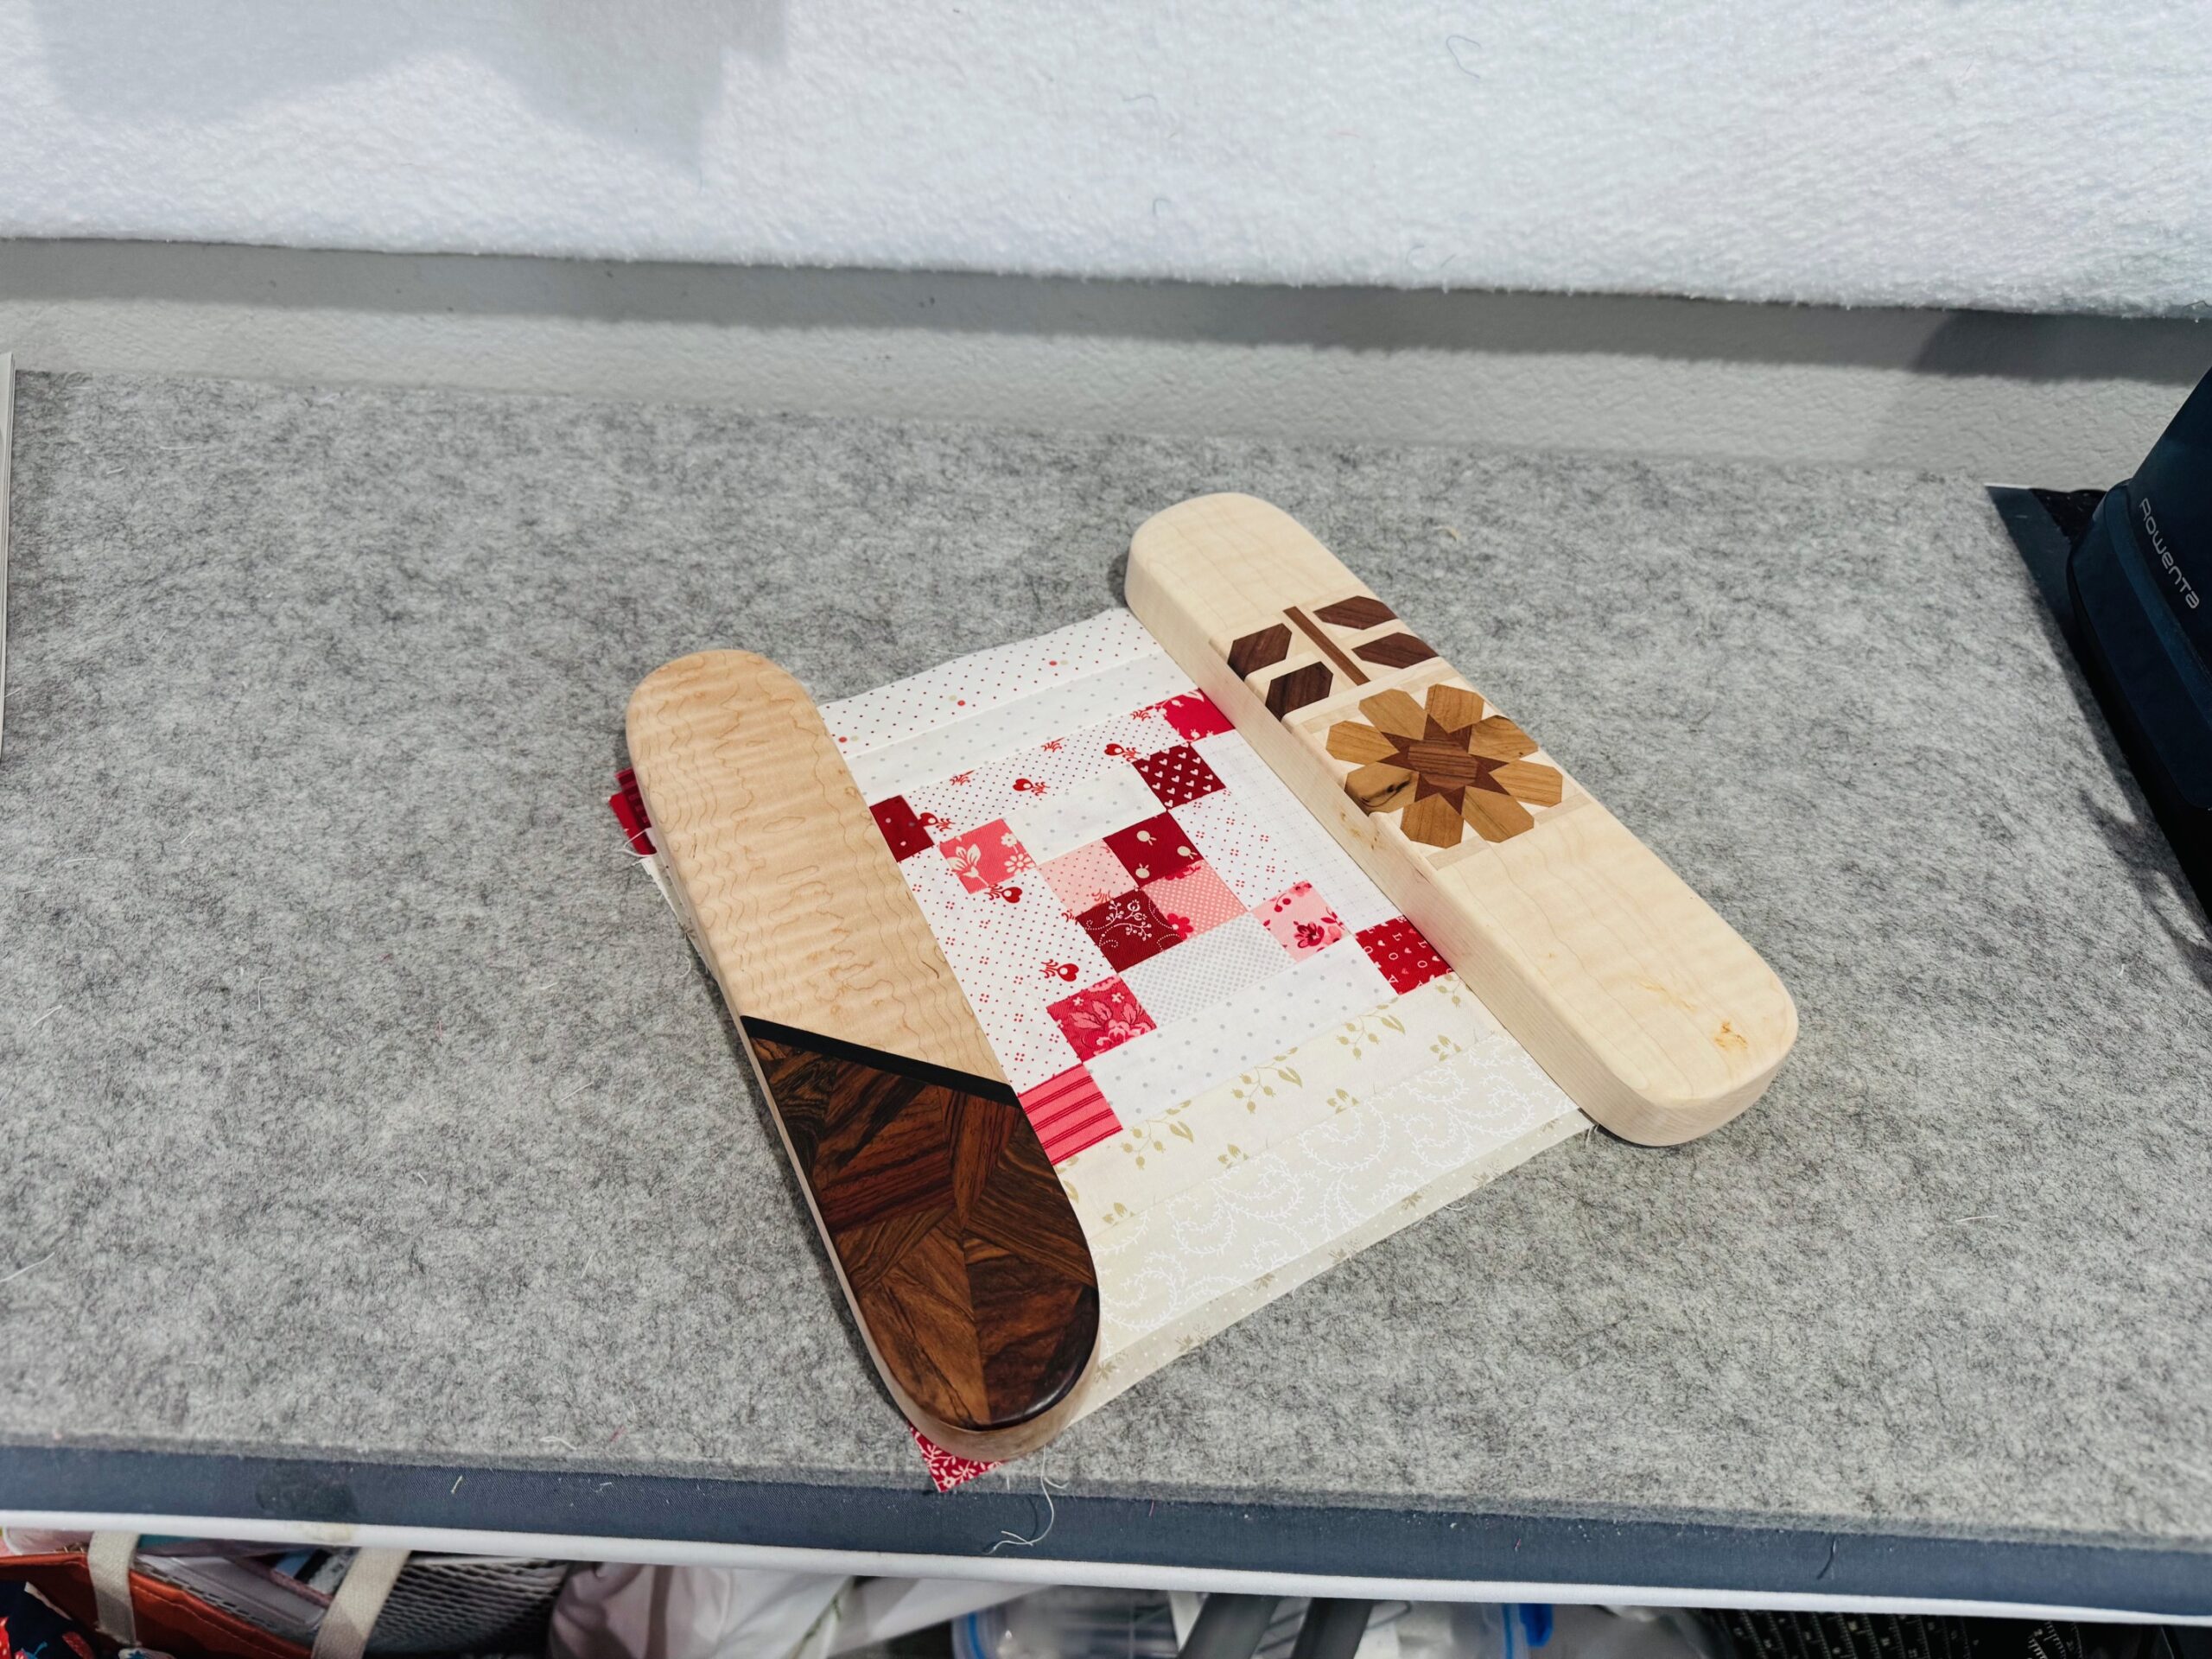
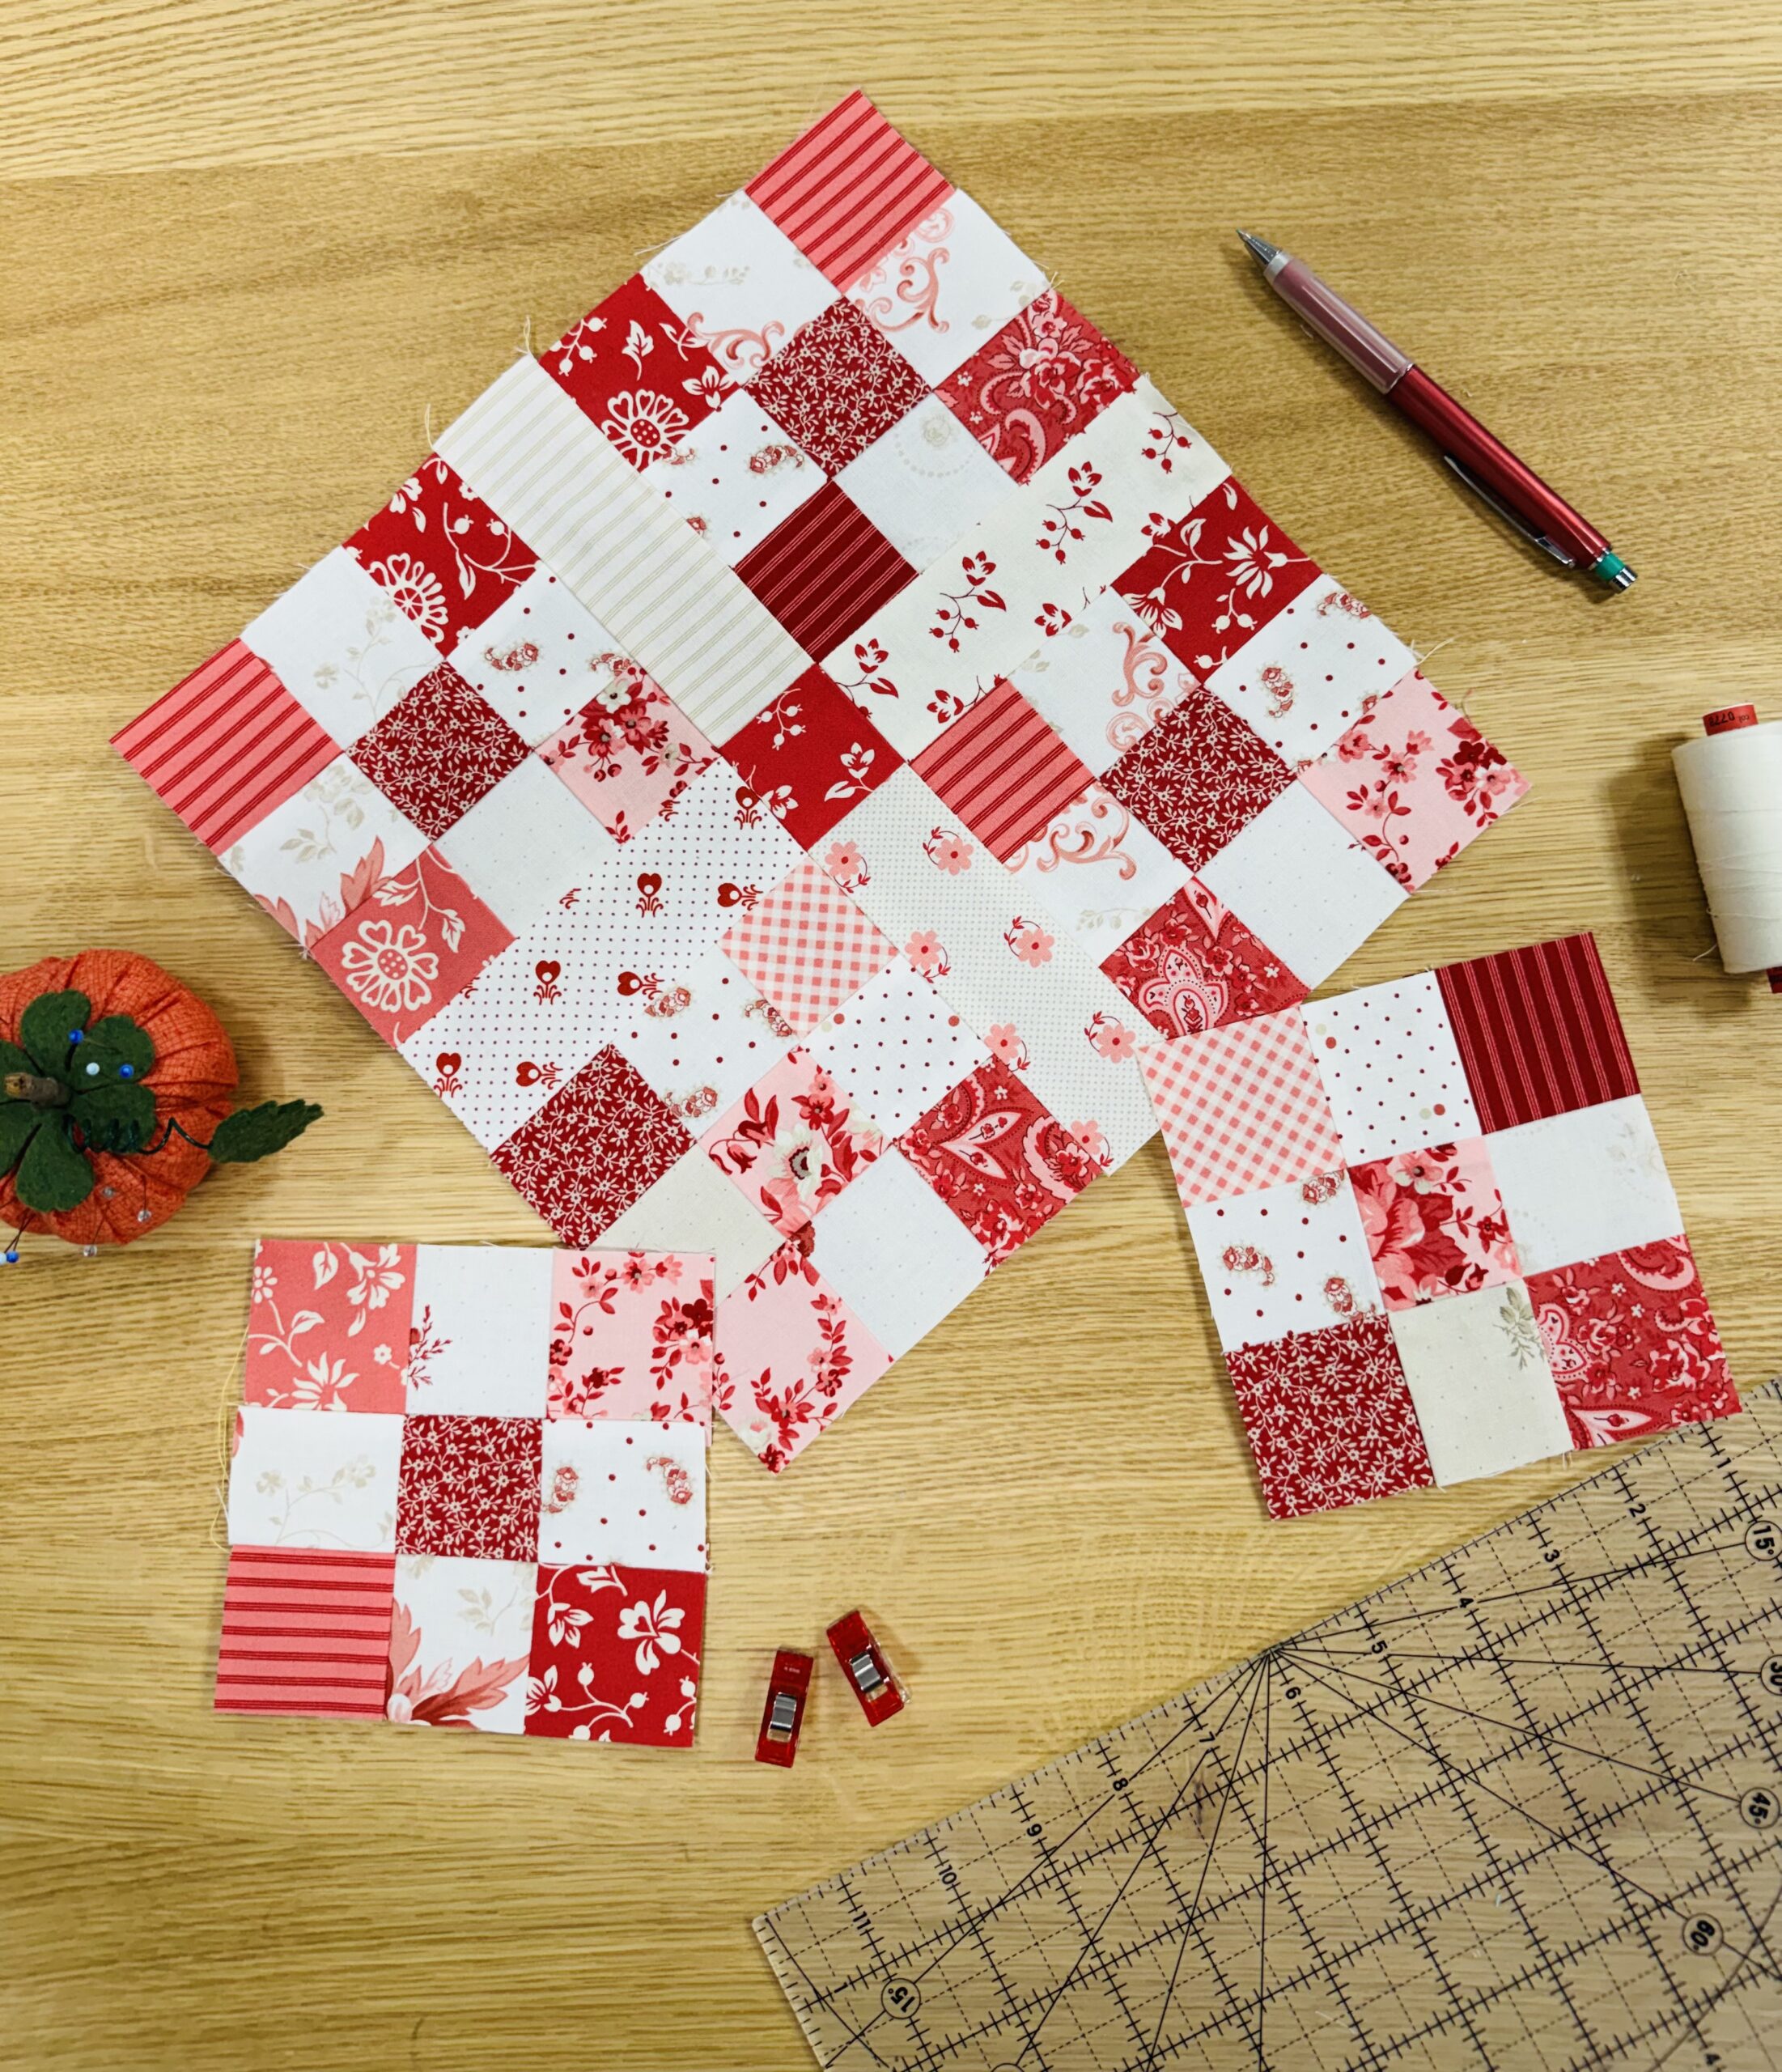
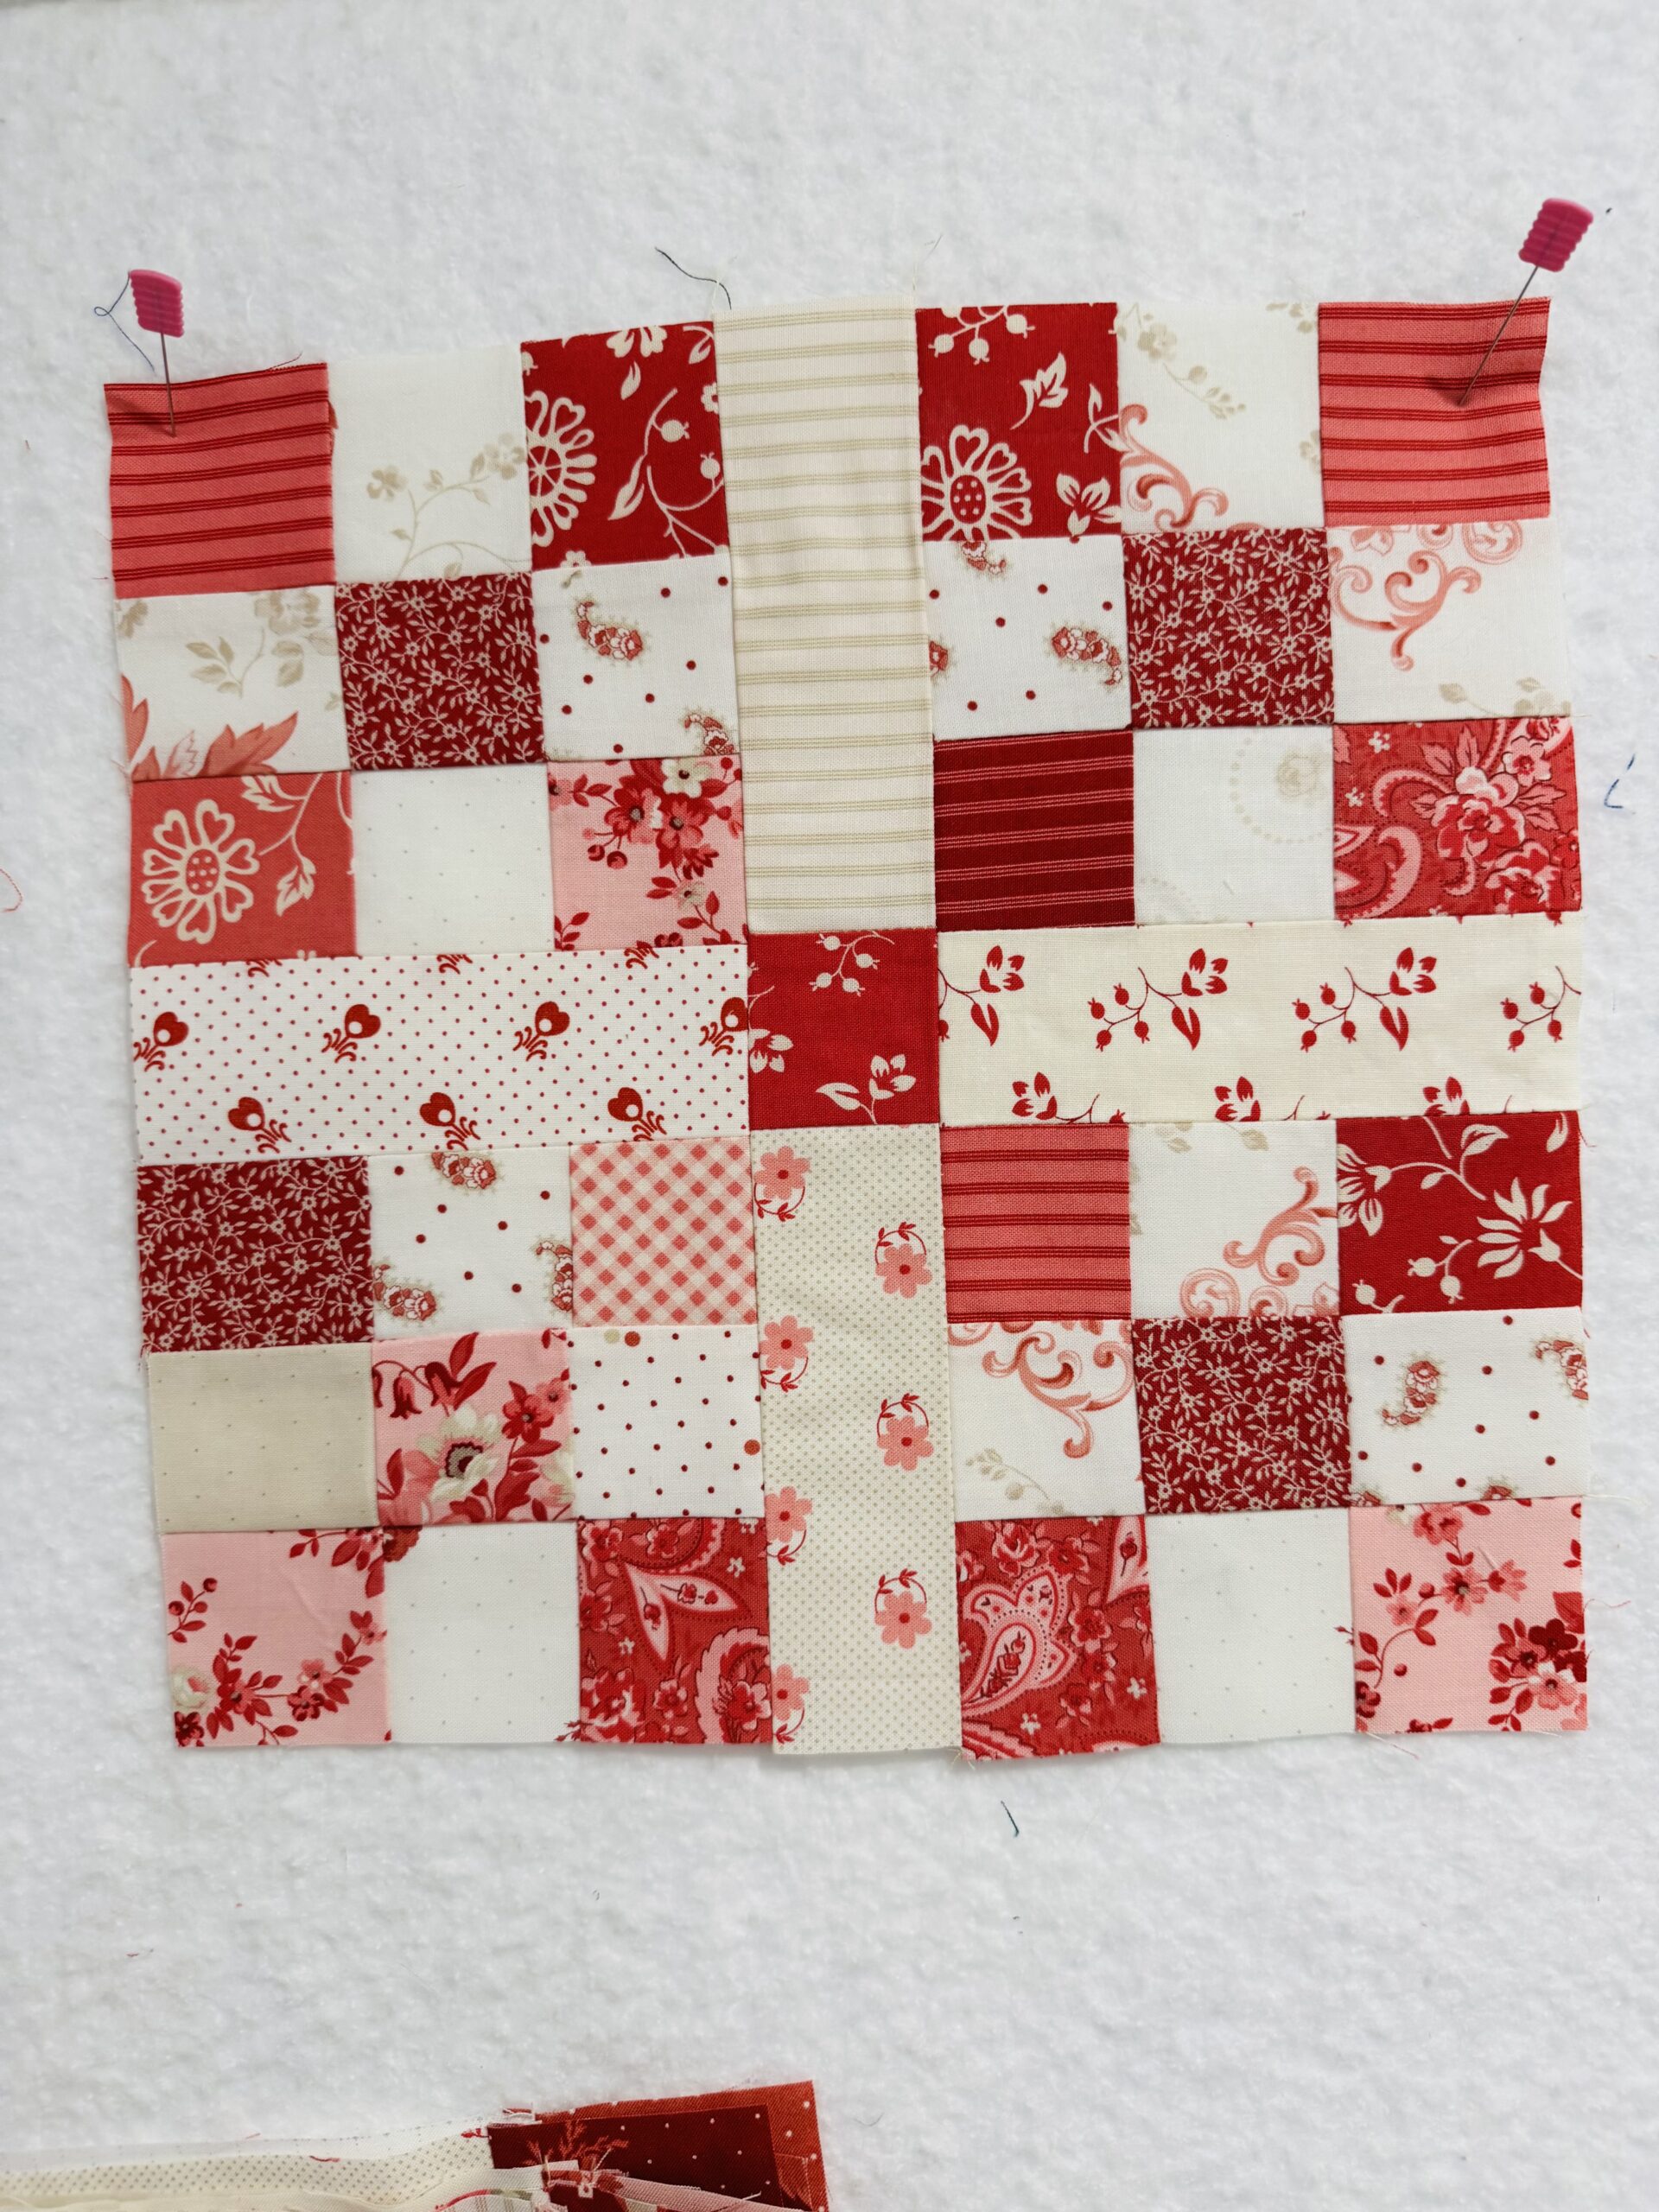
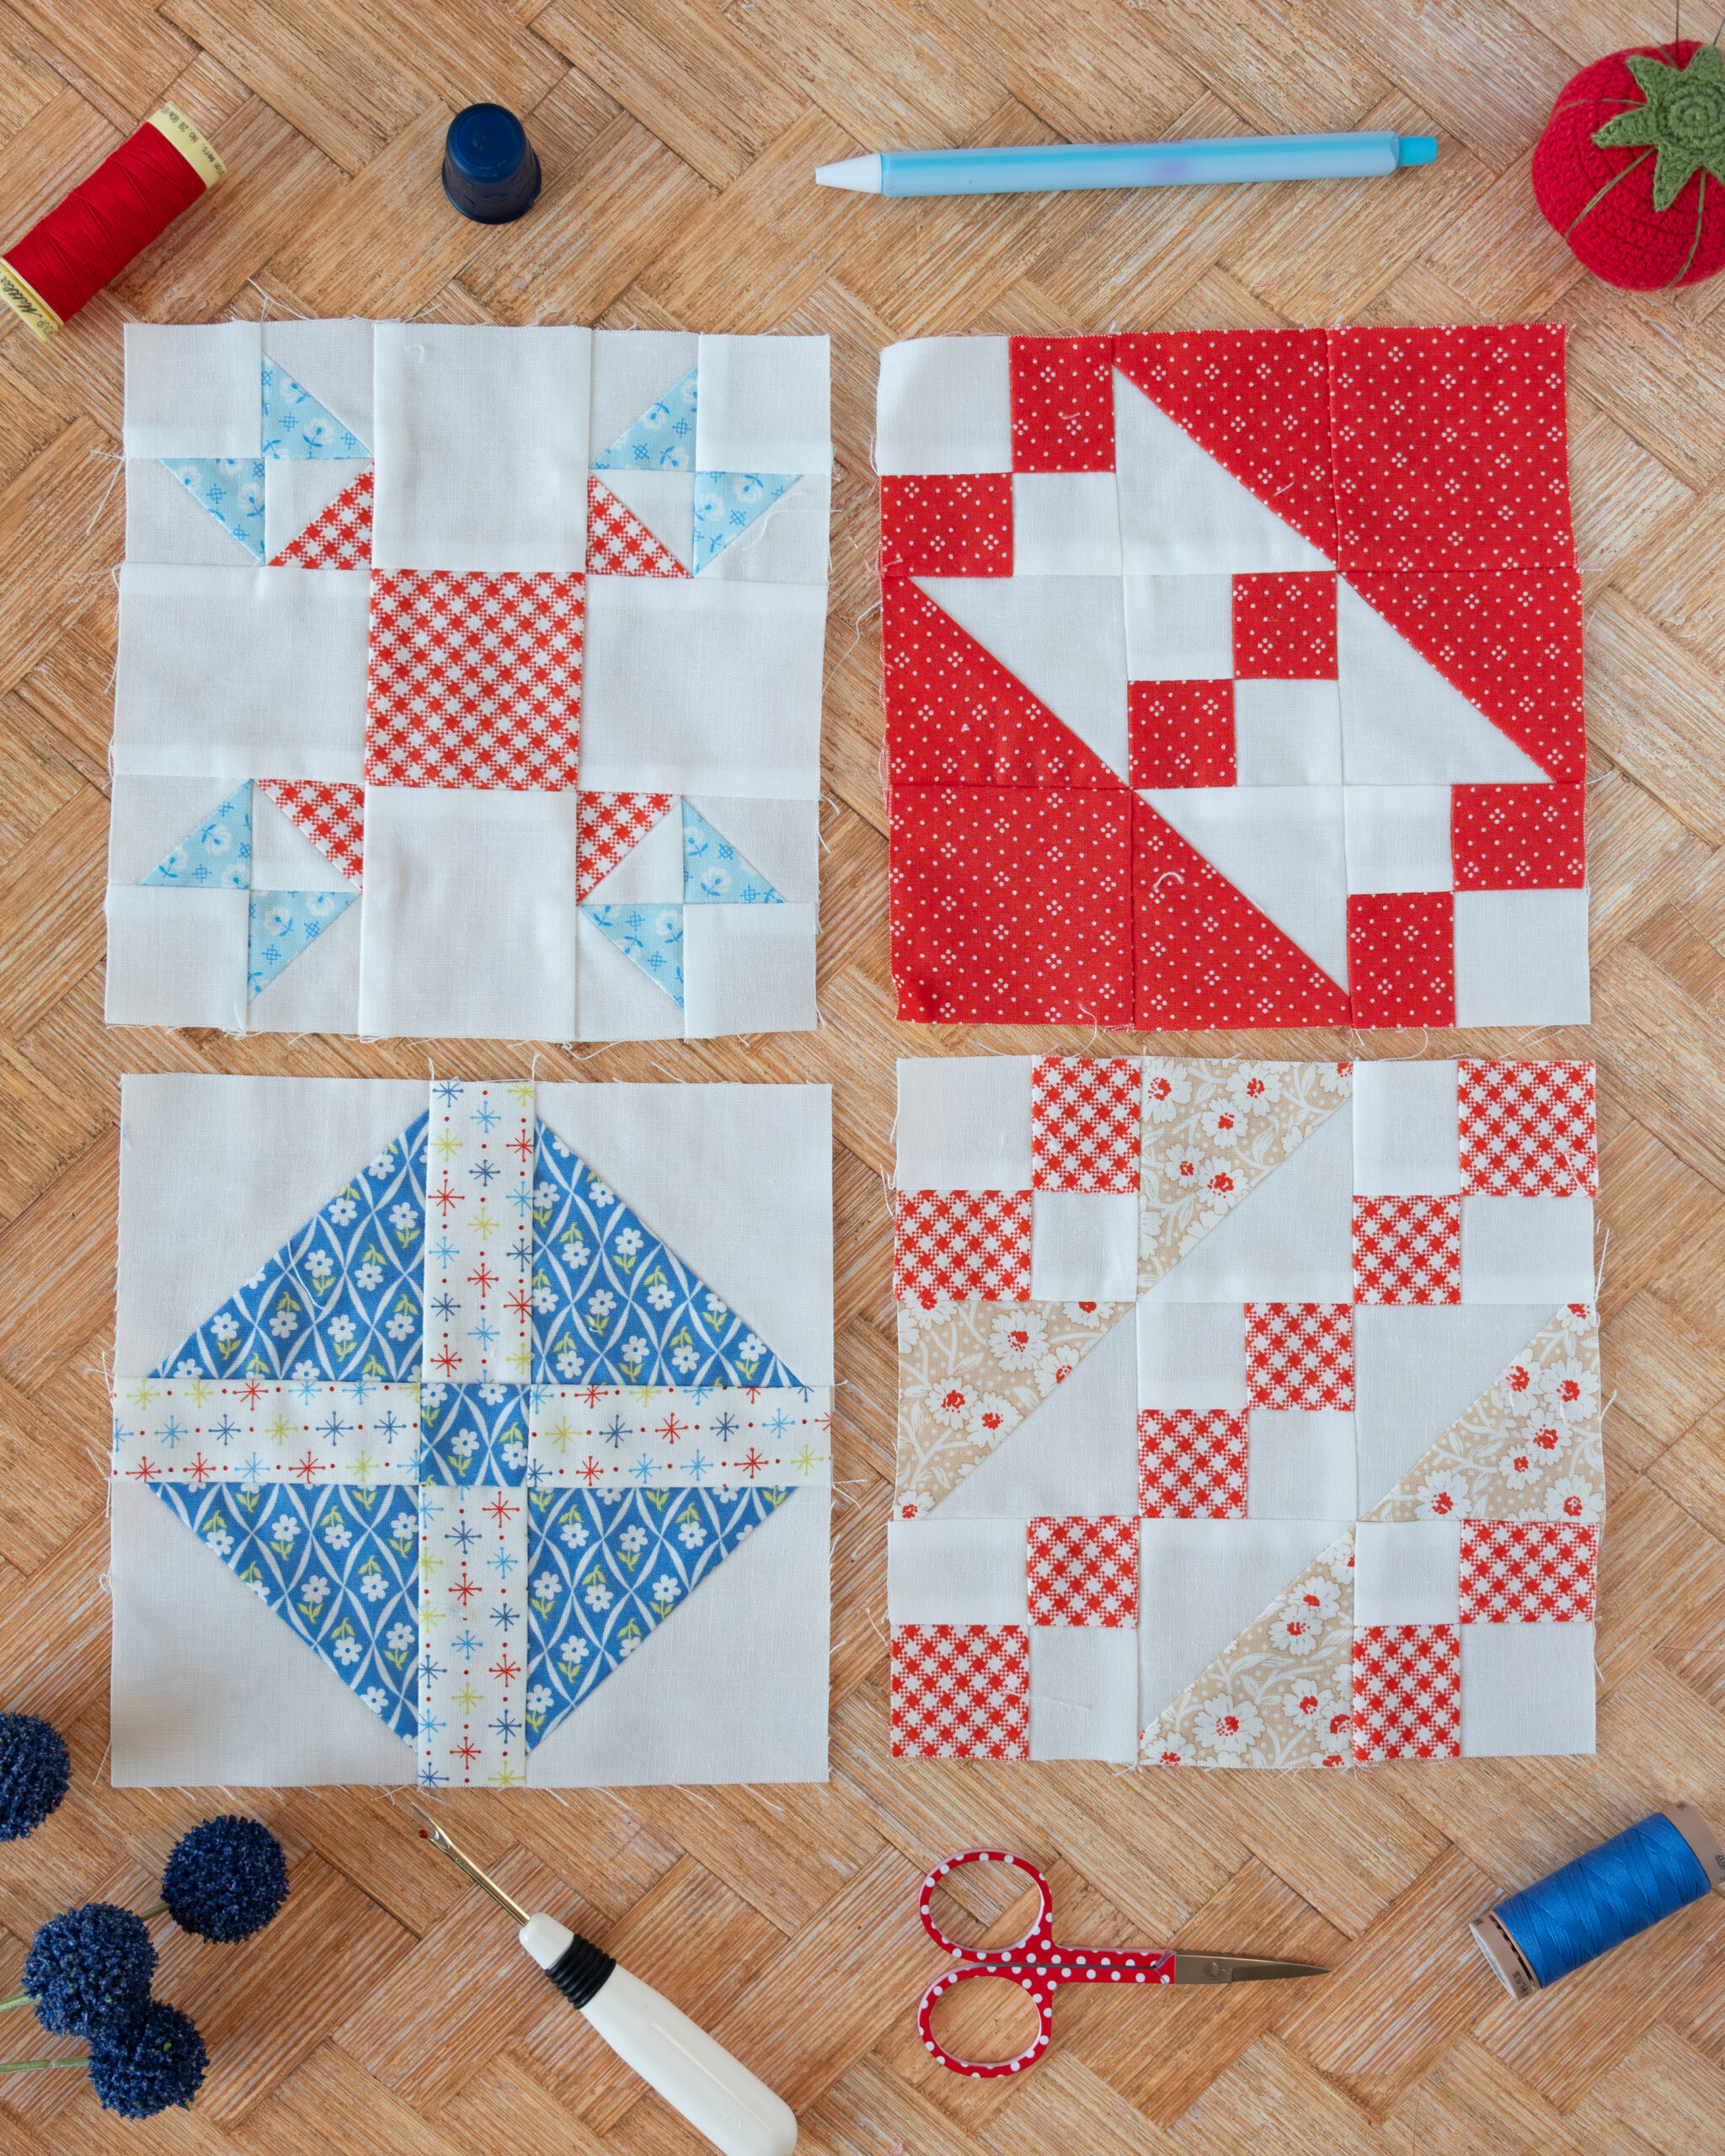
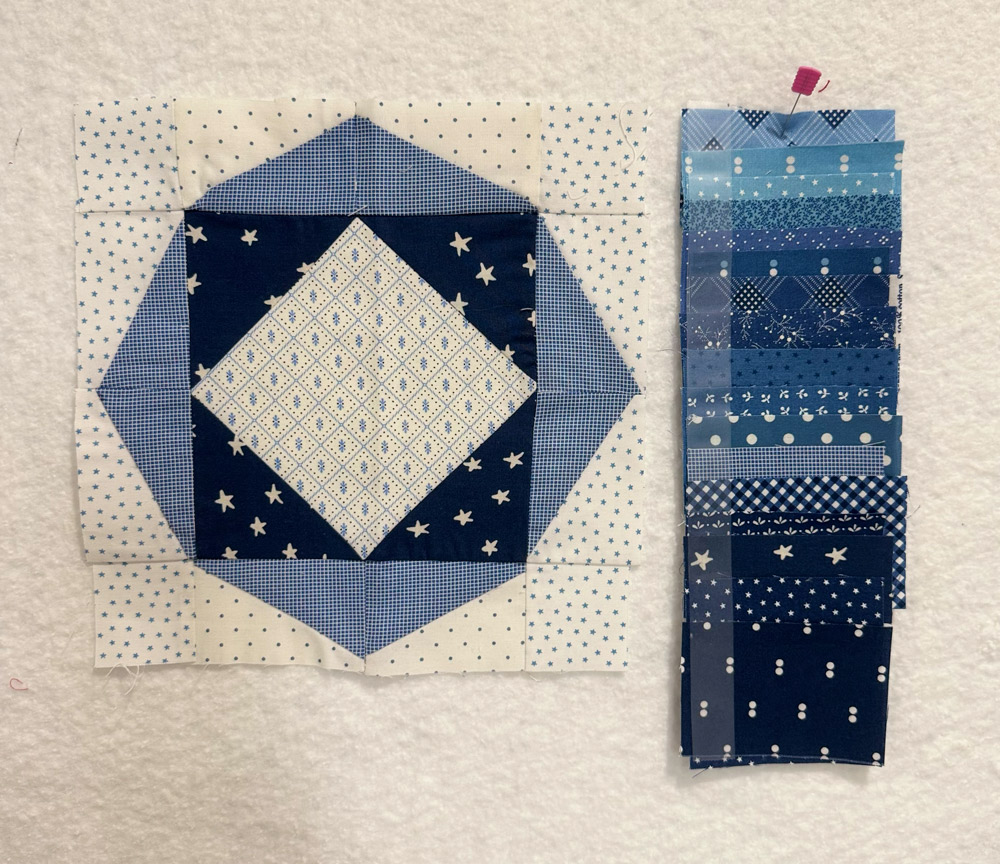
This block has the most pieces in it. I am a huge fan of using wooden blocks to help set the seam allowances to lay flat. This really helped on this block. I am a huge fan of Modern American Vintage’s sewing accessories. They are a treasure and future heirlooms for sure. It is usually my spurge at quilt shows to add to my collection. Quiltcon is coming up so I will have to get to CHRIS’S BOOTH EARLY.
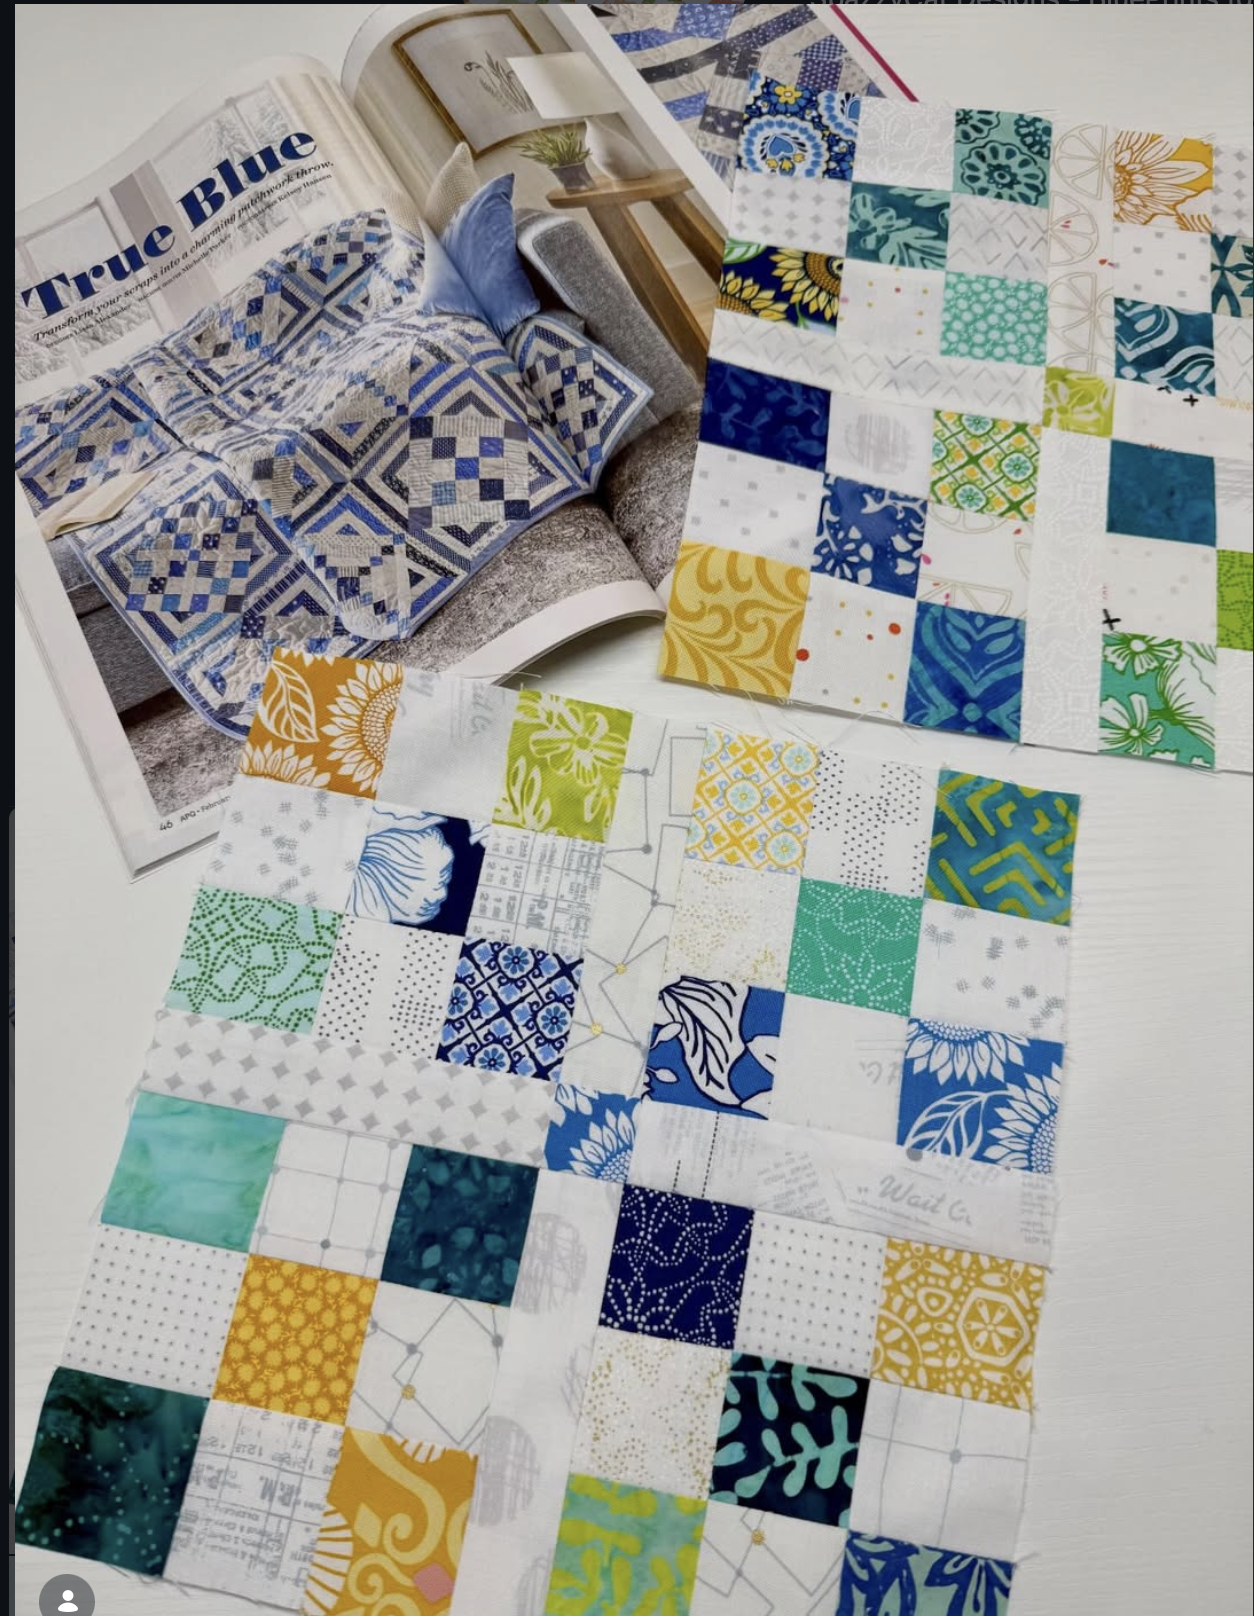
Just some of the eye candy from week 2 of the True Blue QAL that I have found on the internet.
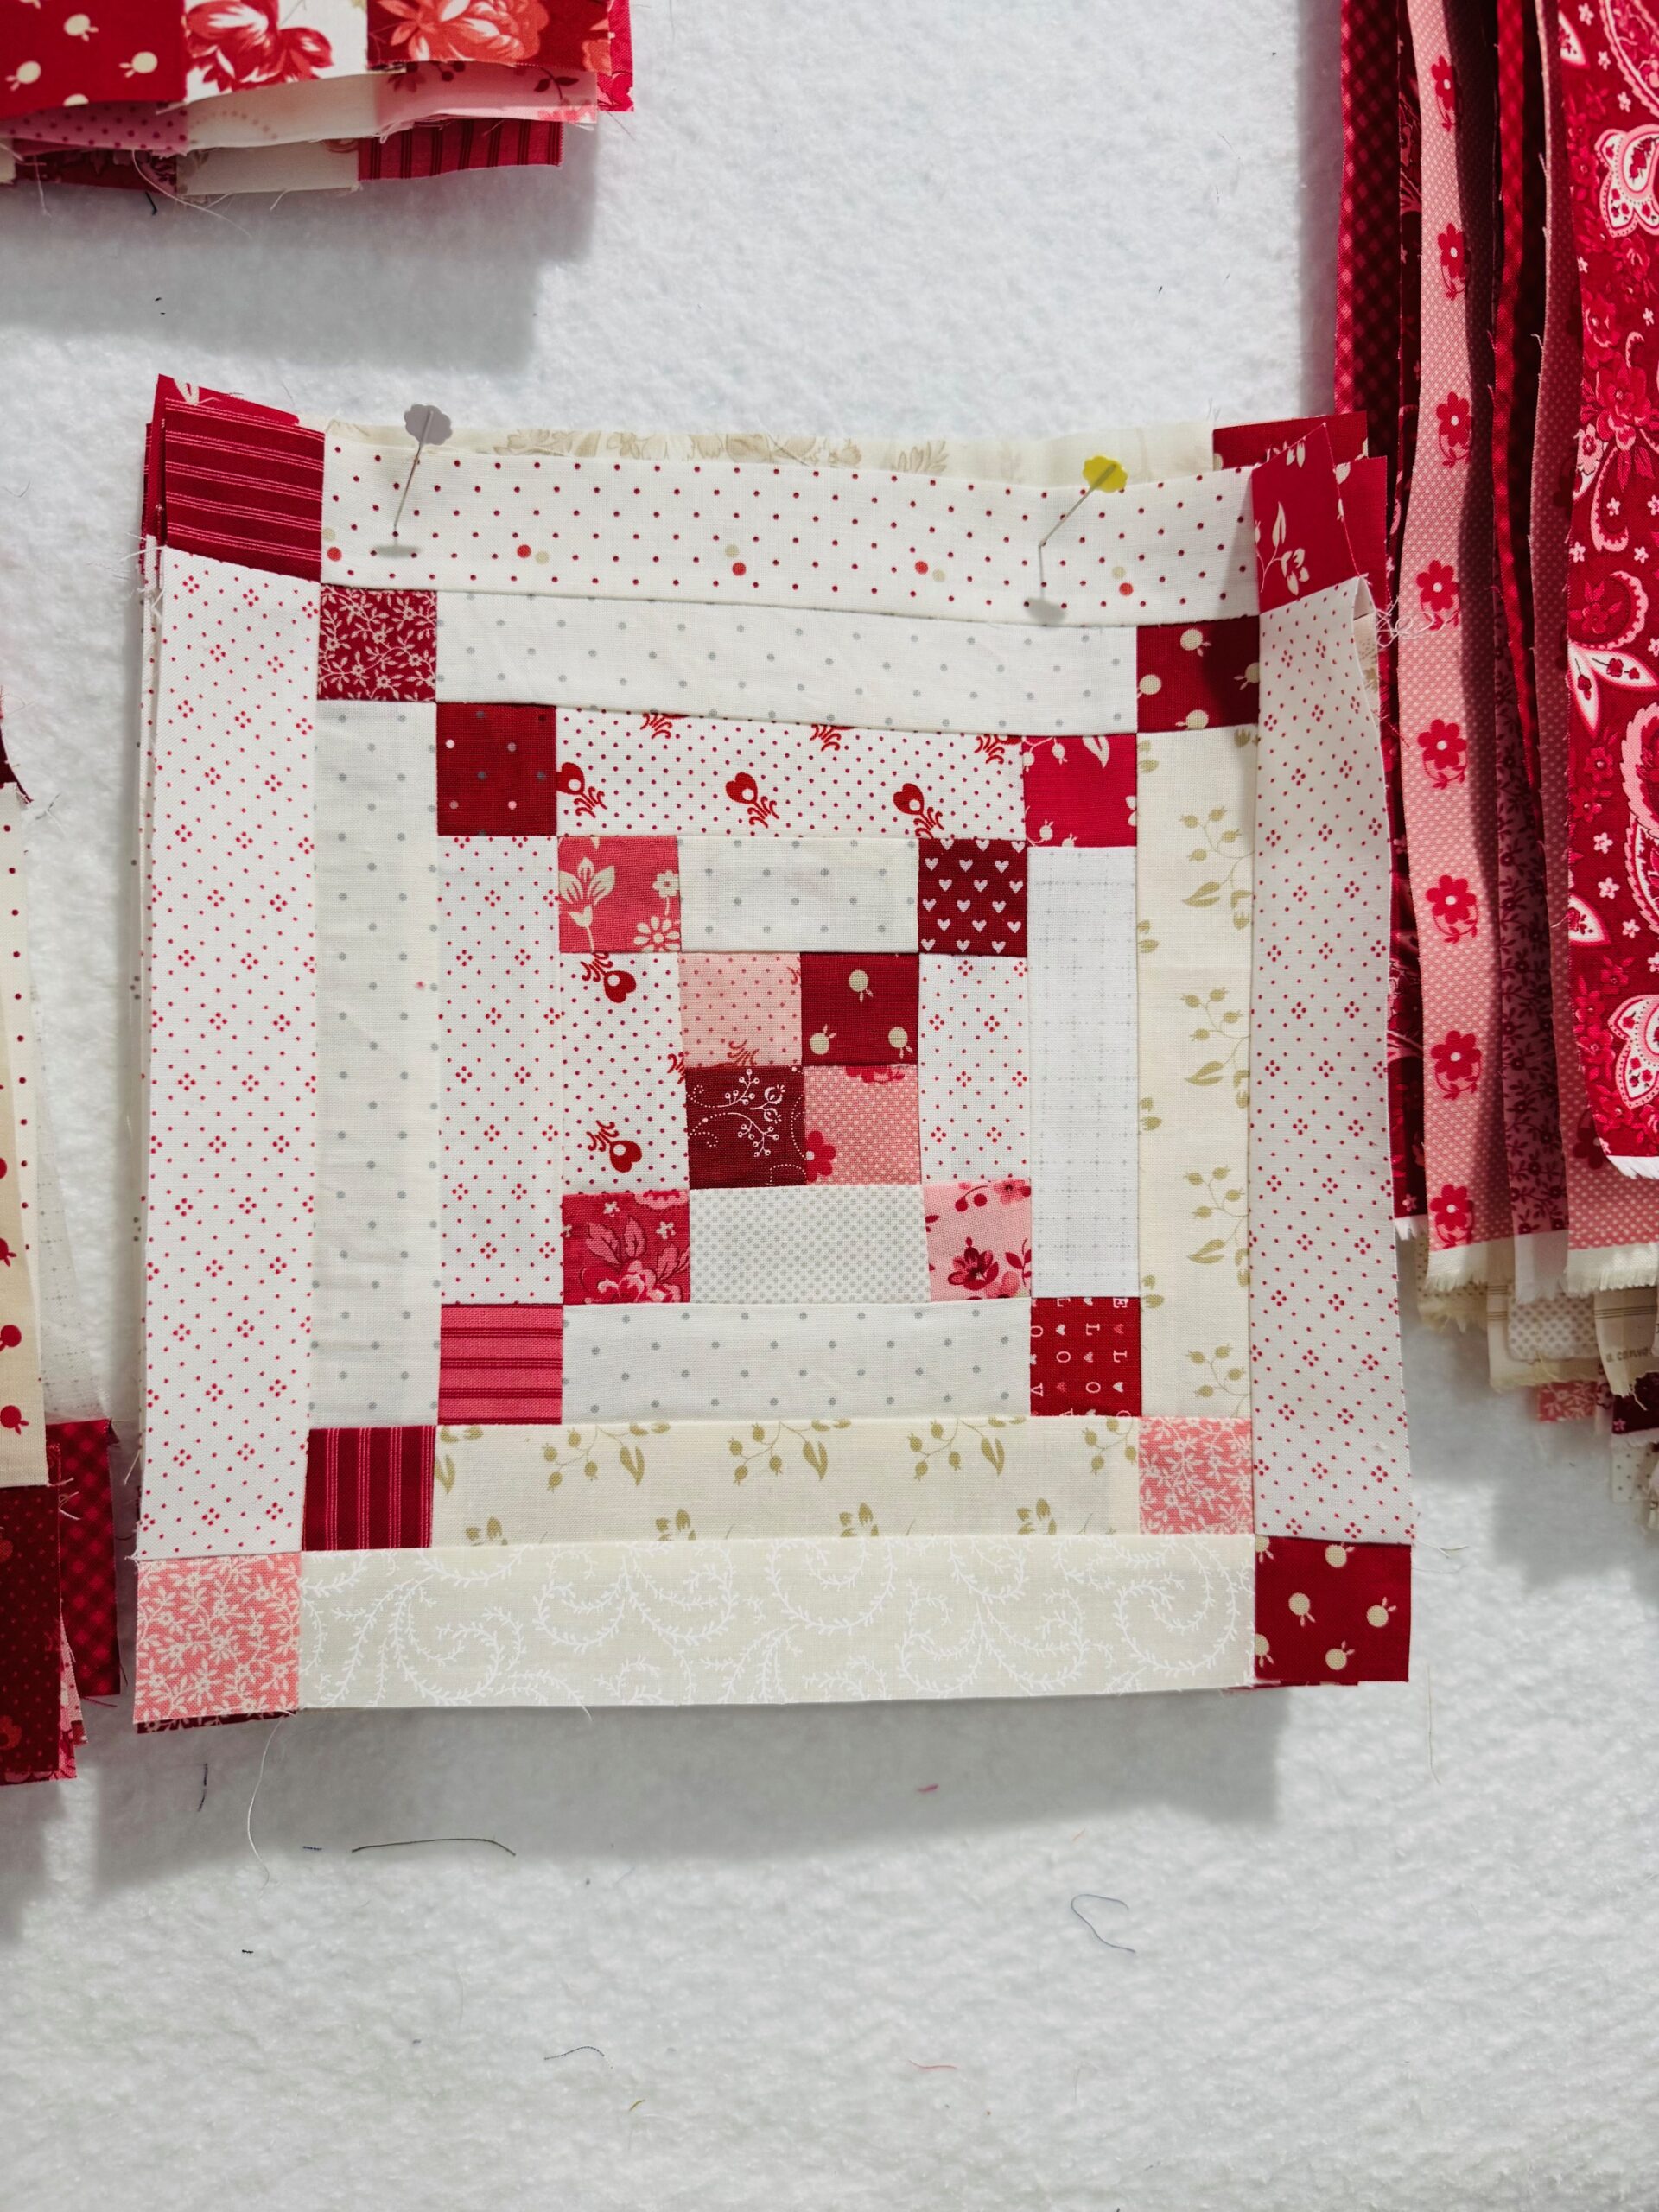
There is something comforting about a quilt-along. It feels a bit like a recipe card that’s been passed down for generations. Same method, same heart, but every time it turns out a little different depending on who’s in the kitchen or sewing room and what fabric is selected.. The True Blue QAL is exactly that kind of experience. last week it was picking fabric. This week it is making block 1.. Following directions in the magazine gives you exactly how many pieces you need to cut and sew. I never mind having some extra so I cut 2″ strips and strip pieced them. Subcut, mix and match to have a variety plus some extras!!
If you are just joining and don’t know about the QAL, here is the info.
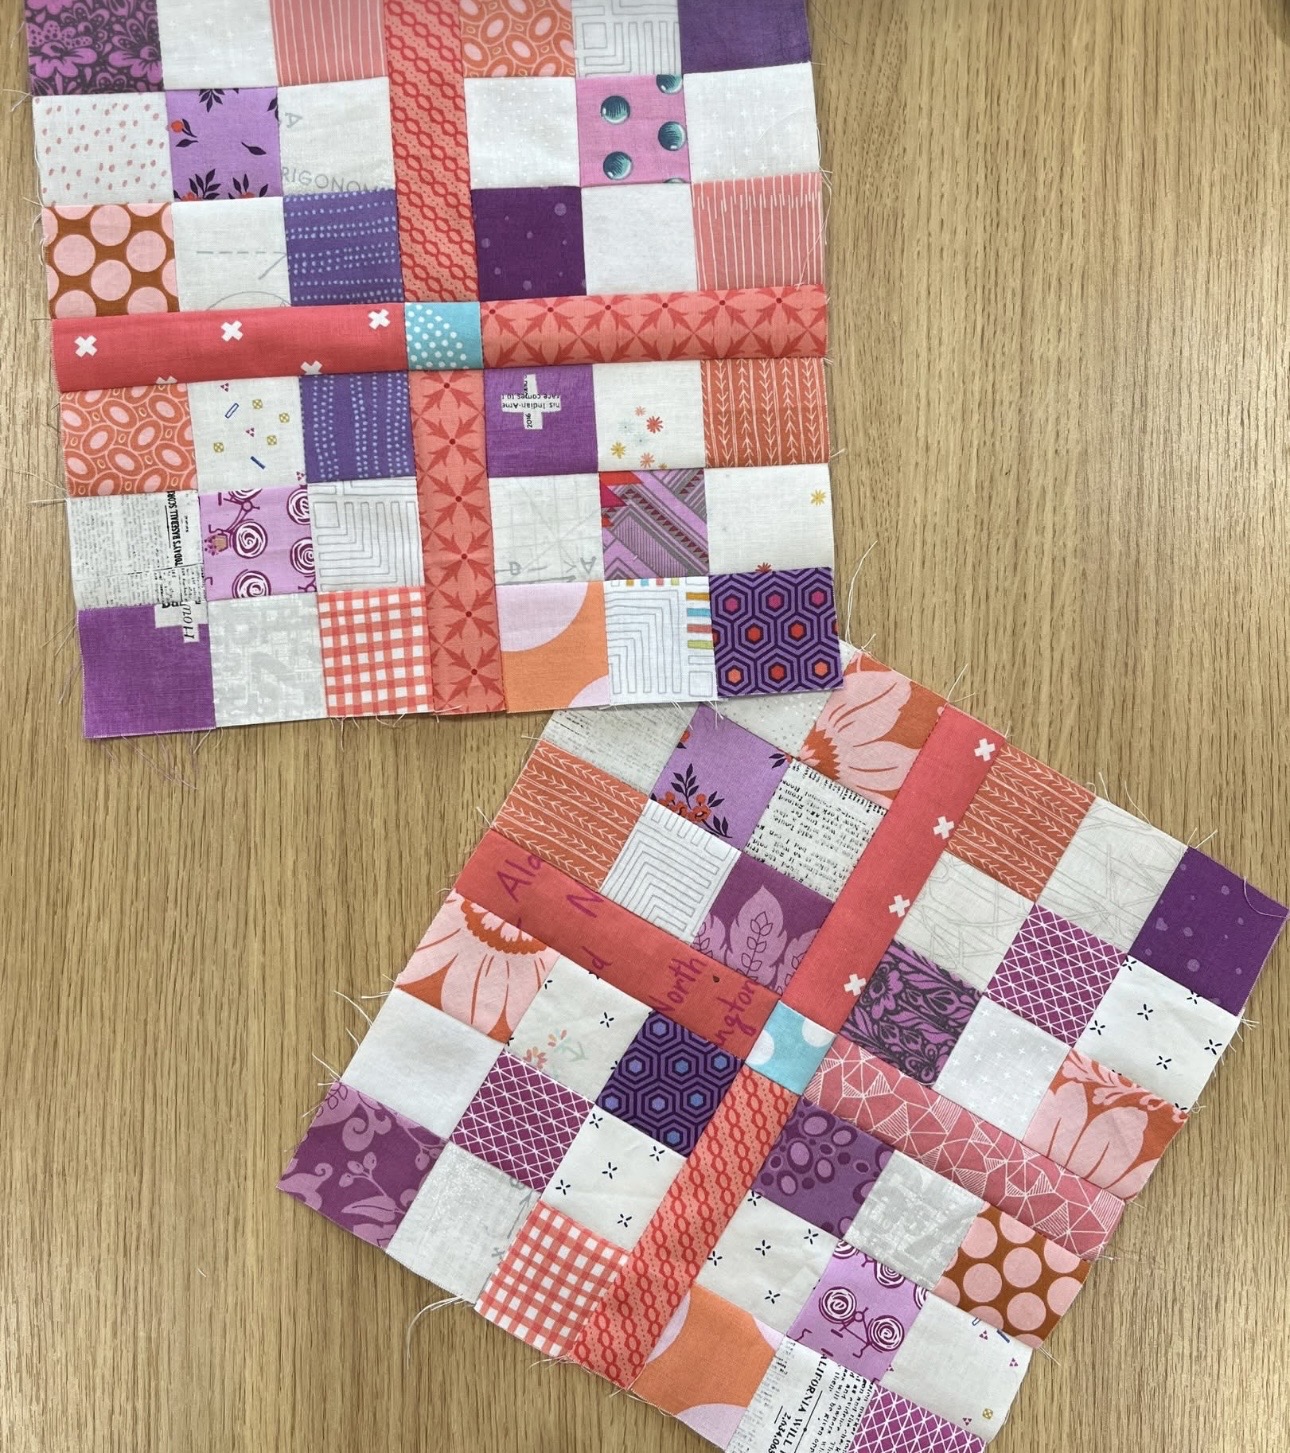
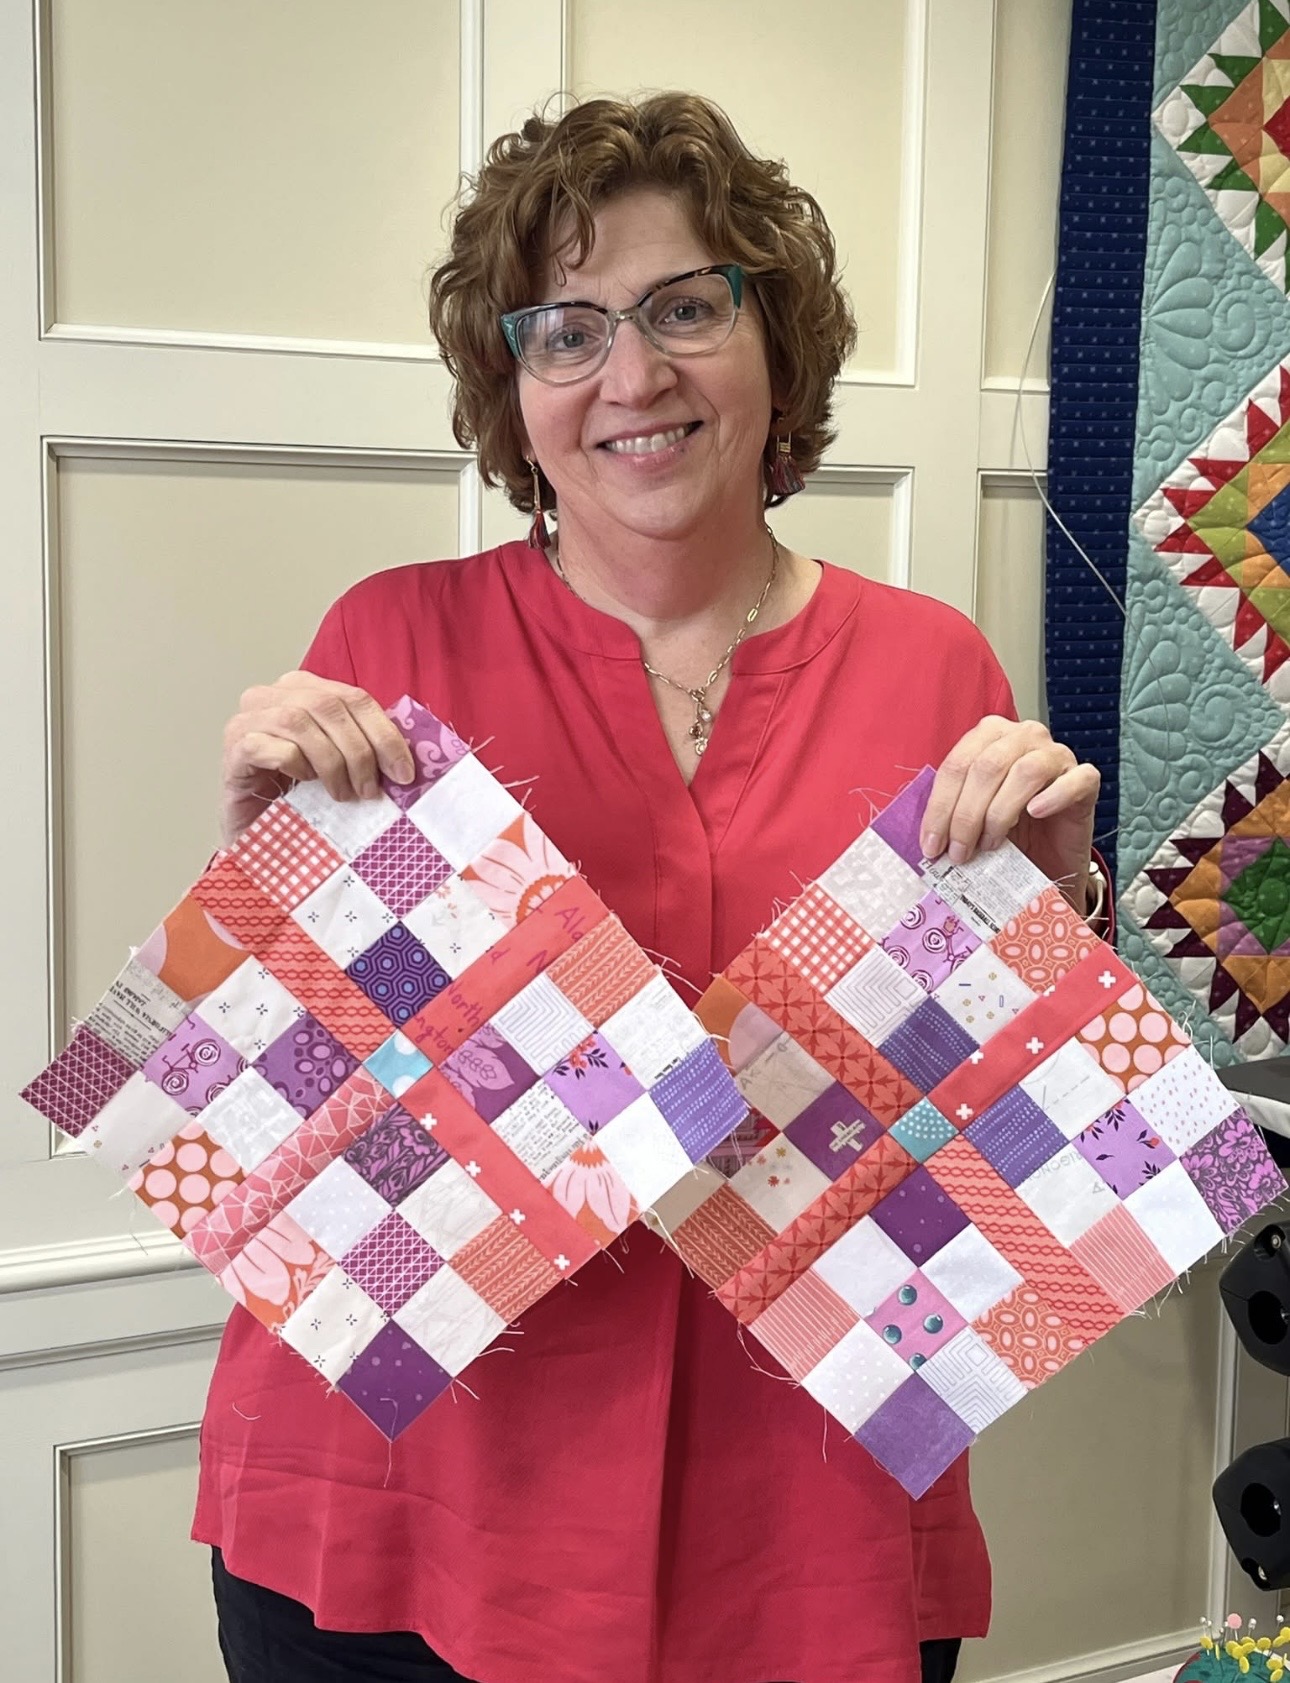
While True Blue is the name of the QAl and the colors used in the original quilt, I’ve decided to take a tiny creative detour and bring in my color of the year: red. Not “oops I grabbed the wrong fabric” red. Intentional, bold, patriotic-quilt-meets-heirloom red. Plus I had to sew along with y’all which means making another quilt!
Why red? Red has always been one of those colors that carries emotion. It’s warmth. It’s courage. It’s love. It’s tradition. Red and white quilts have been inspiring me for years, especially after seeing the Red & White Quilt exhibits that celebrate the power of a limited palette. There’s something magical about taking one strong color and letting it tell the whole story.
You can follow the pattern exactly, or you can bend it just enough to make it unmistakably yours. I almost went red white and blue!!
Using red fabrics has also made me slow down and think more carefully about contrast and balance. Beth at American Patchwork and Quilting did a gtrreat post last week about choosing her fabrics and tacked about scale etc. My reds started with a bundle of fabric from Bunny Hill so I had a nice range to start with, then adding more lights and reds to create larger variety and to use up some more of my “stash.”
And honestly, using red’s make me smile every time I sit down to sew.
So whether you’re sewing in blue, red, or something completely unexpected, remember: quilts have always been about using what you love, what you have, and what speaks to you. That’s how traditions stay alive. They grow, they shift, and they welcome a little creative rebellion now and then.
Make 5 of these blocks and you will be ready for next week!!
Celebrate with Quilts Meets Fig Tree’s Rosie’s (and Yes… you can join in!)
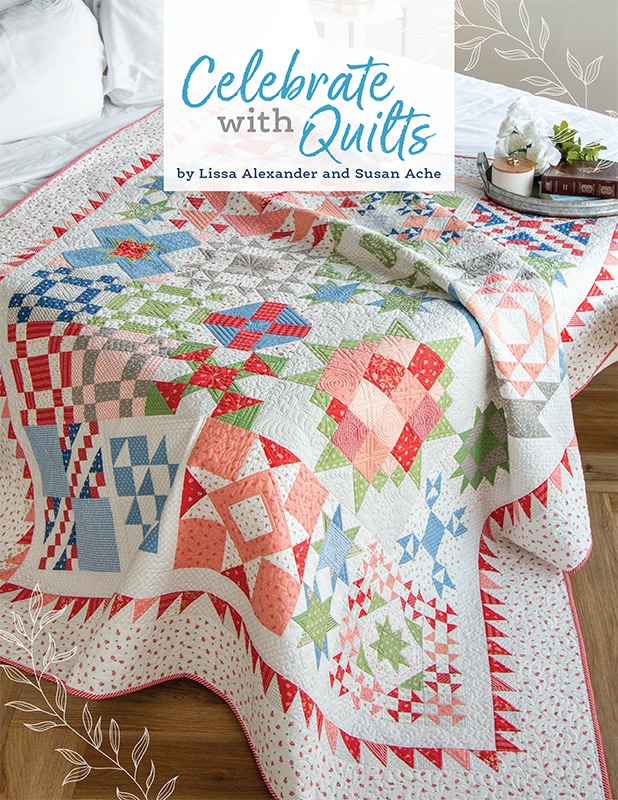
If you’ve been craving a quilt project that feels classic, meaningful, and just plain fun to sew, Fat Quarter Shop has a good one lined up. An upcoming Quilt-Along will feature Celebrate with Quilts by myself & Susan Ache, stitched in Rosie’s by Fig Tree & Co. for Moda Fabrics—and the quilt being remade is Peppermint Twist, a sampler-style beauty with a variety of block sizes. (In other words: you won’t get bored. Not even a little.) Ask for this book at your favorite quilt or specialty quilt retailer.
What we know so far (dates + the vibe)
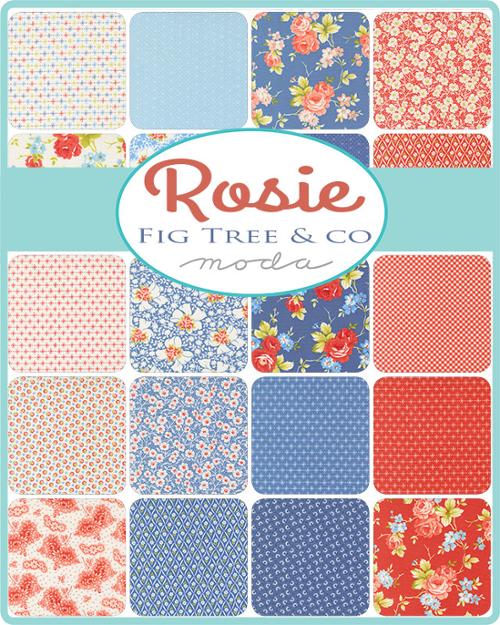
Fat Quarter Shop has shared that their Celebrate with Quilts-featured Quilt-Along is scheduled for February 2026 through December 2026, Mark your calendars! The featured fabric is Rosie’s by Fig Tree & Co. with a background option of Eyelet Ivory (20488-11). I am making mine using Rosie’s and mixing up the backgrounds with a variety of prints and adding some taupes for something different.
And here’s the timing sweet spot: Rosie’s is expected to ship January 2026, which means it’s perfectly lined up for a February start. (Nothing like a fresh box of fabric to make you suddenly believe you have unlimited free time.)
Why Rosie’s is such a dreamy match for Peppermint Twist
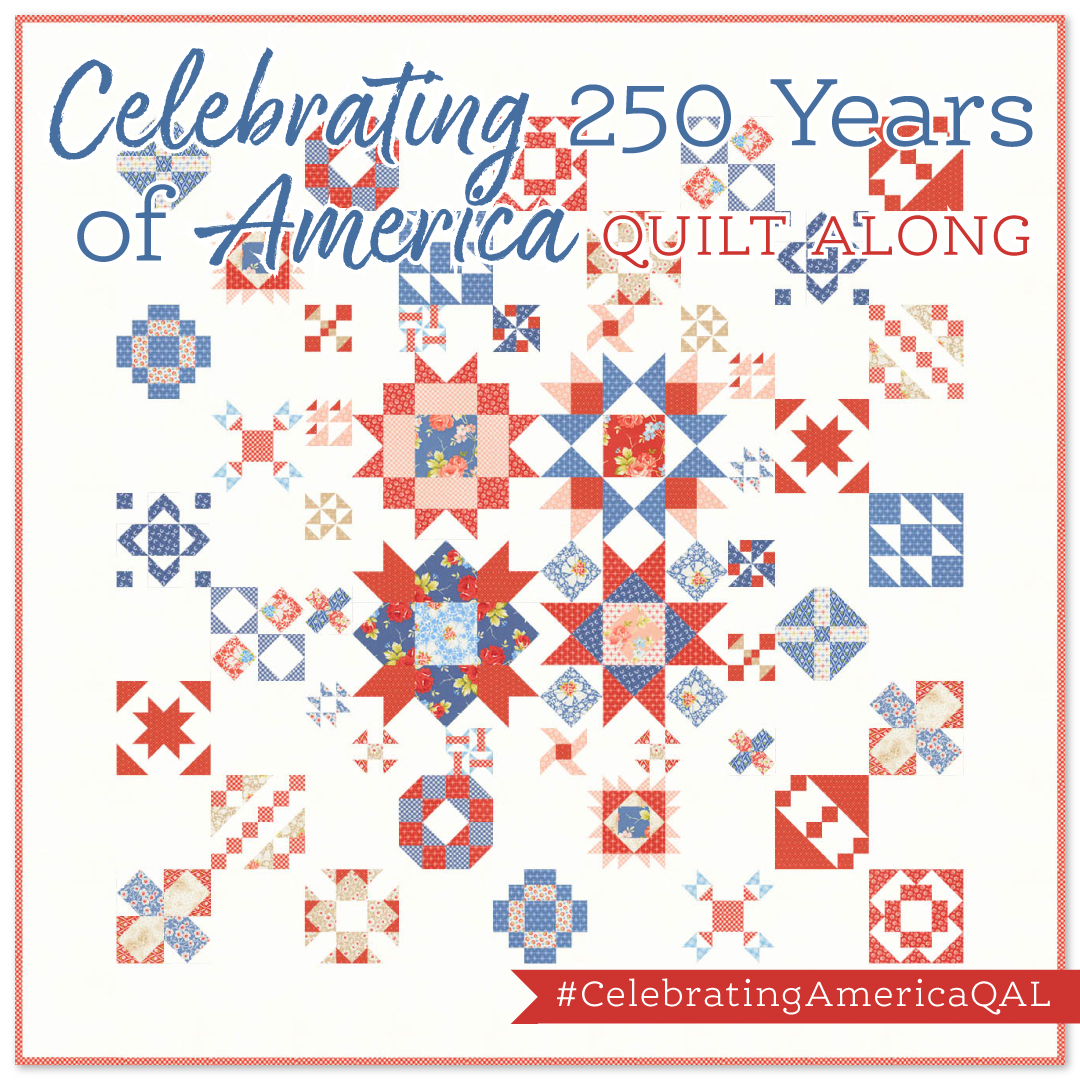
Fig Tree describes Rosie’s as an Americana-leaning collection with denim blues and soft pinks—a fresh, vintage-meets-modern palette that still feels timeless. The original color way in the book featured lots of assorted Fig Tree Fabrics soothes new line is a perfect fit. This QAL is named Celebrating 250 Years of America QuiltAlong which is perfect way to celebrate America.
That combination is chef’s kiss for a quilt like Peppermint Twist—especially when you’re working with multiple block sizes and want strong contrast, sparkle, and that “each block has its own moment” sampler energy.
Why you’ll want the Celebrate with Quilts book on your shelf (and in your sewing room… and maybe in your travel bag)
This isn’t a “make it once and forget it” kind of book. Celebrate with Quilts includes:
12 quilts (not just one hero project)
60 sampler blocks
Four block sizes ranging from 3″ to 12″
That block-size variety is exactly why a quilt like Peppermint Twist is so satisfying: it’s structured, but it still feels playful and creative—like a sampler with a party invitation attached.
And because the book is built around celebrations (holidays, milestones, life moments big and small), you’ll keep coming back to it when you need:
a baby quilt idea,
a “quick but special” gift,
a memory quilt for a family event,
or just a reason to sew something cheerful when the world feels noisy.
Reasons to join this QAL (even if you already have a few irons in the fire)
1) Built-in momentum
Quilt-alongs keep you moving—no lingering UFOs giving you side-eye from the closet. I have a few started for the year so thought I would do a blog for each to keep me on track and a teaser here of some of the blocks.
2) Community + encouragement
Fat Quarter Shop QALs are known for clear steps, steady pacing, and lots of “you can do this” energy across social and video. (You’re never quilting alone unless you want to.)
3) A stash-friendly format
Sampler quilts are sneaky that way: you can follow the official fabric plan with Rosie’s, or you can mix in favorites from your stash while still keeping a cohesive look.
4) You’ll learn (or sharpen) real skills
Multiple block sizes = more piecing variety, more chances to level up accuracy, pressing, and consistency—without it feeling like homework.
Quick “get ready” checklist
Based on what Fat Quarter Shop has shared so far, here’s a simple prep list:
Celebrate with Quilts book (you’ll need it for the QAL)
Rosie’s by Fig Tree & Co. for Moda Fabrics (expected January 2026 ship timing—perfect for a February start)
Background fabric: Your choice or Eyelet Ivory (20488-11) is the one FQS is referencing.
A place to share progress (photos are basically part of the quilting tradition at this point)
More updates as we get closer….
Final nudge (the friendly kind)
If you love quilts that feel nostalgic but still fresh… if you like blocks with personality… if you want a project that carries you through most of 2026 with a clear plan and celebrating America—this one is worth putting on the calendar. Both Susan Ache and myself will be sewing along!
Peppermint Twist + Rosie’s + a sampler-style mix of block sizes is the kind of combo that becomes a keepsake and a story. And that’s the good stuff—quilting the way it’s always been: meaningful, useful, and made with heart (and maybe a little seam-ripper humility).
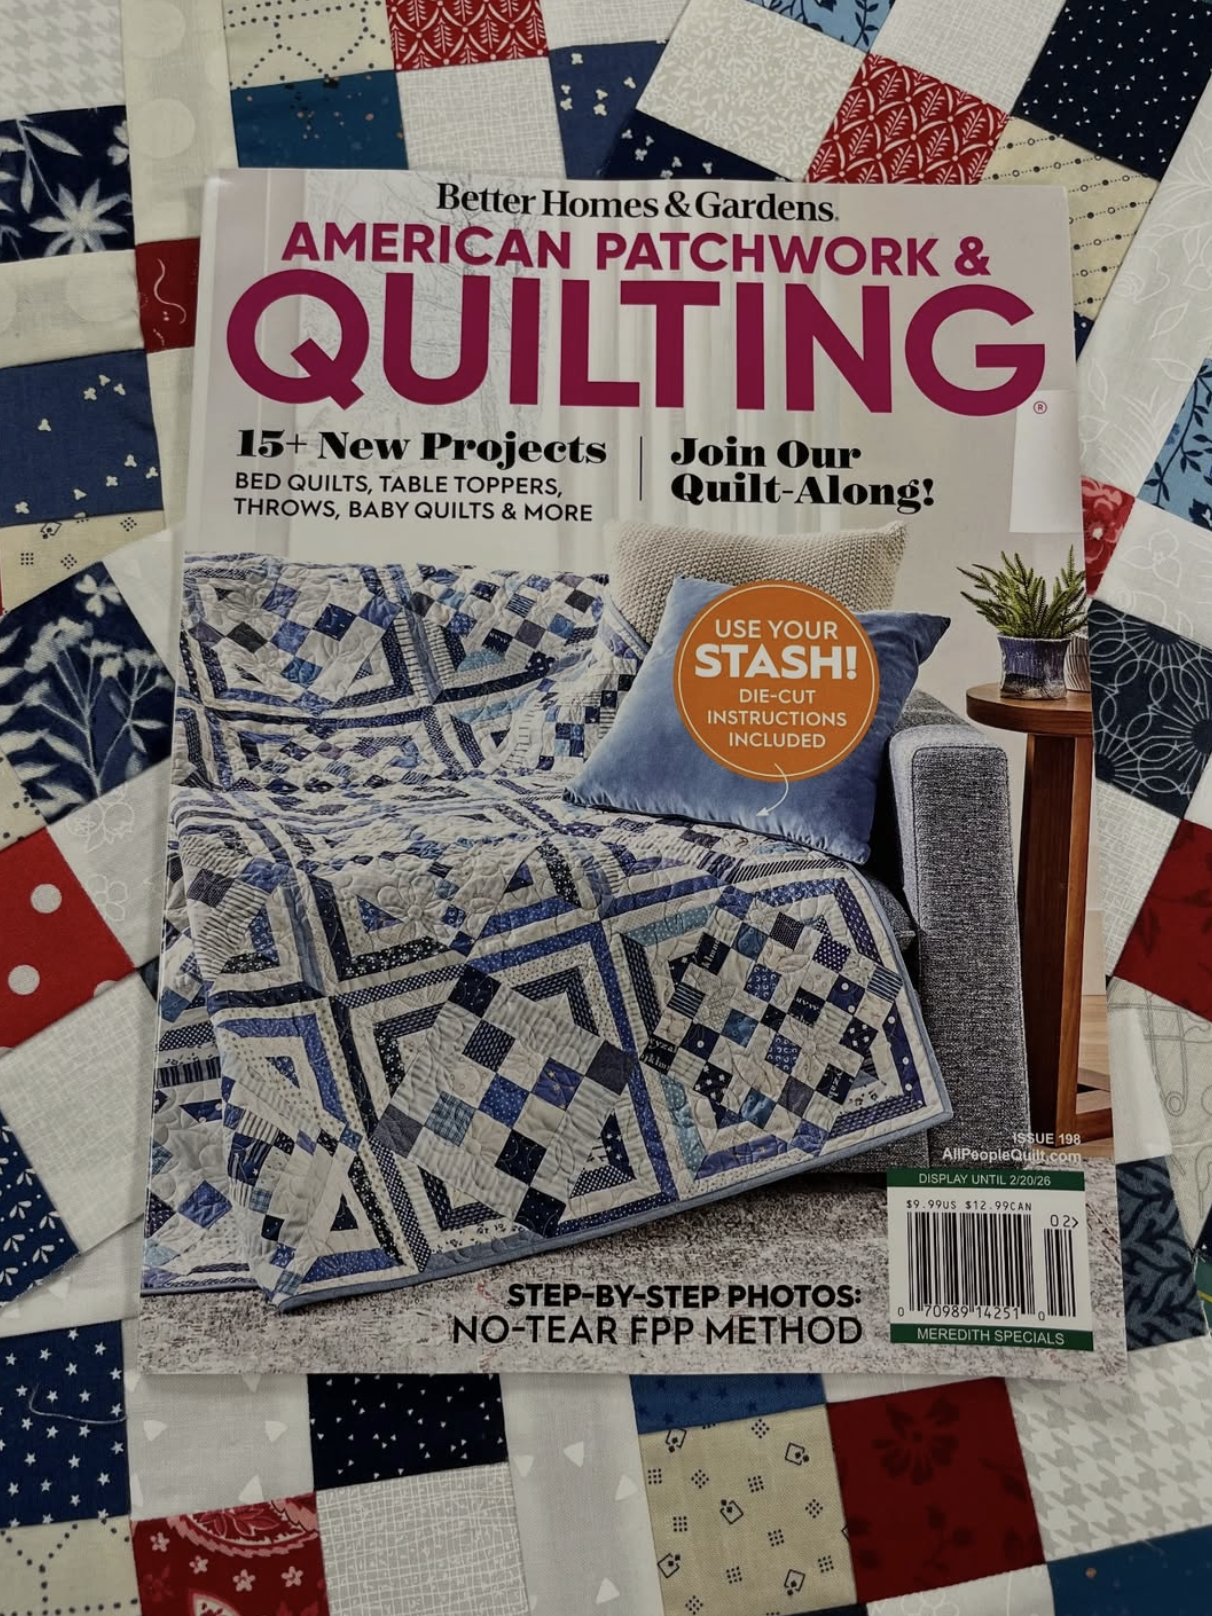
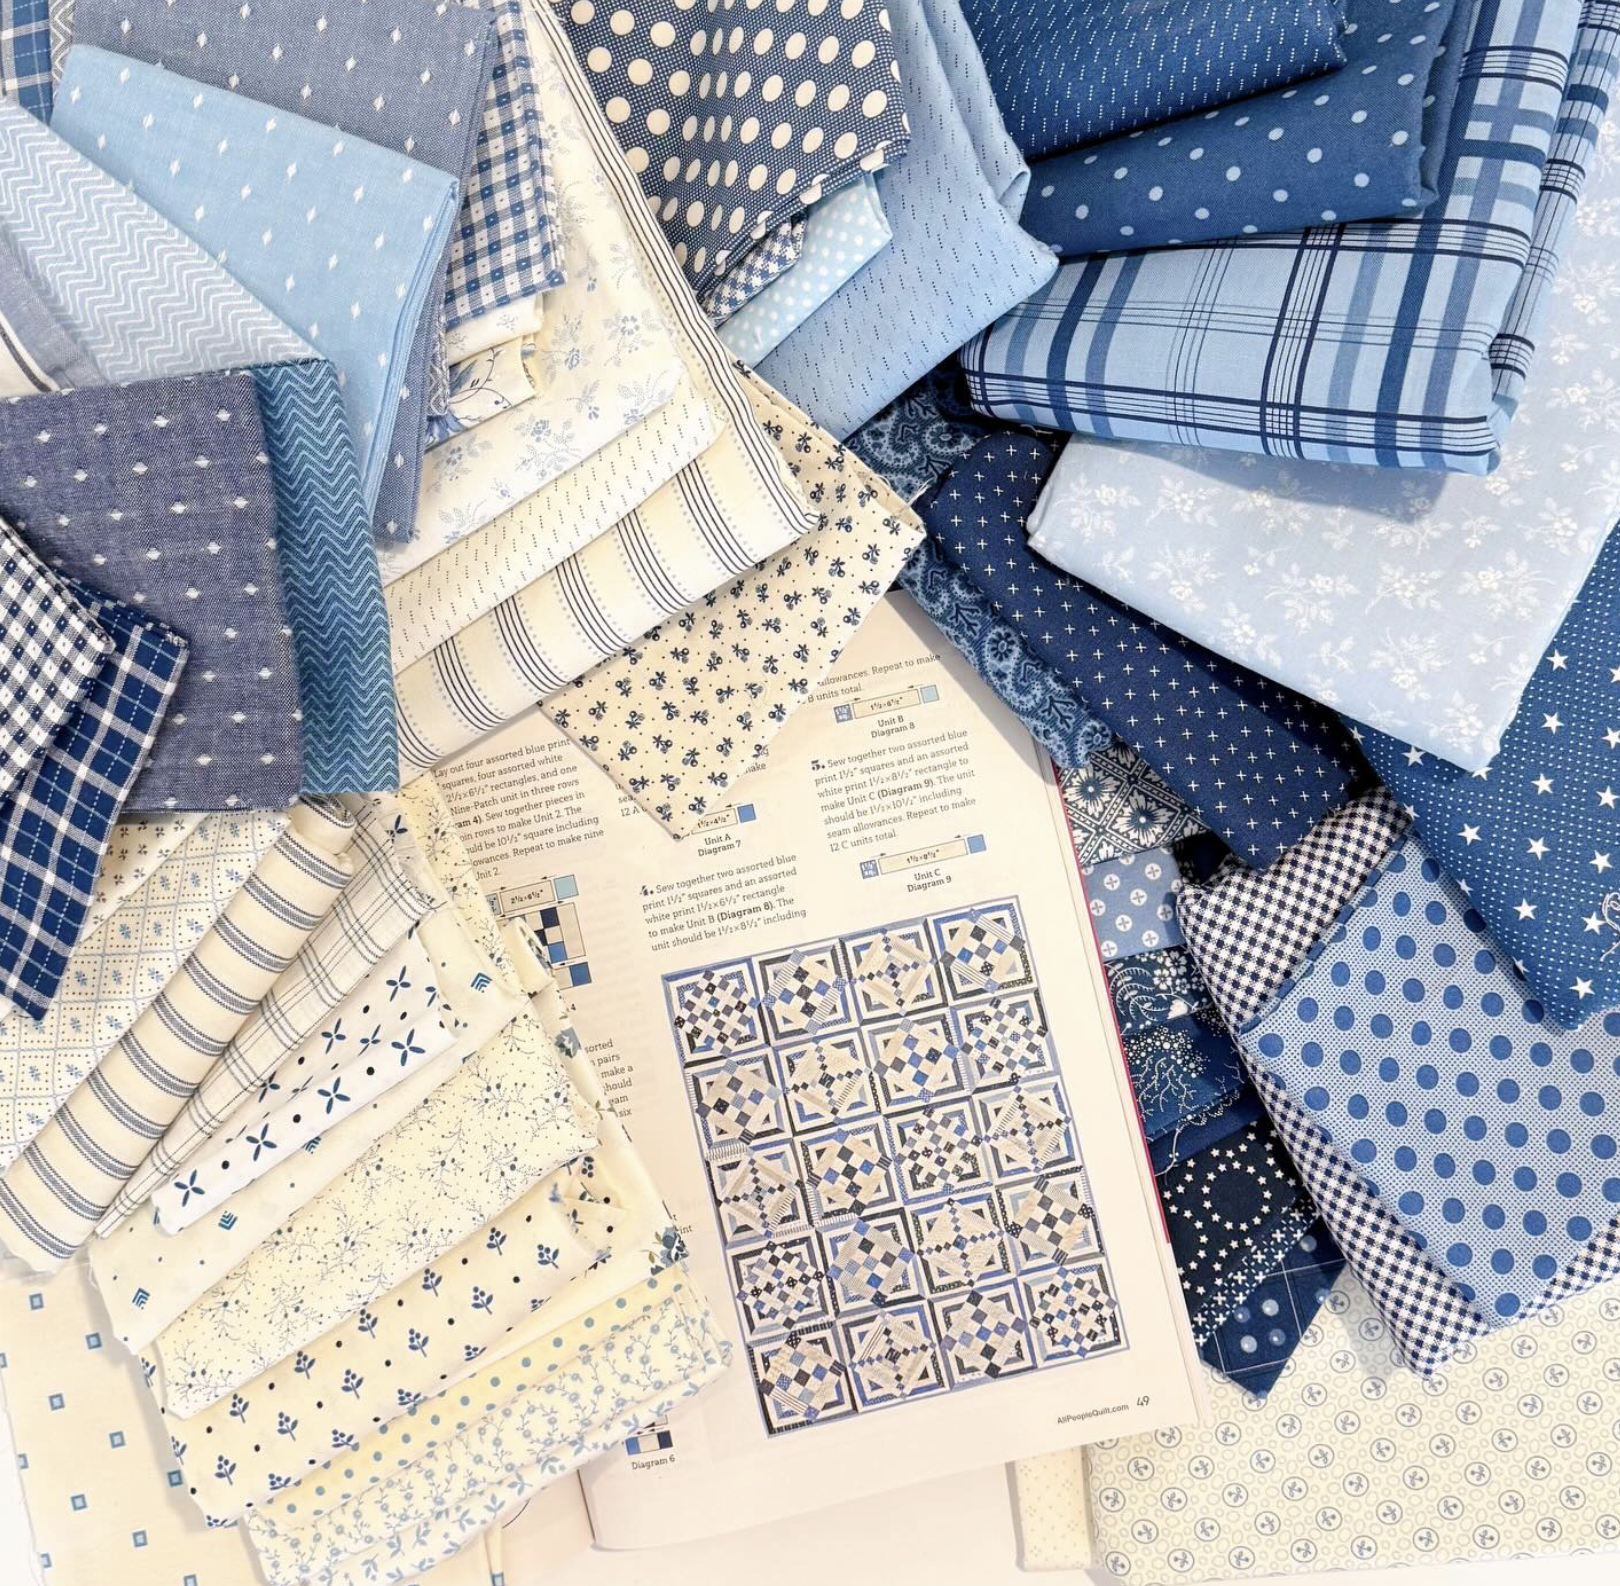
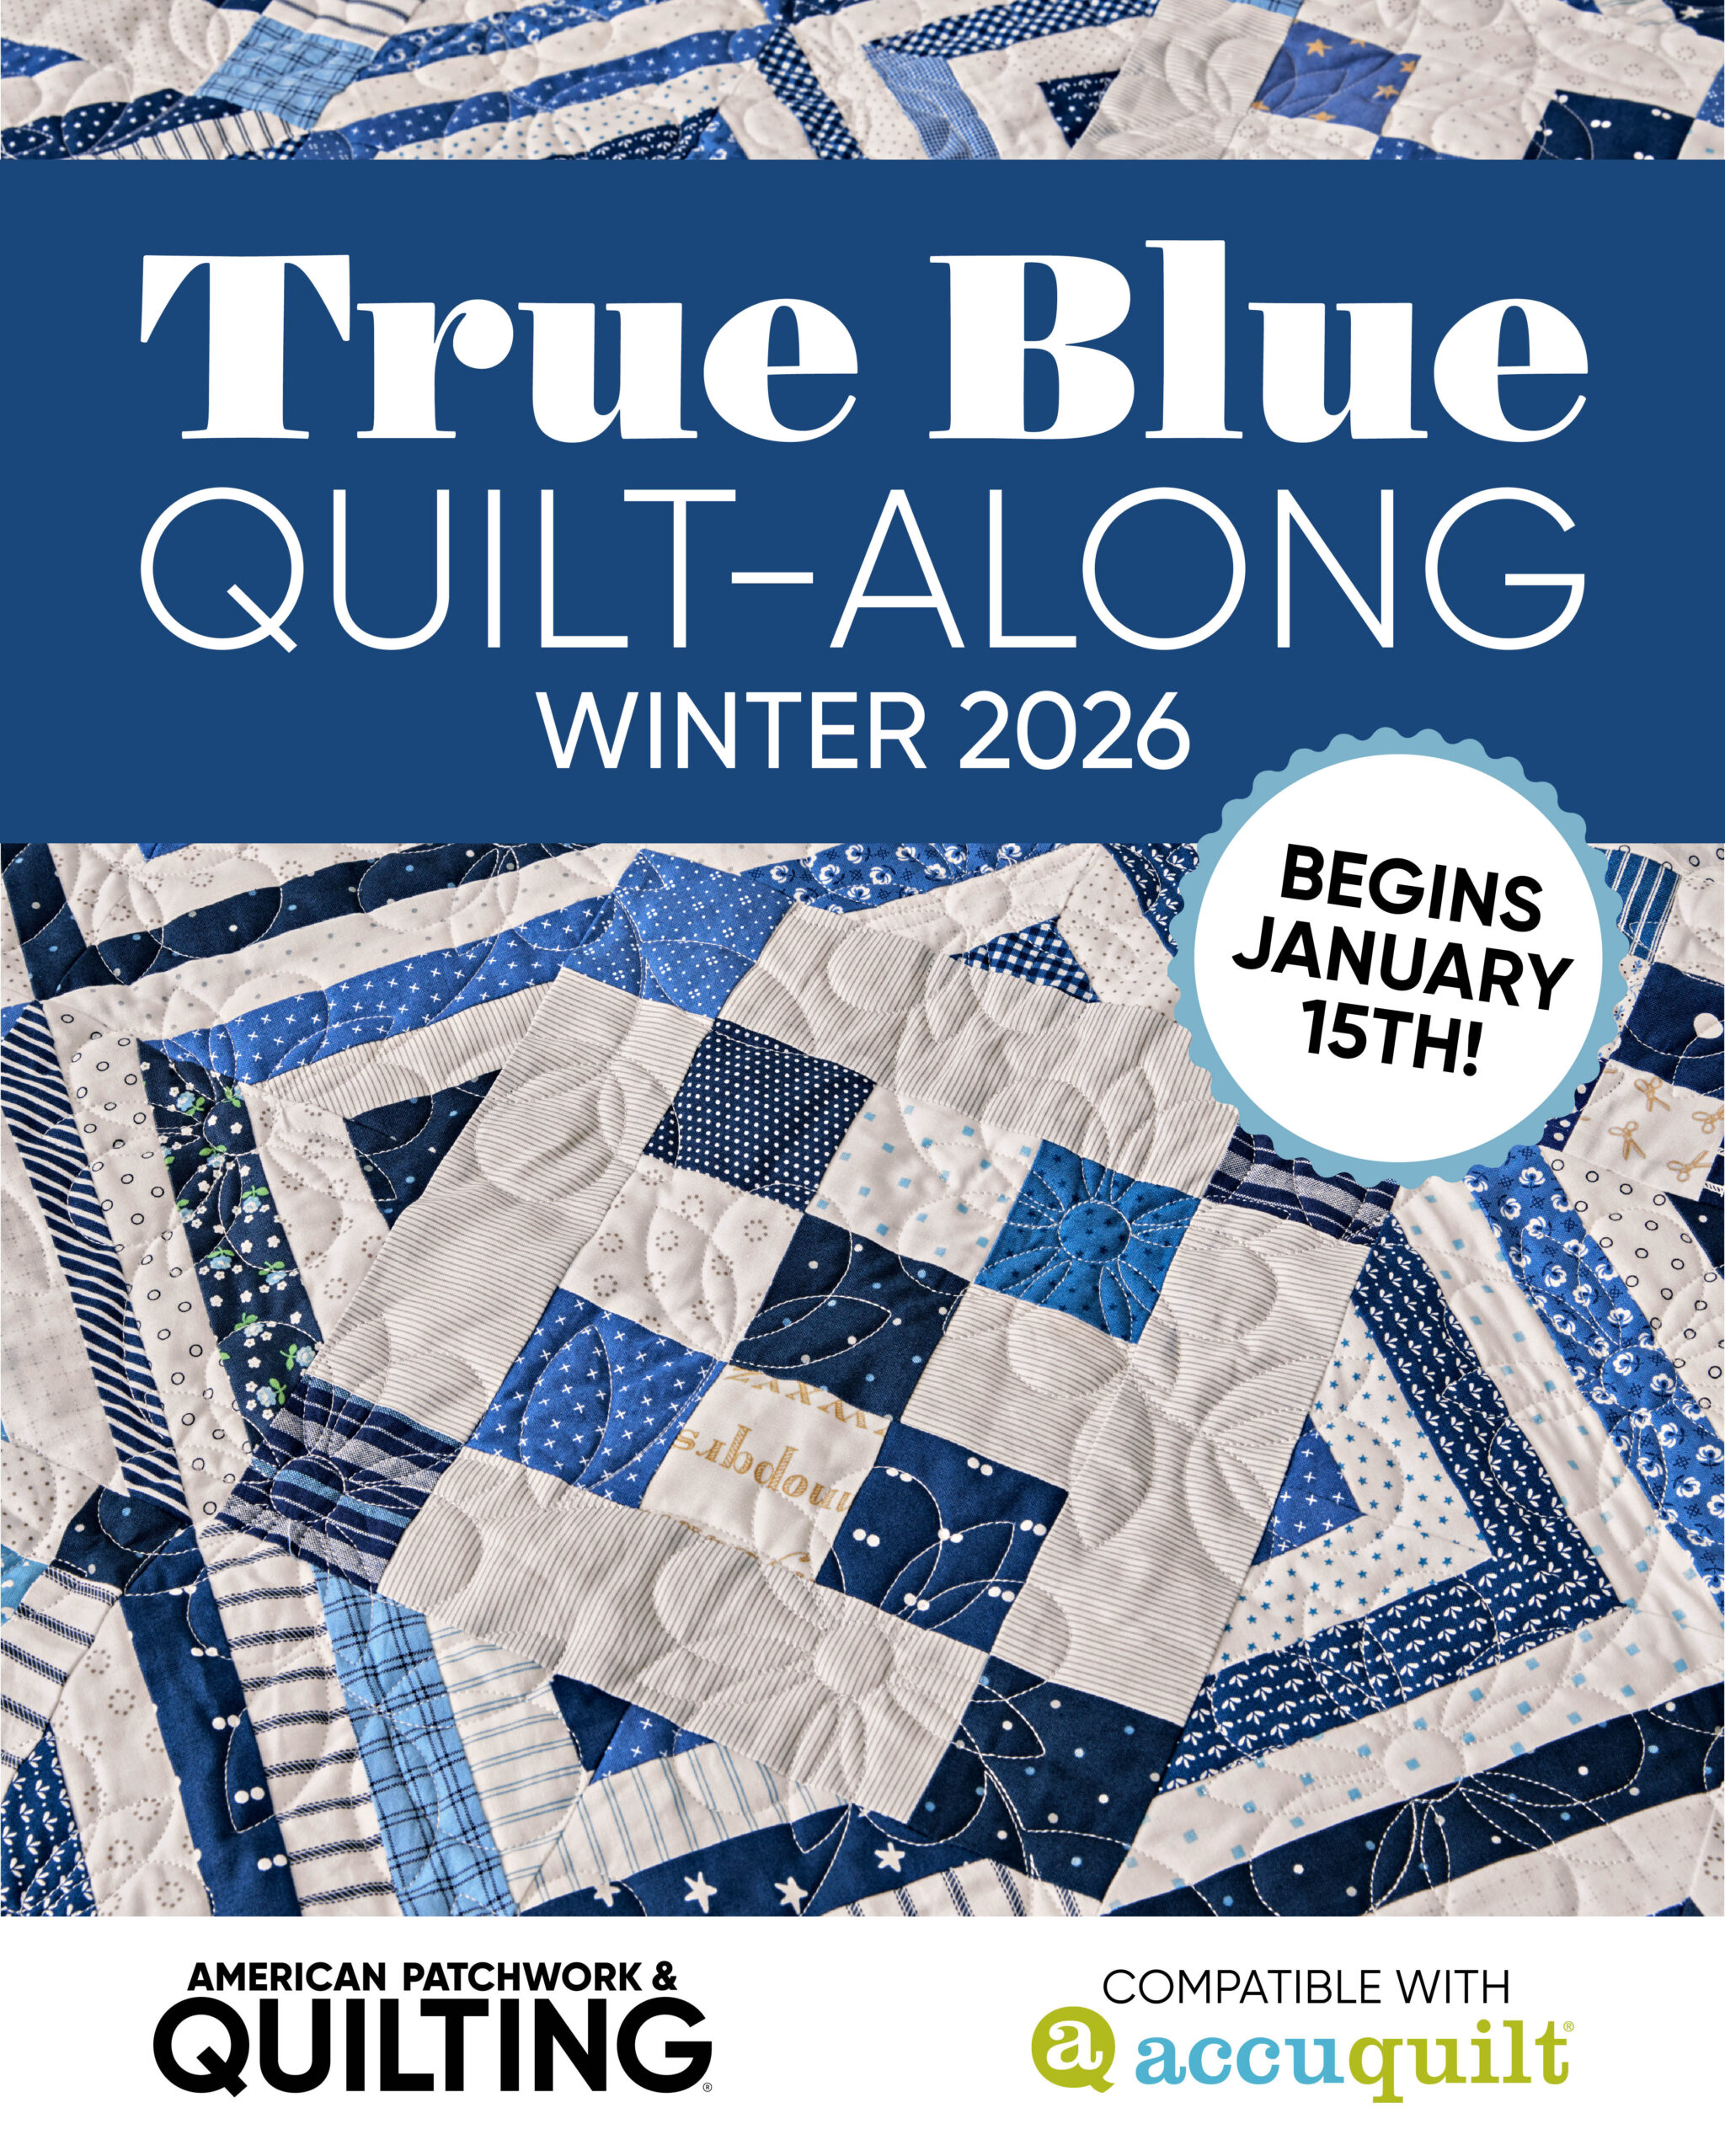
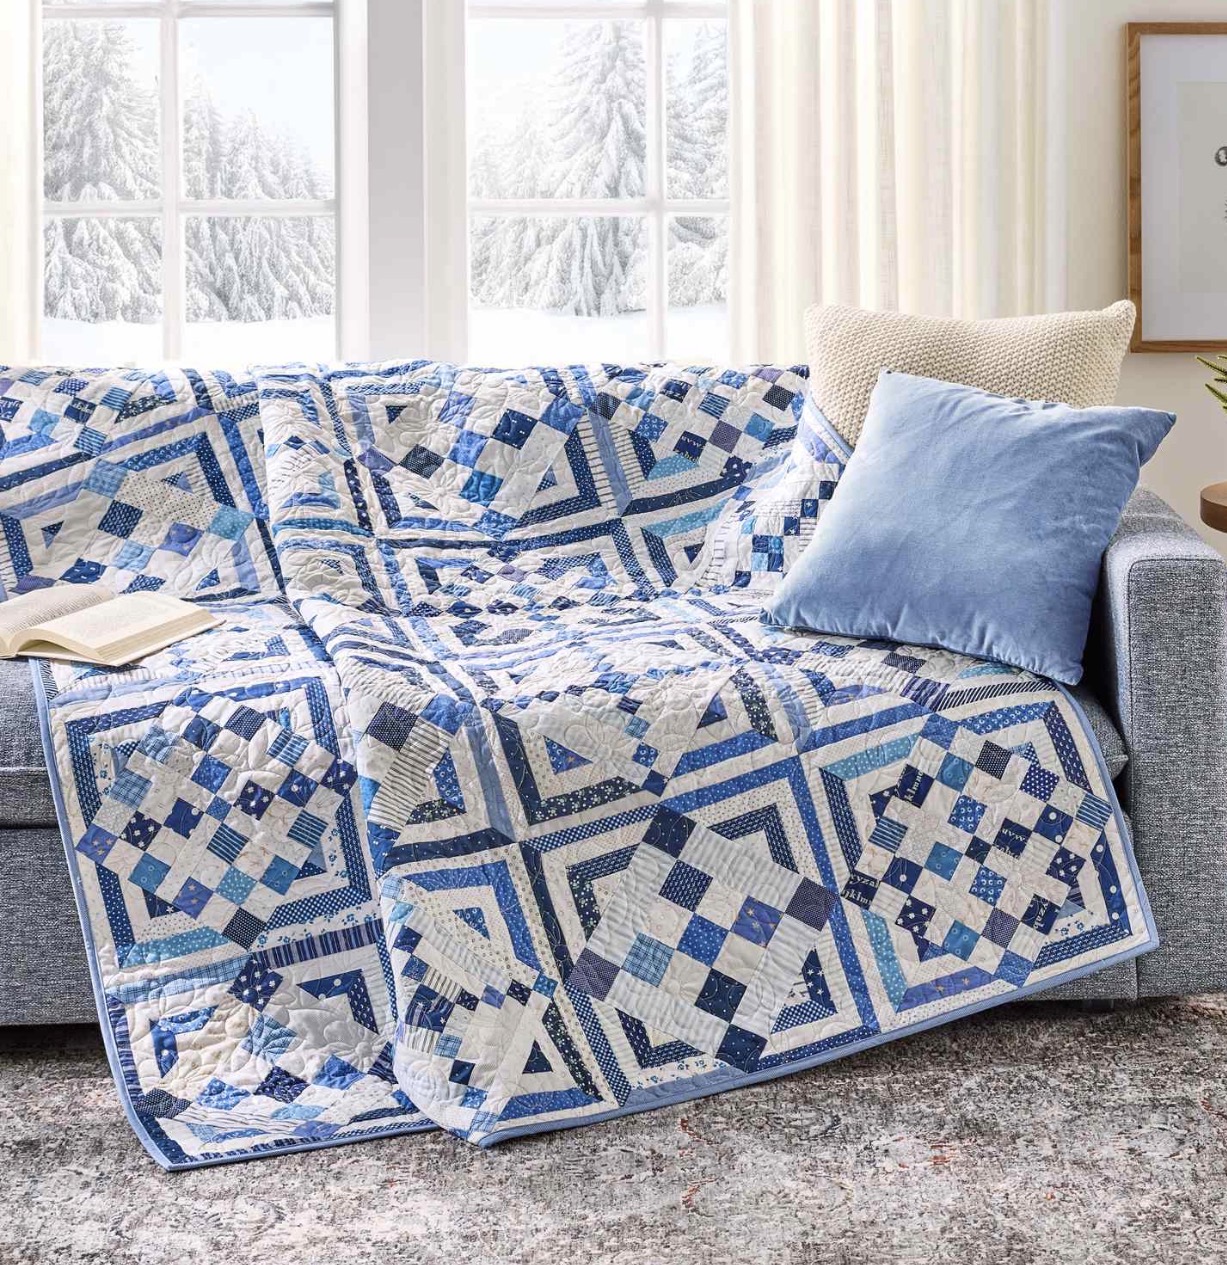
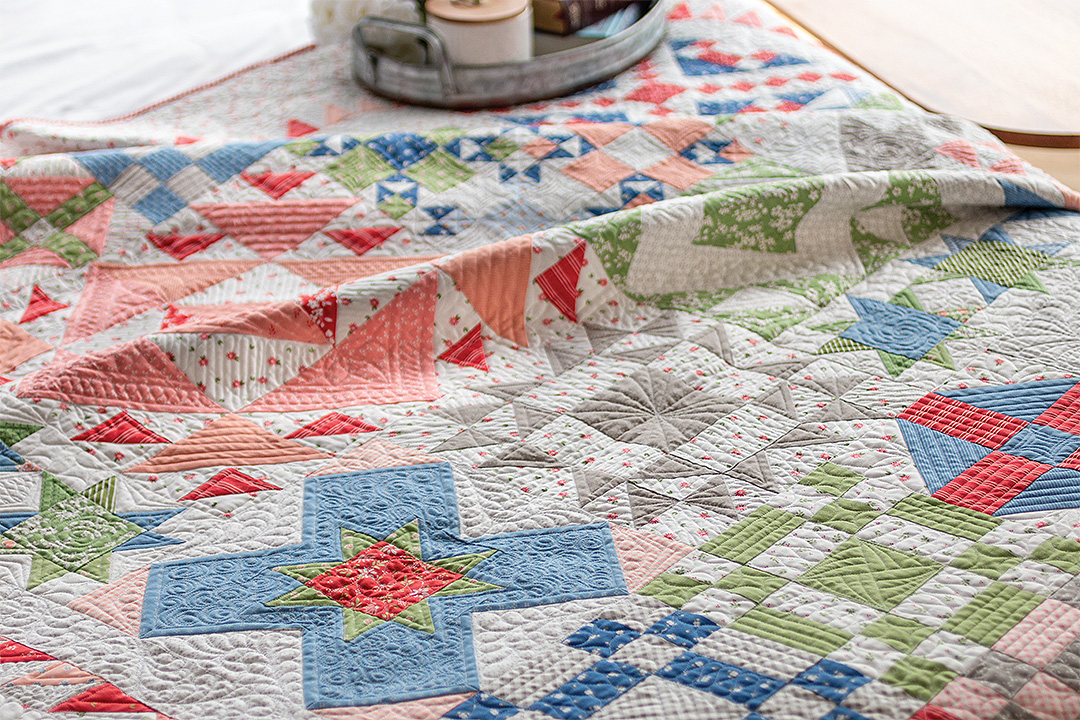
There’s something timeless about a blue quilt. It feels familiar, comforting, and steady—like a favorite pair of jeans or the well-worn steps of a front porch. And that’s exactly the spirit behind True Blue, my upcoming Quilt-Along created in partnership with the wonderful team at American Patchwork & Quilting.
I’m thrilled to invite you to sew along with me and the APQ staff as we work through this beautiful project together. That is not all, the team at Accu-Quilt is also featuring dies to be able to cut this quilt using the Accu-Quilt machines.
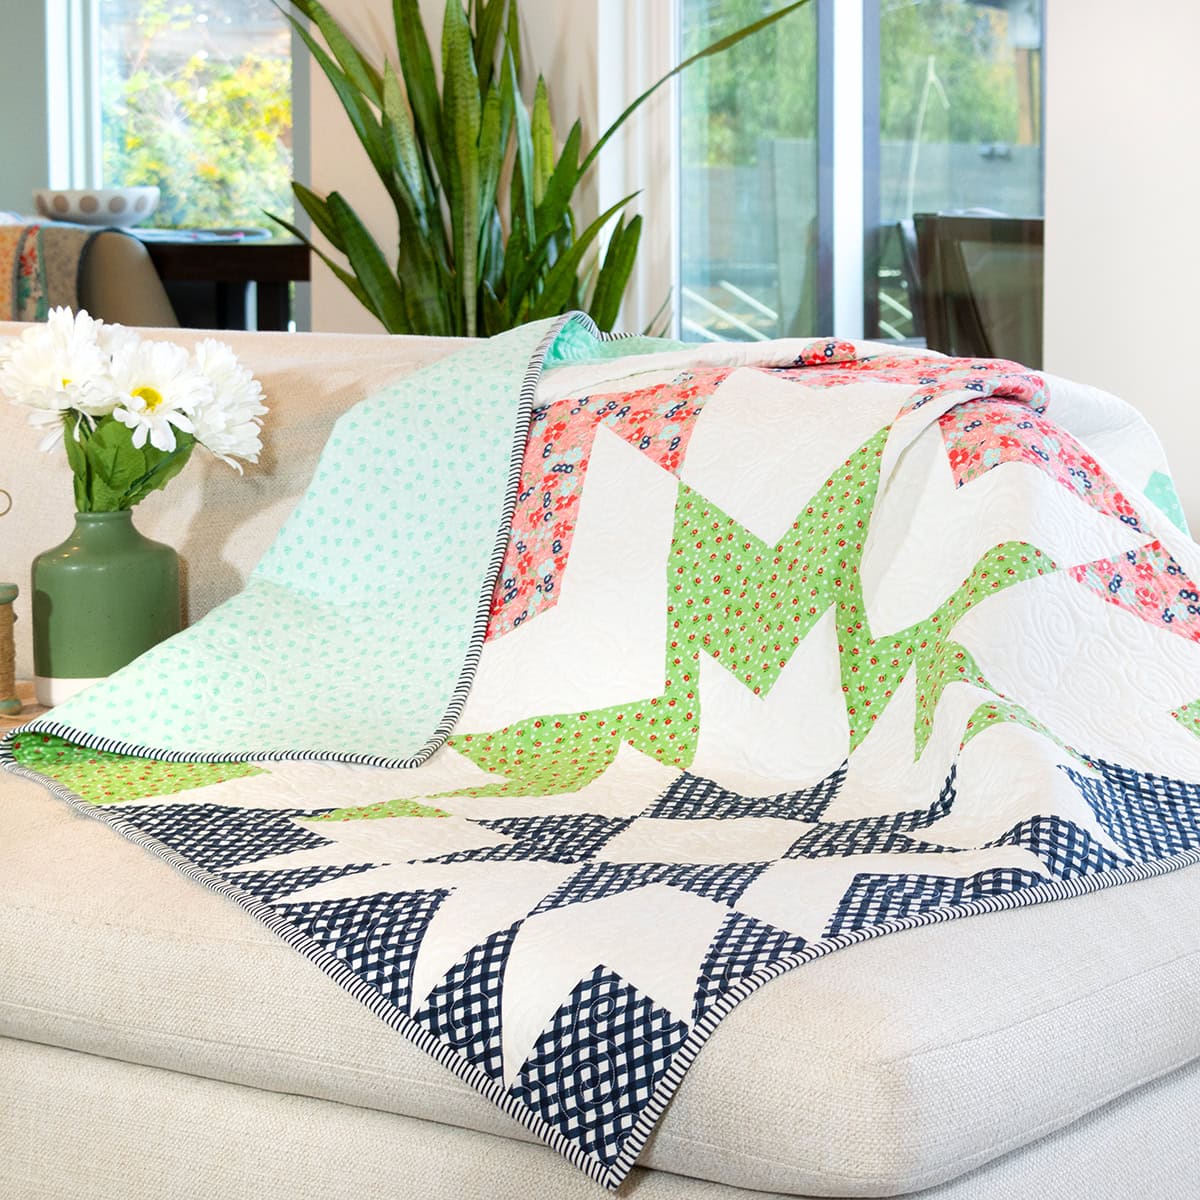
About the Quilt
True Blue is a scrap-friendly patchwork throw that celebrates classic quilt blocks with a fresh layout and calming blue palette. It’s the kind of quilt that looks just as good tossed over a sofa as it does folded at the foot of a bed—and even better when you know it’s made from fabrics you already love.
This project is all about:
• Using your stash (yes, the good blues or any color)
• Enjoying a steady, manageable pace
• Building confidence block by block
• Creating a graphic set vintage quilt.
No rushing. No pressure. Just good, honest quiltmaking.
The True Blue Quilt-Along runs January 15 – March 11, and you’re invited to stitch right alongside the editors and fellow readers of American Patchwork & Quilting and little o’me.
Here’s how it works:
• Weekly steps released over 8 weeks
• Clear instructions broken into bite-size units
• No set in Seams
If you’ve ever wanted to sew “together” with a magazine team and quilters from all over the world—this is your moment. It is the beginning of the year, so lot’s of good QAL’s are starting and hope you join in on this one.
True Blue feels like a bridge between generations of quilters. The blocks nod to tradition, the layout adds a graphic layout, and the process invites you to enjoy each step. It’s not about perfection—it’s about progress, creativity, and community.
Whether you’re sewing from a neatly organized stash or digging through bins of “someday” blues, this QAL is start off the year using up some stash..
So sharpen those rotary blades, warm up your sewing machine, and join us. I can’t wait to see your version of True Blue in any color!
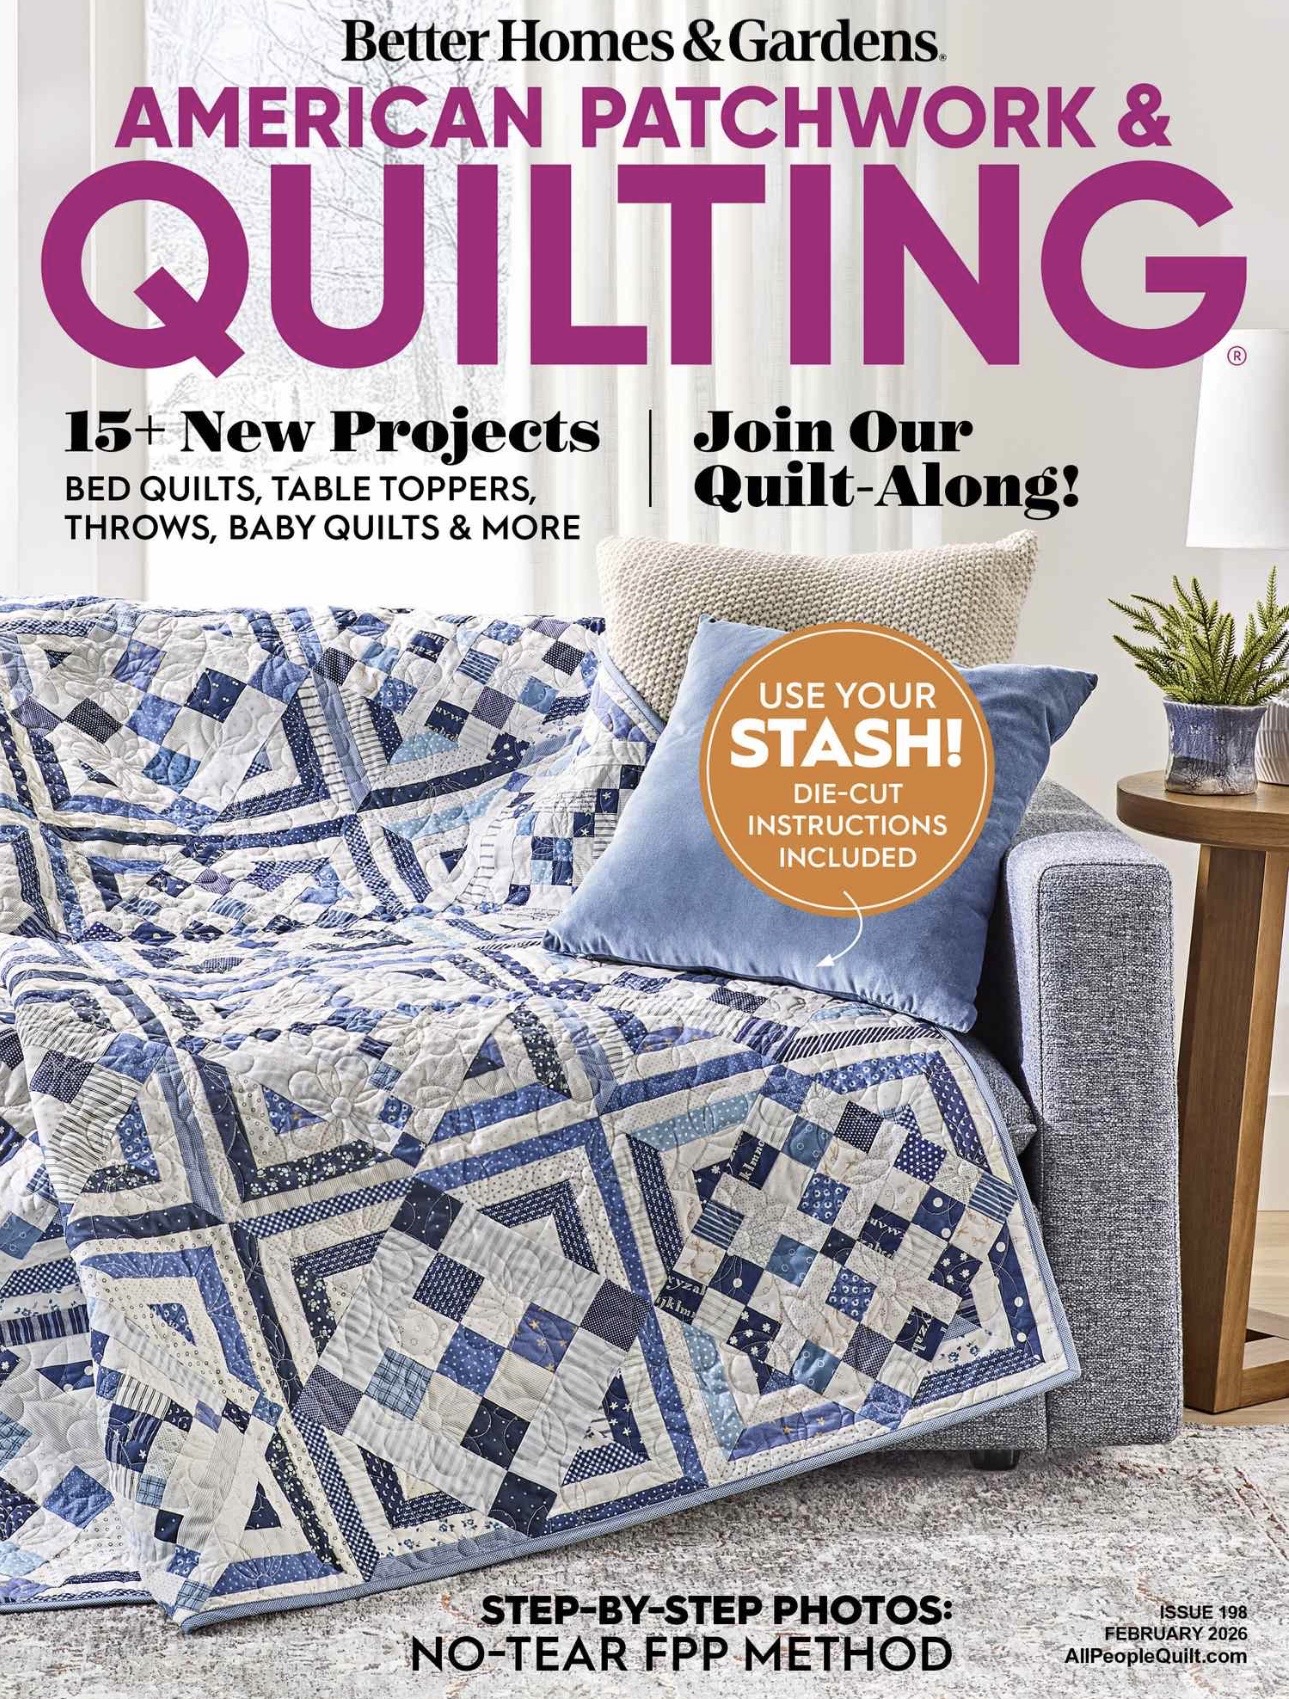
Ask for this magazine at your local quilt shop and if they don’t have the magazine can be bought on line here.
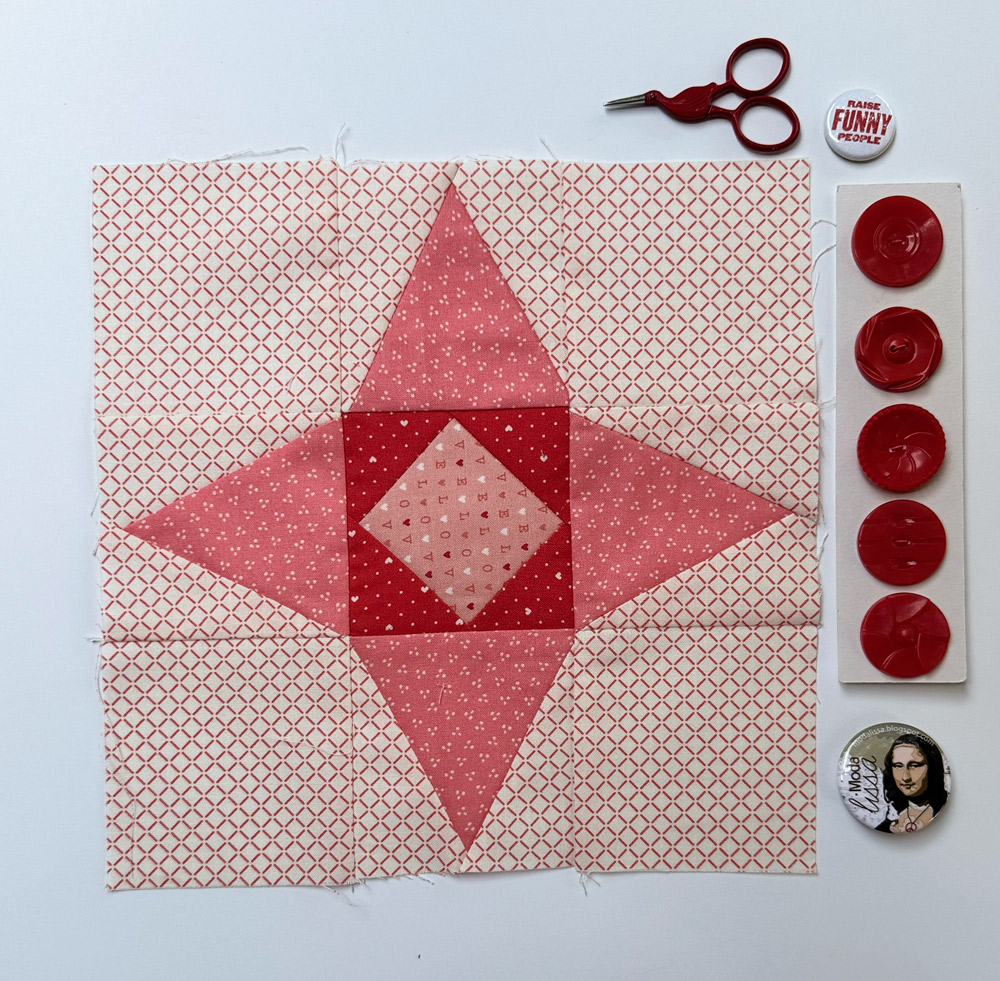
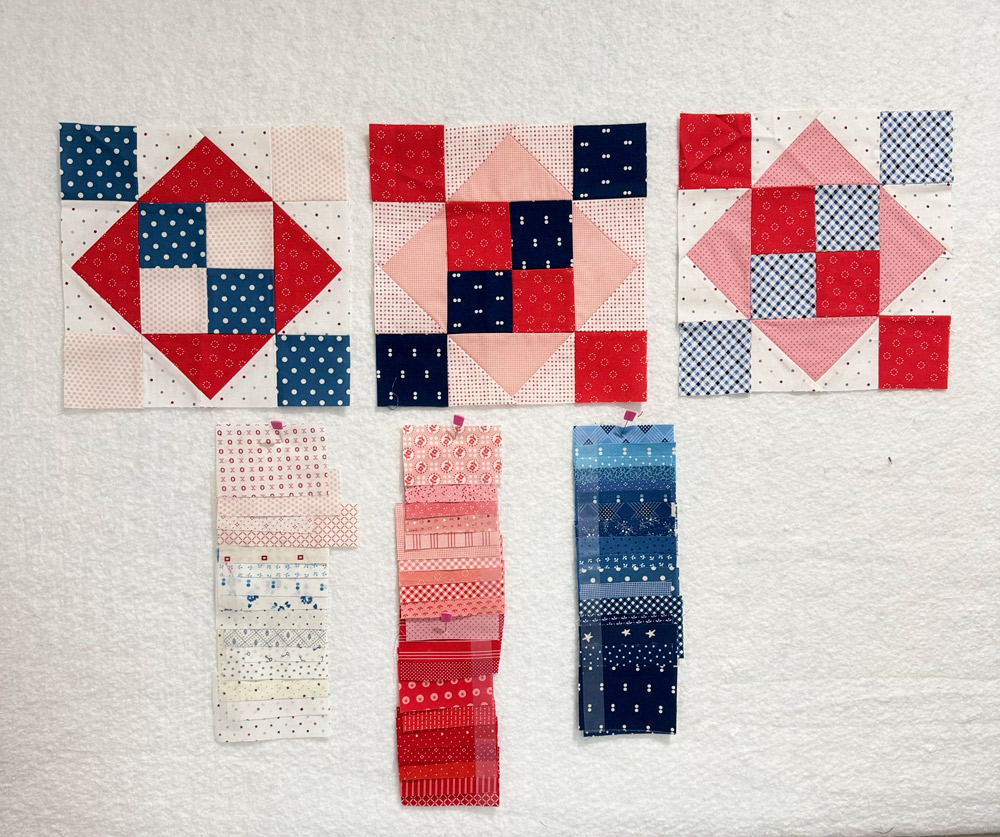
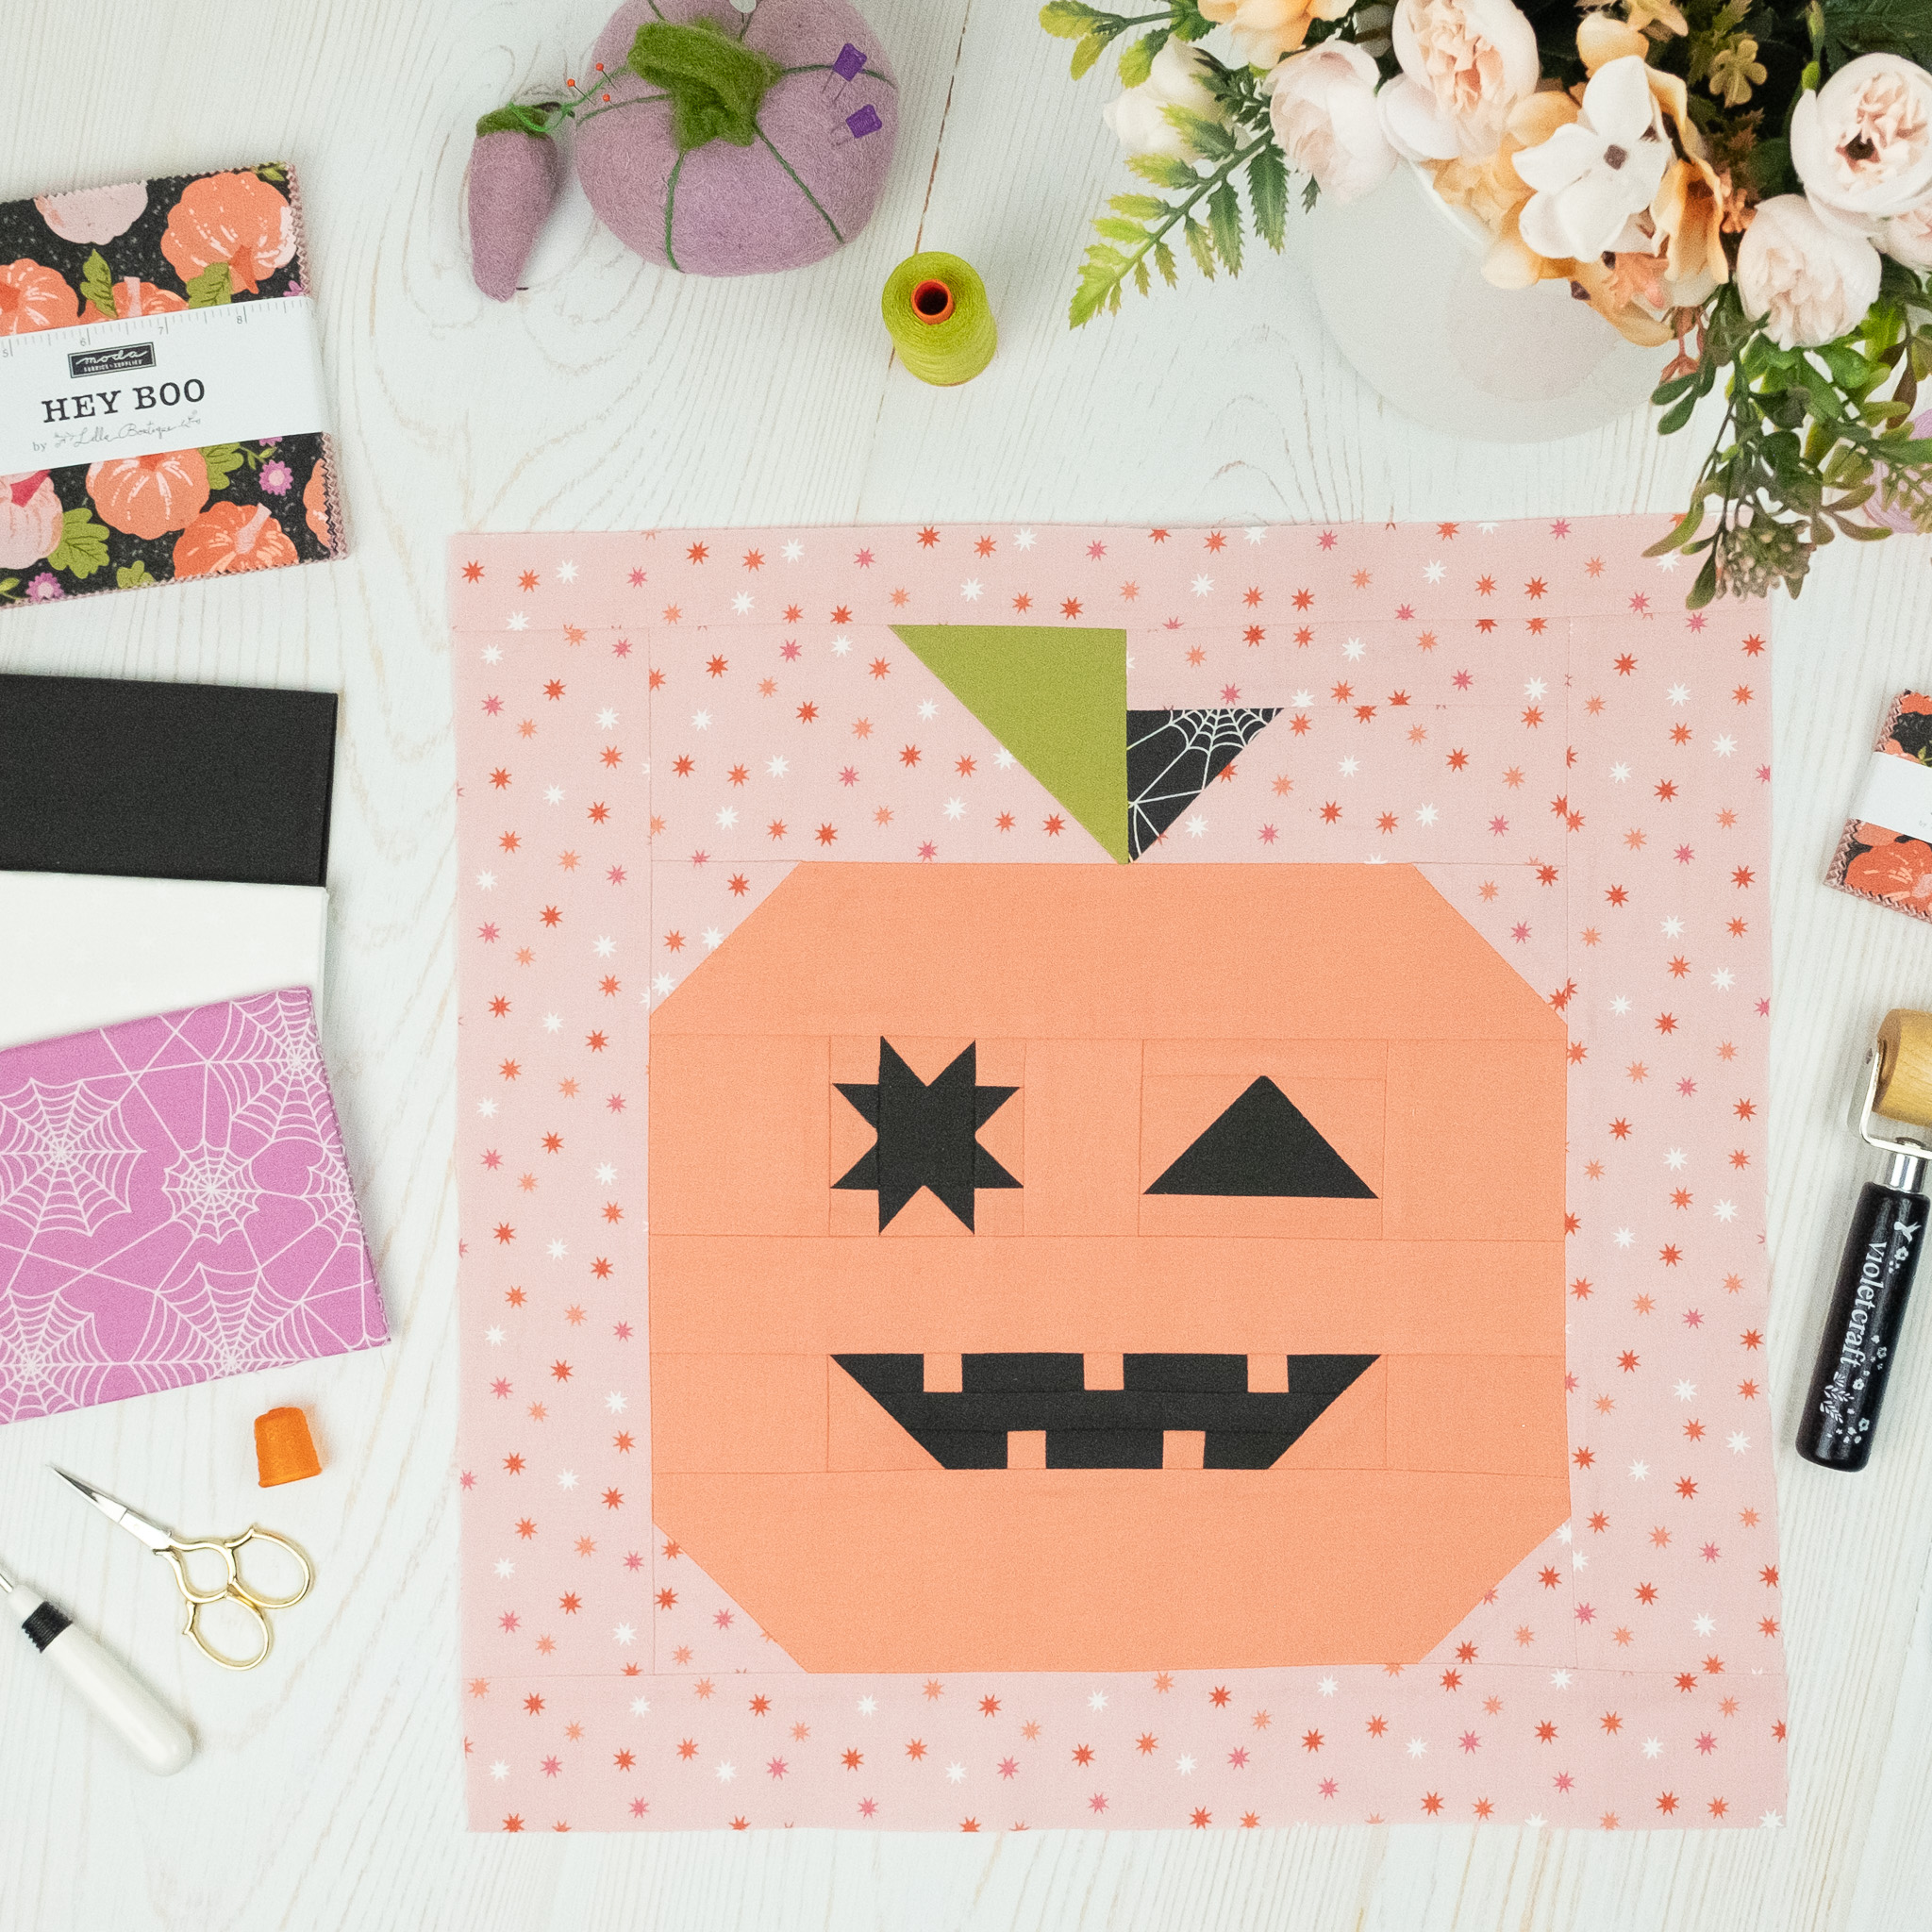
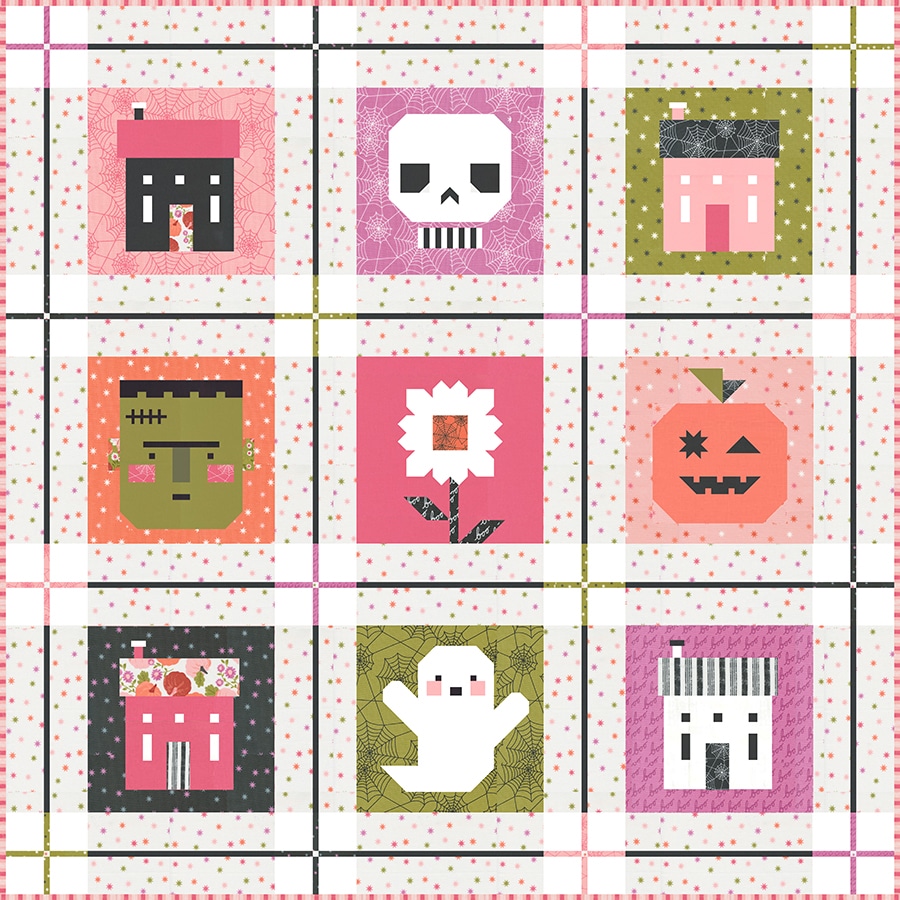
Say hello to Block 9 of Moda Blockheads 6, and it’s bursting with fun, flair, and Barbara Groves’ signature charm. From one half of the hilarious and high-energy duo Me & My Sister Designs, this block is pure joy in fabric form.
Bold reds and playful pinks come together to form a sparkling starburst—Polaris, because that’s exactly what it does. This block took a bit of practice and choosing geometric fabrics was probably not the best option, but that is why this is a skill builder project.
Polaris – Playful Geometry with Heart
This block combines diamond-in-a-square piecing, and peaky and spike shapes to create a star shape with tons of personality. It’s a design that feels both classic and unexpected—like it showed up to the quilt party in red lipstick and polka dots.
I used three shades of red and pink, keeping the contrast crisp and the vibe vintage-sweet. The center square is my favorite—it’s like a little framed message wrapped in joy. And the background print? A perfect reminder that basics don’t have to be boring. Grid + color = instant energy.
Meet Barbara Groves – Color Queen & Quilt Comedian
Barbara Groves is one half of the sister-powered duo Me & My Sister Designs, the Moda designers known for their bright color palettes, bubbly prints, and infectious quilting spirit. Their patterns are cheerful, beginner-friendly, and always bring the fun. And Barbara is a hoot! If you ever get a chance to take a class with her you won’t be sorry!
Barbara’s blocks are often about joy, movement, and giving tradition a modern twist—exactly what Blockheads needs right in the middle of the journey.
You’ll find colorful quilt kits, simple piecing tips, and lots of laugh-out-loud moments sprinkled in anything that Barb touches.
Shine On with Moda
Grab the Block 9 pattern download and follow the step-by-step video tutorial over on the Moda Blog. Barbara’s version is guaranteed to make you smile—and likely give you an idea for your next scrappy star quilt!
This week’s Moda Blockheads 6 block comes with a breath of fresh morning air—introducing Dew Drops, a quilt block by the ever-talented Chelsi Stratton of Chelsi Stratton Designs.
If you’ve been quilting along, you know each week brings a new surprise, and a new voice—and Chelsi’s block is sure to impress. It’s the kind of block that is intriguing and may challenge your piecing skills, so take your time. It is well worth it.
Dew Drops – A Gentle Start to the Day
The Dew Drops Block combines half-square triangles, quarter-square triangles, and a central four-patch unit to create a design that is structured, yet intricate. The layout mesmerizing with shapes that gently lead your eye from the center outward.
I love my color palette this week, and want to make more of these blocks, wait, did I say that last time?
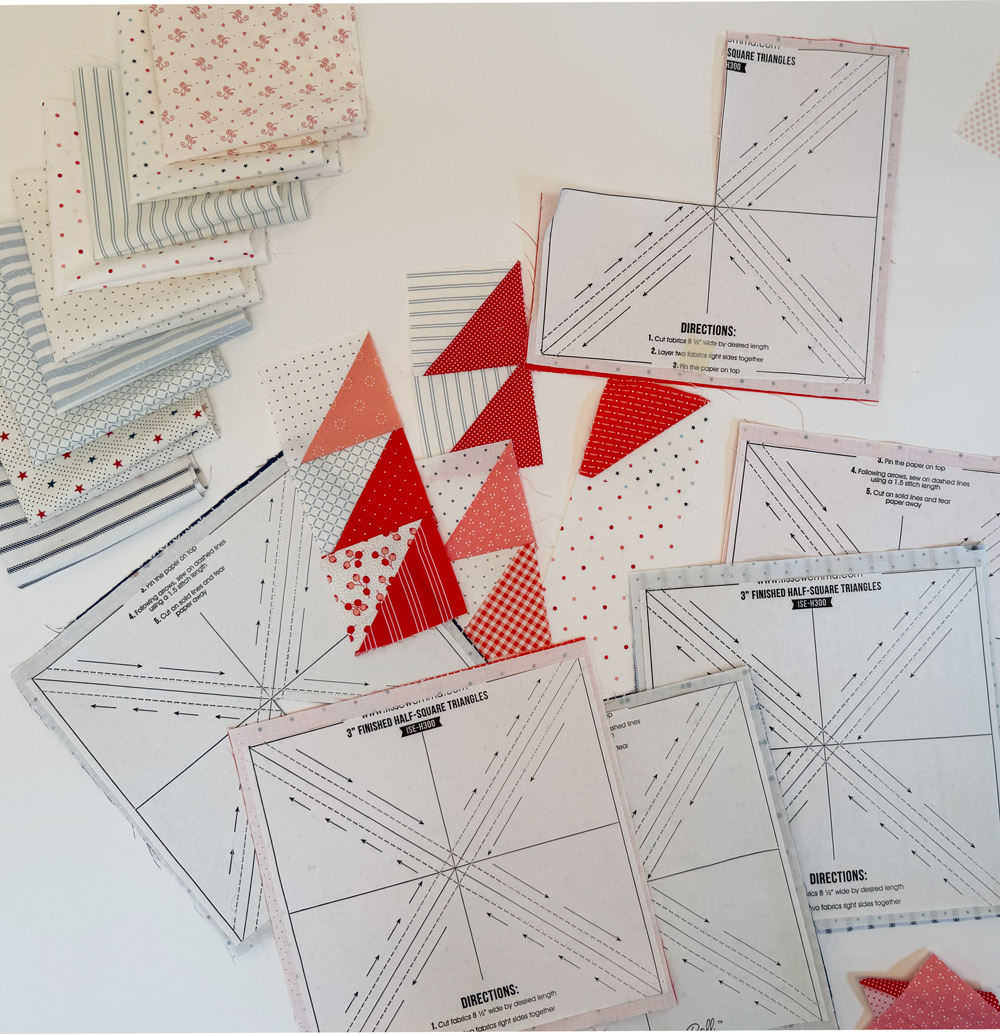
I think I say that every time, so forgive my obsessive desire to make more and more quilts! Blues, creamy neutrals, and reds added warmth and helped me stay in that vintage-faded look. I really enjoyed piecing this one—it went together smoothly, and I am happy how my points lined up.
Since I like to do things scrappy, I pieced lots of 3″ half square triangles using It’s Sew Emma’s triangle papers. This way I have an assortment ready. I cut off what I need and trim down to the size needed for each block.
Meet the Designer: Chelsi Stratton
If you’ve been in the quilting world for even a short while, you’ve likely come across Chelsi Stratton’s work. She’s a designer known for timeless patterns, warm palettes, and fabric collections she creates alongside her mother, Sherri McConnell, for Moda Fabrics.
Chelsi brings a lovely mix of tradition and fresh perspective to every design. Her patterns are approachable yet polished—perfect for both newer quilters and seasoned stitchers looking for something classic with a twist. She also shares her creative process, design tips, and quilting life across multiple platforms. Be sure to follow her and stay inspired!
Give her a follow—you’ll love the glimpse into her quilting world, family life, and her collaborations with Sherri.
Watch & Stitch Along
Head over to the Moda Blog to read more about Chelsi’s inspiration behind Dew Drops, and don’t miss the how-to video tutorial for this week’s block. Whether you’re cutting into your favorite prints or sticking with solids, there’s plenty of room to make this block your own.
Let the Dew Drops Fall
This is the kind of block that looks different with every color combo—soft and subtle, bold and graphic, or somewhere in between. Be sure to share your version using #ModaBlockheads and #ModaBlockheads6, and don’t forget to tag @modafabrics and @chelsistratton so we can all admire your work!
There’s something truly special about how this quilt is coming together—one block at a time, one stitch at a time, yet I still haven’t decided on my setting. I need to get to work on that very soon!
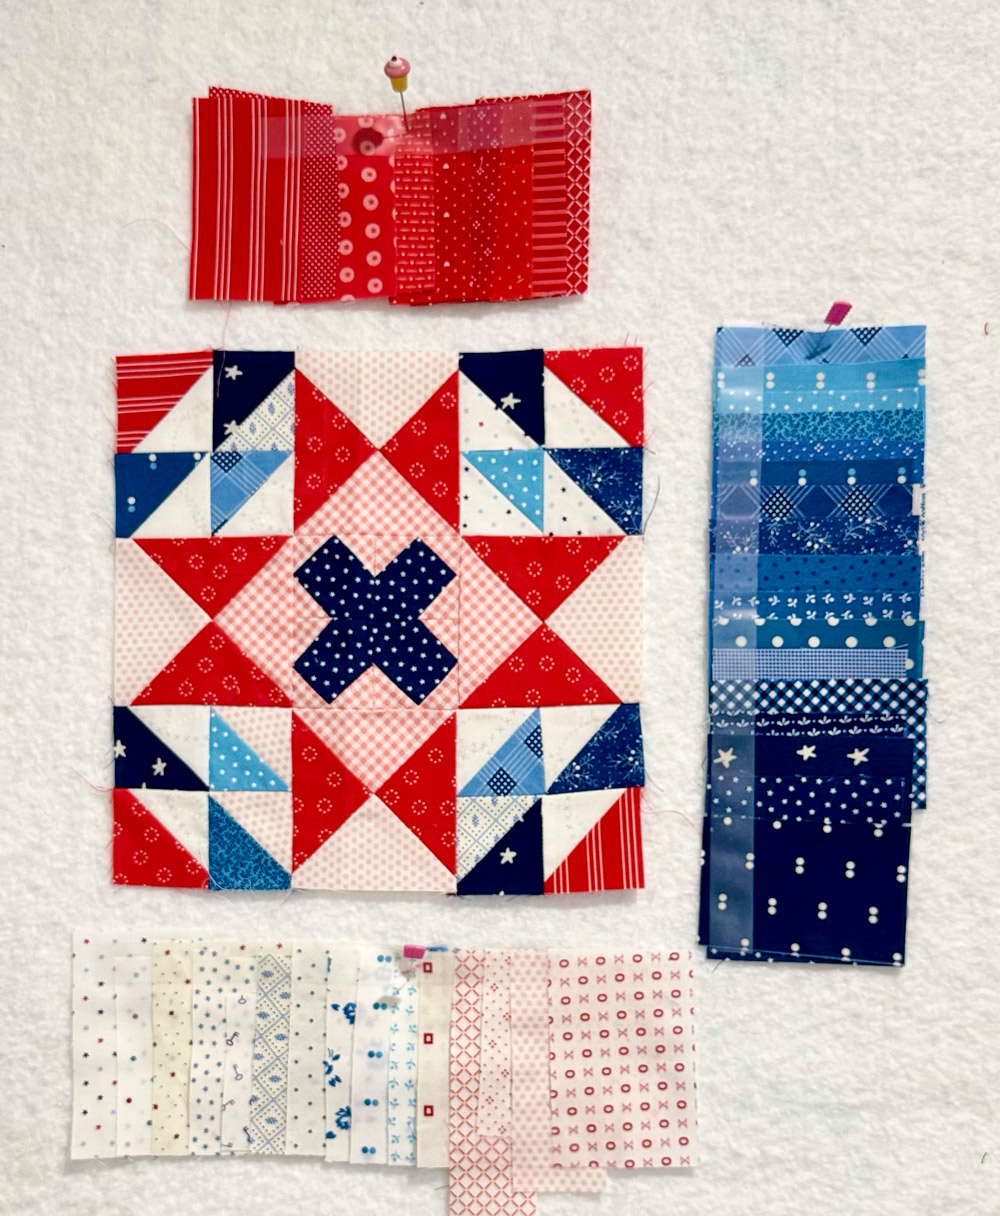
It’s Blockheads Wednesday again, and we’ve got a fresh face joining the circle—say hello to Kiley Ferons, the designer behind this week’s block: Cat’s Cradle.
Now back to Blockheads…If you love blocks with movement and a modern twist, you’re in for a treat. Kiley’s Cat’s Cradle is playful and sharp all at once—a clever composition of half-square triangles and half-rectangle triangles that criss-cross like the string game we all played as kids. It’s balanced but dynamic, and every seam adds depth and direction.
A Playful Block with Purpose
The Cat’s Cradle block combines clean geometry with a sense of motion—those angles really do feel like loops of string pulled tight between careful fingers. The HSTs and HRTs dance with each other in a design that’s both structured and lively, perfect for adding visual interest to your quilt layout.
For mine, I leaned into soft geometrics to let the block take on a vintage feel. I’m still building my faded vintage palette, and this block was a great reminder that even subtle colors can create big movement with the right design. I can’t get enough dots, stripes and retro shirtings.
And yes, I may have stared at the finished block longer than usual… there’s something mesmerizing about how the shapes nest together, like a quilted puzzle.
Meet Kiley Ferons of Kiley’s Quilt Room
Let’s talk about the creative force behind this block—Kiley Ferons, a newer face in the Moda designer family but already a standout in the quilting world. Kiley is known for her approachable patterns, fresh aesthetic, and passion for helping quilters of all skill levels build confidence through intentional design. Kiley’s debut fabric line, Potted will be in stores October 2025.
Based in Utah, Kiley is not only a quilt pattern designer, but also a tech-savvy creative who, along with her husband created MY QUILTS APP.. that help quilters map out their projects digitally—hello, organized layouts and easy fabric planning! Keep track of, journal, and organize all your quilt projects!
You can explore more of her work and connect with her here:
Give her a follow—you’ll find tons of inspiration, helpful tips, and maybe even your next favorite pattern.
Cat’s Cradle – Tips & Tutorial
As always, Moda’s got you covered with a video tutorialwalking through this week’s block. If you’re new to half-rectangle triangles or just need a refresher, it’s a great resource to have on hand. The TRI-RECS Ruler 8823753A was huge help in piecing the half rectangles. ( be sure and check out my friend Alison Dale in the video)
And don’t forget to hop over to Moda’s blog to read all things blockheads each Wednesday. it’s always fun to compare interpretations and find new ideas for your own version.
Show Us Your Cradle
Have you made your Cat’s Cradle block yet? Did you go classic, colorful, or modern? Share your version using #ModaBlockheads and #ModaBlockheads6 and be sure to tag @modafabrics and @kileysquiltroom—let’s give Kiley a big Blockheads welcome!
This sew-along is turning into such a thoughtful blend of tradition and innovation, and I’m loving every block. See you next week with another design and another opportunity to stitch something beautiful.
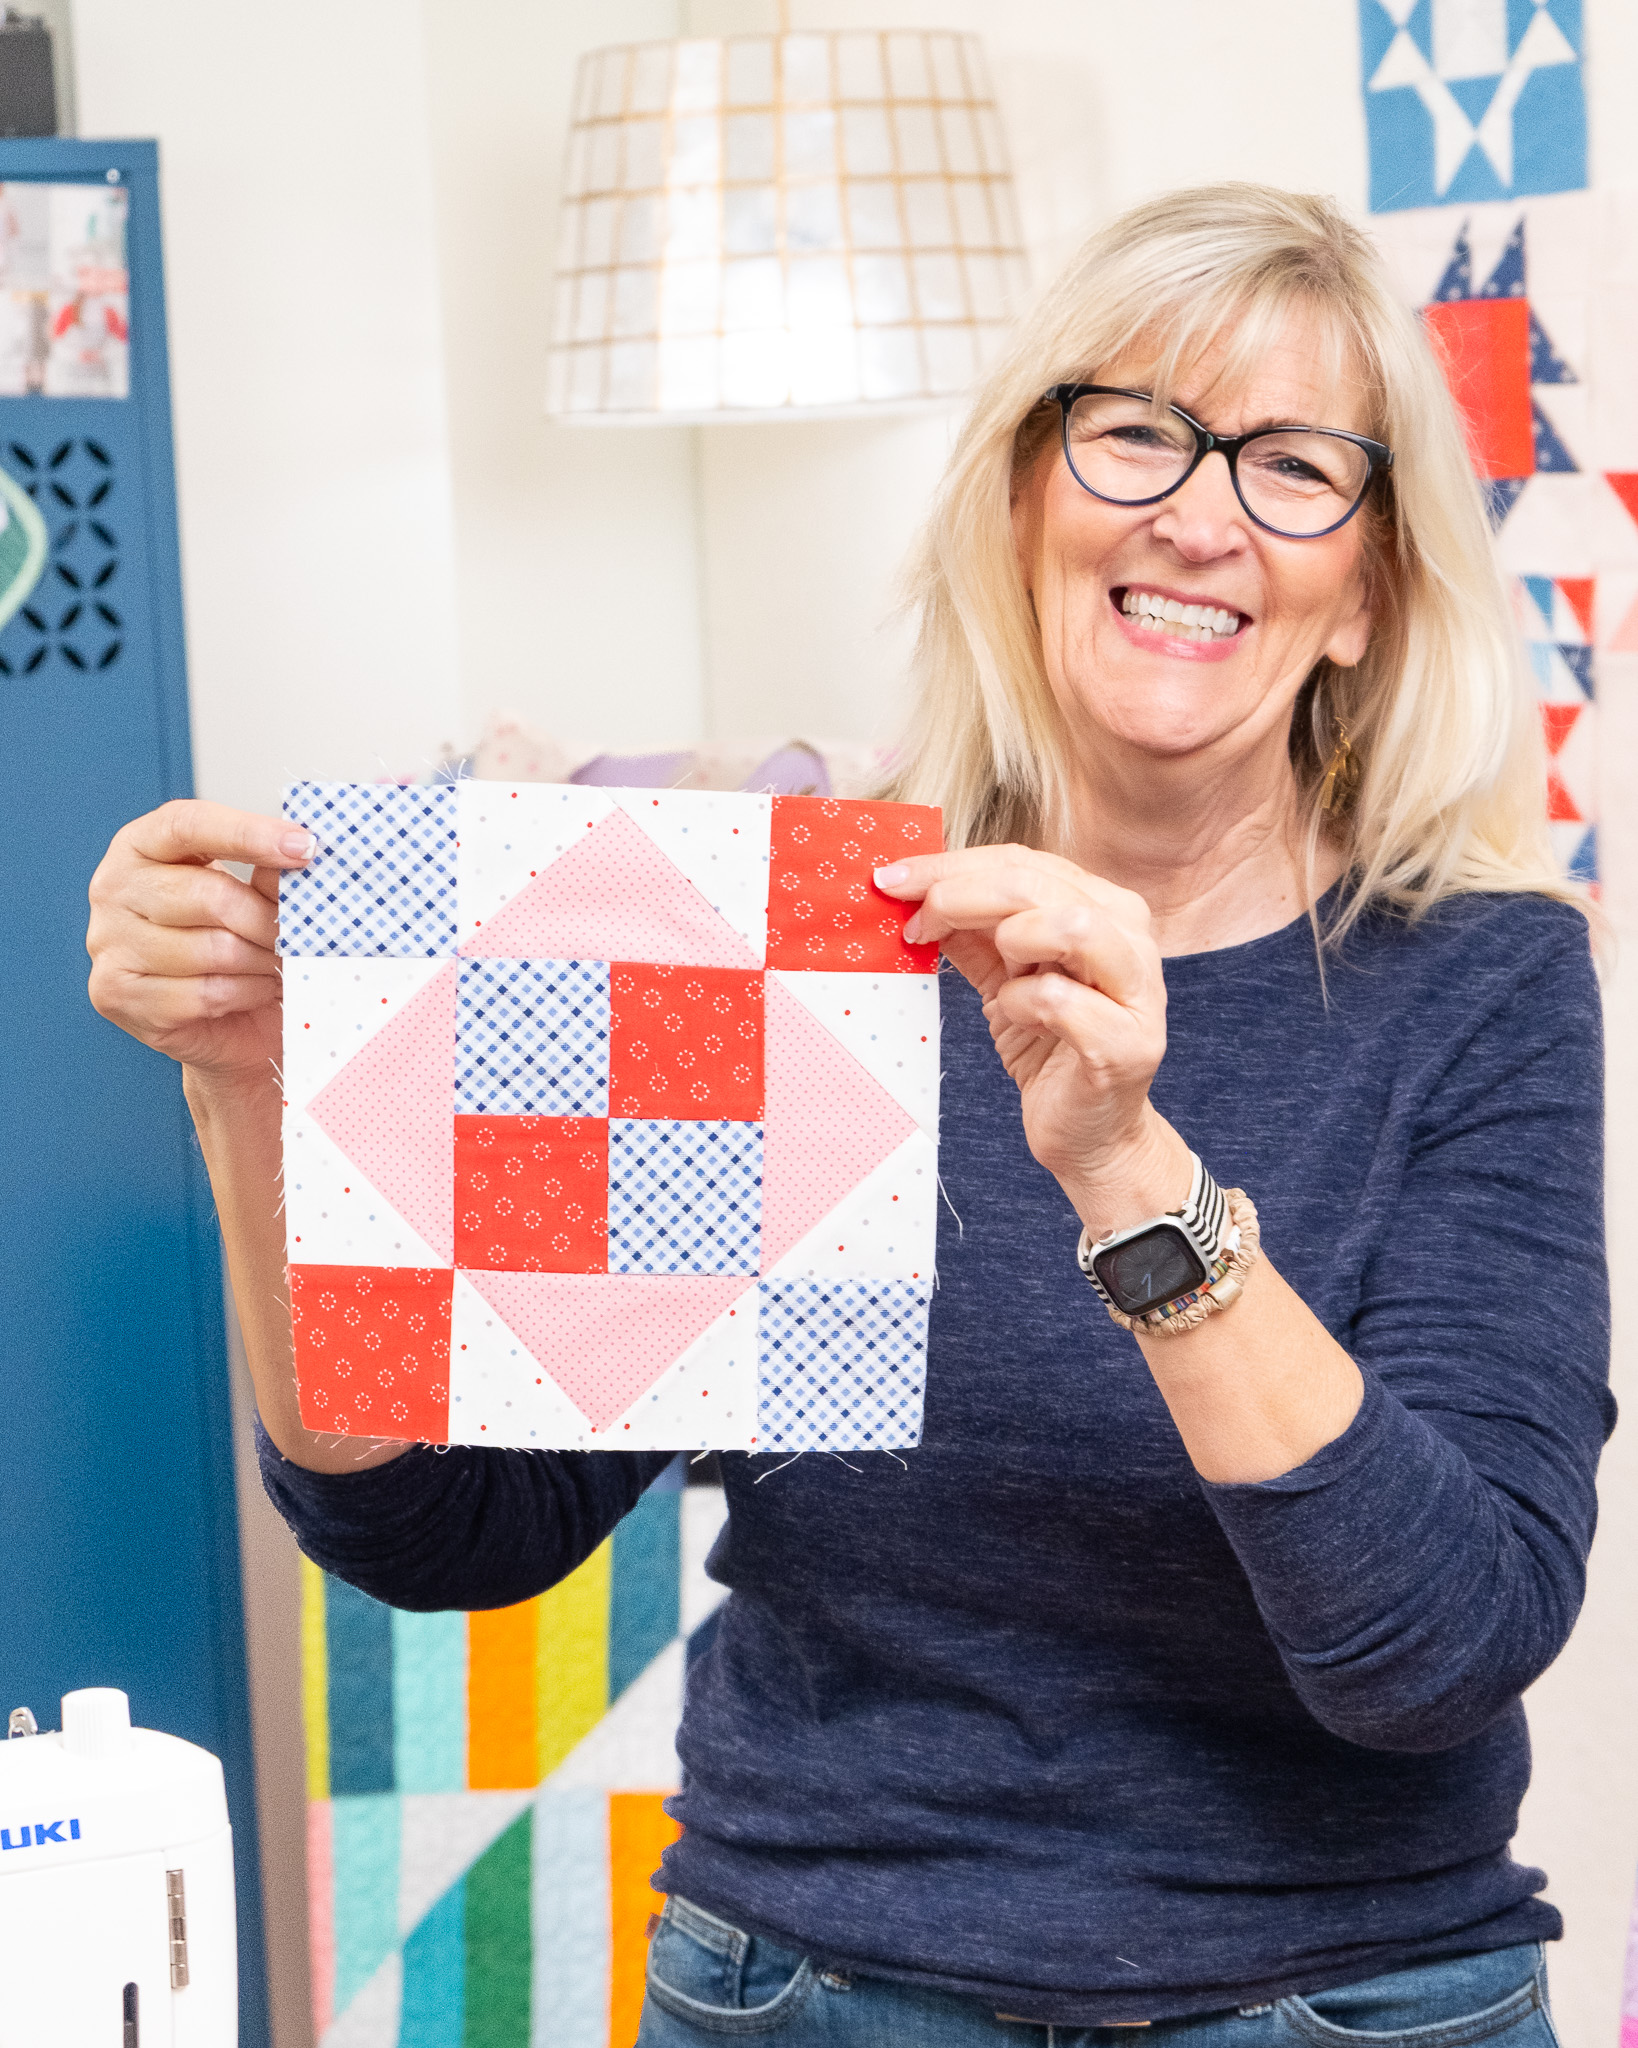
Moda Blockheads 6: Block 3 – Sunday’s Best by Anne Sutton
Blockheads, it’s time to roll out the tablecloth, fluff the cushions, and polish the silver—it’s week three, and we’re sewing Sunday Best!
This elegant block is brought to us by the ever-gracious Anne Sutton of Bunny Hill Designs, whose soft, classic style always brings a touch of timeless charm. Sunday Best is exactly the kind of block that makes you want to slow down and enjoy the process.
A Block with Sunday Charm
The Sunday Best block pairs crisp flying geese with four-patch units, all arranged in a way that feels thoughtful and intentional—kind of like setting the table for a big family meal. The shapes are clean and balanced, but the layout has a quiet movement that keeps your eye dancing across the block.
It evokes that feeling of calm you get on a slow Sunday afternoon—everything in its place, sunlight coming through the window, and something sweet baking in the kitchen. There’s a sense of preparation and celebration built into this design. And honestly? I really like how mine turned out. So much so that I didn’t stop at just one—I made a few! And then ready for a Sunday afternoon nap!
Keeping the Vintage Vision
As I mentioned in earlier posts, I’m going for a faded, vintage look with my Blockheads 6 quilt. The soft tones I added last week are really starting to come together in a gentle wash of light. For Sunday Best, I continued with that theme—working in the reds and blues with touches of mediums. I used strips and dots to continue to work on the vintage feel.
The repeat blocks let me play with subtle shifts in color, keeping things cohesive but not too matchy. I’m not sure yet how many of them will end up in the final layout, but I love the idea of sprinkling a few throughout.
Get Inspired & Get Stitching
Anne has shared her version of Sunday Best over on the BunnyHill Blog, and you’ll definitely want to see her take on the block—it’s graceful and polished, just like her entire Bunny Hill aesthetic.
Need a little help assembling those flying geese and four-patch units? This week is my turn to do a video on the how to make the block. Check out the step-by-step video tutorial staring ME!! to guide you through the block construction. Whether you’re sewing along at your own pace or keeping up week by week, the resources are there to make this journey joyful.
Sew Along with the Blockheads
Are you going classic, scrappy, or experimenting like me? Be sure to post your blocks on social using #ModaBlockheads and #ModaBlockheads6—and tag @modafabrics and your favorite designers too! You can tag me also if you want. #modalissa
Every stitch we make is part of a bigger story, and I love seeing how each of you interpret these blocks through your own fabric choices and styles.
Let’s keep sewing together—one beautiful block at a time.
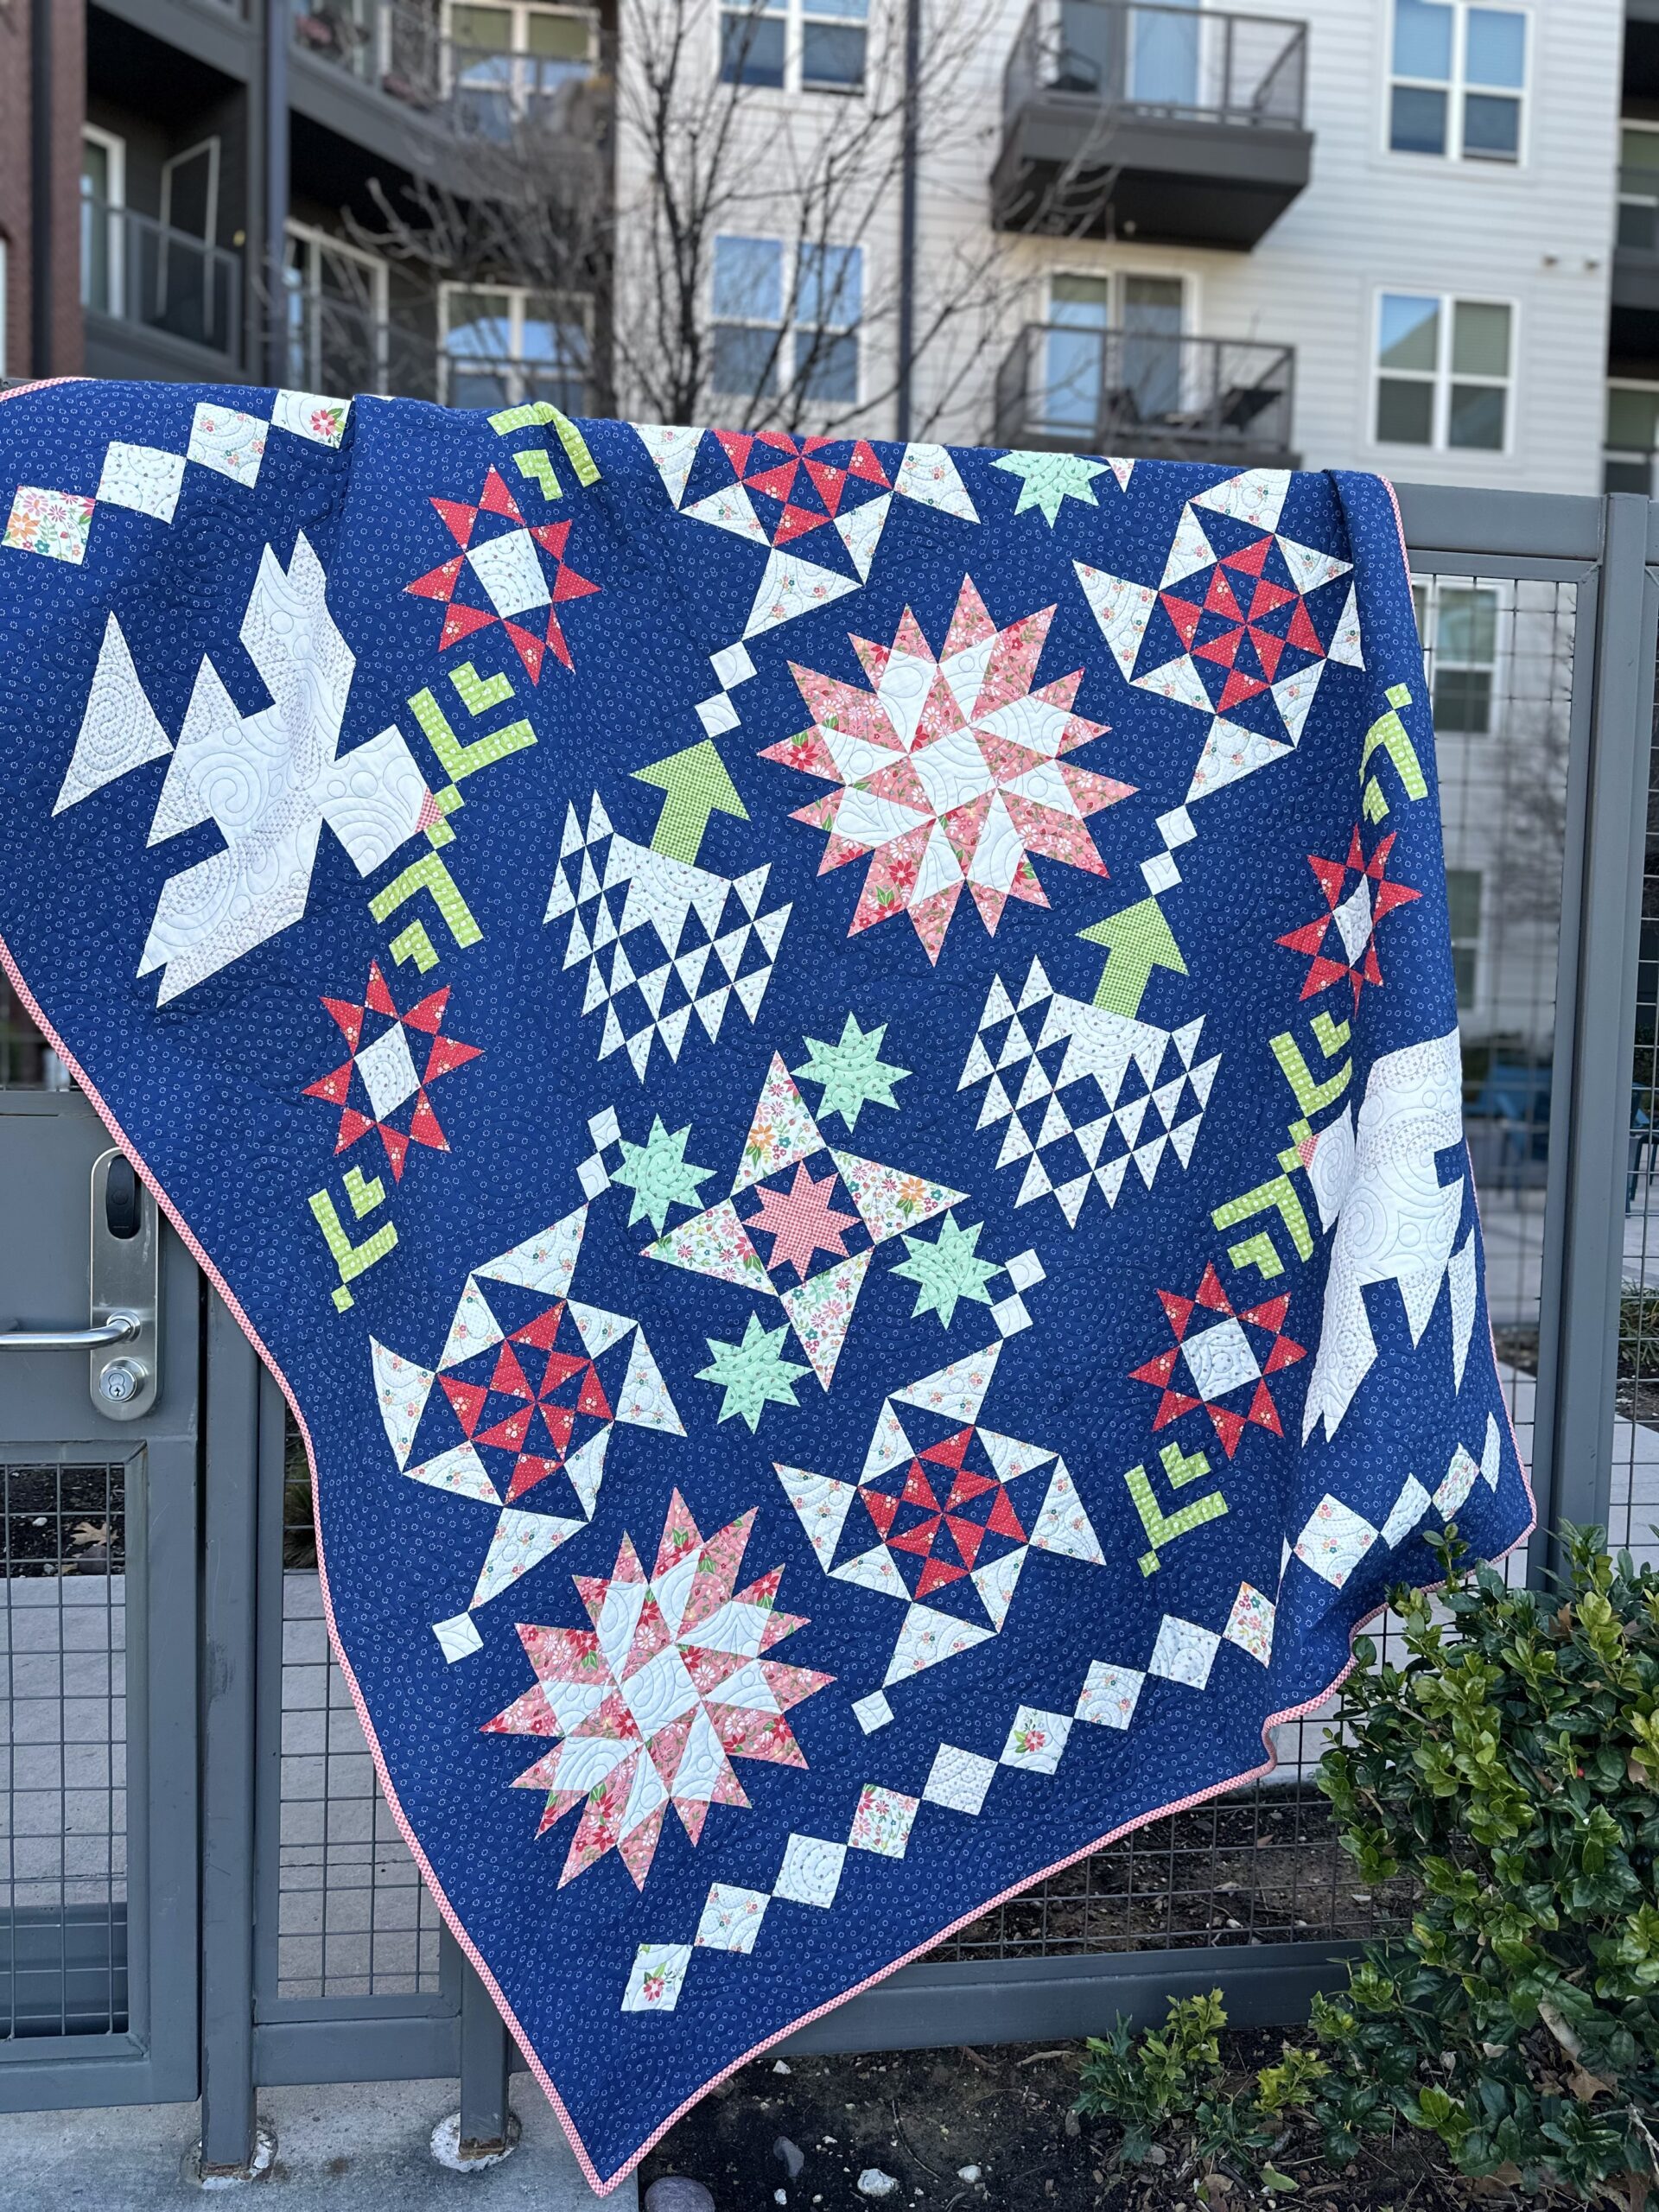
Sewing for Wishes: Join the Stardust Charity Quilt Along
There’s something extraordinary about the quilting community. When we come together, we don’t just create beautiful quilts — we also create hope. I’m so excited to be participating in the Fat Quarter Shop’s 2025 Charity Quilt Along, featuring the dazzling Stardust Quilt and benefitting Make-A-Wish Central & South Central Texas.
photo courtesy of Fat Quarter Shop
This year’s quilt is called Stardust, and it’s every bit as magical as the name suggests. With radiant patchwork and starry motifs, it’s a quilt that shines — both visually and symbolically. Each pattern and donation helps us get closer to helping grant heartfelt wishes for children with critical illnesses. This one is going to be an easy project with two installments of patterns launching May 2nd and June 6th. There will be a quilt raffle in July if you want to contribute and not make the quilt.
My Version: Bella Solids Shine Bright
For my own version of Stardust, I’ll be working entirely in Bella Solids. I love the crisp contrast and timeless feel of solids — and they really let the shapes and negative space shine. Or so I hope. I have always wanted one of the Pendleton wool camp blankets but wasn’t willing to pay the price and wool doesn’t make that much sense in Texas. My color choices were inspired from the blanket. I have it planned in my head but anxious to see how it plays out. Currently I have the fabrics all starched and hanging outside to dry.
As always, I’ll be sharing monthly progress updates here on the blog and over on Instagram @modalissa. I might even throw in a few tips and tricks I’ve learned along the way — because what’s a quilt along without a little creative camaraderie?
Over the years, I’ve seen how powerful quilts can be — not just for comfort, but for connection and care. Make-A-Wish gives children something extraordinary to look forward to, and being able to support that mission with fabric and thread is a true honor.
Whether you’re using the kit, pulling from your stash, your quilt is a star in this galaxy of giving.
And I completely forgot, there is also a Cross Stitch option.
Let’s make some wishes come true — and have fun doing it.
What is the Difference Between a QAL and a BOM in the Quilting World?
If you’ve been part of the quilting community for any length of time, you’ve probably come across the terms QAL and BOM. While these acronyms are common in the quilting world, they represent two distinct ways of tackling a quilt project. Both are popular, and both create a sense of community, but they cater to different types of quilters and schedules. One of the sales professionals ay Moda always says we need more Bom’s. With over 50 creative designers creating projects I spent quite some time studying this topic. Let’s break down what they mean and how they differ, so you can decide which format works best for you!
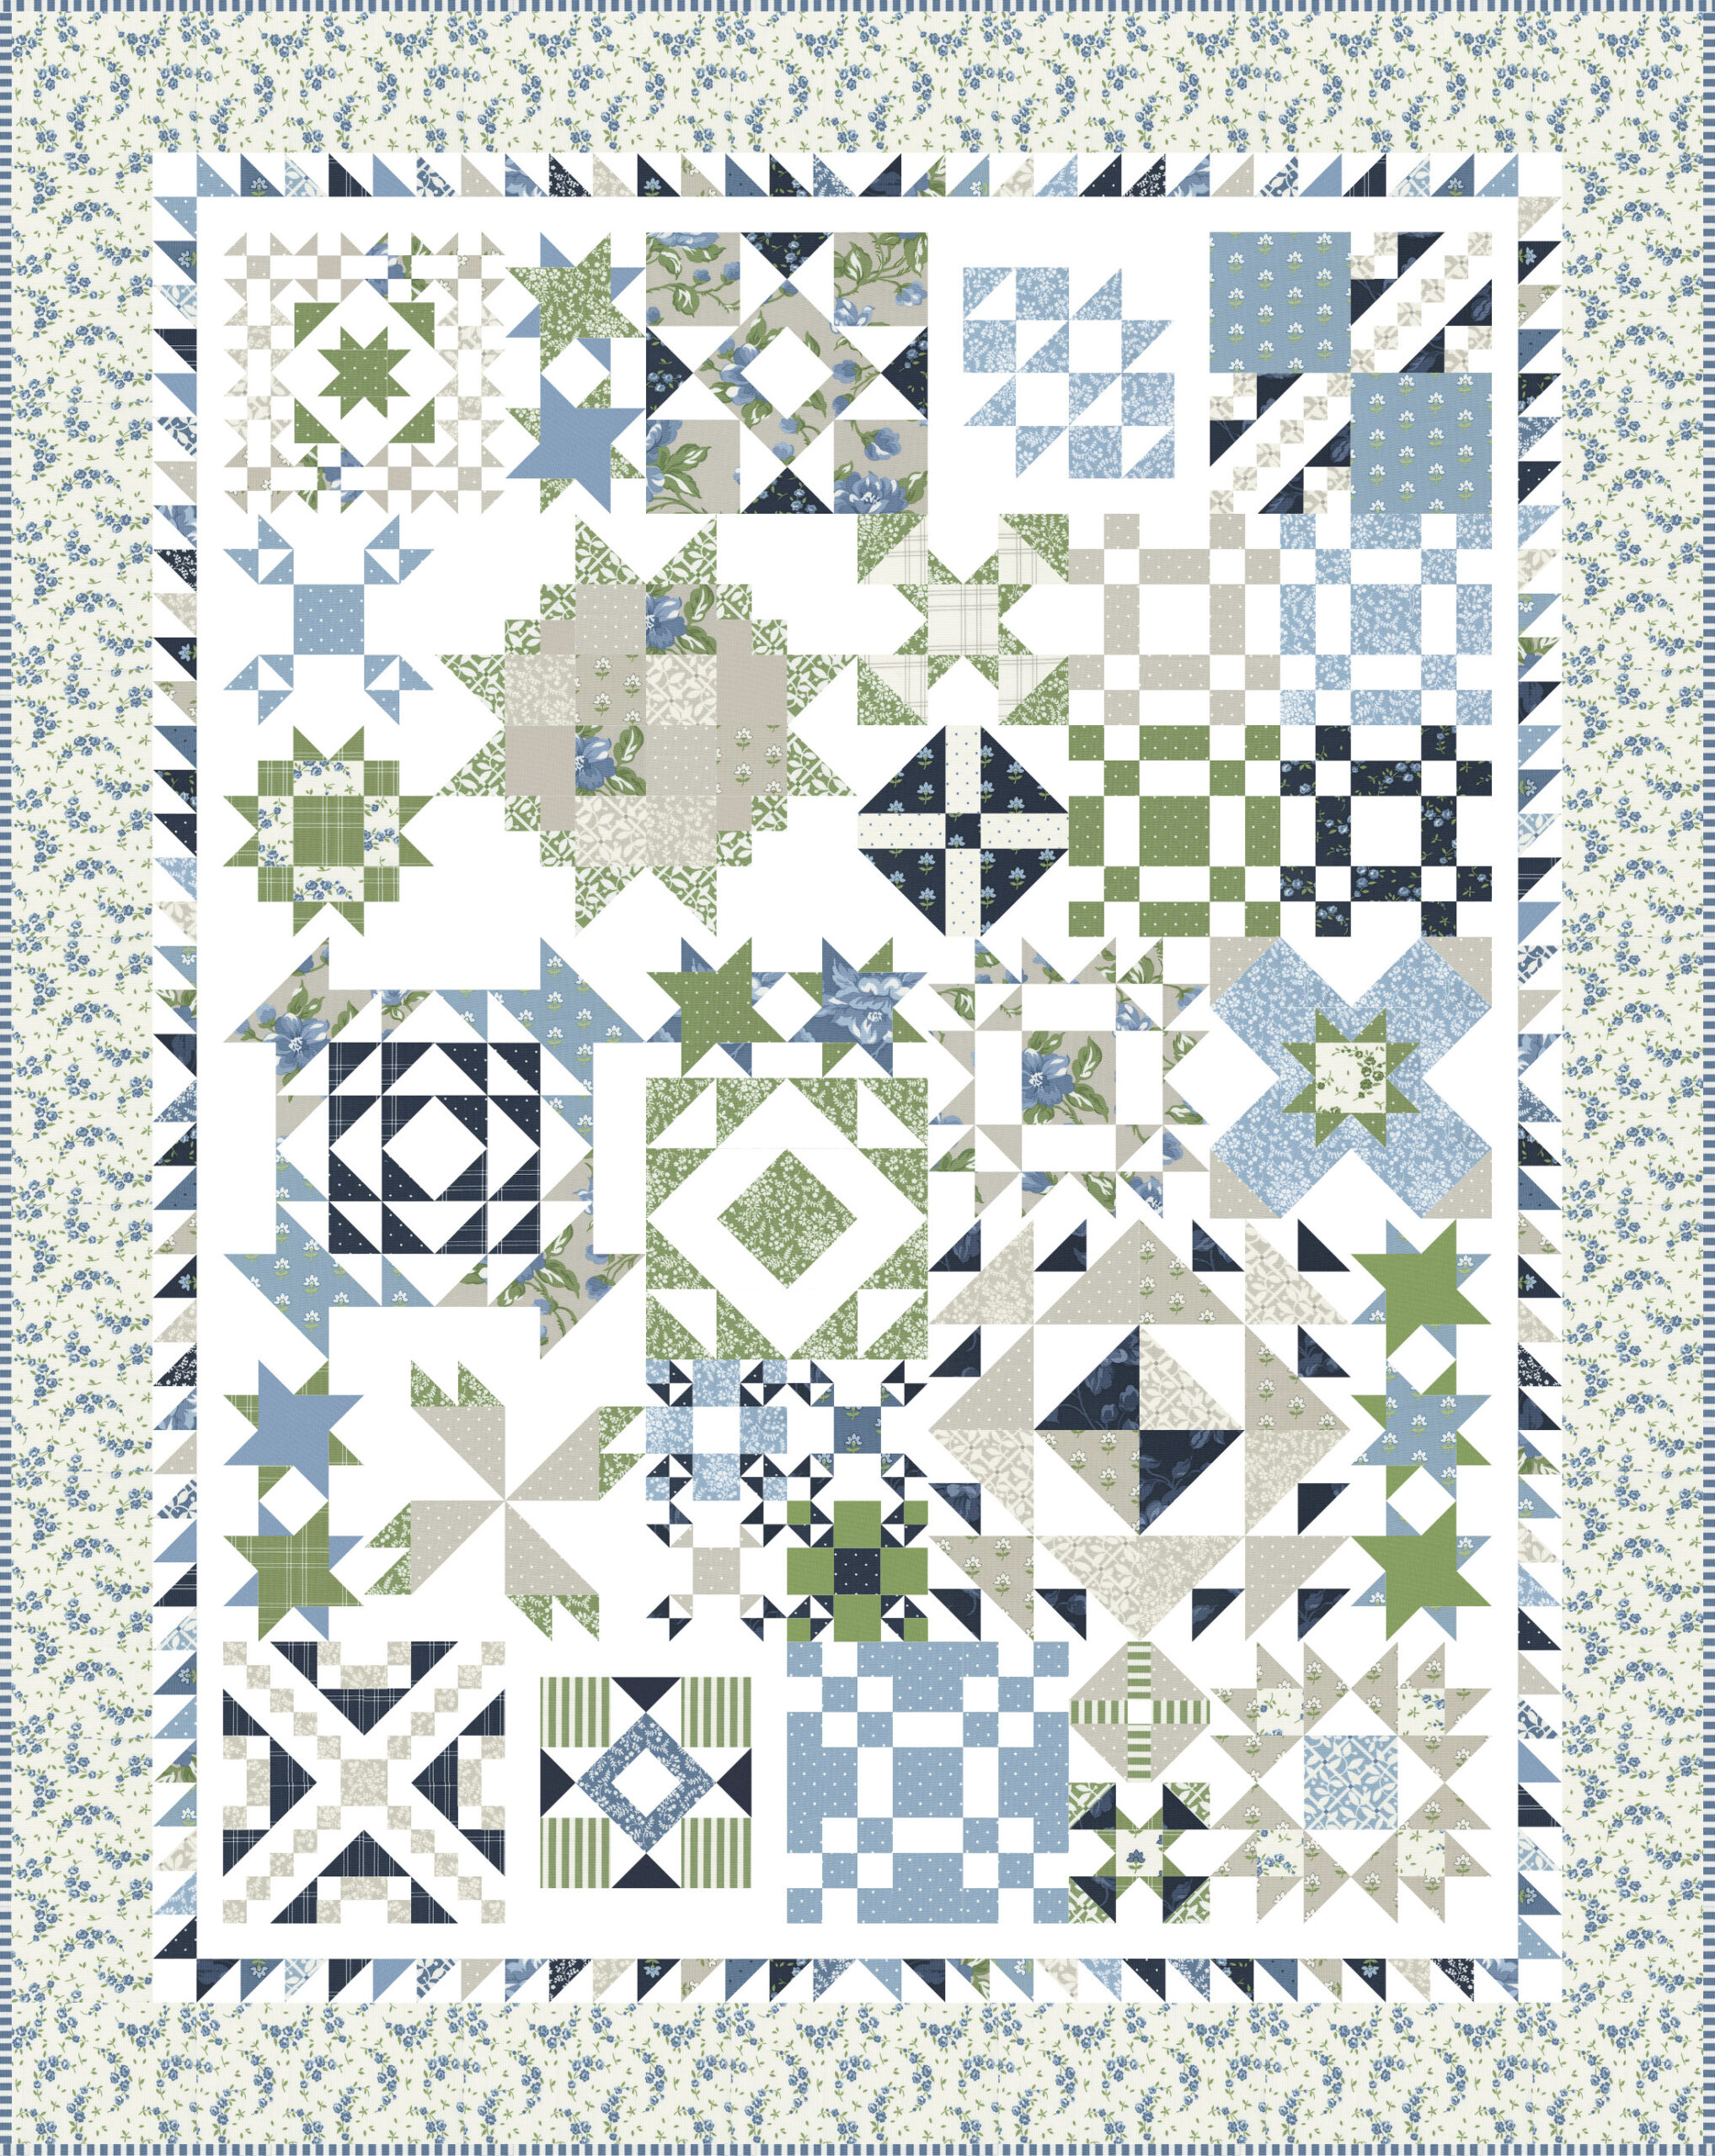
Moonbeams QAL
What is a QAL (Quilt Along)?
A QAL or Quilt Along is exactly what it sounds like—a group of quilters working together on the same quilt project at the same time, usually online. The key component of a QAL is its collaborative and interactive nature. Typically, the organizer provides a pattern, and over a set number of weeks or months, quilters follow along, sewing the quilt together at the same pace. The schedule is broken down into manageable sections, such as working on specific blocks or completing certain tasks during each phase.
Why participate in a QAL?
Community: QALs are all about connection. They often involve shared photos, tips, and encouragement through social media or dedicated platforms. You’ll see how others interpret the same pattern and get ideas from their fabric choices or layout variations.
Flexibility: While there’s a timeline, it’s generally not as rigid as a BOM. If you fall behind, you can usually catch up easily.
Creative Freedom: While the pattern may be the same for everyone, QALs often encourage quilters to make their own fabric choices or tweak the design to suit their personal style.
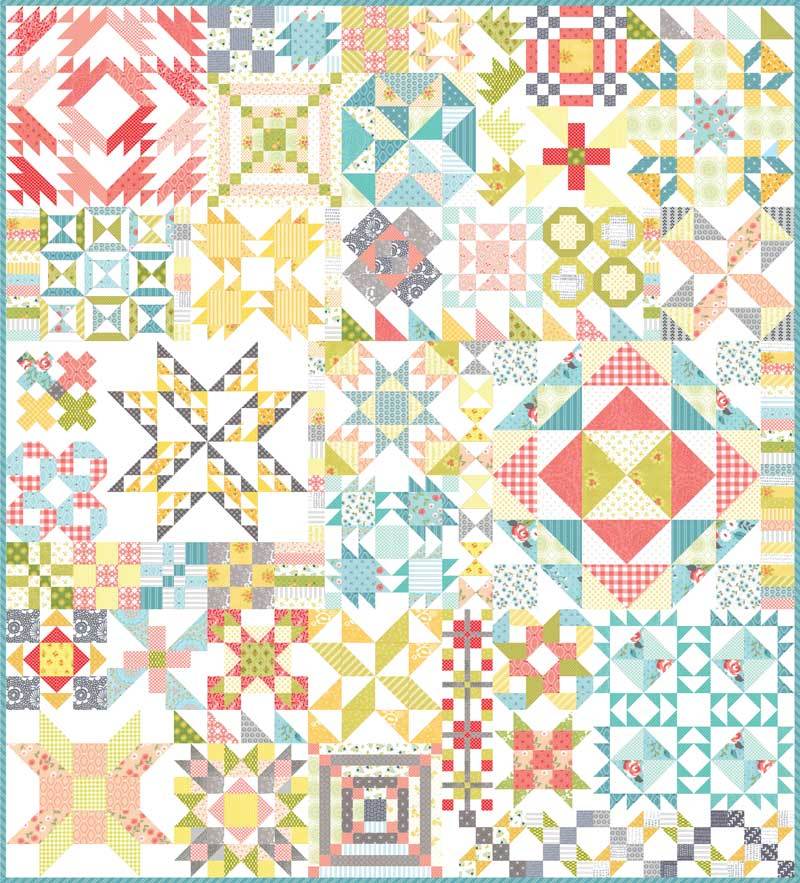
Example: The Fat Quarter Shop runs popular Quilt Alongs, such as the Piece and Quilt Sampler Quilt Along, where participants create a sampler quilt one block at a time and share their progress along the way. ( shameless plug for mine and Susan Ache’s book)
What is a BOM (Block of the Month)?
A BOM or Block of the Month program is a long-term quilting project that delivers a new block to complete each month, either as a digital pattern or a physical kit with all the necessary fabric and instructions. Over the course of several months (usually 12), quilters work on one block at a time, and by the end of the program, they have all the blocks they need to complete a full quilt.
Why participate in a BOM?
Pacing: The slower pace of a BOM is perfect for quilters who prefer a steady, manageable project. You only need to complete one block each month, making it easier to fit into a busy schedule.
Guided Experience: For those who like having everything laid out for them, BOMs often provide the full experience—from fabric selections to assembly instructions—meaning less decision-making along the way.
Skill Building: BOMs are a fantastic way to build new skills. Since the blocks are released one at a time, they tend to increase in complexity, allowing participants to gradually improve their techniques.
Example: Many quilt shops and fabric designers offer BOM programs. For instance, a designer like Lella Boutique might create a BOM that features new blocks based on their latest fabric collection.
How Do They Differ?
Pacing: QALs are often faster-paced, with a timeline that could range from a few weeks to a few months. BOMs stretch out over a year, offering a more leisurely pace.
Community vs. Independence: QALs thrive on community interaction, with frequent updates and shared progress. BOMs, on the other hand, can feel more like a personal challenge, with fewer opportunities for interaction throughout the project.
Commitment: QALs can be intense but short-lived. BOMs require a longer commitment—usually 12 months—but the work is more spread out and manageable.
Project Structure: In a QAL, you’re often working on the quilt top as a whole, piecing together sections as you go. In a BOM, you’re working on individual blocks, and only at the end will you assemble them into a full quilt.
Moda’s Dessert Sampler Pattern
Which One is Right for You?
If you love the idea of sewing alongside others, exchanging ideas, and potentially working on a shorter project, a QAL could be just what you’re looking for. But if you prefer a slower pace, and you like having the convenience of receiving one block at a time, a BOM might be a better fit.
Whether you choose a QAL or a BOM, both offer unique experiences that build skills and provide a sense of accomplishment. Plus, you’ll have a beautiful quilt to show for it! So, why not try both and see which style inspires you the most? I have several going on at any time. There is something therapeutic about these types of projects but I do loose patience and interest so keeping focus about month 7 out of 12 is tough for me.
QAL’s and BOM’s in many ways are interchangeable in many ways. Like they say TOMATO or TOMATOE!
How many BOM’s or QAL’s do you participate in?
Are there any sort of projects you are interested in for a QAL?