This week’s Moda Blockheads 6 block comes with a sprinkle of magic and a twist of tradition—introducing Toadstool Twist by the always-inspiring Betsy Chutchian.
Known for her deep love of quilting history and rich reproduction fabrics, Betsy brings a sense of storytelling to every design. And Toadstool Twist? It feels like a little adventure stitched into fabric—a block full of movement, mystery, and just the right touch of whimsy.

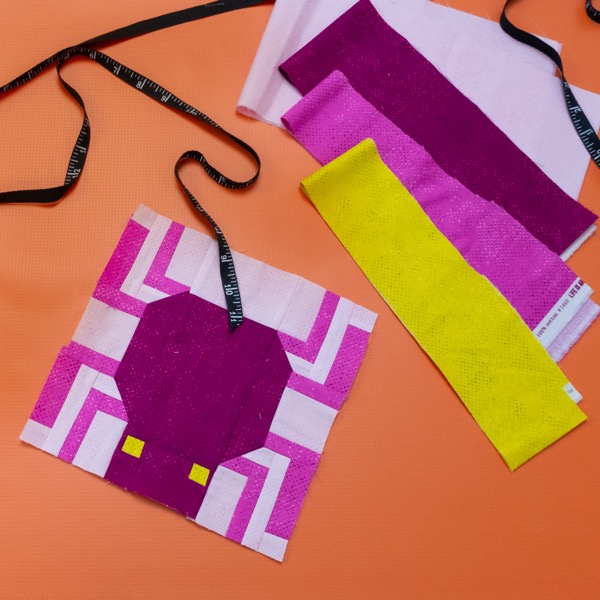
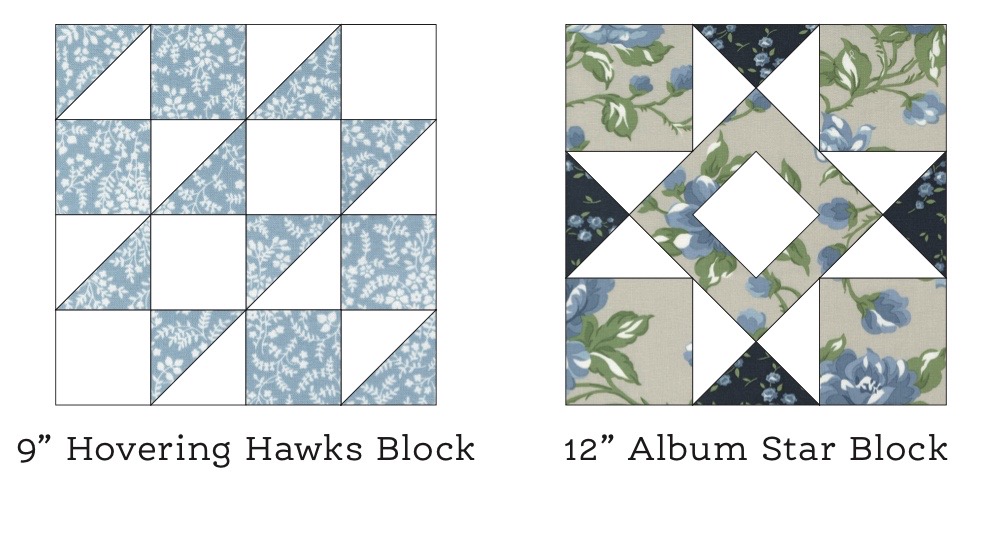
Toadstool Twist – A Walk Through the Woods
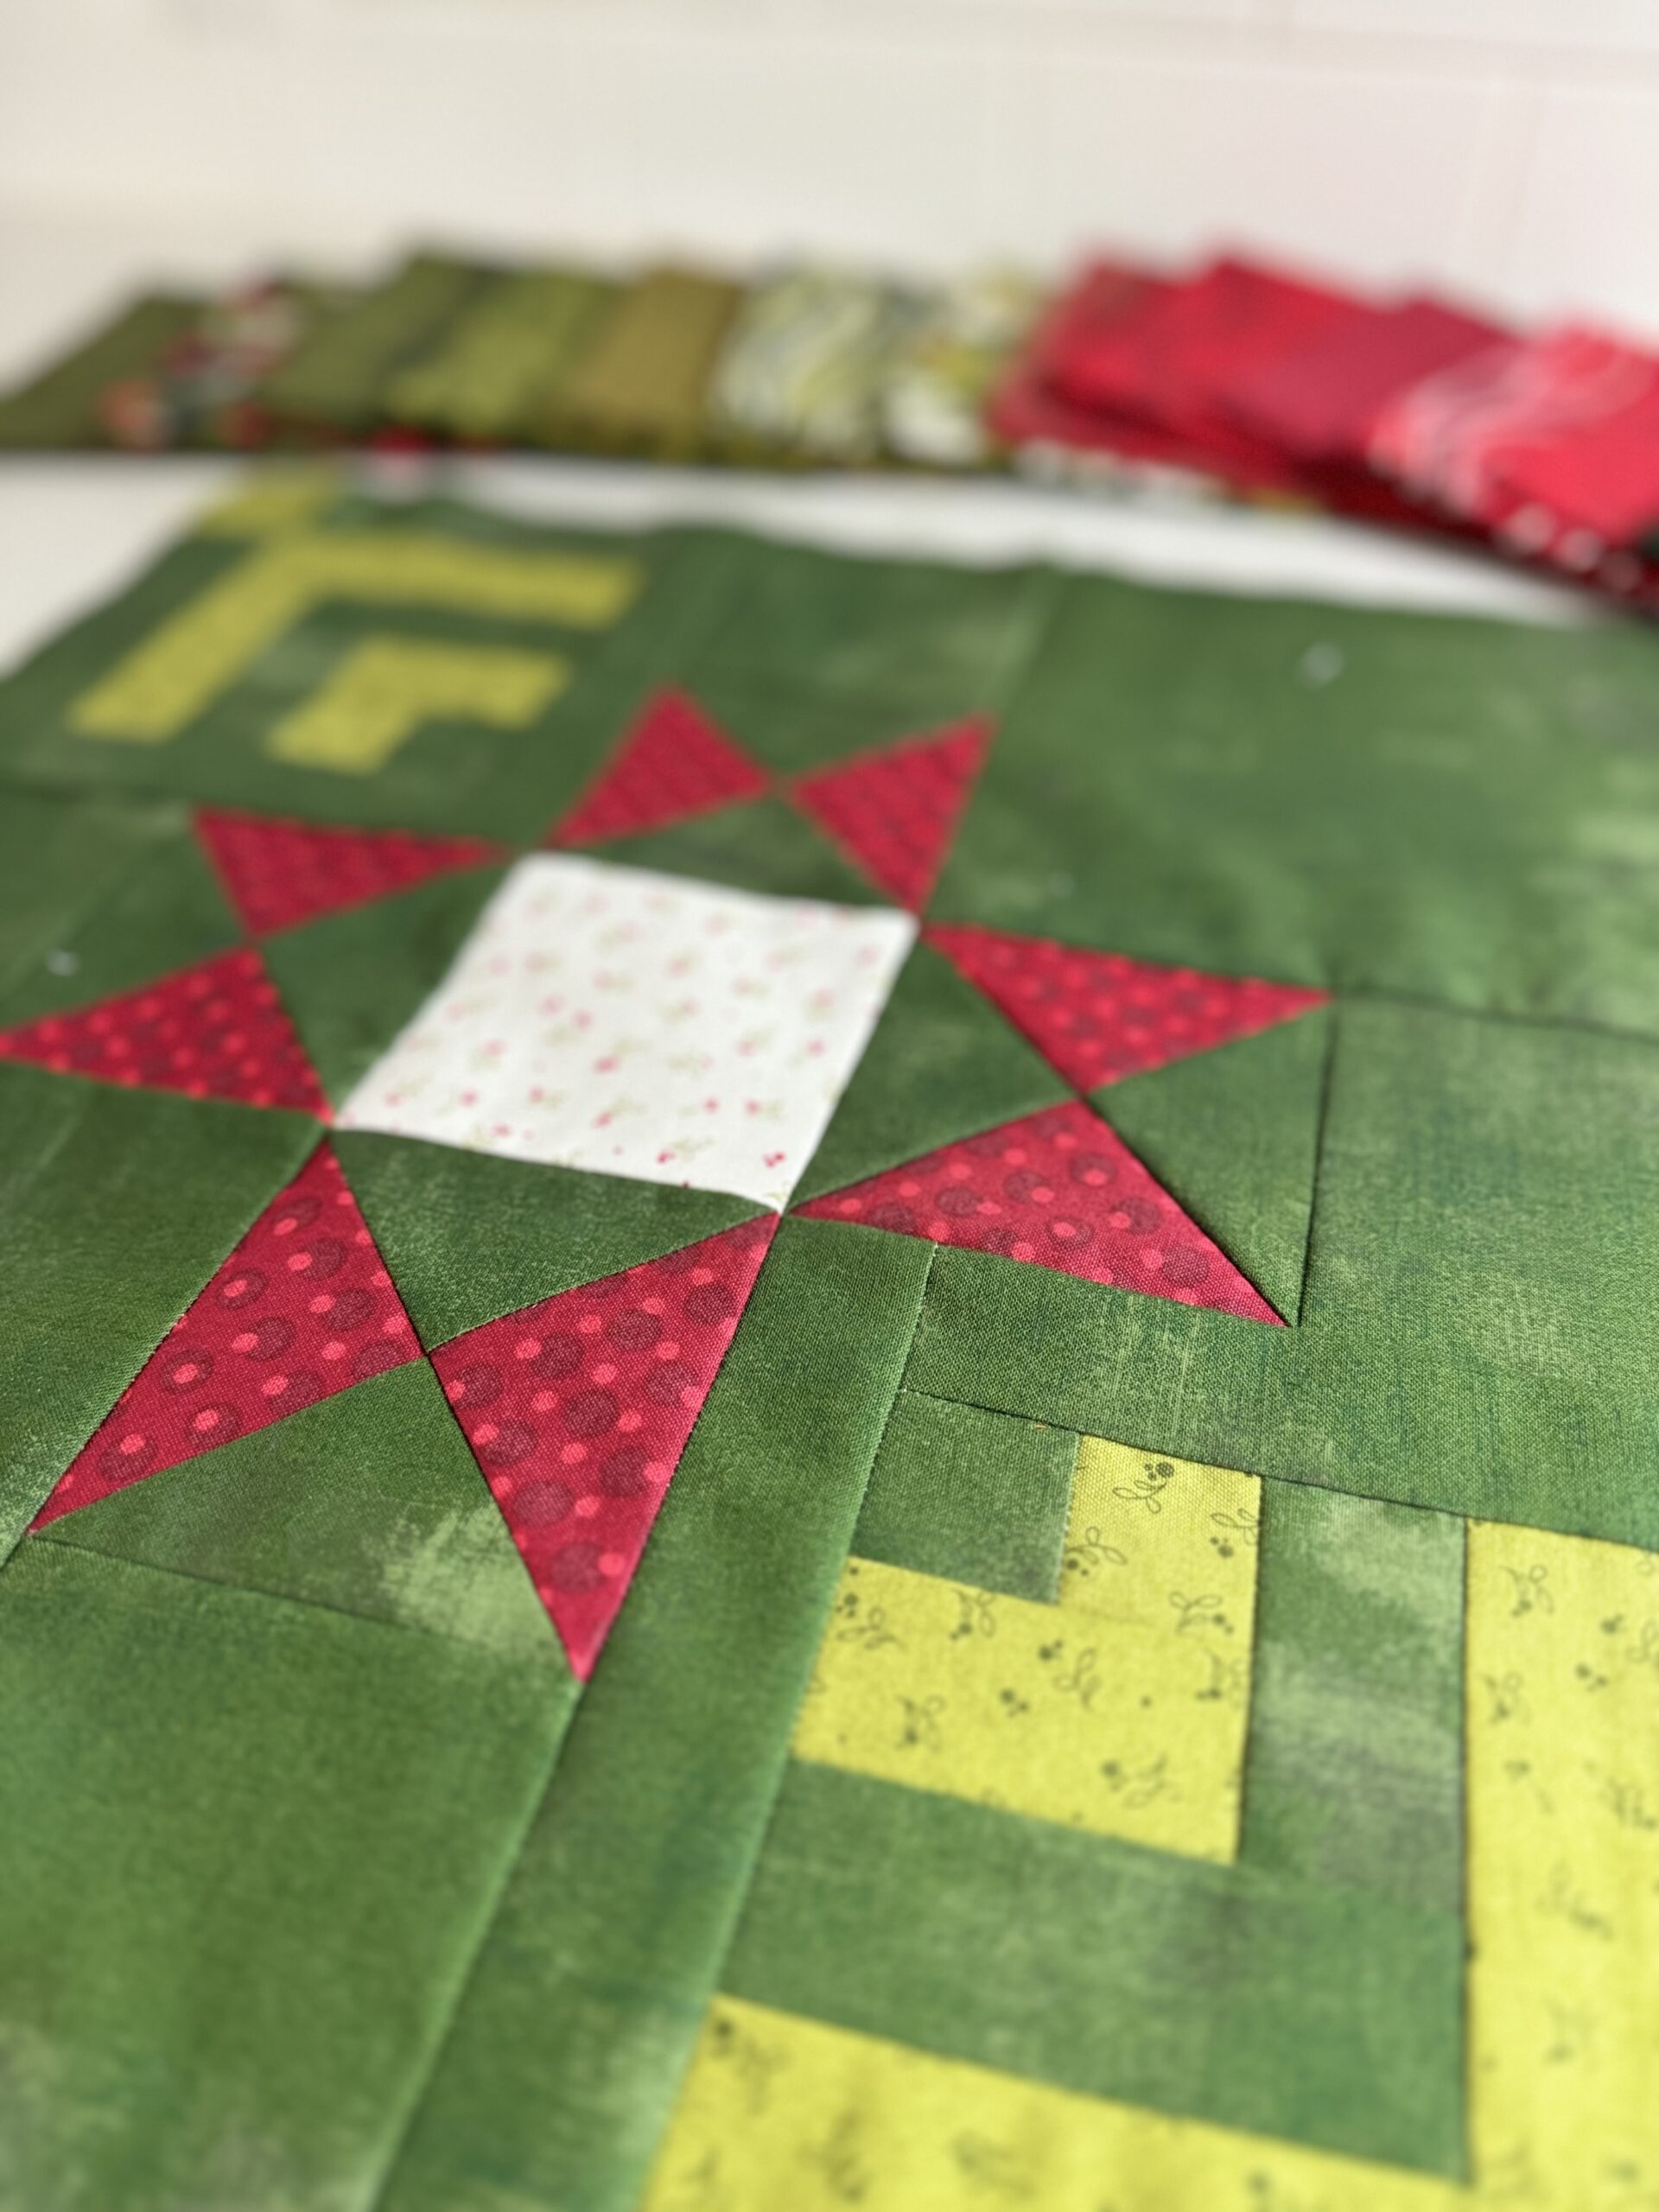
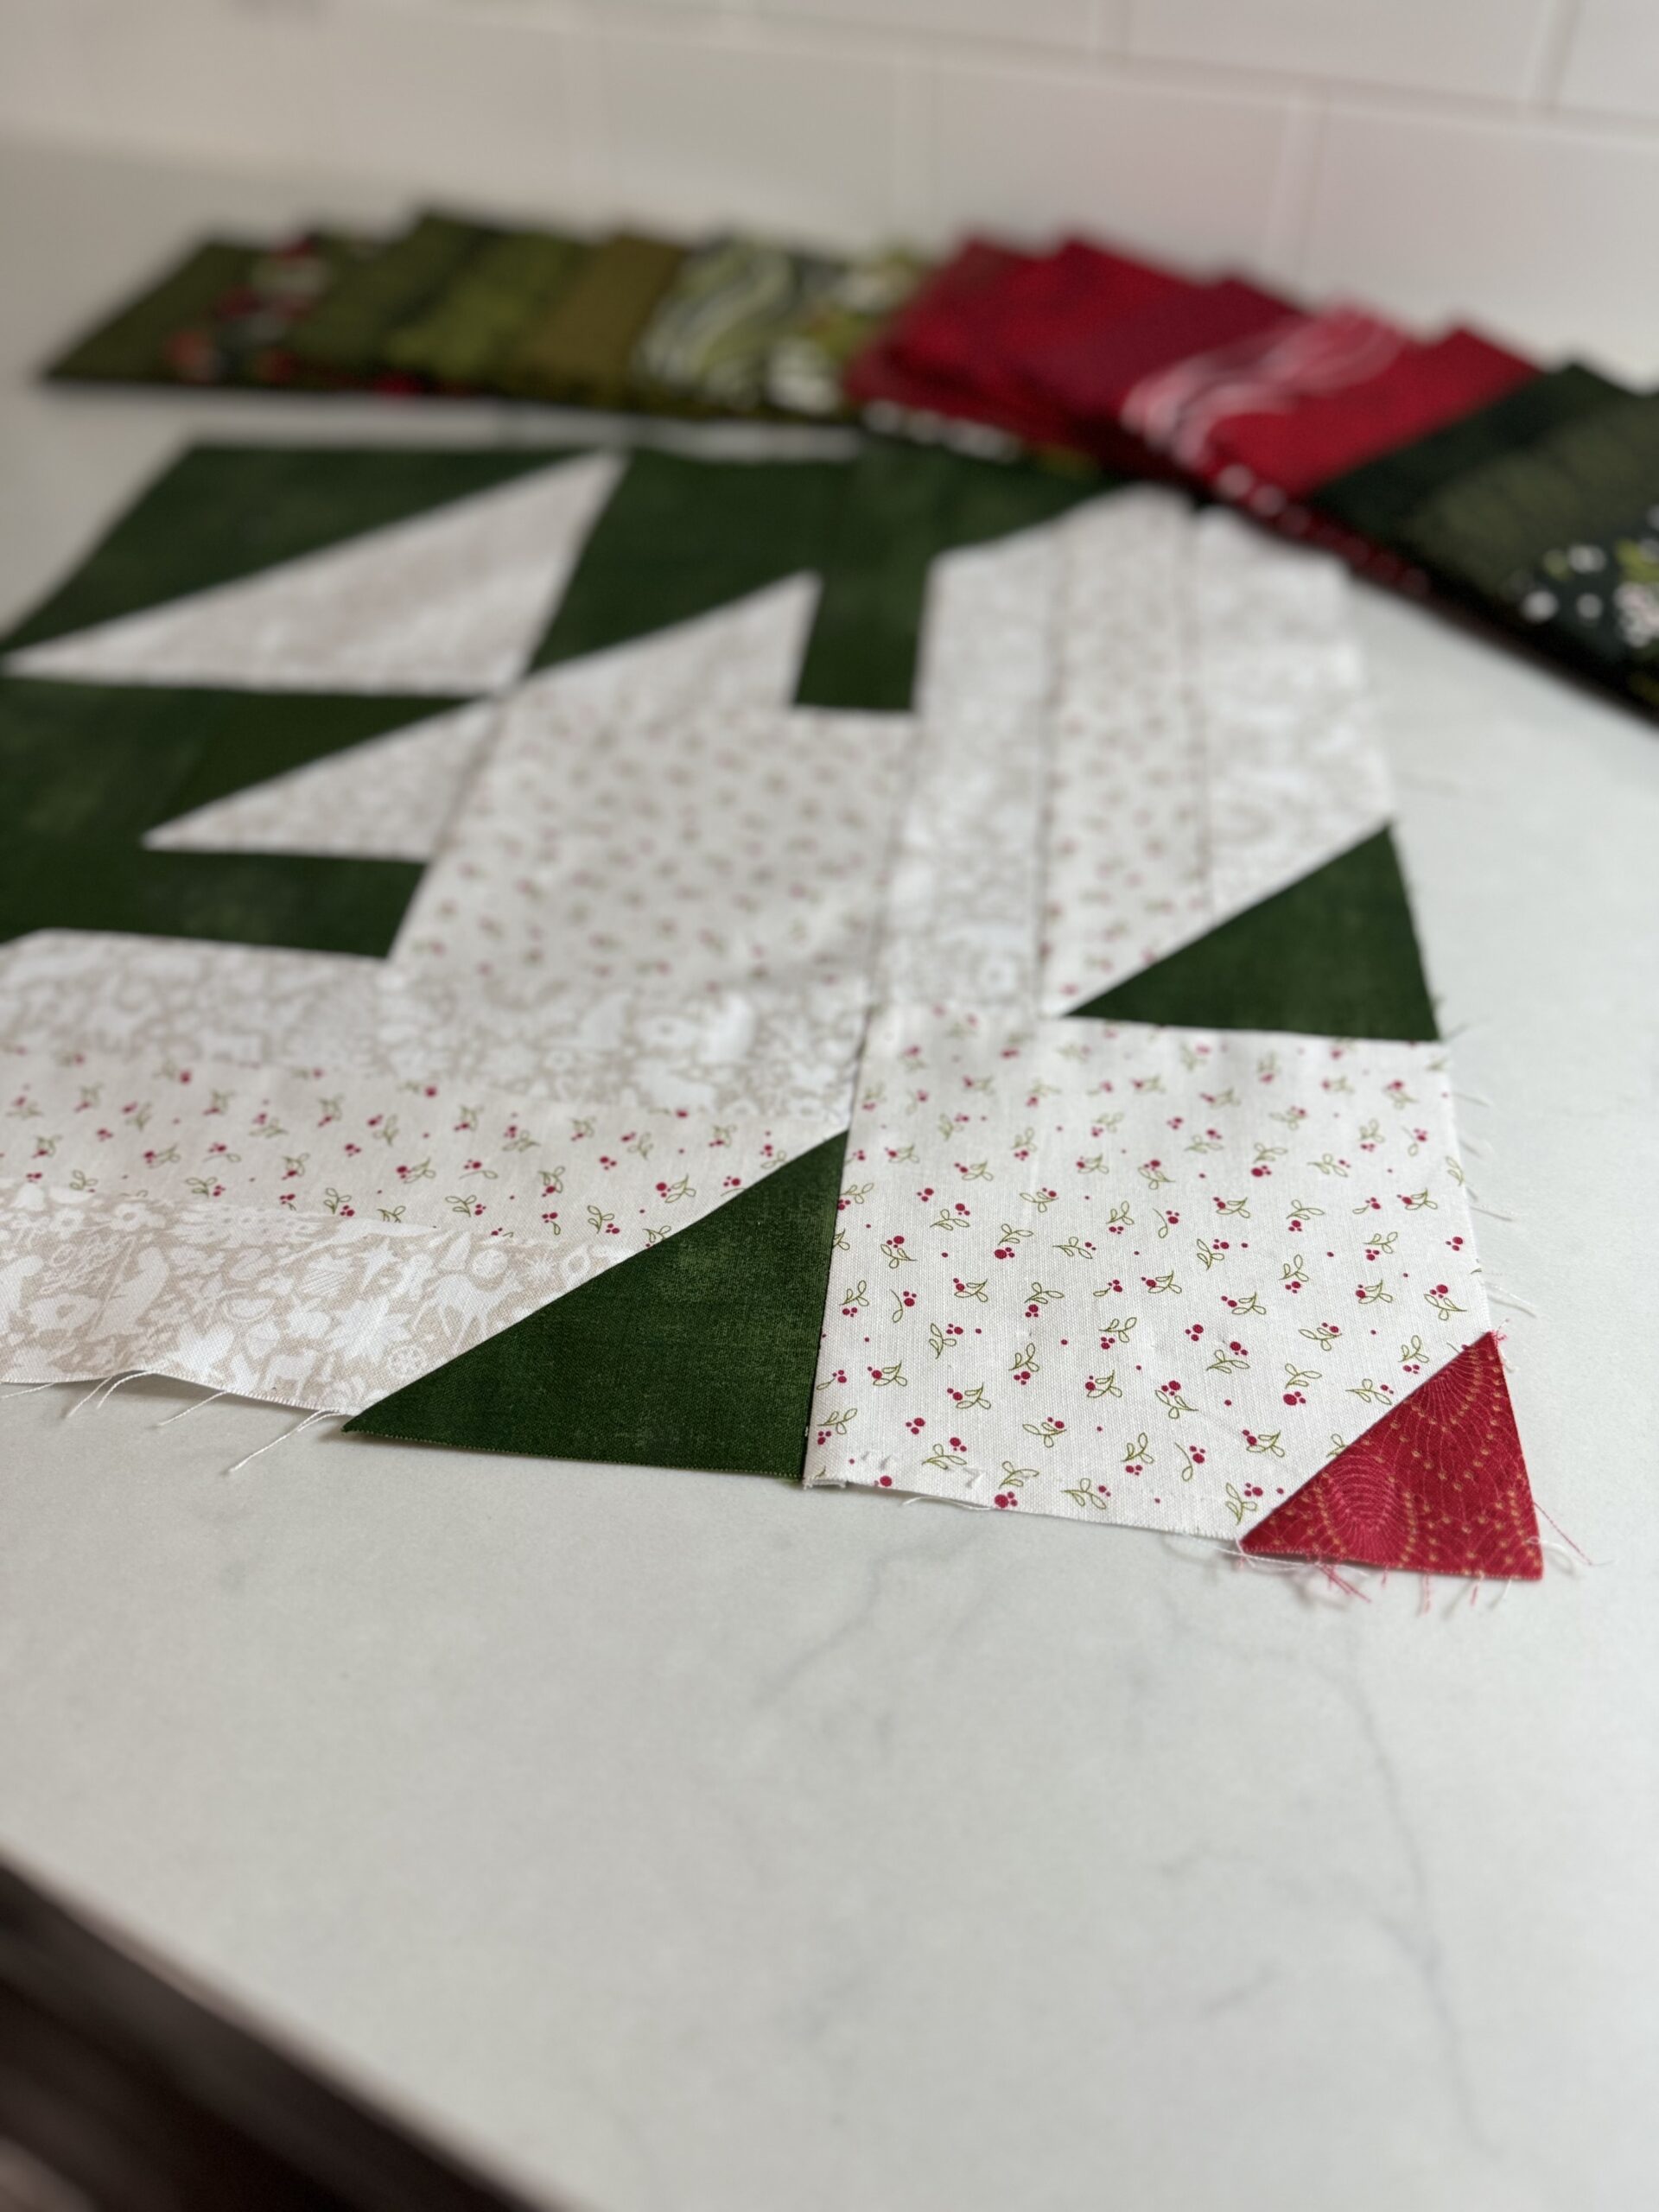
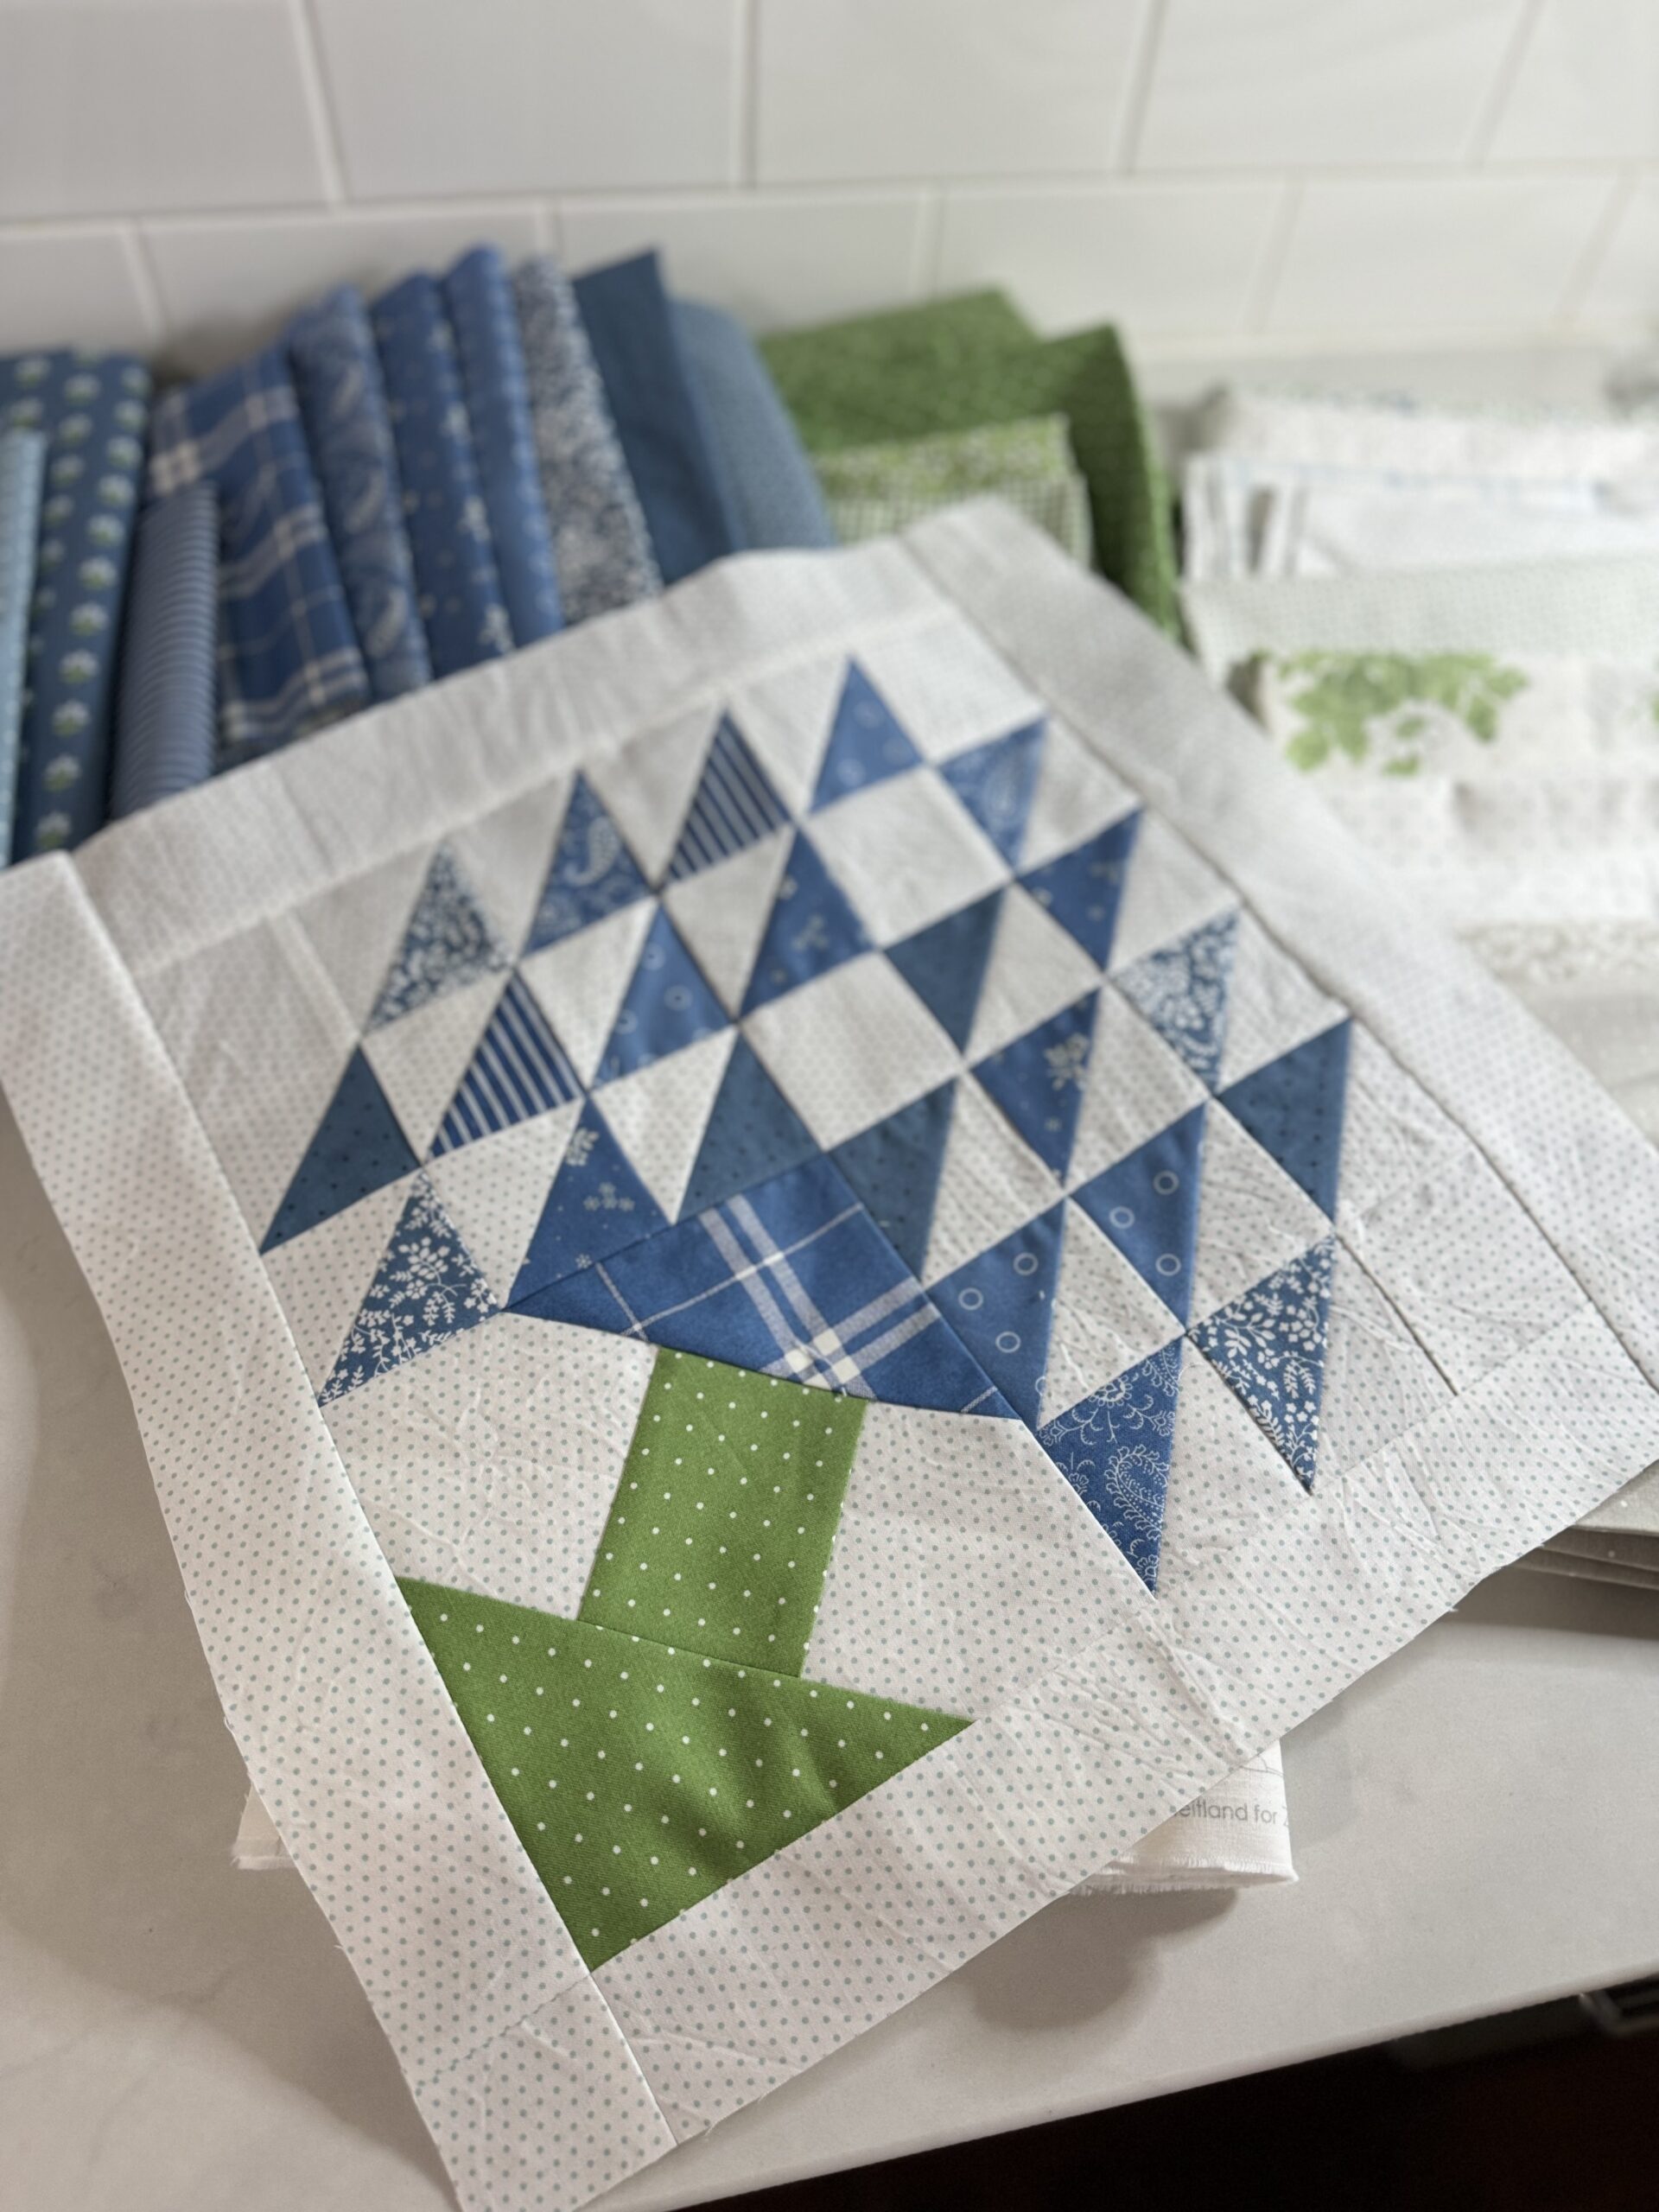
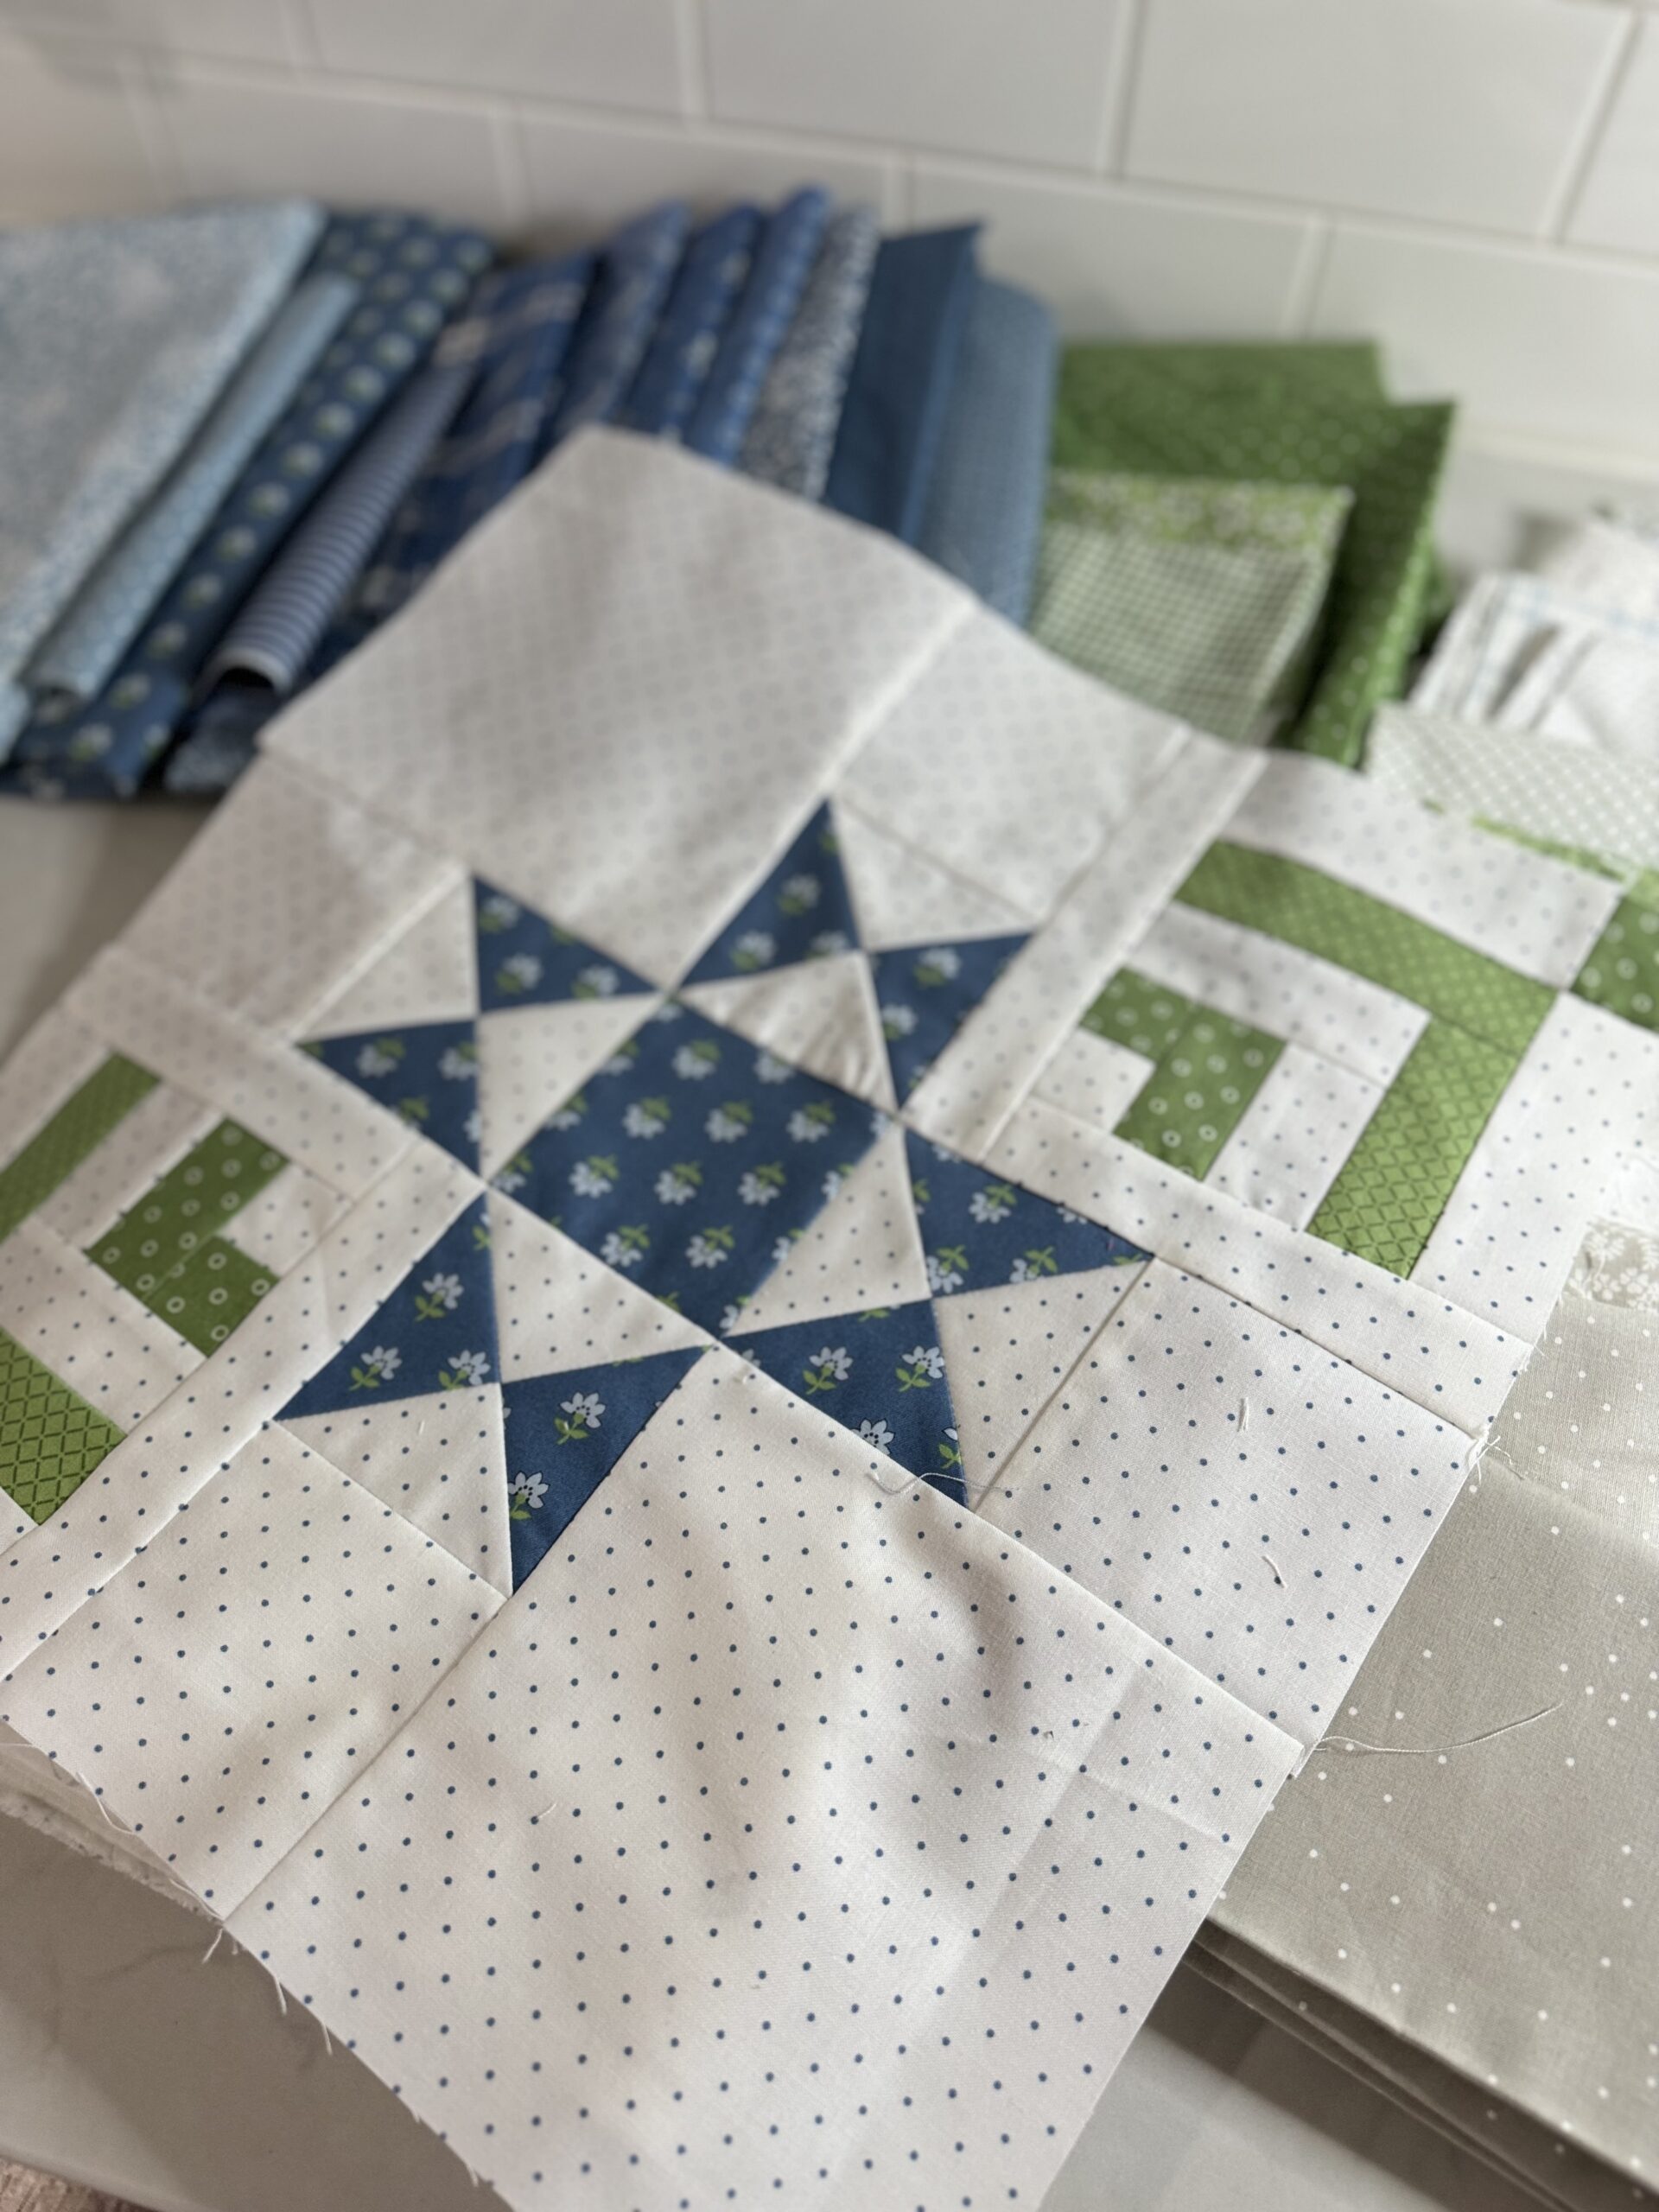
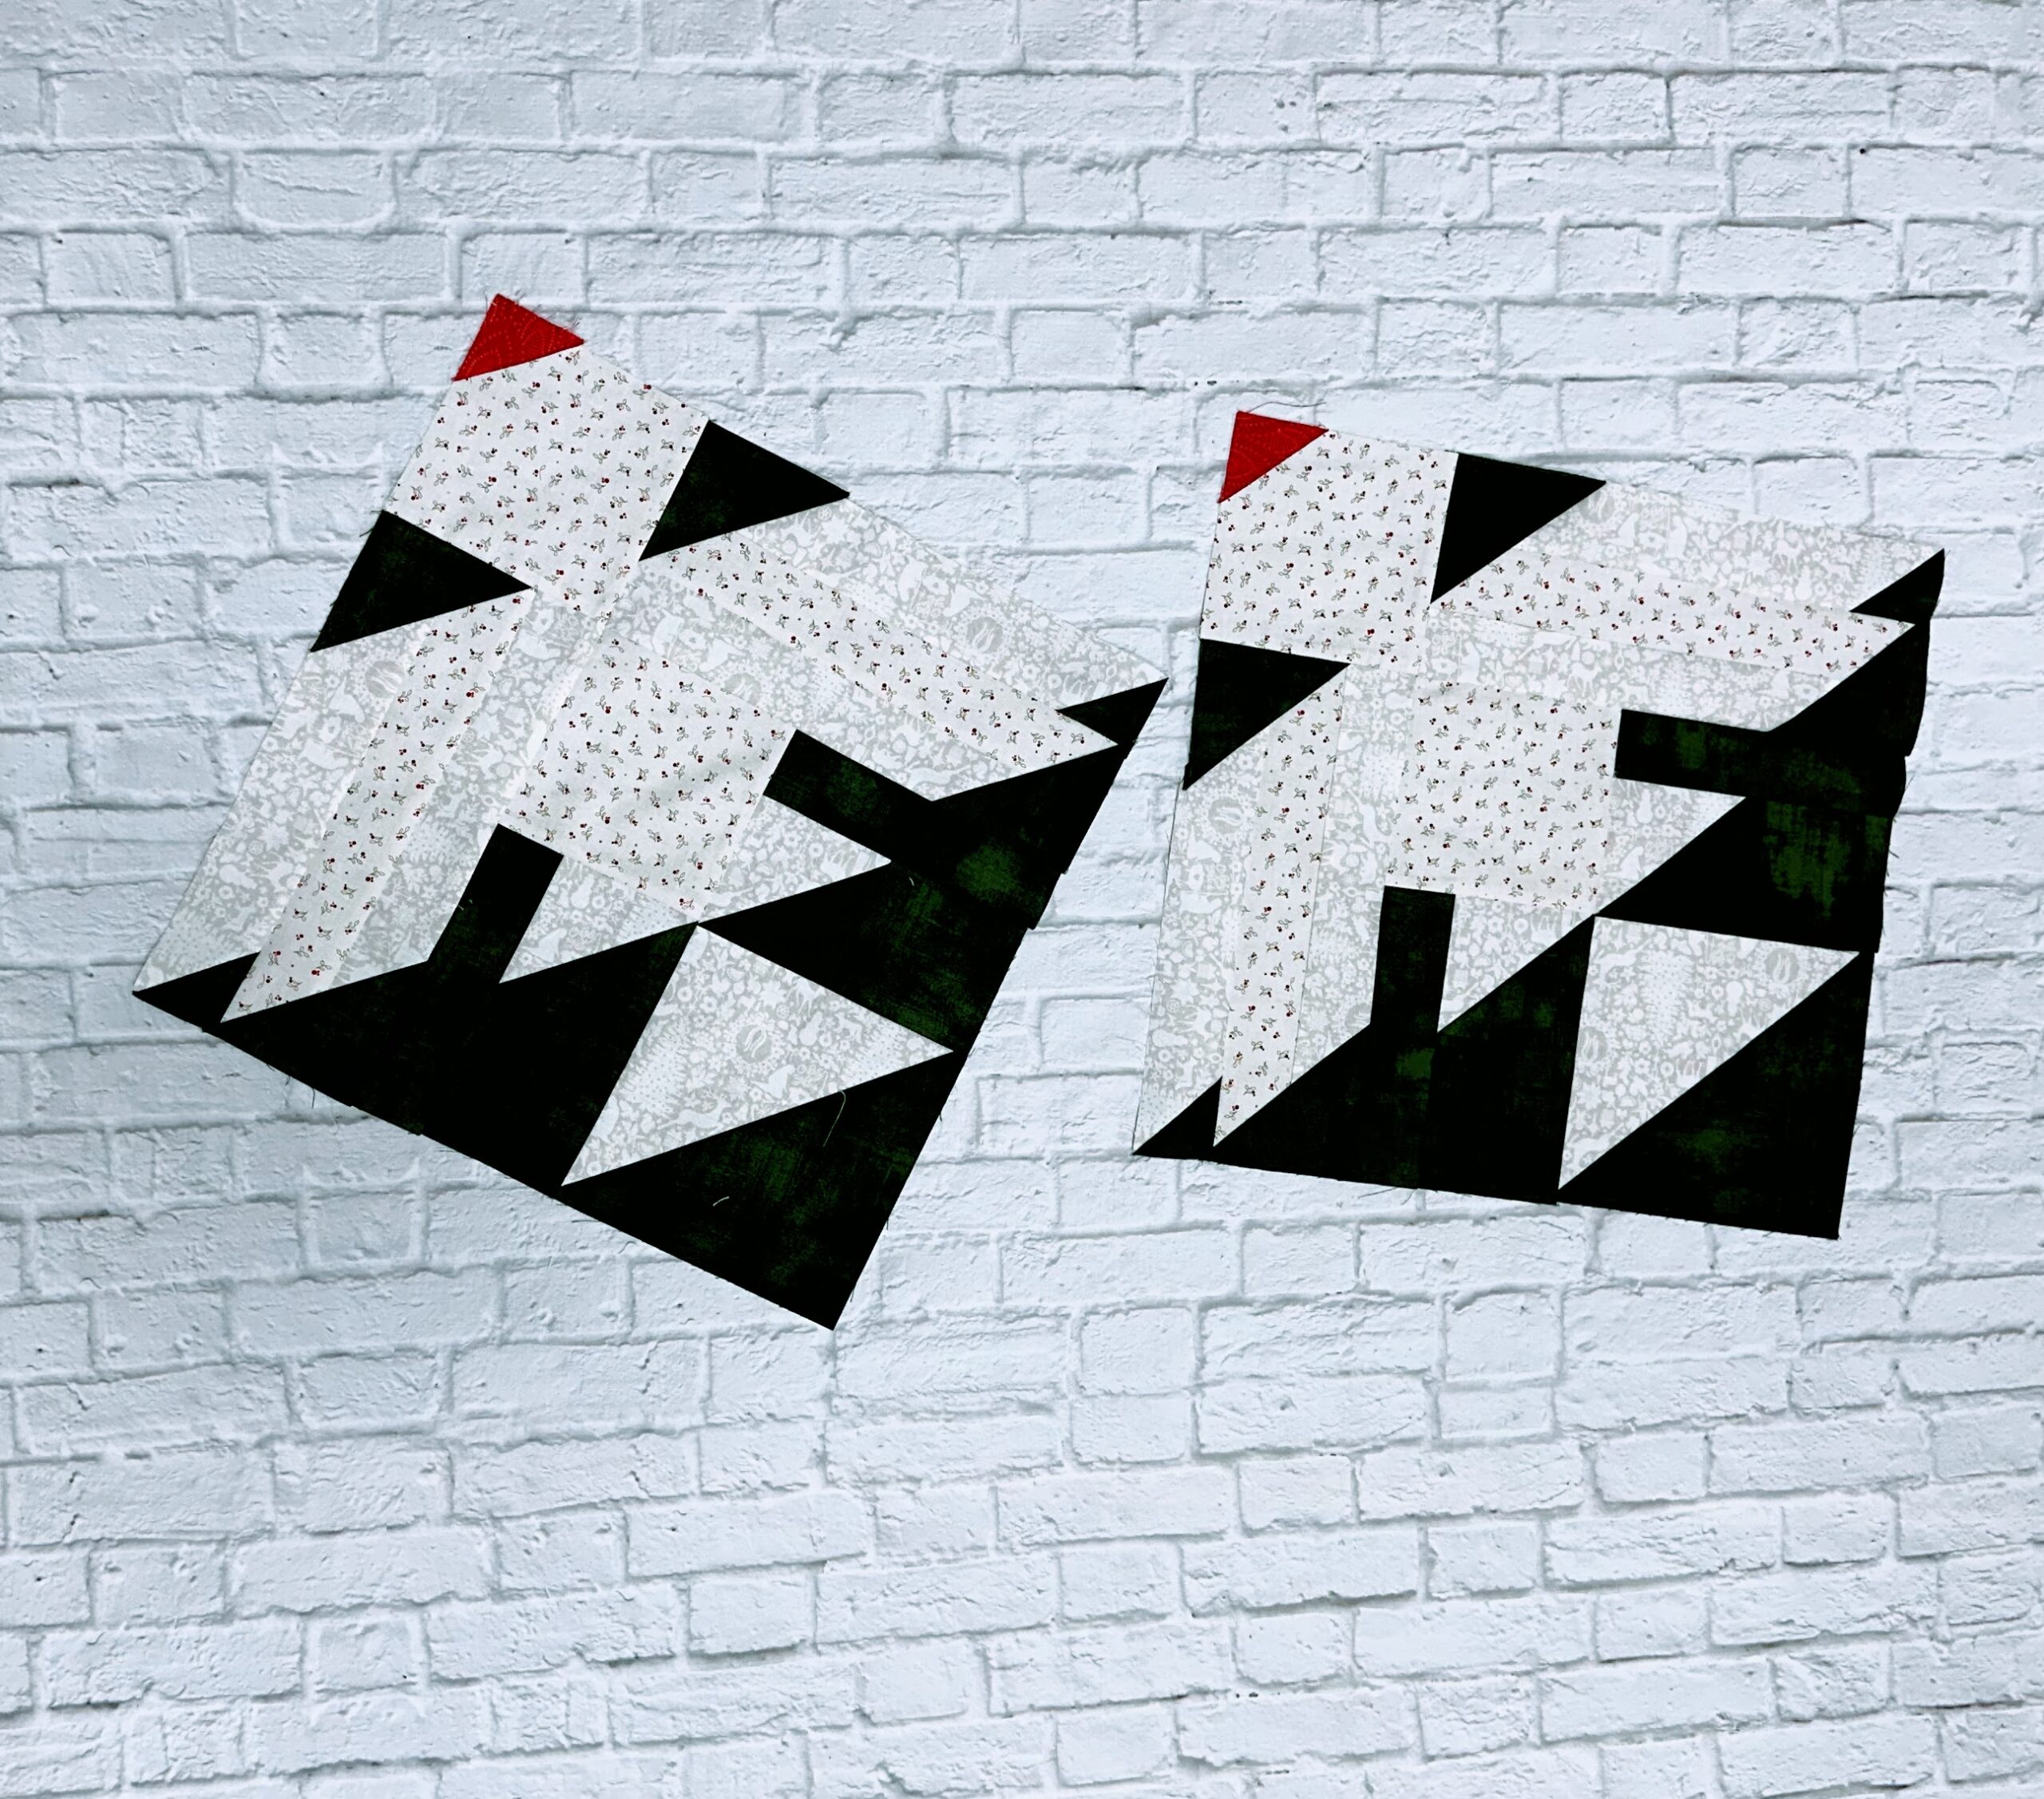
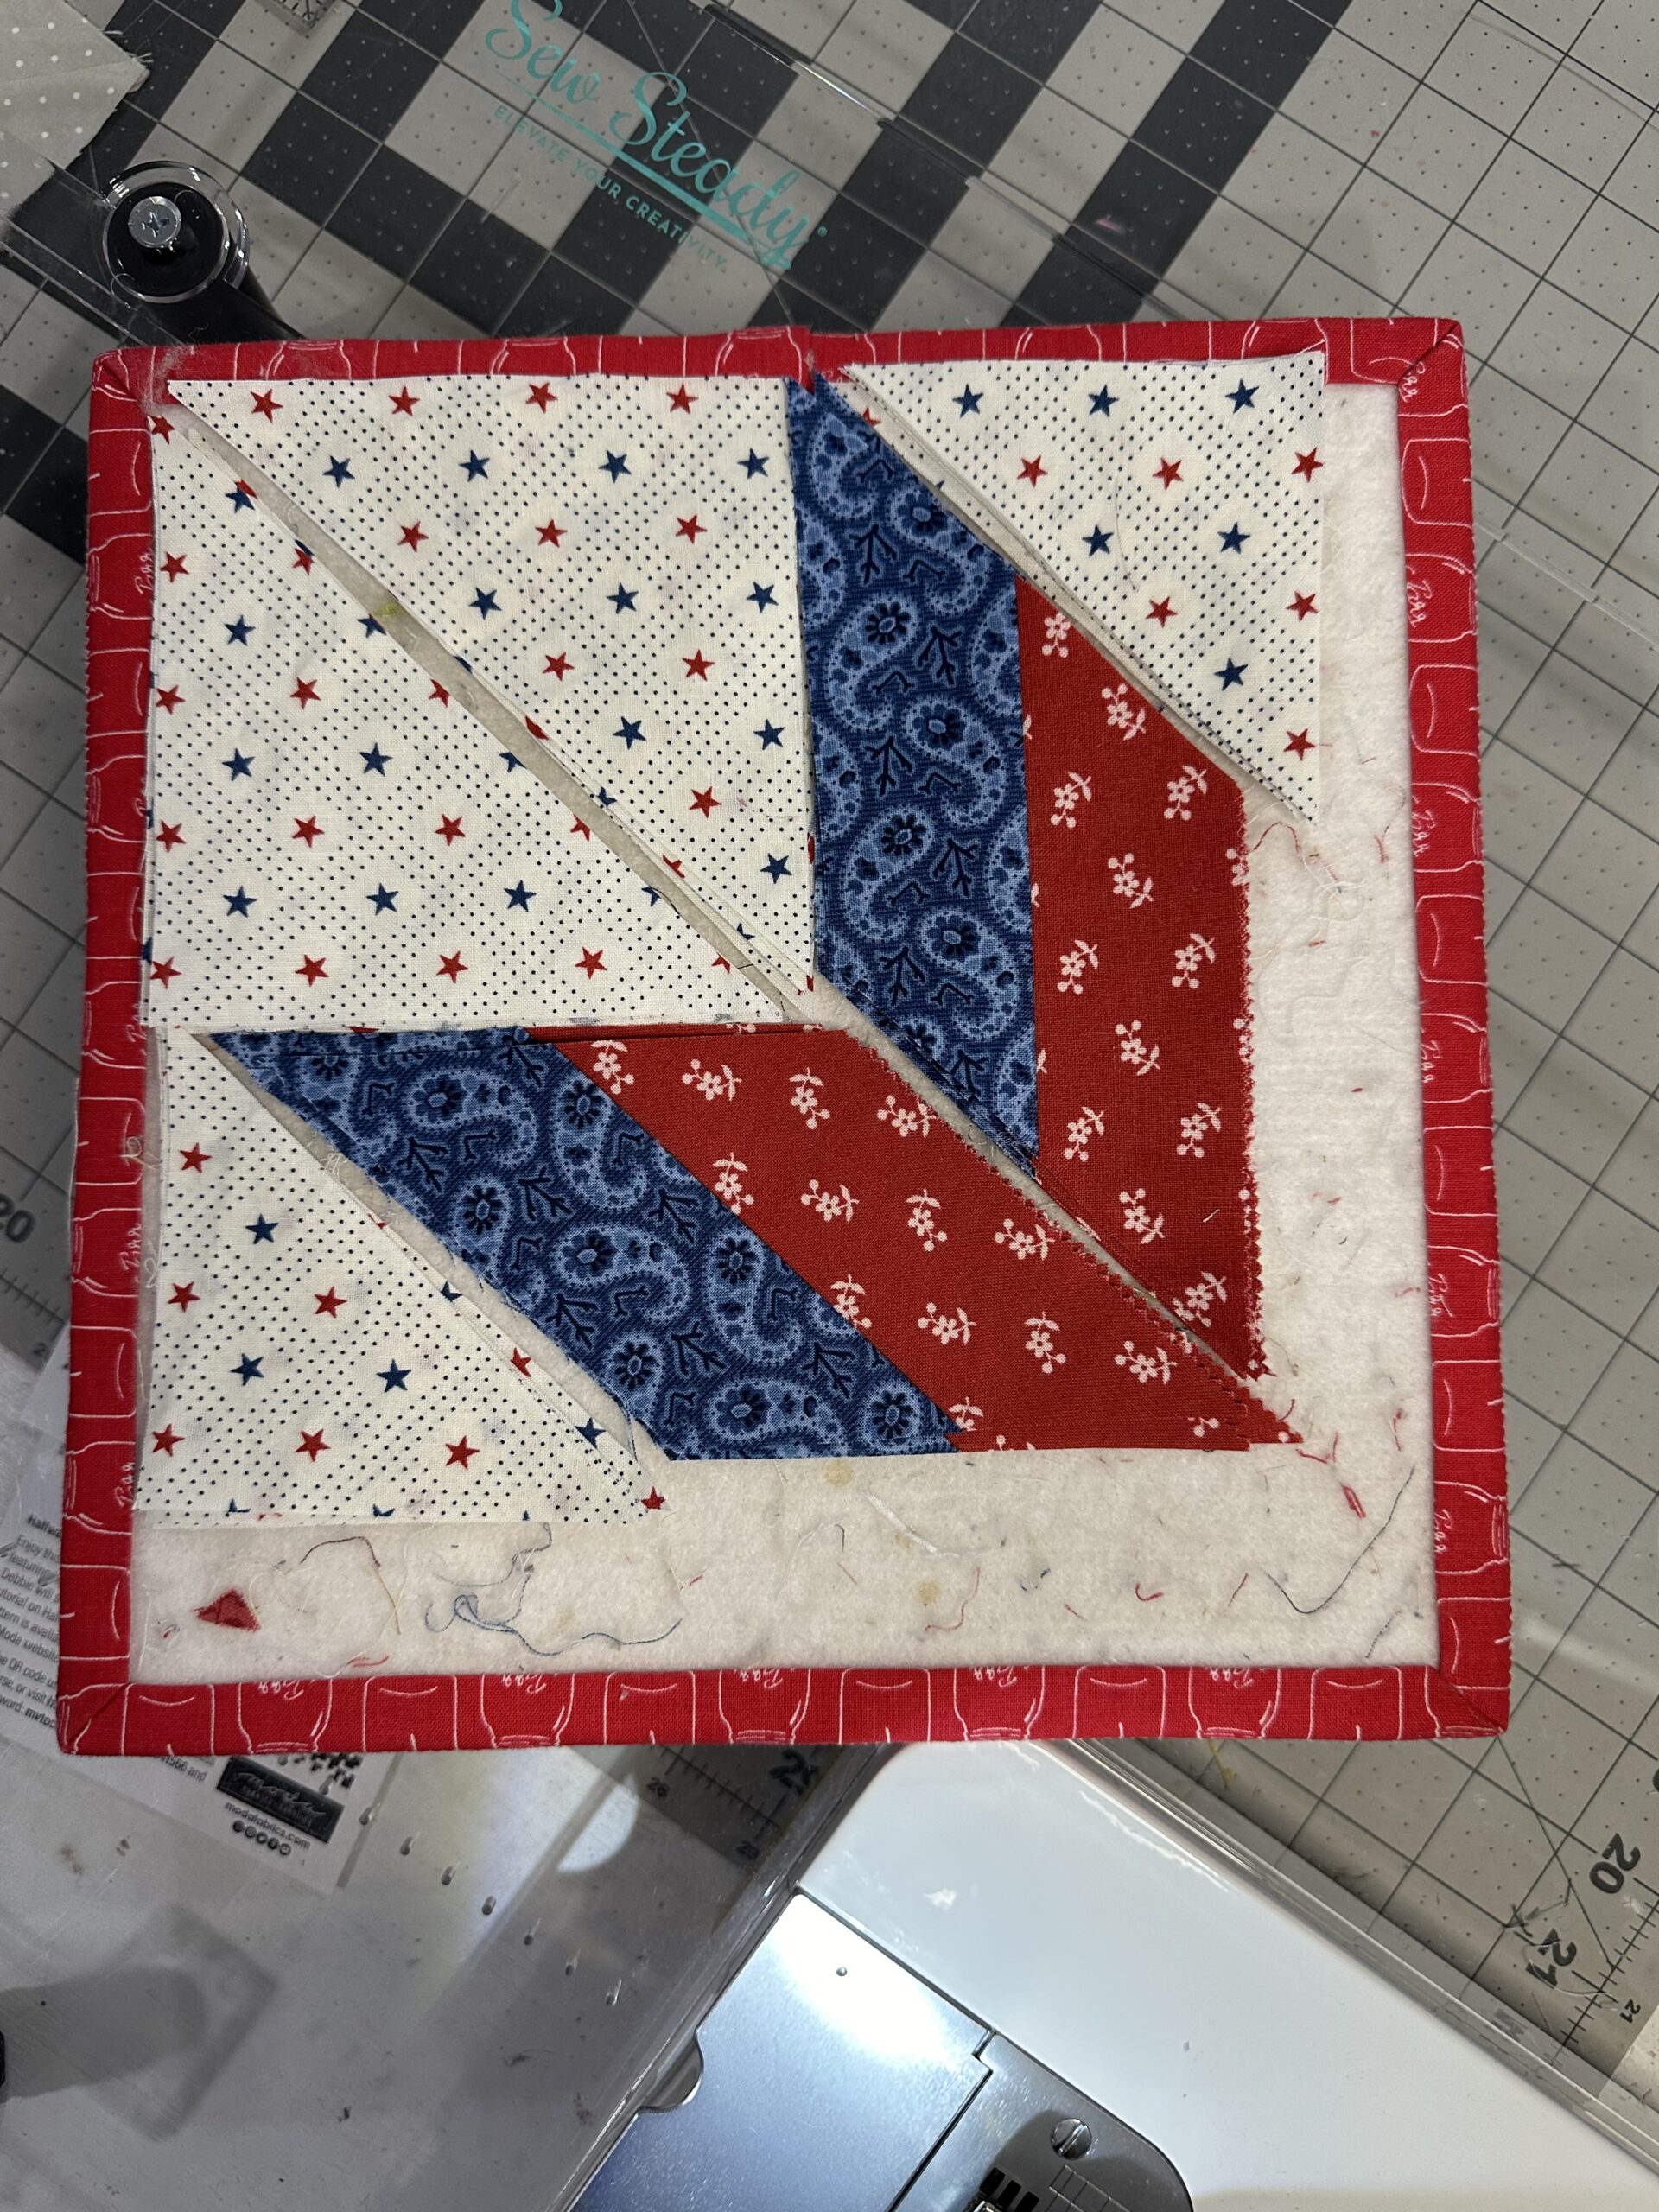
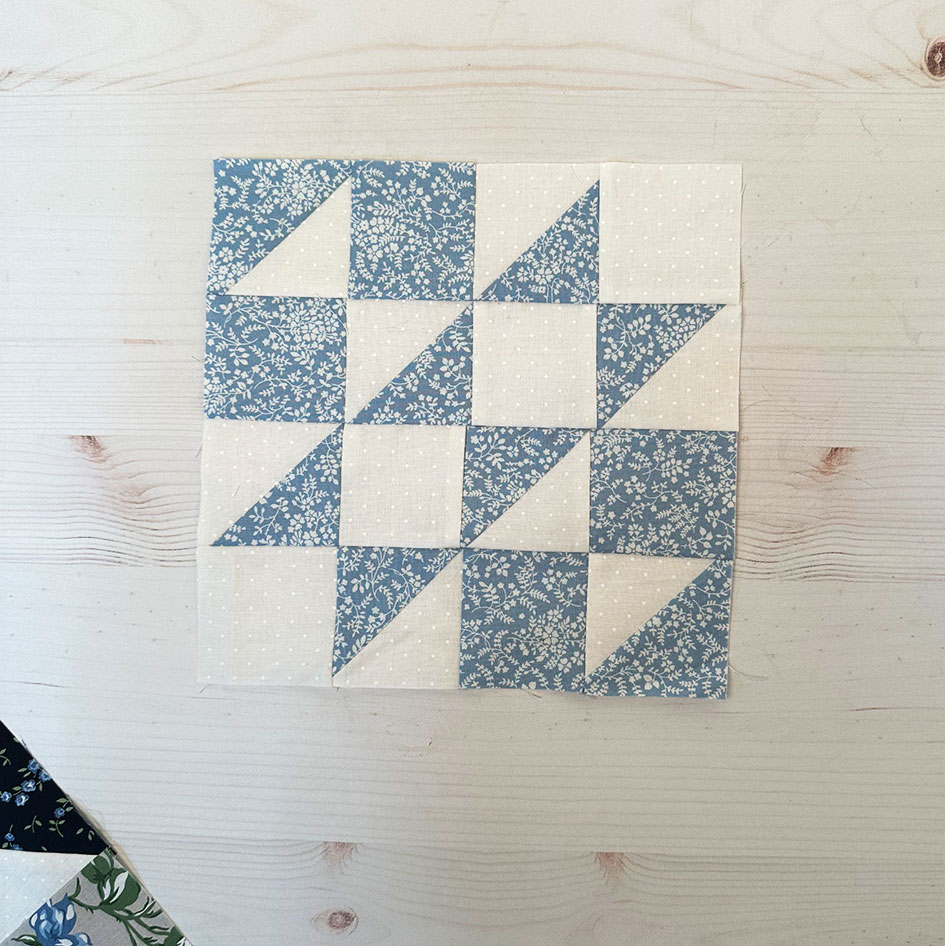
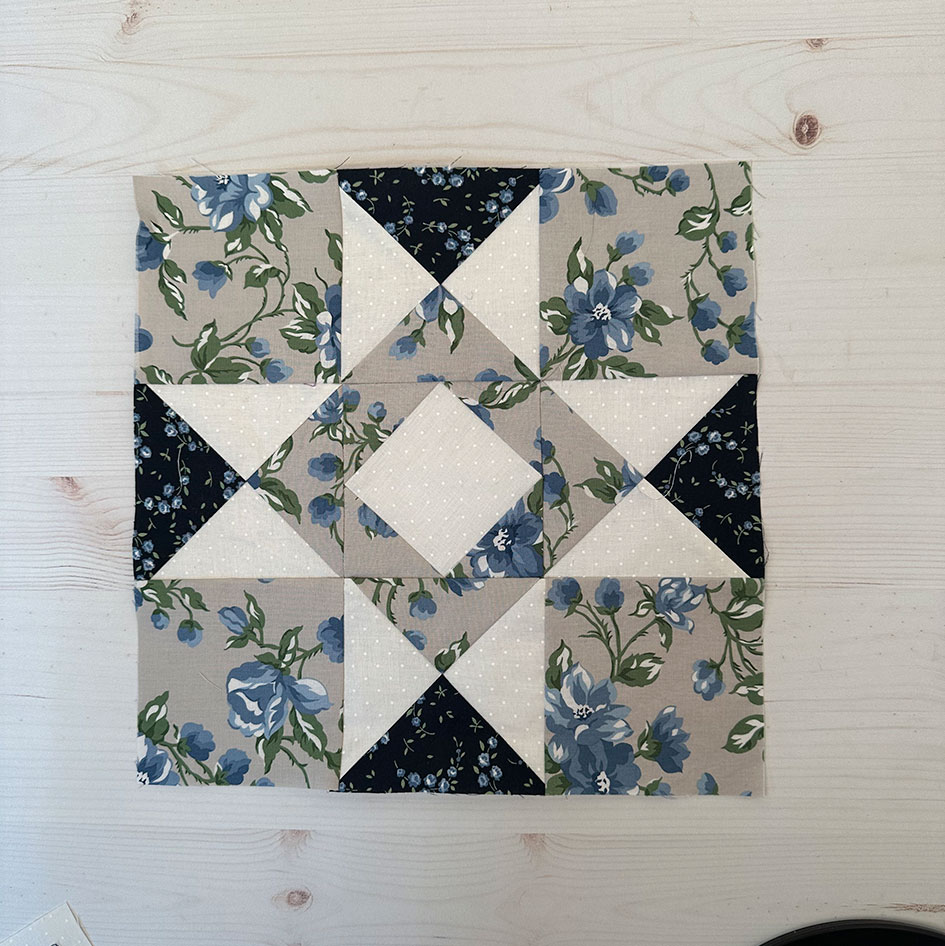
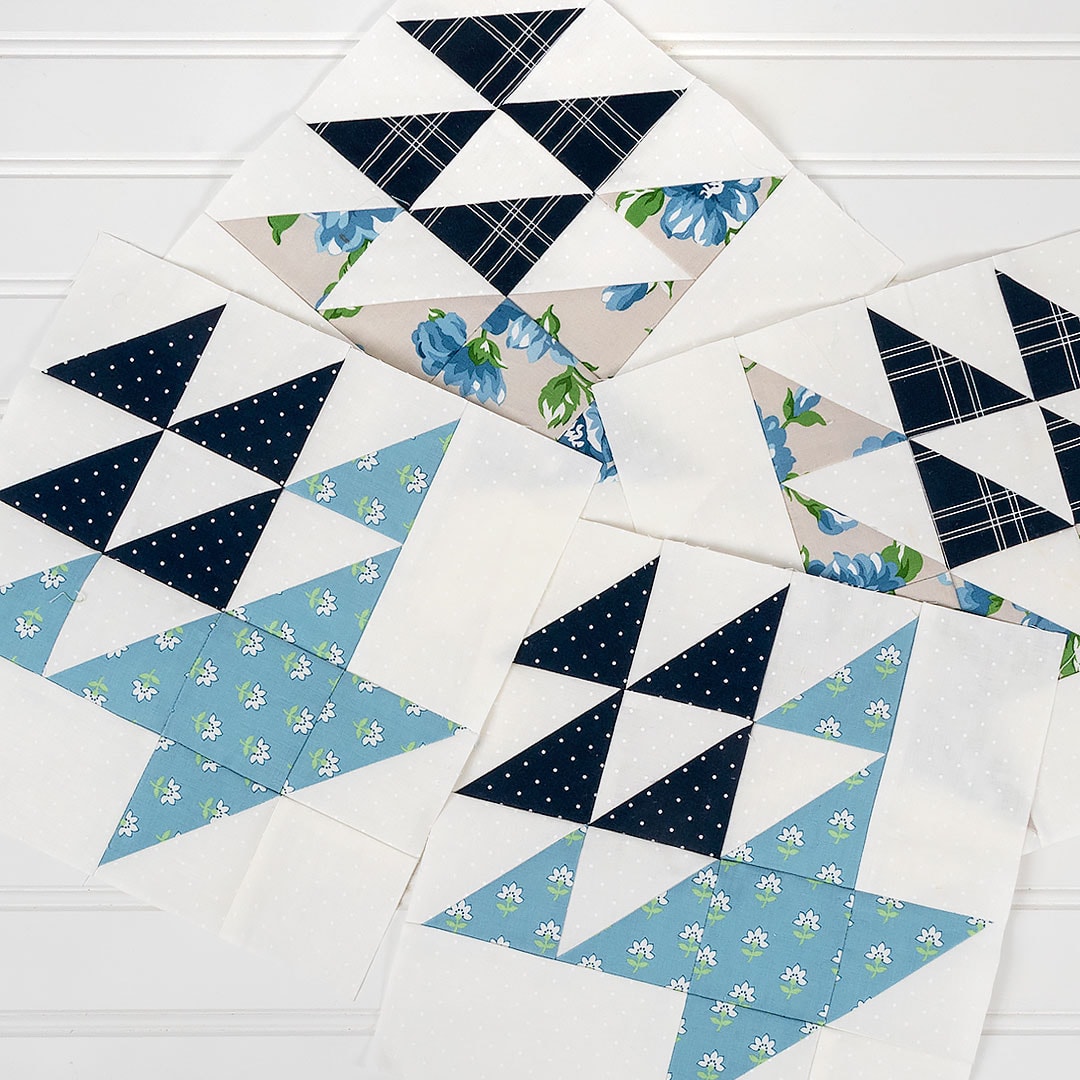
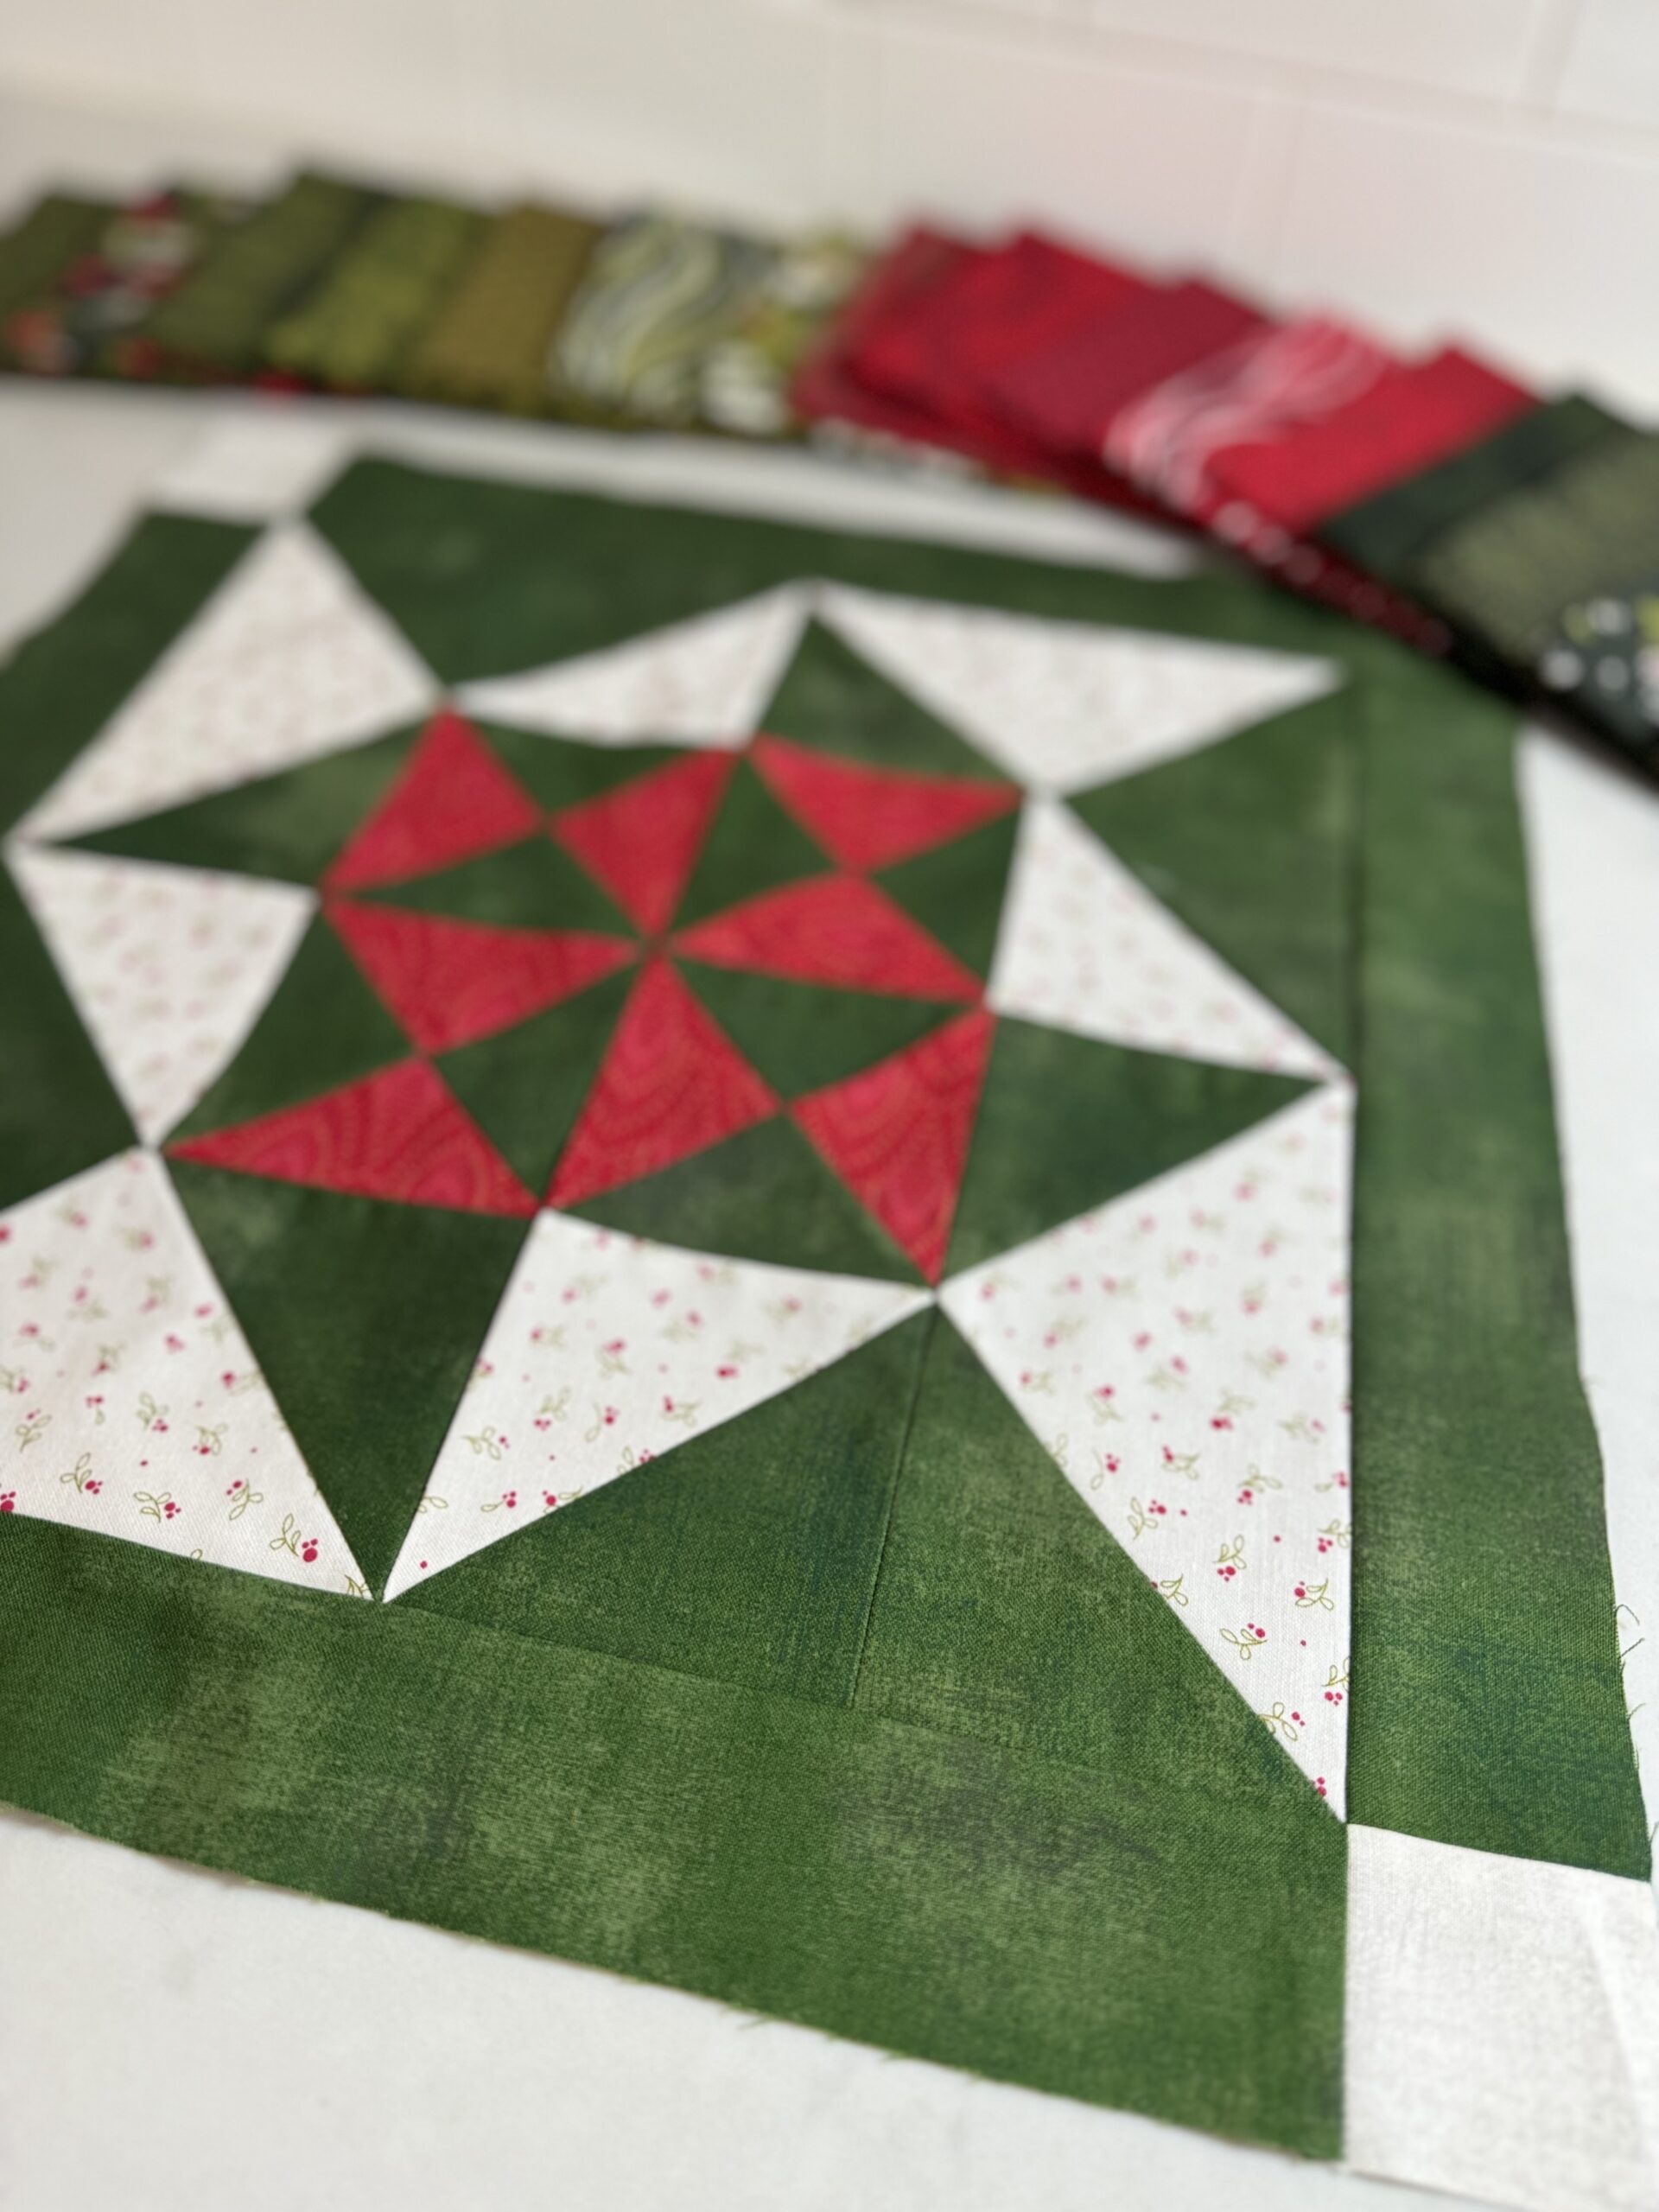
The Toadstool Twist block combines flying geese units with diagonal piecing to create a dynamic, layered composition. The clean intersections and rhythmic lines suggest the winding turns of a woodland path—one you might find in the middle of a fairy-tale forest.
This block is all about balance and play. There’s enough structure to give it a solid framework, but just enough irregular movement to keep your eye bouncing around. It’s lively without being busy—exactly what you want in a sampler quilt.
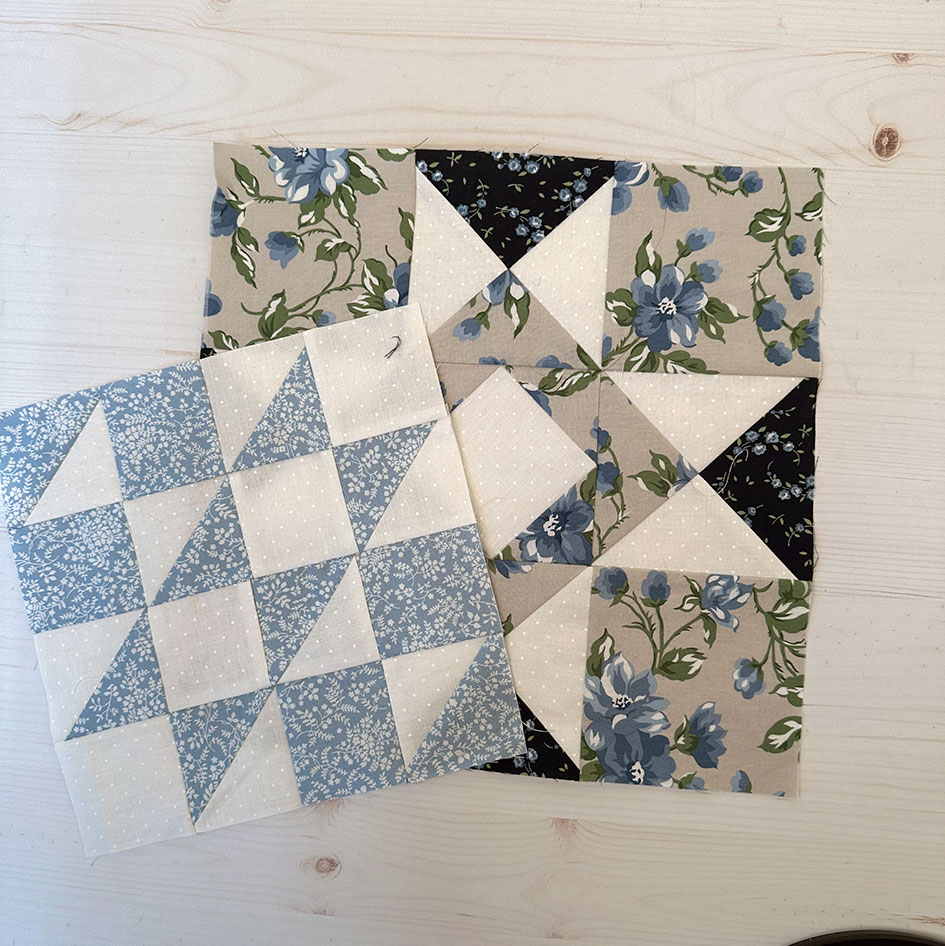
For my version, I leaned into primary colors with the Magic Dot Basic by Lella Boutique. I am a huge fan of anything dot and these dots are magical. They come in a huge variety of colors, so ask for them at your favorite store. You will want to stock up!
Meet Betsy Chutchian – Keeper of Quilting Stories
Betsy Chutchian is a master of blending the past with the present. She designs lush reproduction-style fabric collections for Moda Fabrics, writes quilt books inspired by antique blocks and Civil War-era quilts, and shares her love of all things historical through lectures, trunk shows, and patterns.
Her work always has that heirloom feel—blocks and quilts that look like they’ve been passed down through generations, even when they’re brand new. Betsy brings an authenticity and reverence to her craft that makes each design feel like part of a bigger story.
Connect with Betsy here:
- Instagram: @betsy_chutchian
- Facebook: Betsy Chutchian Quilts
- Blog: betsysbestquiltsandmore.blogspot.com
If you’re a fan of history-rich fabrics, Civil War-era inspiration, and hand-crafted charm, you’ll love following along with everything Betsy does.
Toadstool Twist Tutorial & Pattern
Head over to the Moda Blog to download the Toadstool Twist block pattern and watch the step-by-step video tutorial. Betsy’s insight into construction and block placement always adds a little more depth to the sewing experience. This week it is my turn to host the video so it is a down and dirty quickie version to make this block.
https://www.youtube.com/watch?v=zpwt-FQD18E
Share your makes with #ModaBlockheads and #ModaBlockheads6, and tag @modafabrics and @betsy_chutchian—we’d love to see your twist on this classic-meets-whimsy design.
Until next week… keep wandering, keep stitching, and enjoy the journey.
Details about this program, click here.
Follow each of the designers listed below.
Vanessa Christenson – Download the pattern here.
Lynne Hagmeier -Download the pattern here.
Anne Sutton -Download the pattern here.
Kiley Ferons-Download the pattern here.
Chelsi Stratton– Download the pattern here.
Robin Pickens –Download the pattern here.
Joanna Figueroa-Download the pattern here.
Sherri McConnell -Download the pattern here.
Barb Groves – Download the pattern here.
Janet Clare-Download the pattern here.
Lisa Bongean-Download the pattern here.
Corey Yoder-Download the pattern here.
Thank you for following along!


