Category: My Quilts

Blockheads Update

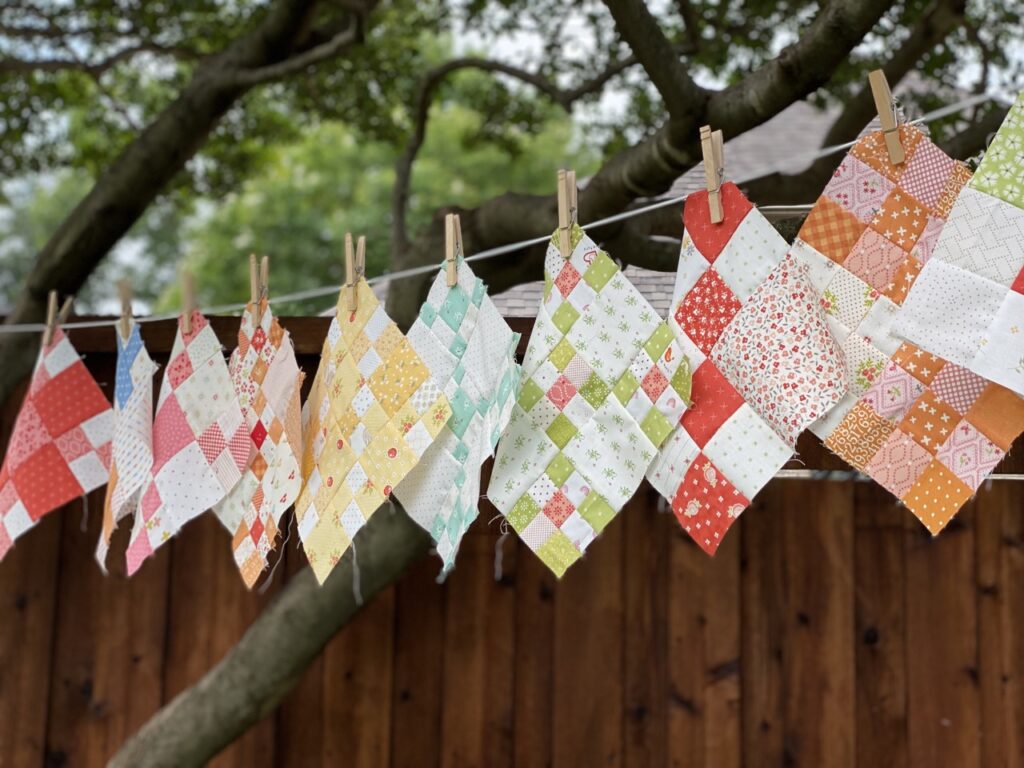
New Year, New Projects or in this case a continuation of last year’s Blockheads 5. Each blockheads series I struggle with what my setting is going to be. While I think I am one of those go with the flow kind of gals, I know I suffer from paralysis from analysis.  Knowing what the layout is, does influence the fabrics you are using in your blocks or at least the color placement.

Do you struggle from this also?

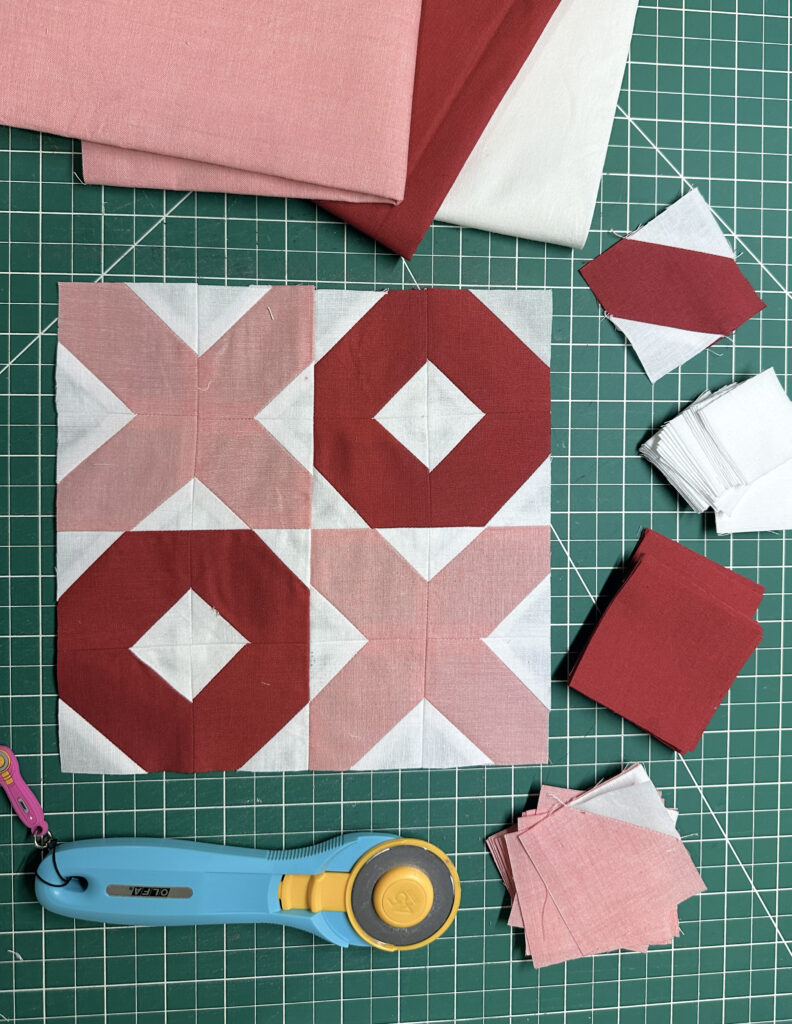
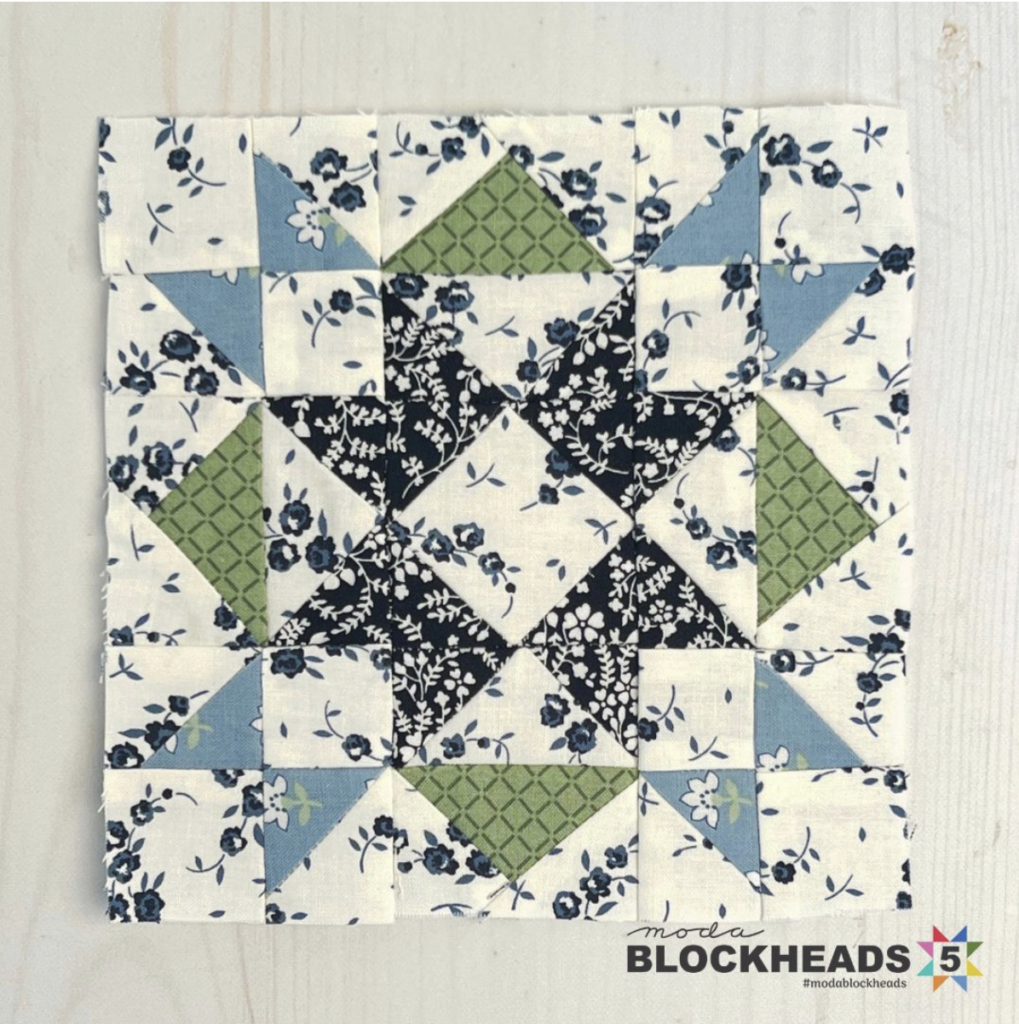
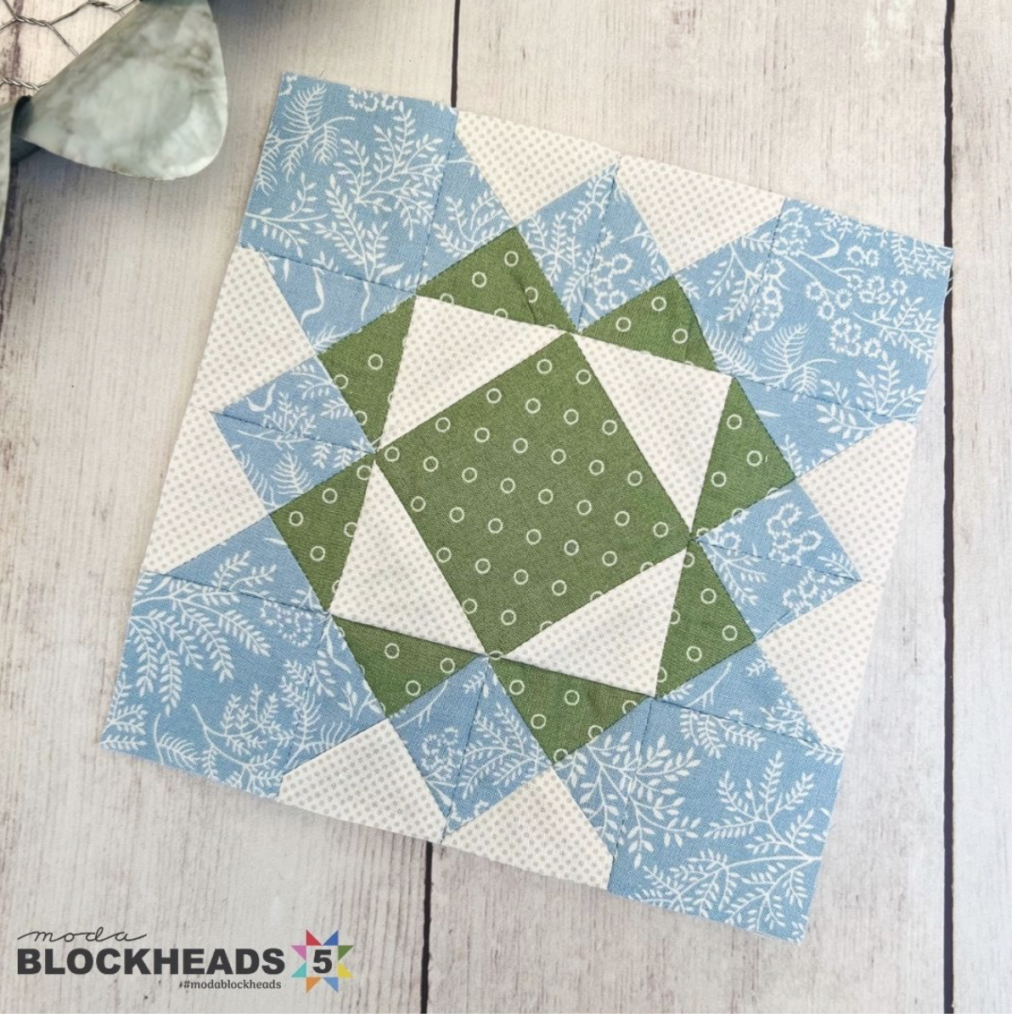
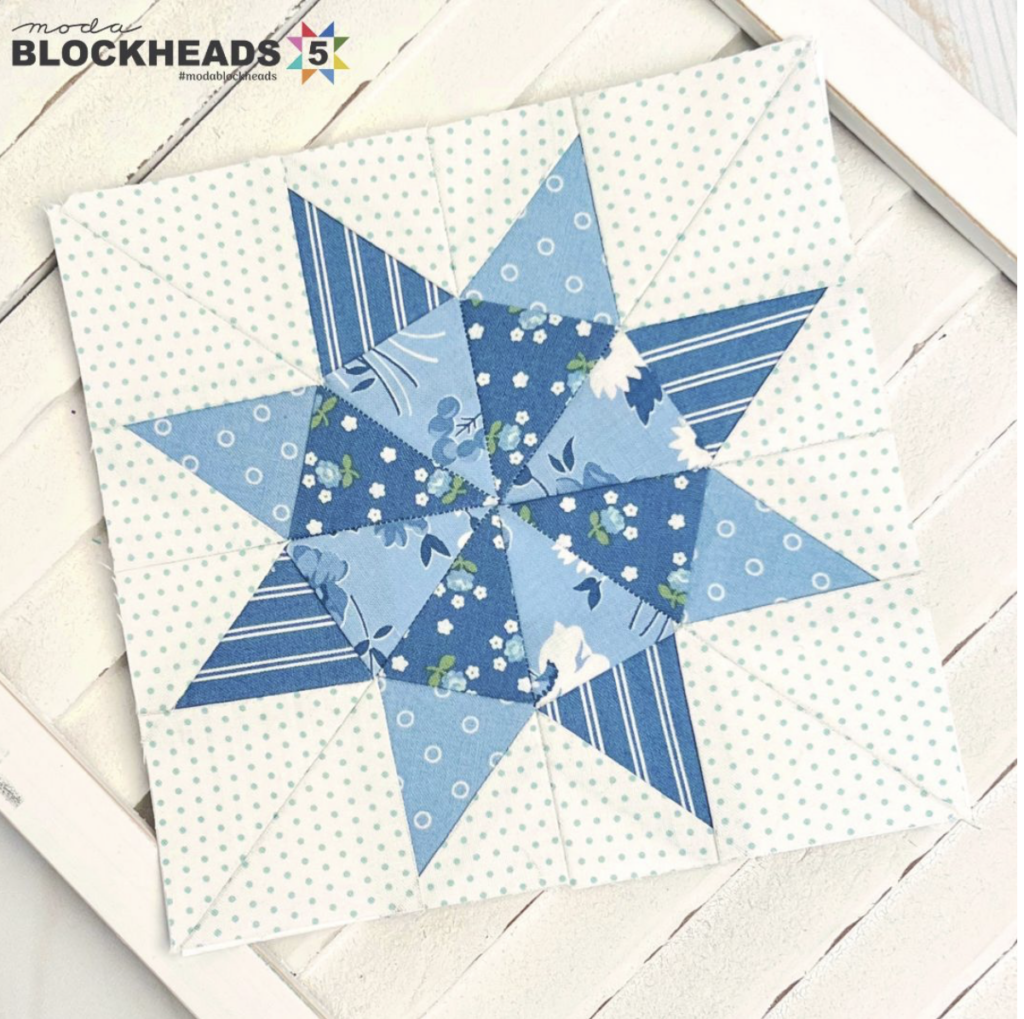
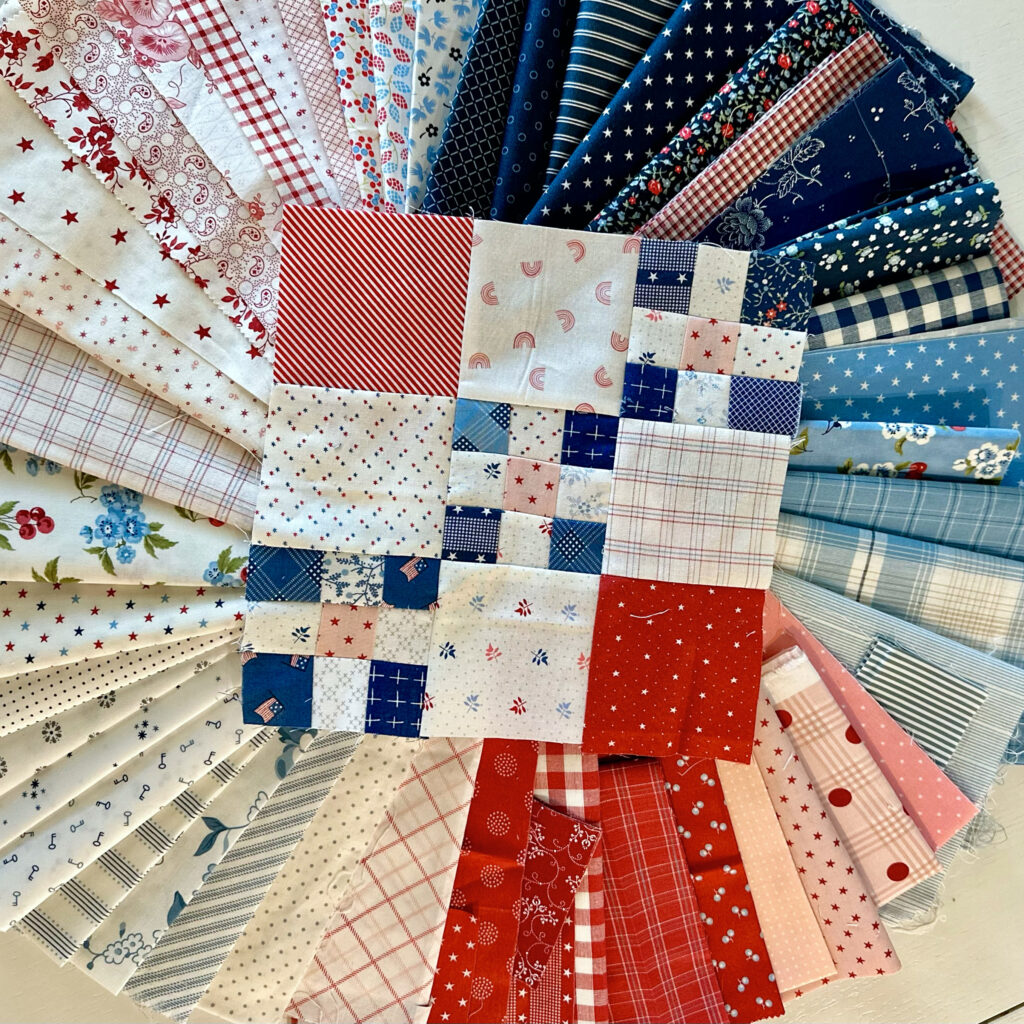
This is the newest block to start 2024 off with a bang. The block is from Sherri McConnell of A Quilting Life.

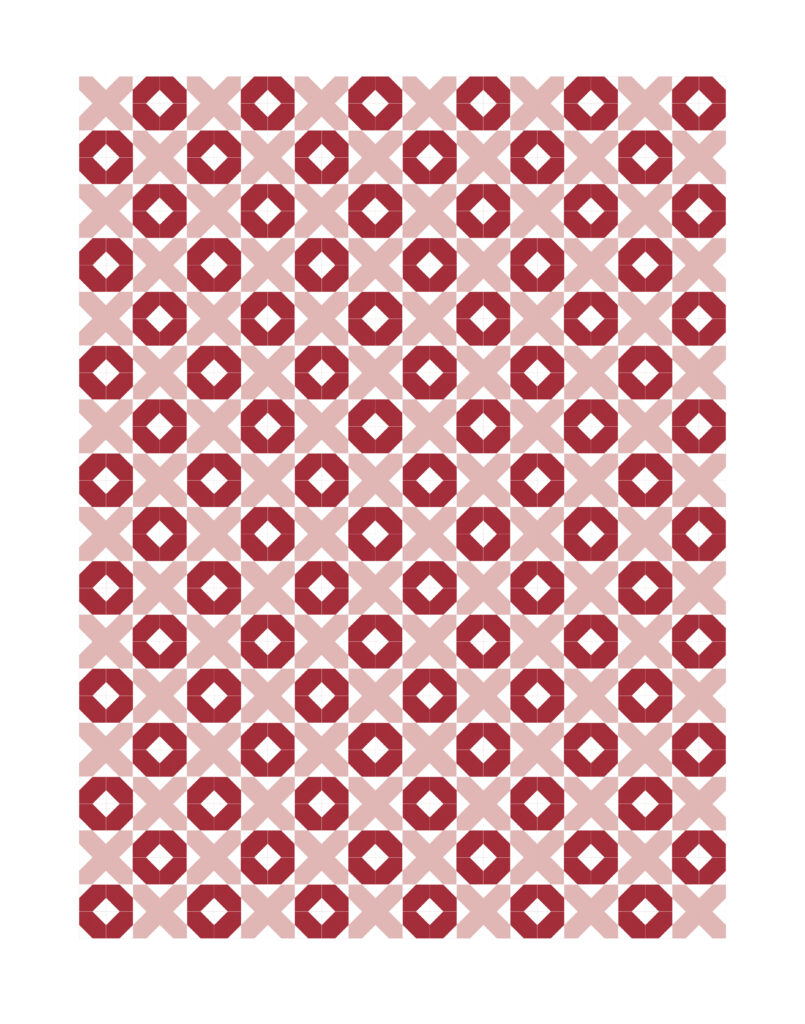
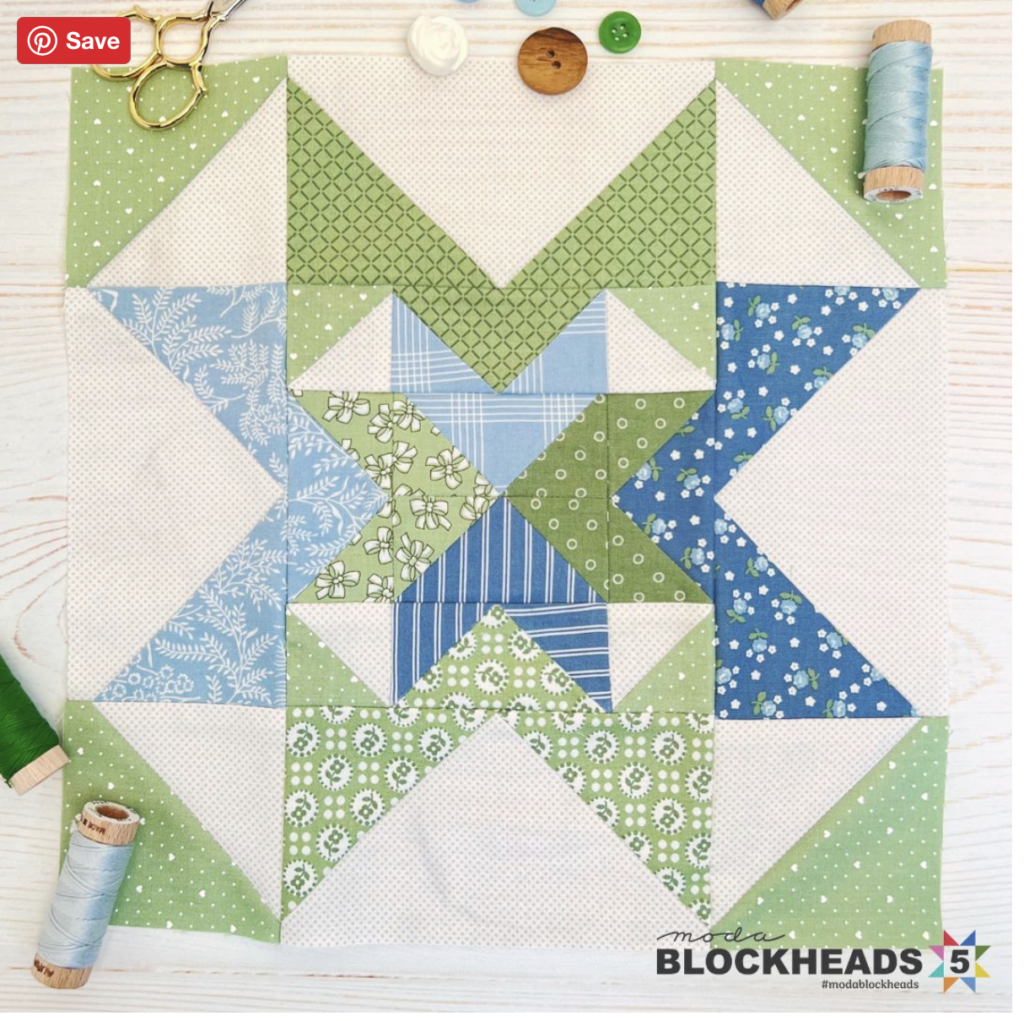
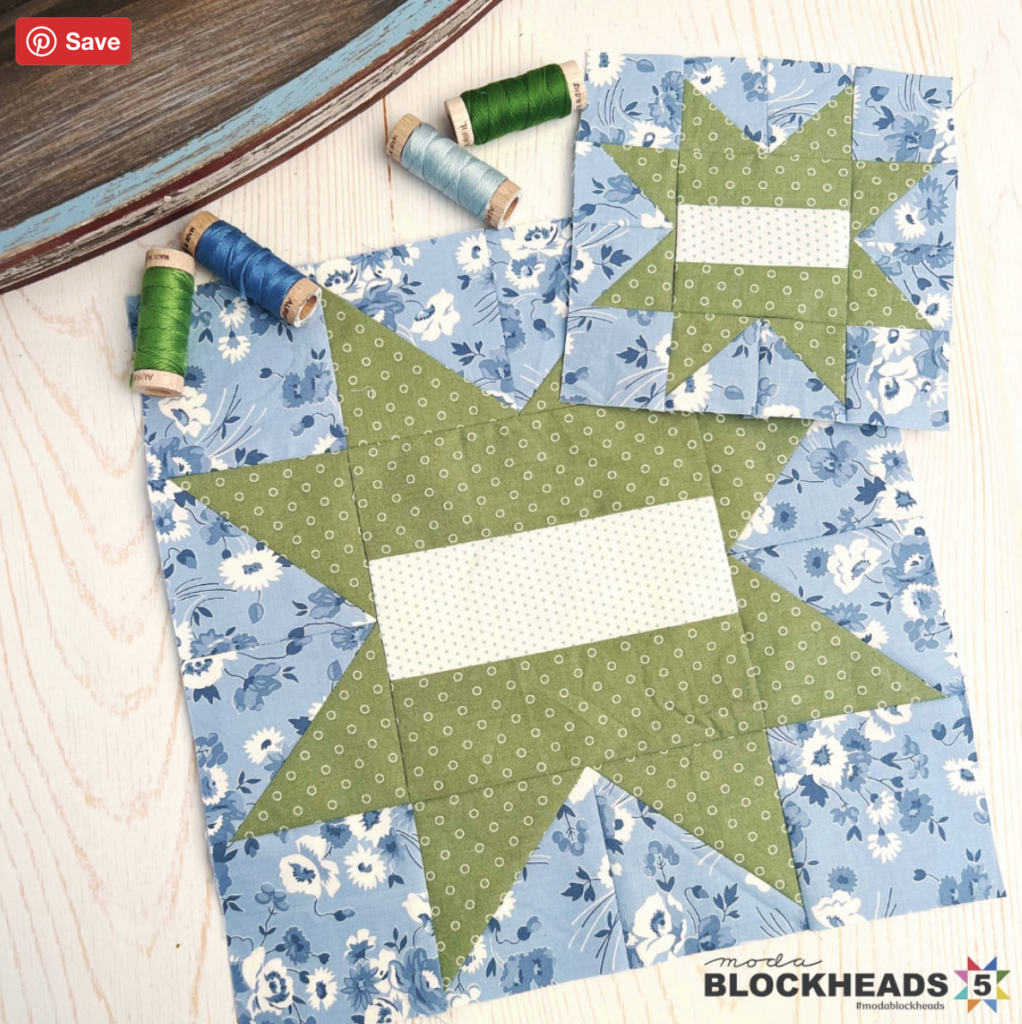
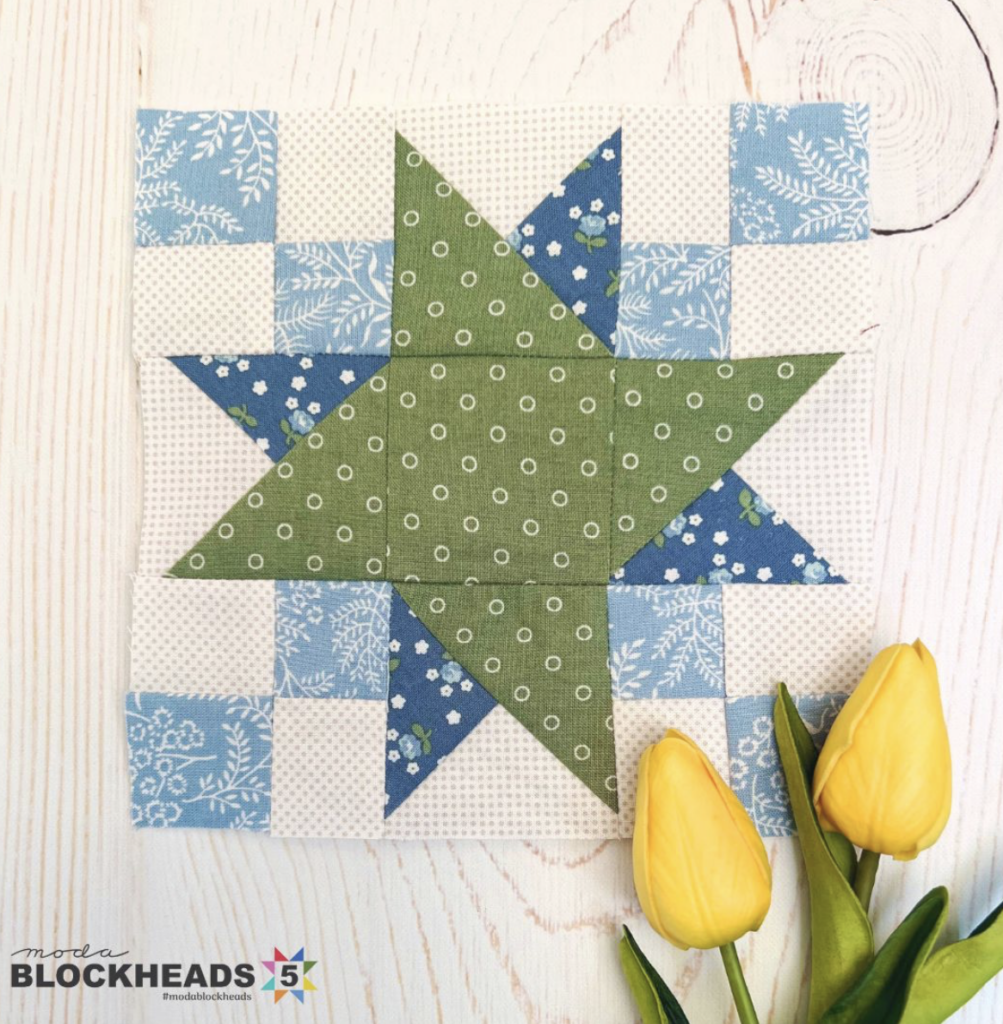
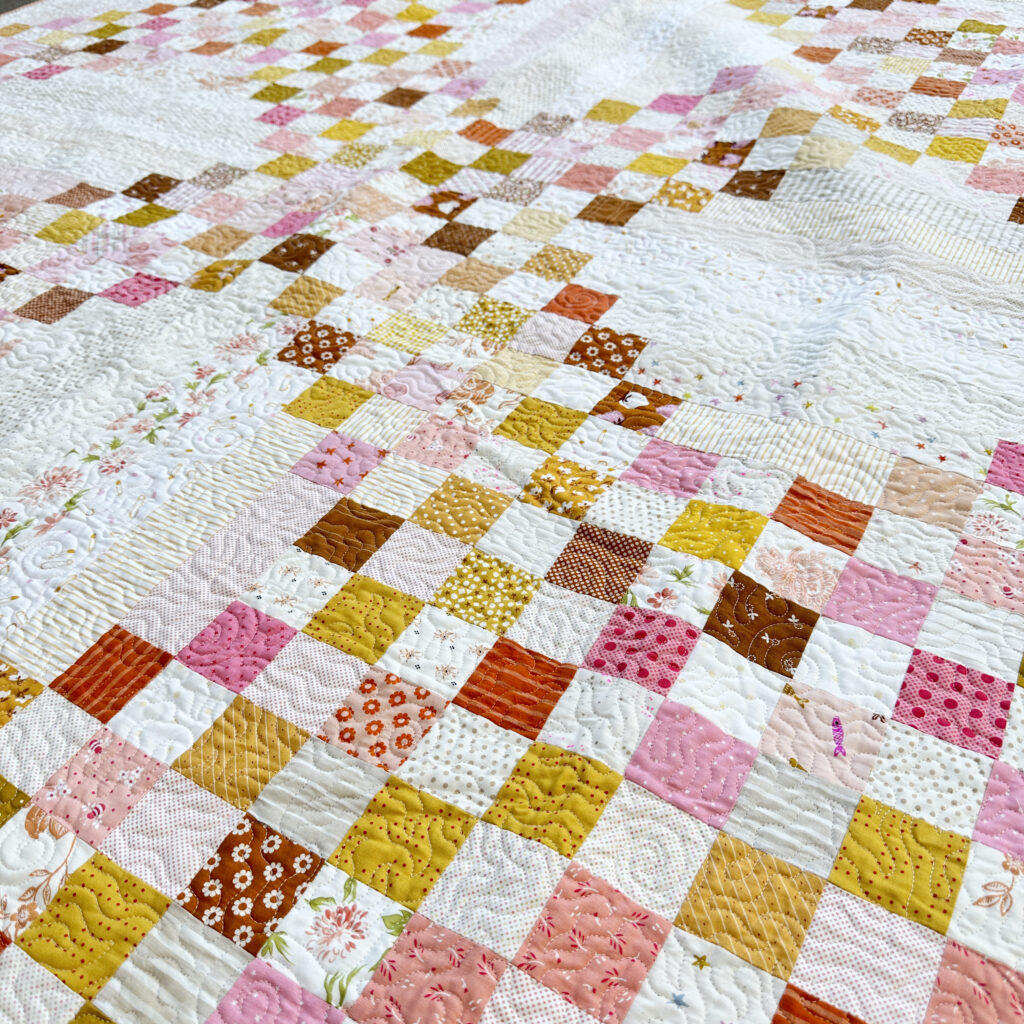
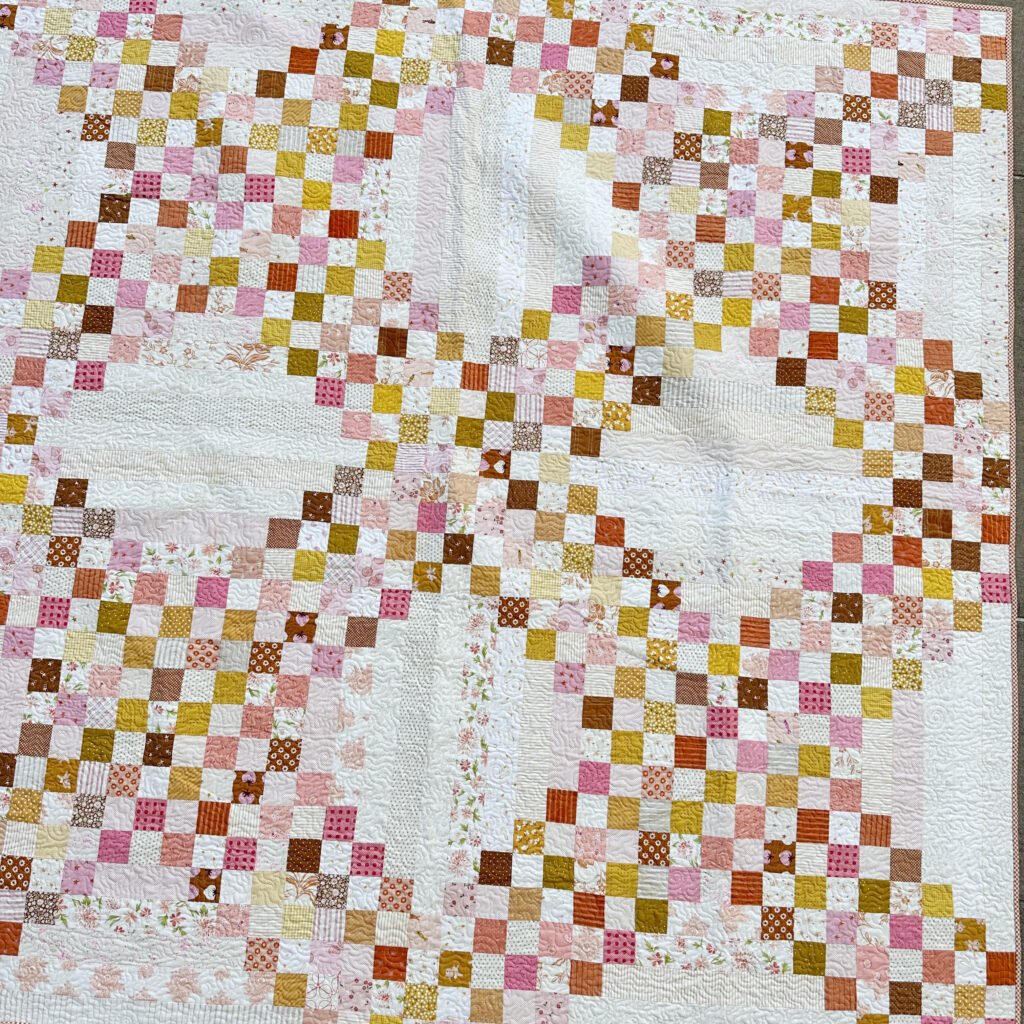
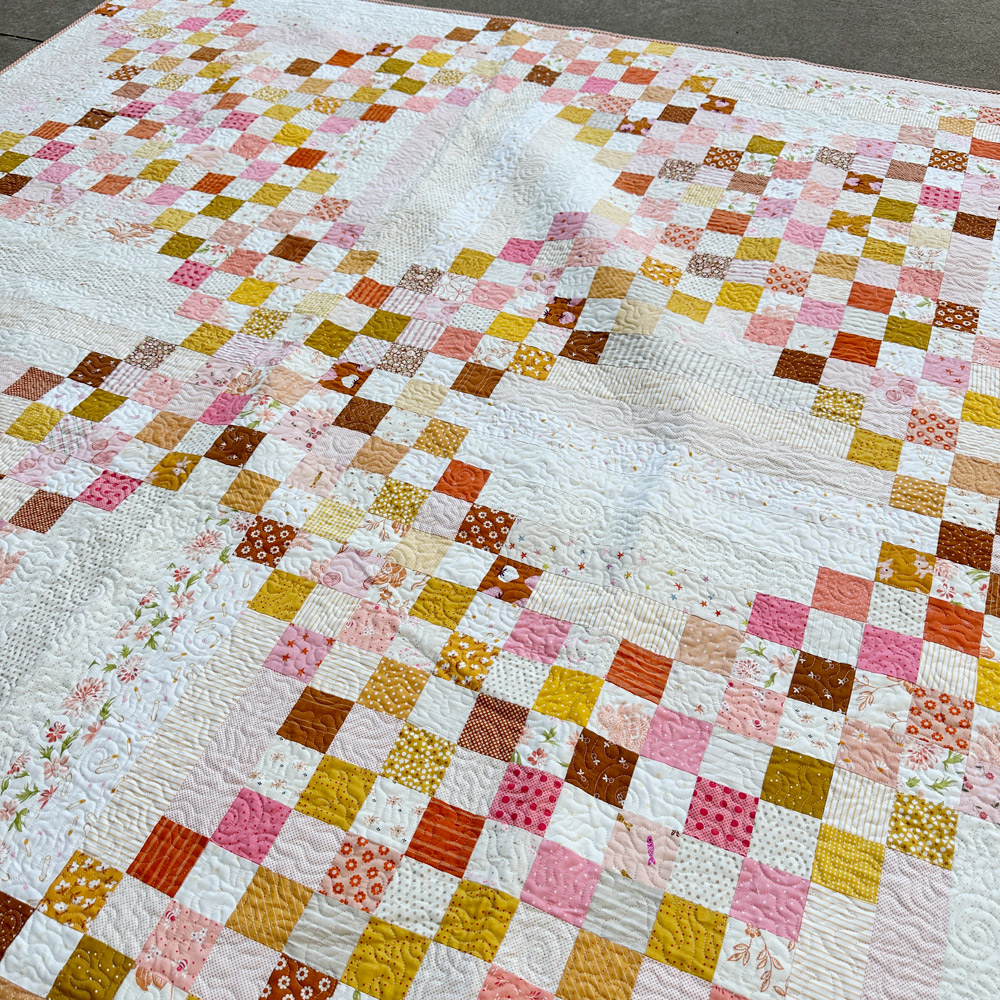
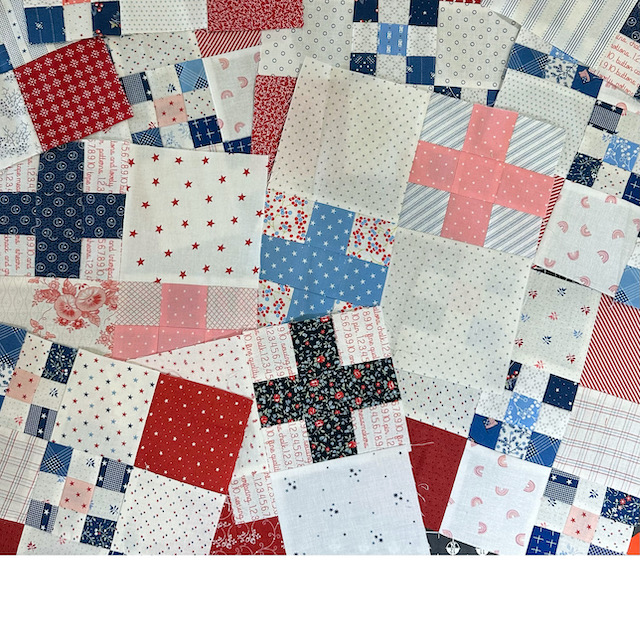
This block is also by Sherri Mc Connell (round 1).  I made the 6″ block inside of the 12″ block. Squint at it. I see a secondary design and think once it is quilted, it will show the design more.

All of the block blocks can be found here on Moda Fabrics website/blog.

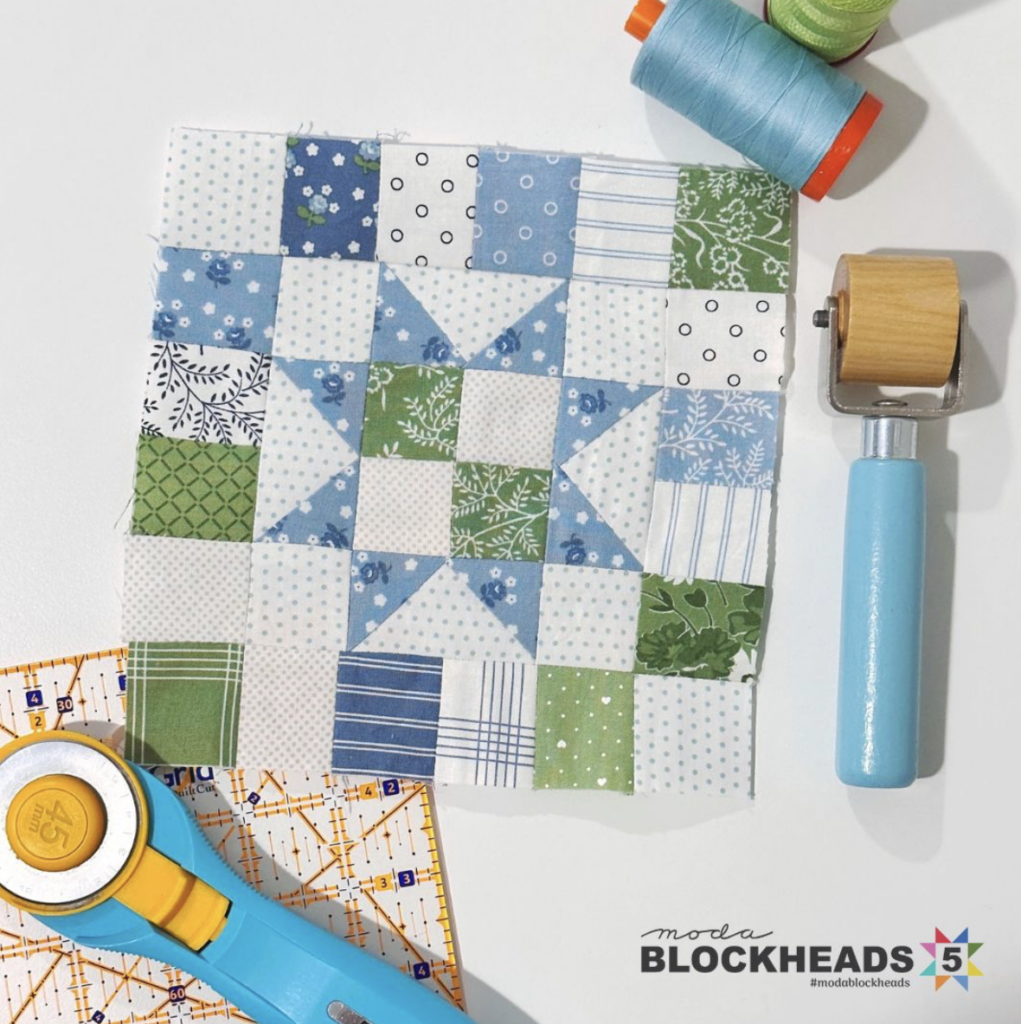
I have made some of the blocks as 12″ versions but now that I know what my setting is going to be I am making all 6″ blocks.

I started my project with Nantucket fabrics by Camille Roskelley, mixed in some greens and lights from her current line Lighthearted and will be adding Shoreline which will be in stores later this spring.

We have a weekly Facebook group for Blockheads. If you have not joined the group, please do.

Moda Blockheads Facebook Group:   / 253867175058745 

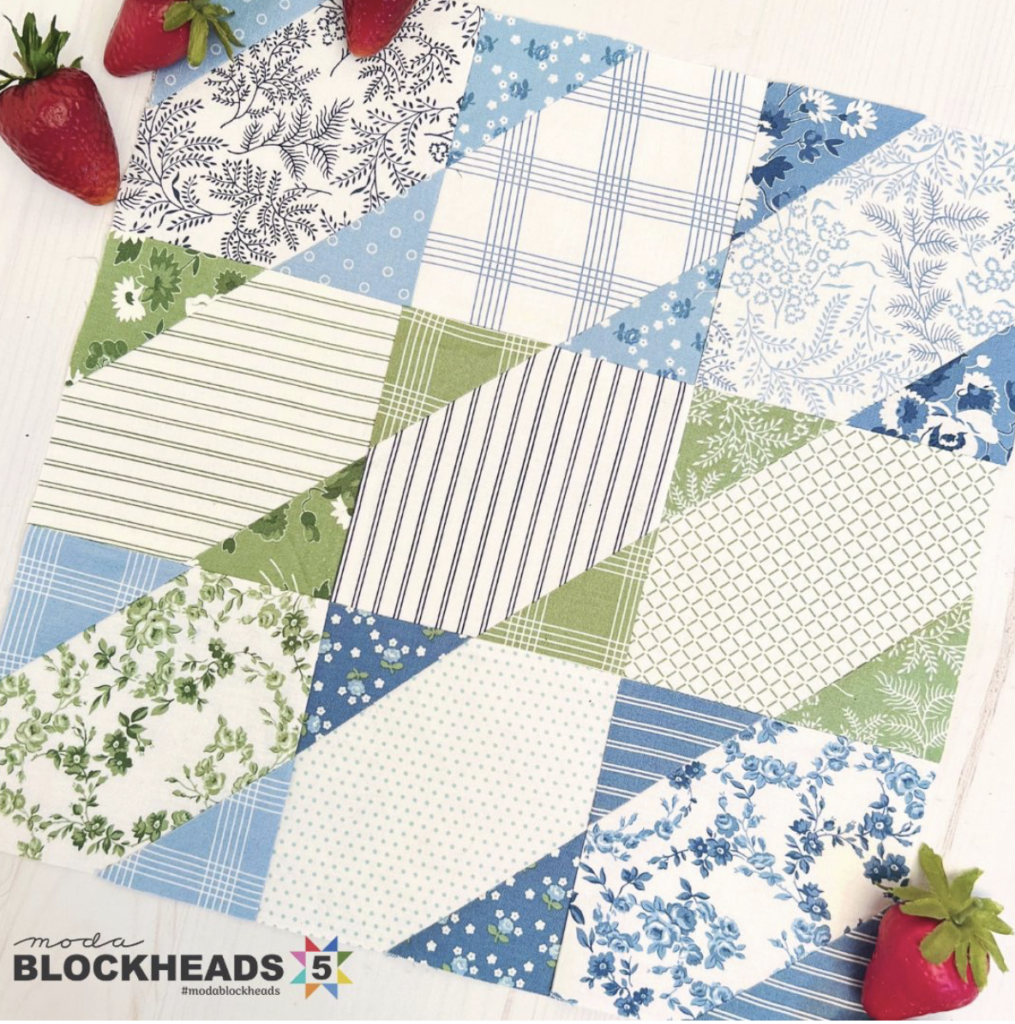
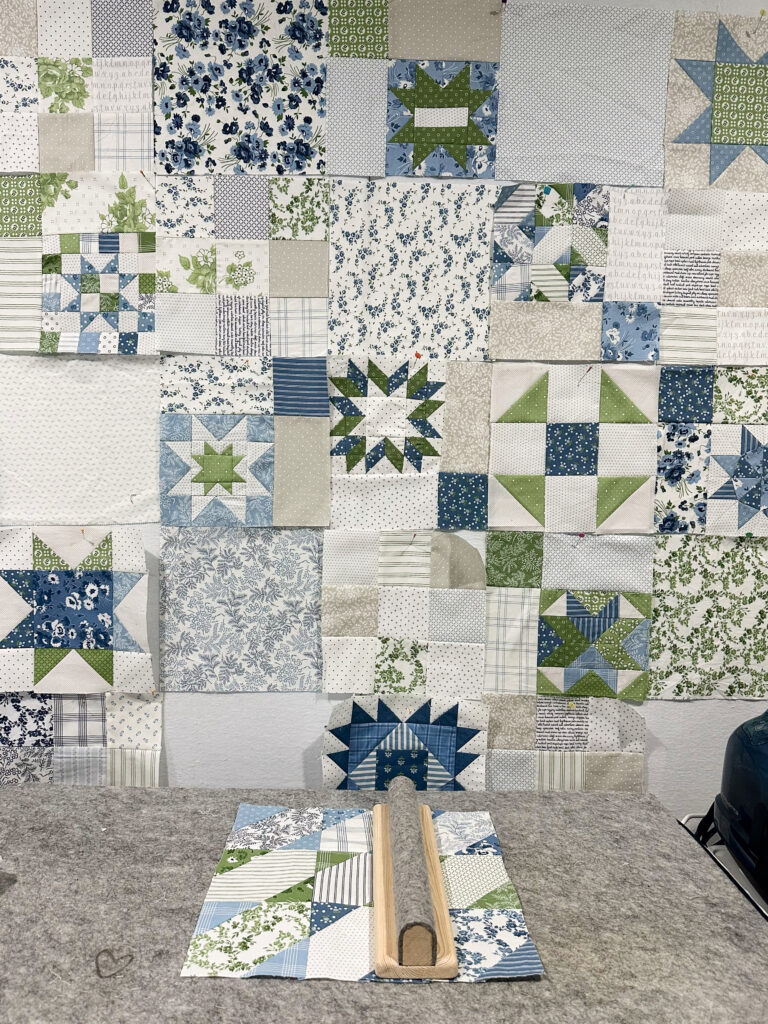
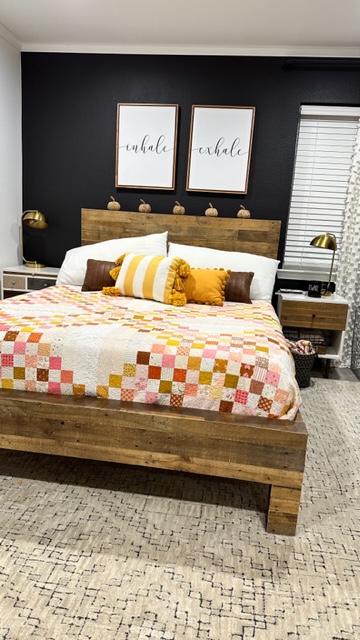
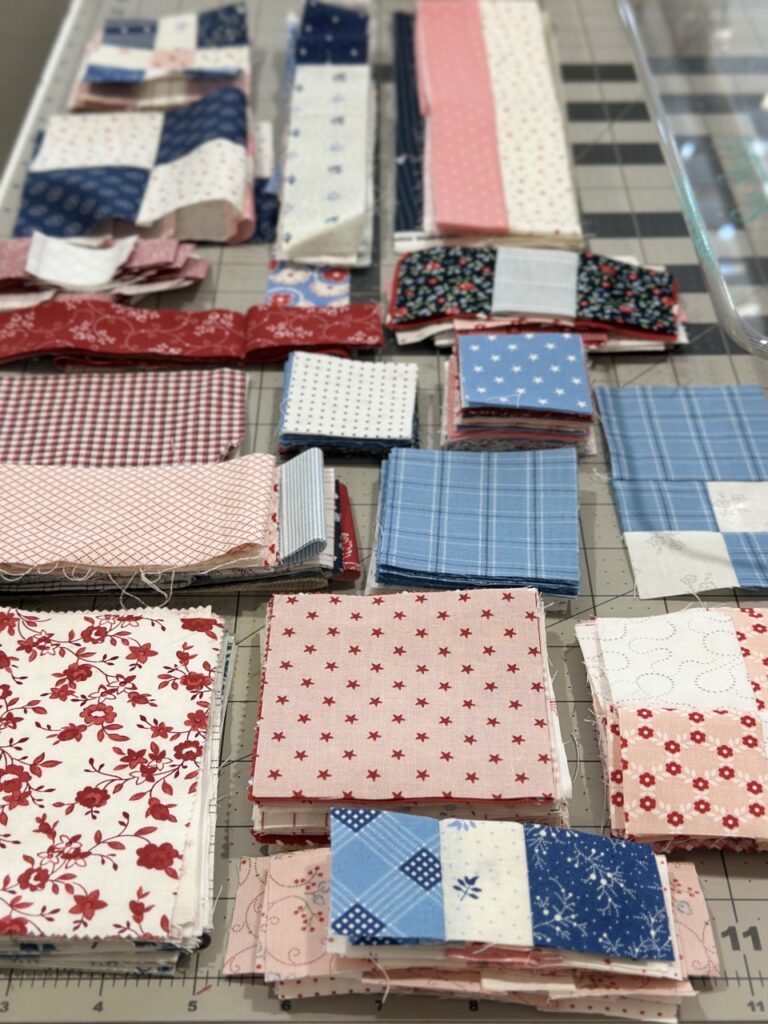
I decided to  use the  BLUEPRINT quilt by Susan Ache as inspiration for my setting. I am using 6″ blockheads blocks and larger filler blocks from the Celebrate with Quilts book. I did a quick video showing the book and the status of my progress on Blockheads.

So far the quilt has a soft and vintage feel.  I can’t wait to finish it.

For a complete resource guide for everything Blockheads, visit here.

-Modalissa

I love this quilt so much!

Experiment with color placement, combine different fabrics and colors, and let the quilt tell its own story. I am dying to do this in Christmas fabrics with darks in the middle.

Chains

So fun!!

Light fabrics are not normally fabrics that you gravitate to buy. It is so much easier to be attracted to color and print when shopping. Think of lights like milk and bread. You always need them and buy good ones when you see them. They are timeless and don’t expire like milk and bread.

Christmas Connections

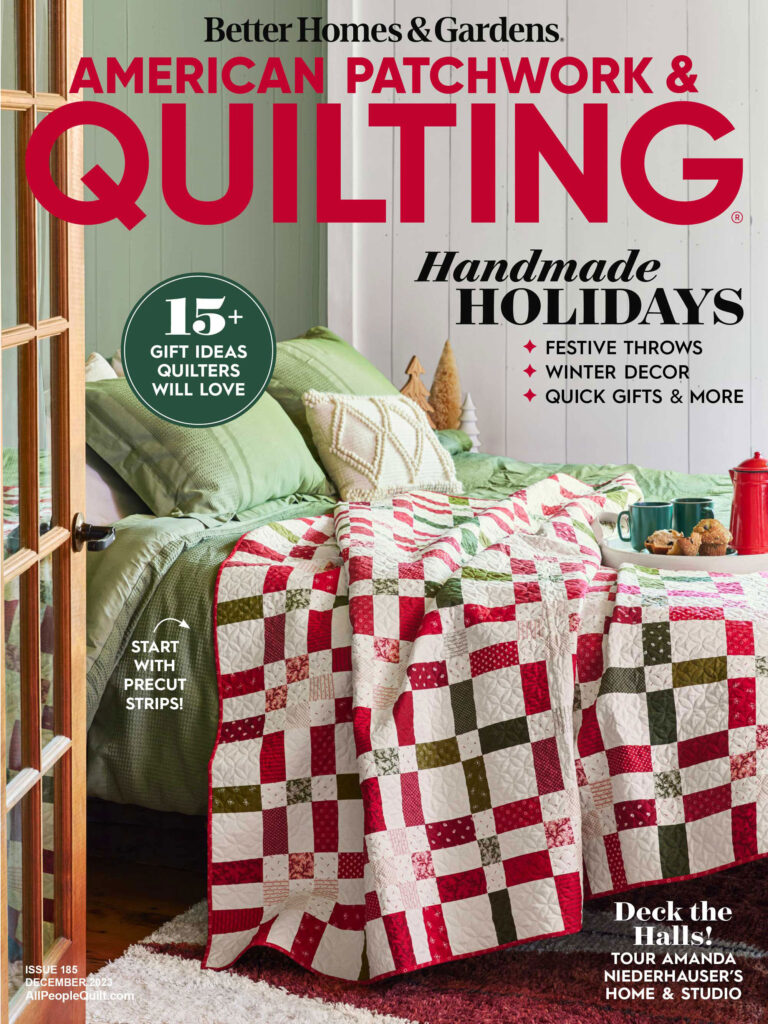
Nothing better than a new Christmas magazine arriving in October, This gives me plenty of time to drool over the designs and actually get one made before the holidays. I think I am going to tackle the cover quilt from Lisa Bongean and Alysha Haran. The quilt is made using 2 1/2″ jelly roll strips so it should be fast to jump on in. Fingers crossed.

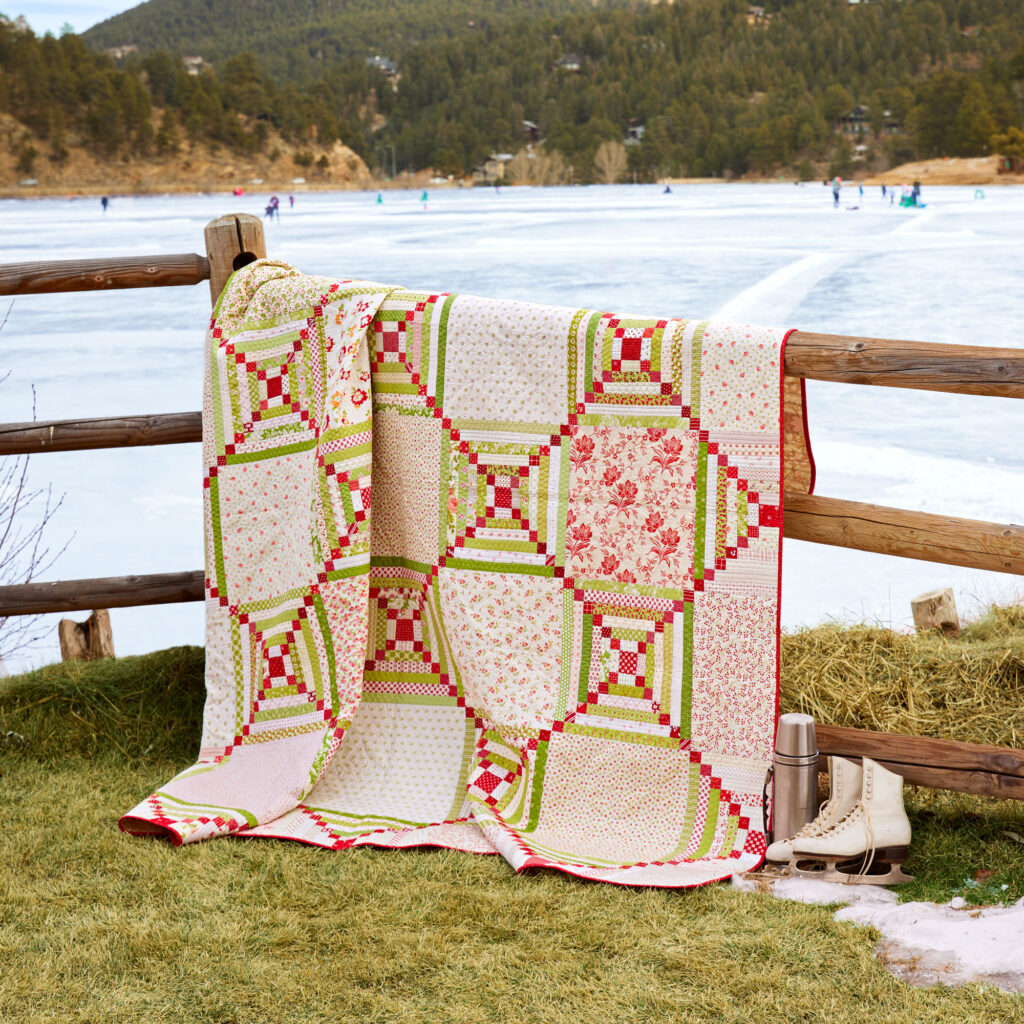
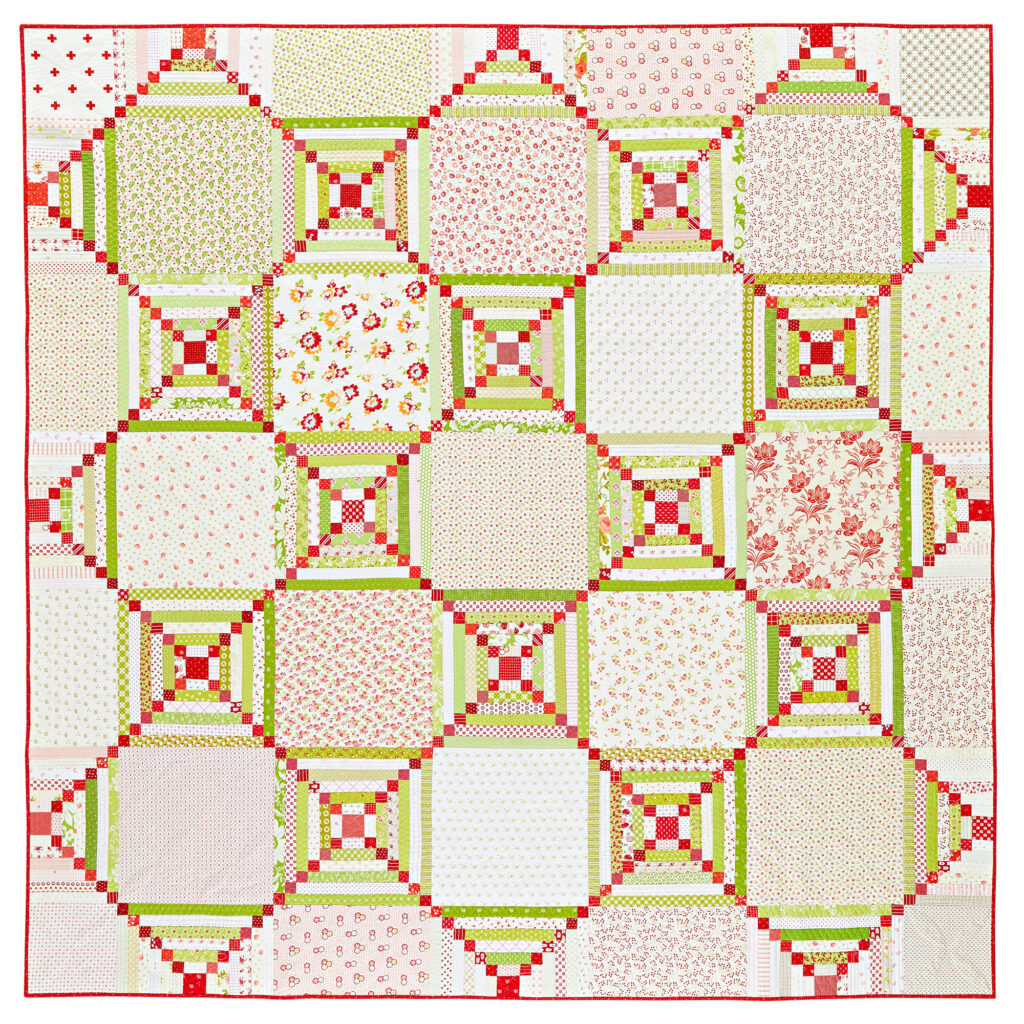
the 3 images shown here are Used with permission from American Patchwork & Quilting® magazine.
©2023 Meredith Operations Corporation. All rights reserved.

The magazine has lots of great quilts/projects including projects from Wendy Sheppard, Annette Plog, Katie Hennagir, Jerome Thomas,  and ME!! Yes the quilt shown here is mine. I am in love with how the team at APQ styled and photographed the quilt. Here in Texas with the temperature still  close to 100, I can’t help but dream of such a delightful scene with ice skaters in the background.


There is also a great feature about Amanda Niederhauser, her home and studio.

Ask for American Patchwork and Quilting, December issue on news stands October 6th, 2023.

Scrappy Celebration QAL-update


I can’t believe the Scrappy Celebration QAL is almost over. It is like putting together a puzzle and getting down to the final pieces. Happy but sad and what to do next. Thought I would share some of the pics from both color options of my quilts here.

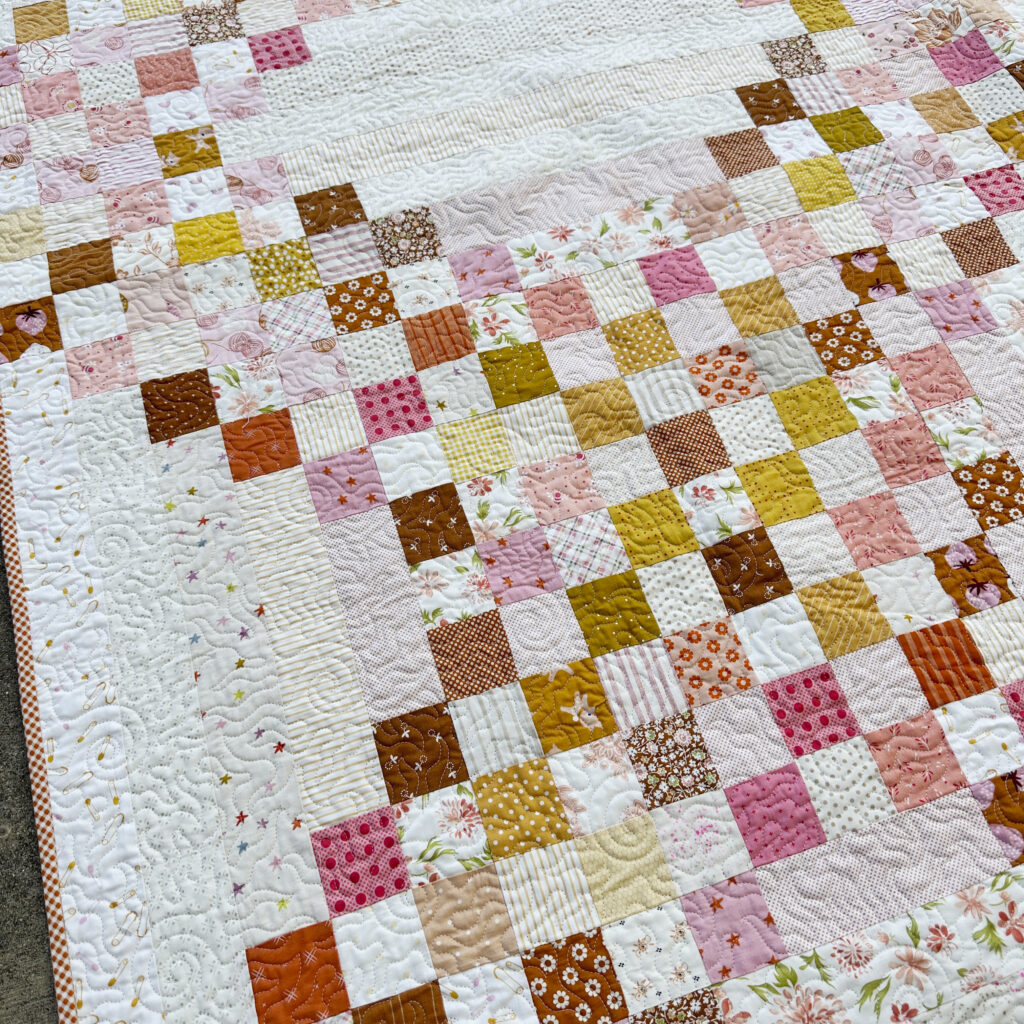
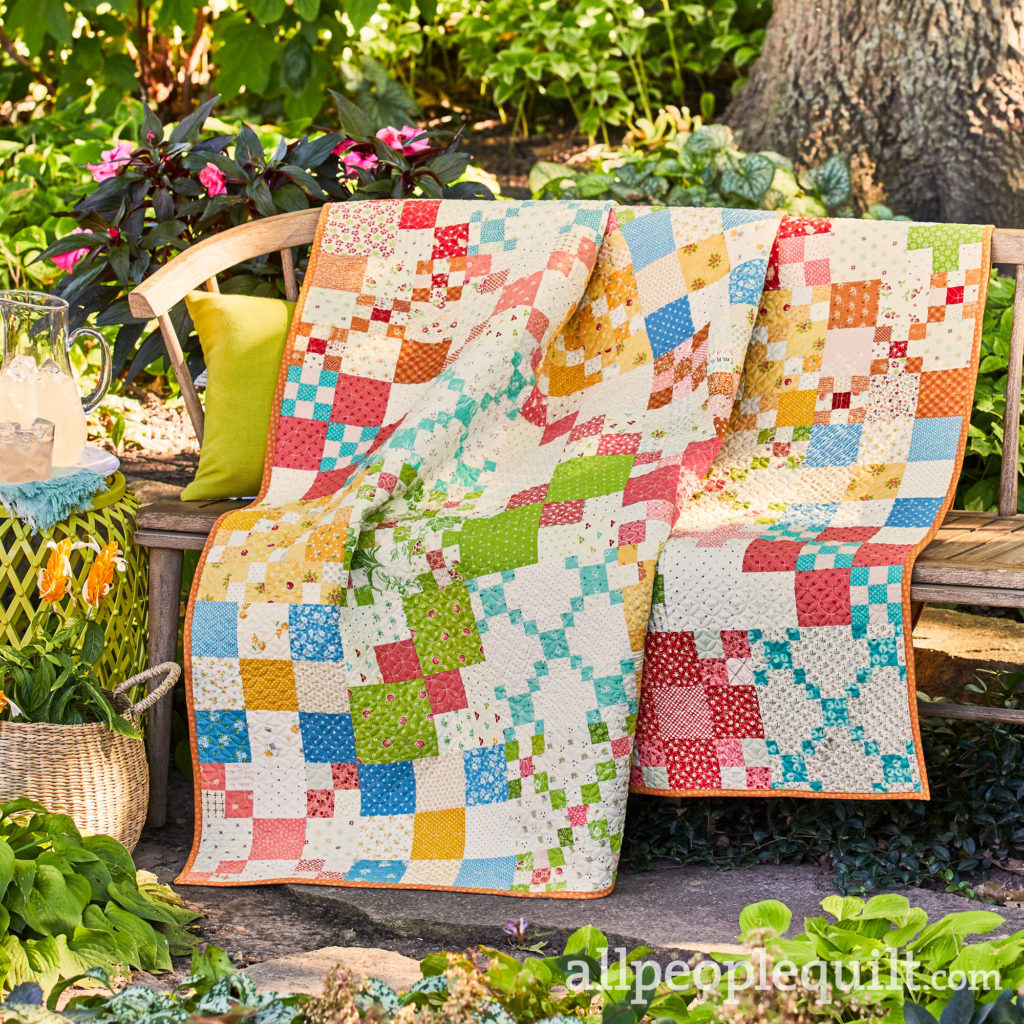
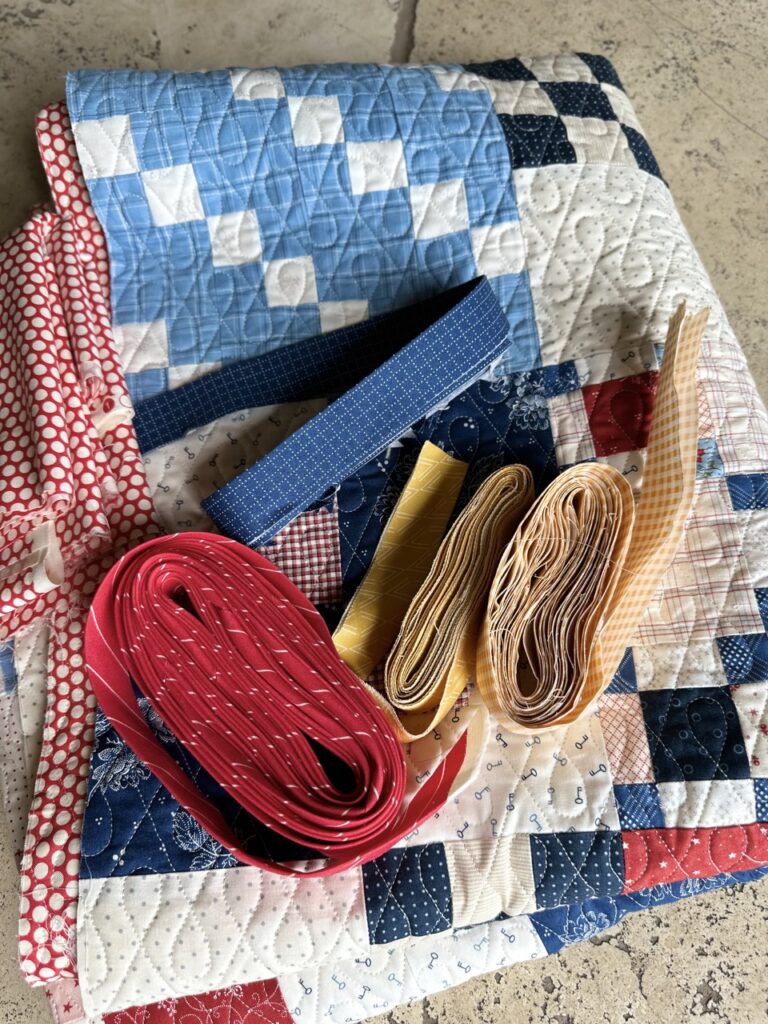
My original quilt is the perfect combination of summer sherbet colors, but for the QAL I remade the quilt with Red, White and Blues.

I thoroughly enjoyed picking out fabrics each week for blocks.

Keeping a pile of my bits and pieces so I could pull some of the sizes I needed for other blocks came in handy. I do have leftovers and may have to make something from all these pieces.


I had been holding on to a bolt of Bonnie and Camille dots from Bliss and knew I had to use this for the backing. Then I dug through all of the leftover bias bits and thought I would funk it up some by adding some yellow to my red white and blue version. Will show the finished quilt soon.

OTHER DETAILS-

You can follow along on Moda’s Blog for each weeks post.

Thank you to Electric Quilt Company for creating fun quilt design software that started this whole  project.

Get the Quilt-Along Pattern


Scrappy Celebration QAL

Time flies! I can’t believe it has been 10 years since I did a quilt-along with American Patchwork and Quilting for their 20th anniversary.
Fast forward to their 30th anniversary and I am honored and proud
to be featured….on the cover…
APQ April 2023 Cover

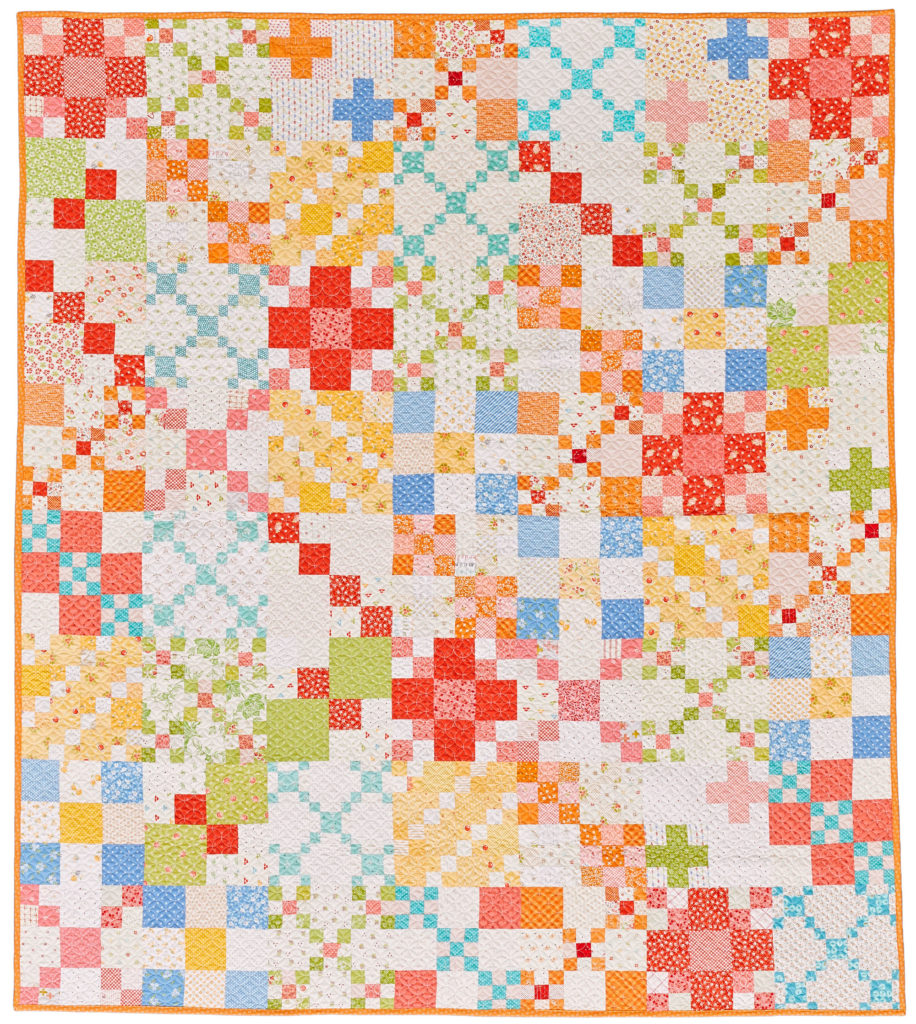
I am a newbie to using the quilt design software, Electric Quilt. To play with this I started adding a variety of nine patches, four patches and any similar block. I fell in love with the mathematic look of the quilt and knew I just had to make it.

All images in this blog post are used with permission from American Patchwork & Quilting magazine . Meredith Operations Corporation. All rights reserved.

Let’s skip to the good part. American Patchwork and Quilting is featuring my quilt as one of their 2023 QAL and they have a Facebook group you can join to play along. I am going to make another version of this quilt during this QAL using red, white and blues with my collection of Minick Simpson fabrics.

If you want to join in, the details are included below.

Pattern Details

Finished quilt: 63-1/2×72-1/2″

 For this quilt, you’ll need:

  • 1-1/8 yard total assorted pink prints
  • 2-3/4 yards total assorted white prints
  • 1/2 yard total assorted red and dark pink prints
  • 3/4 yard total assorted green prints
  • 1 yard total assorted orange prints
  • 1 yard total assorted blue prints
  • 7/8 yard total assorted yellow prints
  • 5/8 yard orange-and-white print (binding)
  • 4 yards backing fabric
  • 72×81″ batting

All of the following info is available here also.

Get the Quilt-Along Pattern

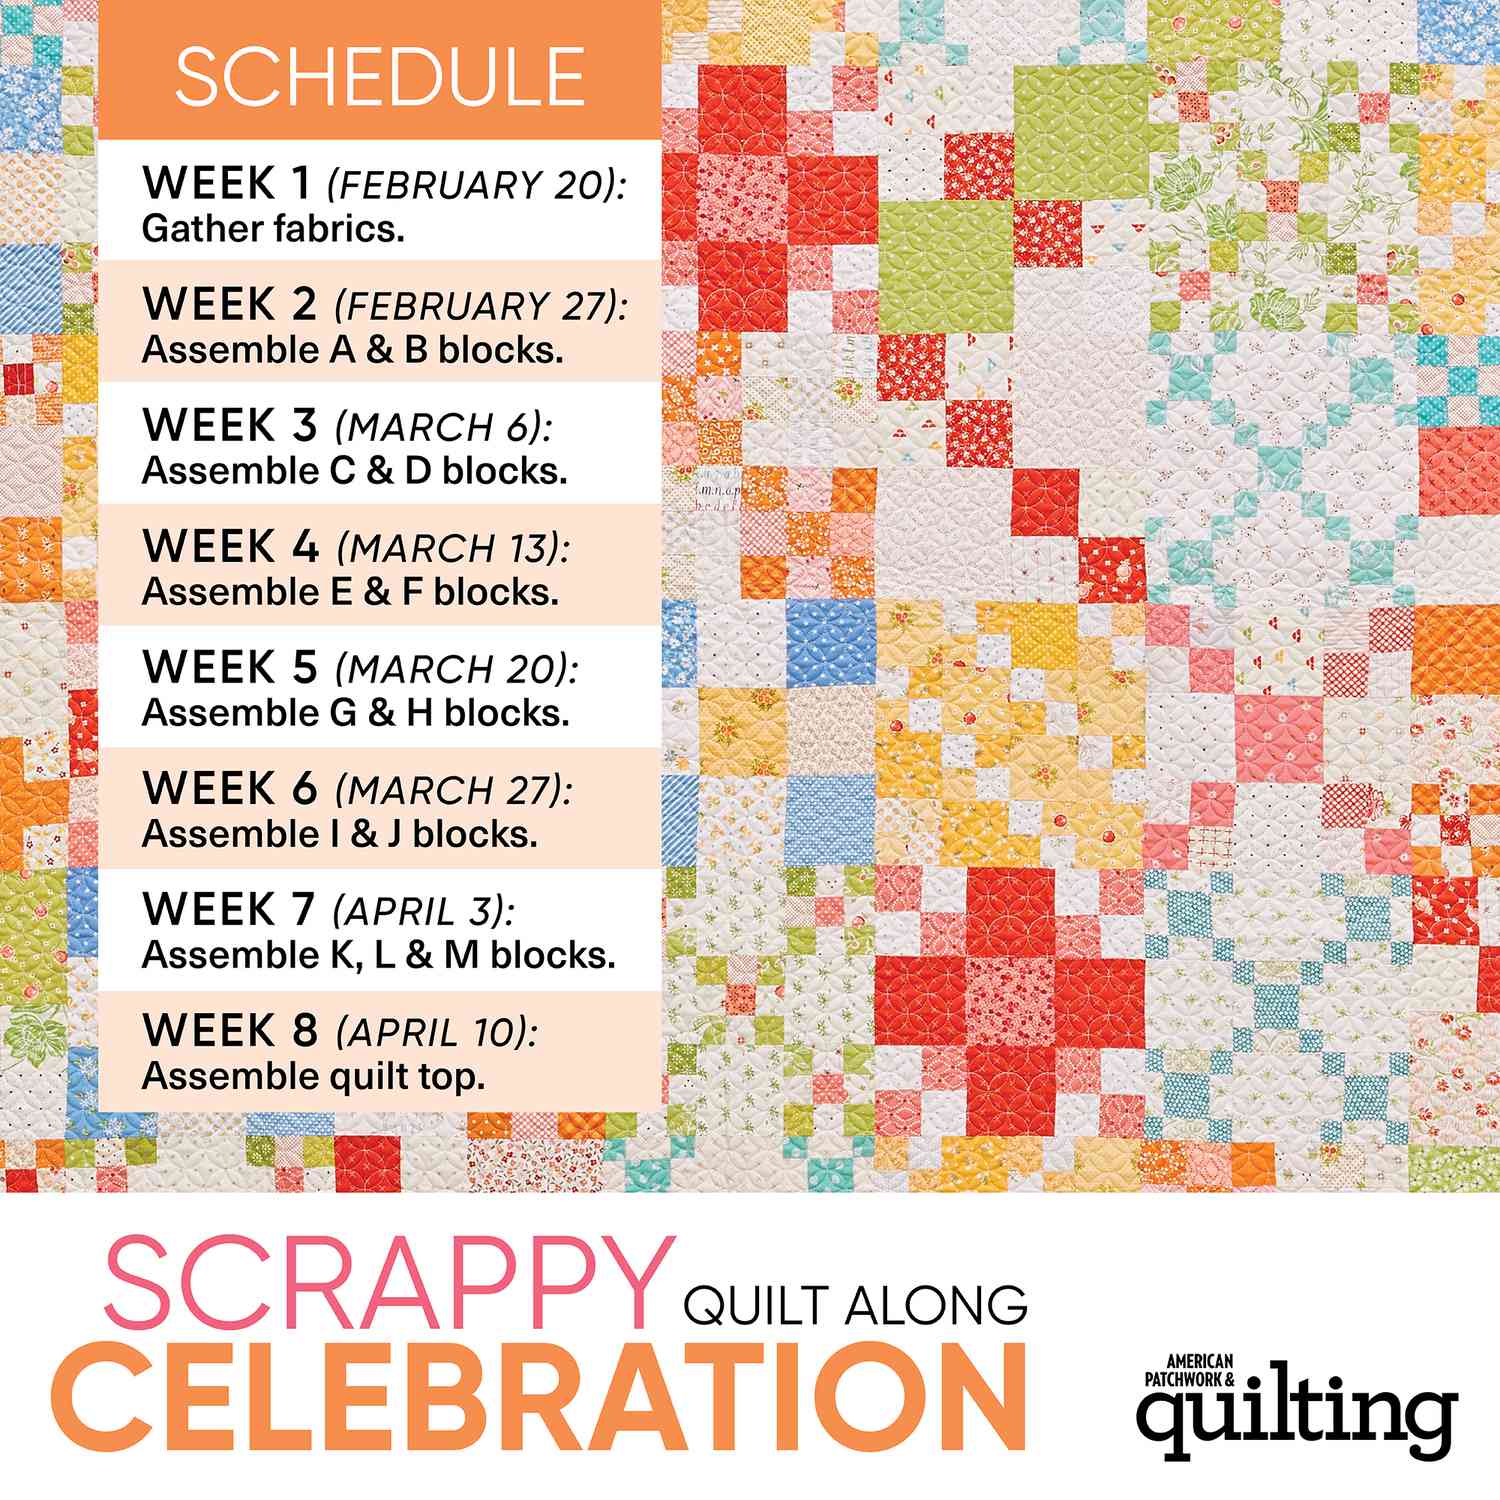
Quilt-Along Schedule

The quilt-along runs from February 20-April 16. While there is a recommended sewing schedule (see below), you can also sew at your own pace!

Scrappy Celebration

If you’re posting on Instagram, use the hashtag #APQQuiltalong to share your progress.

I hope you join us as I share more about Electric Quilt and all things 9 patch.

and lastly THANK YOU so much to the talented team at American Patchwork and Quilting. The April issue ( on newsstands now) is full of wonderful projects and a look back over the 10 years. I have drooled over the pages and talented in this issue.

-Enjoy!

Oh Scrap QAL- Sashing and nine patches

hello, Hope you had a nice Thanksgiving break. I so enjoyed the break and can never have enough food or family time. Not all my crew was able to come home but we did have a houseful.

I re-arranged my sewing room and did some SECRET SEWING and vegged on the couch some, so it was a productive break.

The countdown to Christmas has begun both at home and at work. At work we are working on getting the rest of Holiday 2022 out to our salesteam. They will be making their rounds showing stores fabric lines shipping info next summer. seams so crazy to be living in Christmas 2021 and 2022 all at the same time. FUN ! FUN!

Today’s assignment on the #OHSCRAPCHRISTMASQAL is to add your sashing pieces. I cut my sashing pieces first since they are a bigger piece and I wanted to make use of some of the larger scale prints.

The corner squares are nine patches so you can use parts and pieces from your four patches or following the directions in OH SCRAP to assemble these.

This should come together fairly quickly. I have heard from several of you that have completed your quilt top already. I know when I am excited about a quilt project I am working on, I cannot stop sewing.

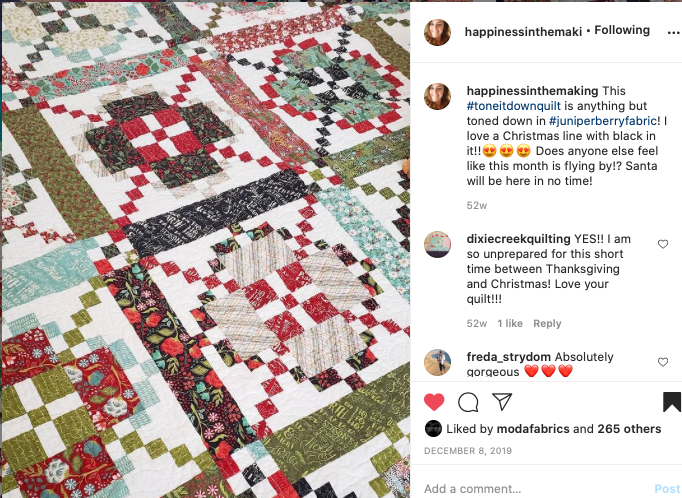
As a quilter, I am so highly influenced by color so seeing some of the combinations other people have put together always inspires me. That is the reason I had to make this Christmas version, inspired by @happinessinthemaking and the Hustle and Bustle fabrics by Basic Grey.

I wanted to share just a few of the pics I found on Instagram of some of the progress happening on the QAL as more color inspiration.

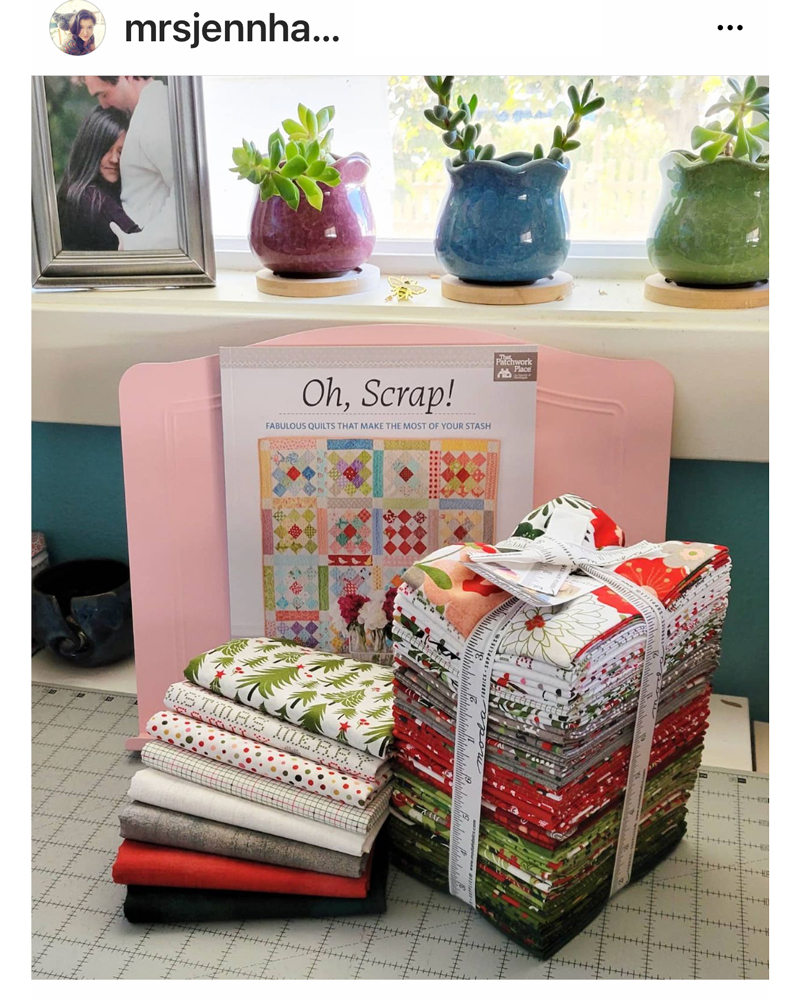
This is where it all started. A fat quarter bundle and some extras. I love how Jennifer has her book on a bookstand for easy reference.

i

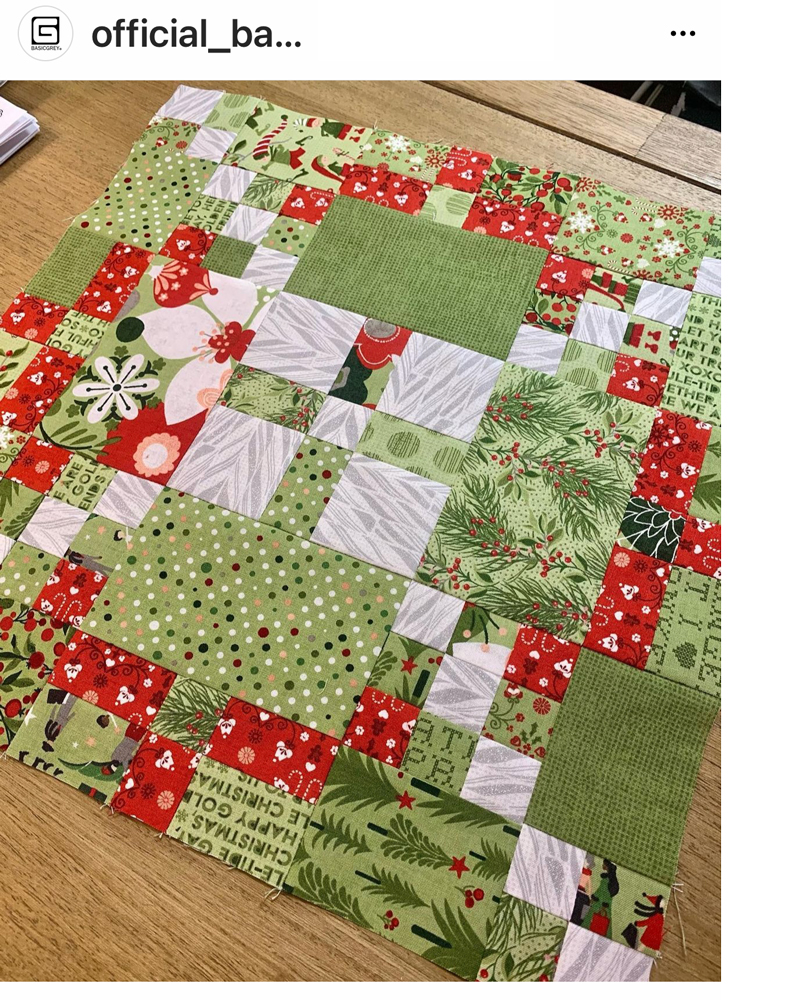
Richy’s from Basic Grey ‘s version is dreamy, using the greens where I used lights.


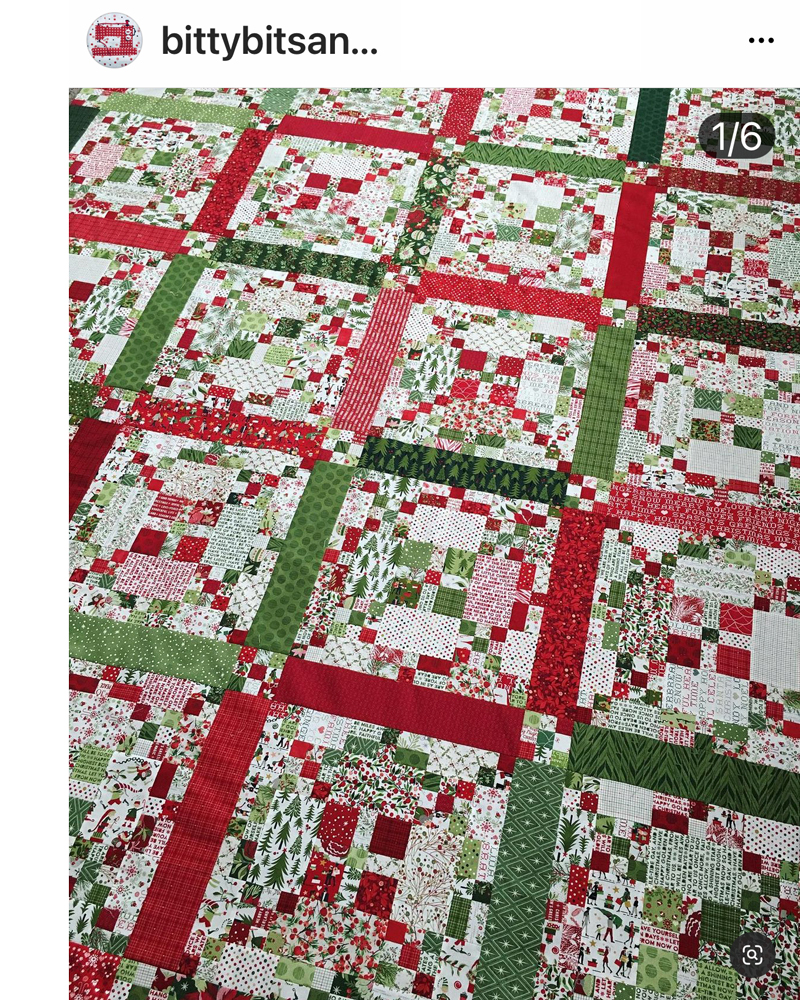
Kim Walus  of @bittybitsandpieces has finished her quilt top and I love it. It is always amazing to me how scrappy versions can be so different and intriguing to zoom in to see all the different fabrics.

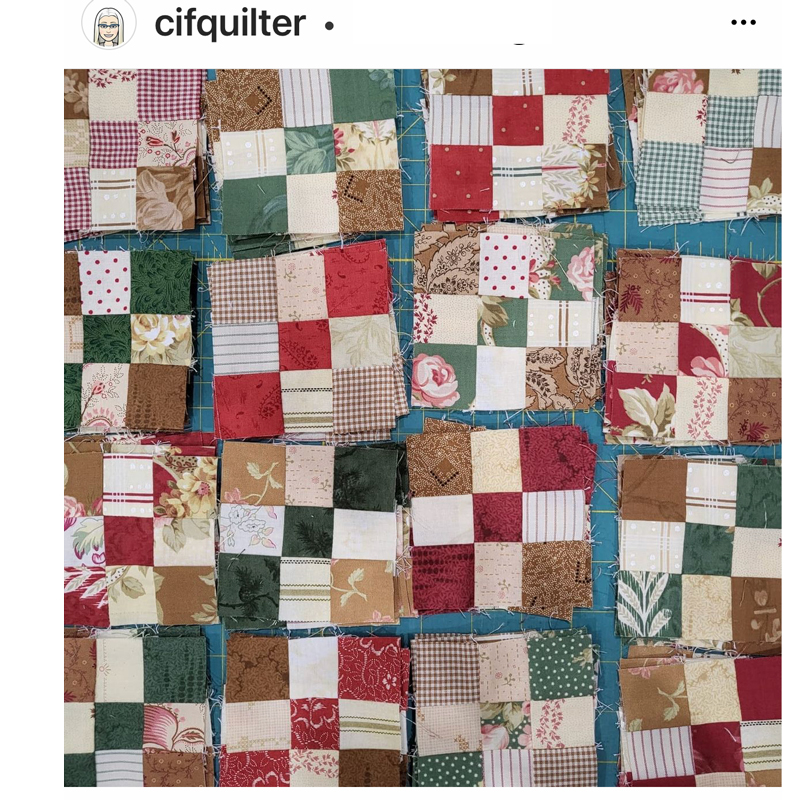
I can’t wait to see Candee complete this one. It is going to be a classic for sure!


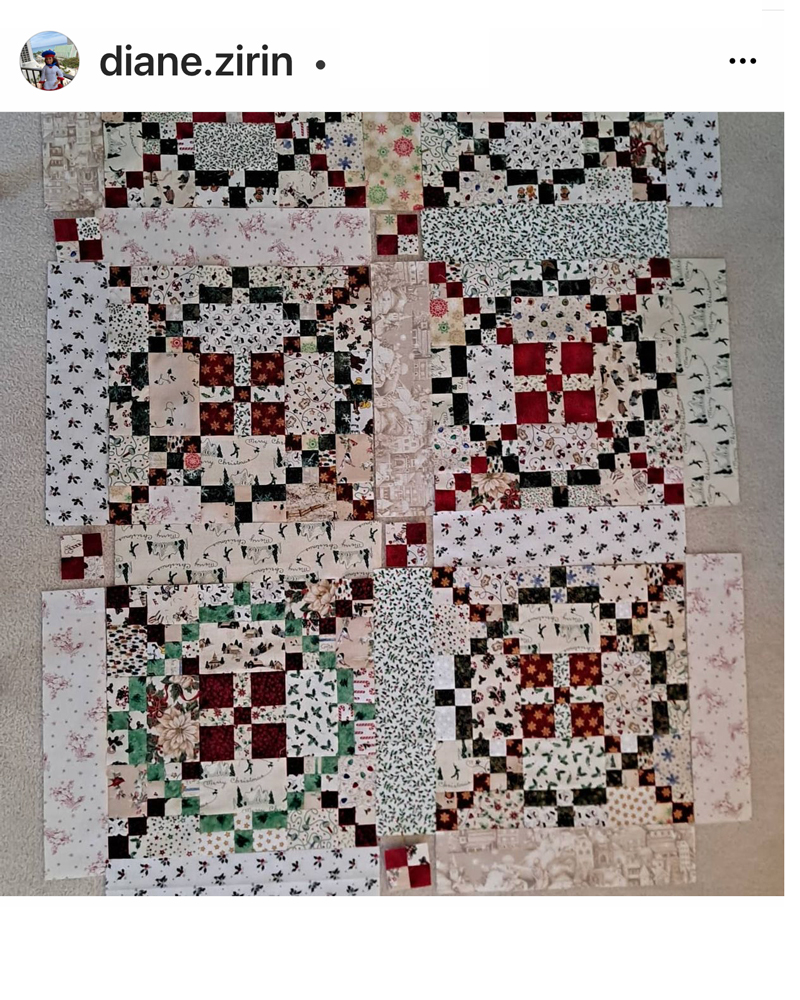
Love the romantic feel of Dianes’ progress.

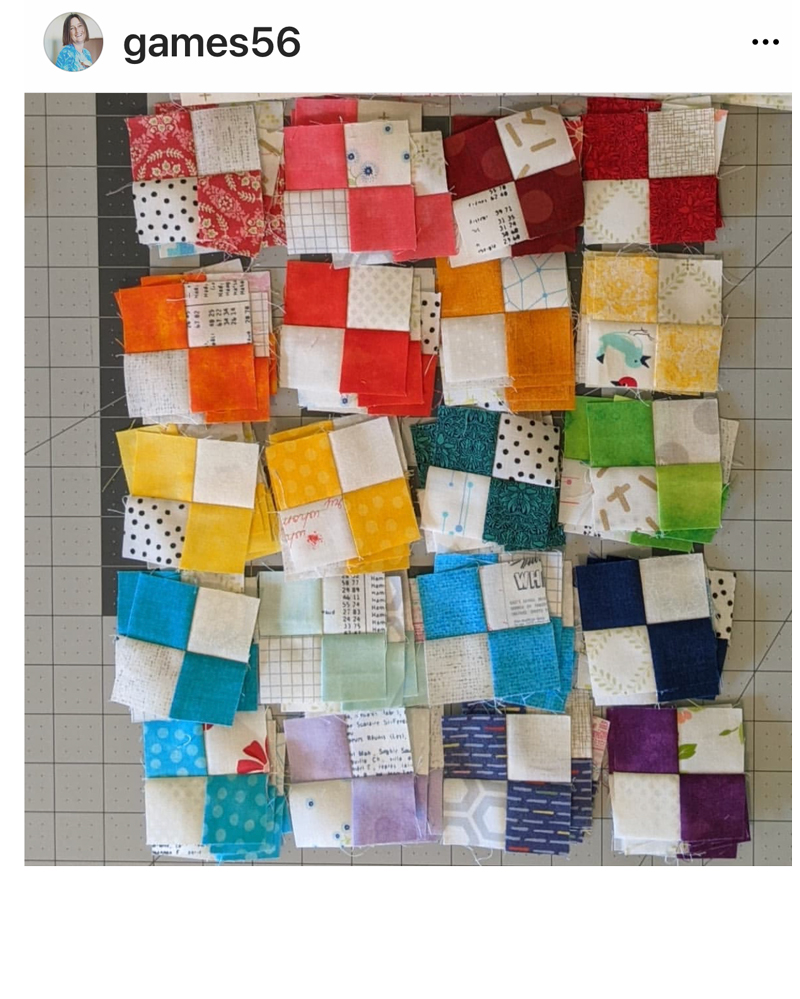
This one just makes my heart happy. I love anything rainbow and this fun colorful set of four patches from Gina of @Games56 is a ton of fun! Gina is a long armer so I bet the quilting will be fun to see as well.

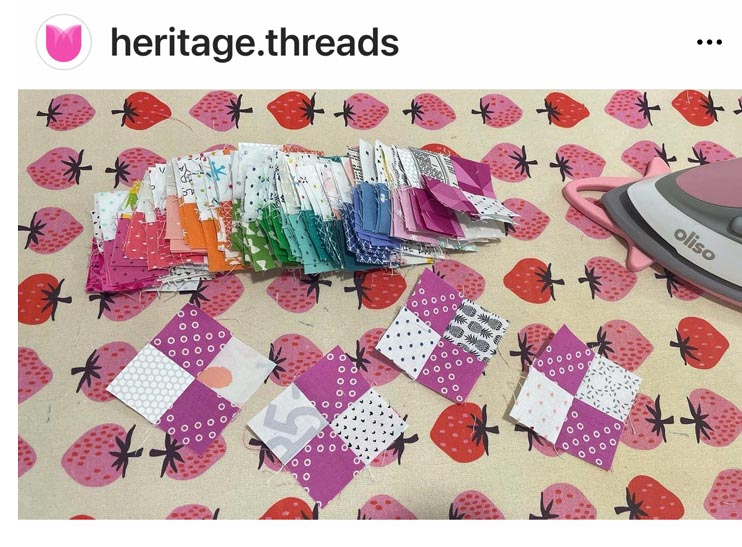
I fell in love with Jen’s 4 patches. Don’t they look like boxes of trusty fruity or mike and Ike’s? I was drawn in to the background fabric also but realized that is her Ruby Star ironing board cover.


Thanks so much for following along on this little quilting journey. Check back next week for my final post about the quilting  and maybe a few other surprises.


Enjoy,


-modalissa


Surrounded QAL- Blocks

I have had so much fun sewing with you on this QAL.   I have enjoyed the pictures you have shared and so proud of those of you that have already completed your quilt top. Kuddos to you!!

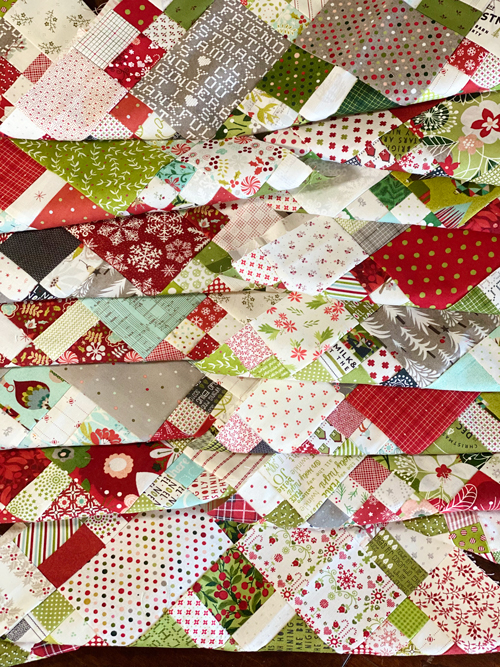
This stack of completed quilt blocks looks like a hot mess but will turn into a wonderful keepsake. What is your favorite part of the quilt making process? I love picking out the fabrics, planning what the project is going to be and making a test block. Then I am very inpatient after that. I just can’t wait to  see each part of the quilt develop.

Quilting is my job and my hobby but mainly it is my therapy. The hum of the sewing machine and watching bits and pieces of fabric put me in a mediative zone of some sort.  I sew and sew and sew until the quilt top is complete, then  I get to the point of second guessing some of my choices, kind of a lull in the process.

I send 99% of my quilt tops to be machine quilted. Once I get the quilt back from the quilter, it is like I receive a special package of magic that has made my quilt come to life. Not that the quilt is full of sparkles, glitter and neon thread, but there is just something so special about the artistry and texture that the quilter adds to my project. More on this in a future post.

I don’t have too many tips on how to assemble your blocks other than just do it and enjoy the process. Each block is a creation all it’s own when working scrappy.

What fabric is going to be the prom queen?

What fabric has a bit of the clash factor?

Squint at the blocks and see what fabric choices worked and some not so much.

Don’t dare rip anything out if you don’t like it, just learn from it.

I recently was on a photo shoot where some of my quilts were being photographed. Through the lens of the camera I saw things that were like, Oh Wow! that probably was not the best fabric placement choice.  This is where I get the saying, not all the fabrics can be the prom queen and only my over critical eye of my own work would have ever even noticed.

We are taking a break for the Thanksgiving Holidays and will be back to talk a little about sashing, corner squares, pieced backs, quilting and binding.

Enjoy your family, friends and health and I am praying for moving closer to some degree of normal. (fingers crossed)

Use the hashtag #OhScrapChristmasQAL so I can follow along.

SIDE NOTE! The global supply chain has been tough this past year and has created an overall upheaval in deliveries. This is tough especially for the  independent quilt retailers.  Be sure and support your favorite quilt or specialty retailers  during this holiday season. If you don’t have a quilter on your shopping list, then buy yourself a quilty present, wrap it, put it under the tree, act surprised when you open it and thank “whoever” bought it for you because they knew just what you wanted. (ask me how I know?)

Break for Thanksgiving
-Wednesday, Dec. 1st – Sashing
-Wednesday Dec. 8th – Assemble Quilt top

Enjoy,

-modalissa
Surrounded QAL- Week 5- Side Bars

Side Bars- That is kind of a funny name for the pieces we are going to be working on this week, but I had to name them something.

These little side pieces are interval in making the design happen. Thought I would share a little history about this quilt design and my inspiration for this color option.

The geometric pattern of this quilt–commonly known as Burgoyne Surrenders or Burgoyne Surrounded–is said to refer to one of the most pivotal events in the American Revolution. In 1777, the British failed in their attempt to take control of the strategic Hudson River, and in the end British General Burgoyne with nearly six thousand of his men were surrounded by American troops and forced to surrender near Albany, New York. Burgoyne’s army is represented by the squares at the center of the blocks, encircled by the American troops. This design design could have also been inspired by the simple, grid-like patterns seen in handwoven linens and woolen coverlets of the first half of the nineteenth century.

When my book, Oh Scrap launched there were several quilt alongs using this design, but I fell in love with Haley Anderson of @happinessinthemaking Christmas version of 2019. I knew I needed to make it just like that! Does that happen to you?

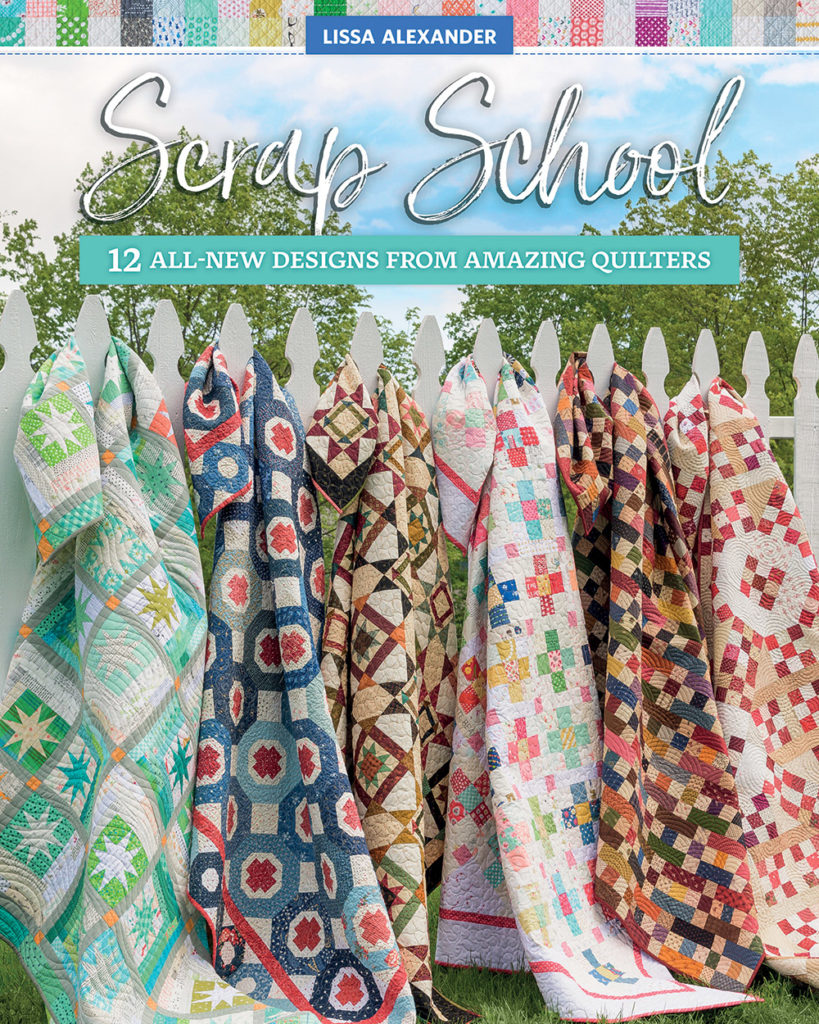
Katrina Thennis you are the winner of my book, SCRAP SCHOOL.

Next week we will start assembling blocks together. Several of you are already doing this and it is so great to see your progress. Be sure and use #ohscrapchristmasqal when you share your blocks so I can follow along.

Each  post will go live at 6:00 pm central.
-Wednesday, Nov. 10th – Assemble Blocks
Break for Thanksgiving
-Wednesday, Dec. 1st – Sashing
-Wednesday Dec. 8th – Assemble Quilt top


Surrounded QAL-Week 4- Center Blocks


I sew any chance I get. I quite often get up early so I can sew a little before work or stay up late to work on any project I am obsessed by. To be able to work on items in short little burst of time, I have a few processes to help keep me on task. Today I am going to share how I pieced the center section of the block together. The is somewhat a mindless, therapeutic method that lets me stop and start without loosing my place.

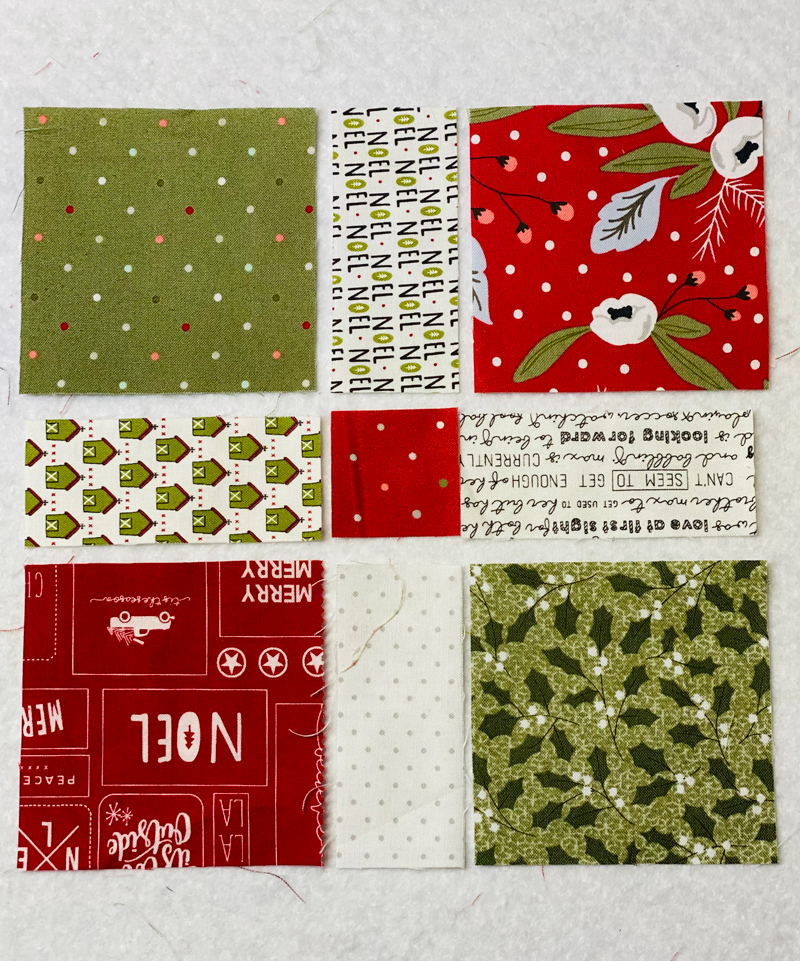
I shared with you that the main focus fabrics for this quilt were from Hustle and BustIe by Basic Grey and that I also added some of Christmas Morning by Lella Boutique. The fabrics above are from Christmas Morning and Red Barn Christmas by Sweetwater. Those of you that follow me often know that I am obsessed by dots. Everything I make has some dot fabric in it. I would buy an entire bolt of the red and green dot shown above. It is just that good!

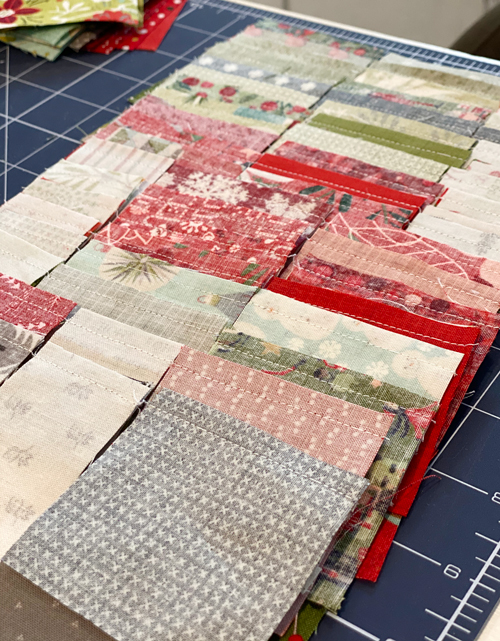
I stack all my pieces on one design board and chain sew  working vertically down each section.  This helps me keep all my pieces in order. (shown above is just 1 layer, normally I would have layers for all the blocks needed for my quilt.) 

Shown above – all my center 9 patches chain pieced and ready to join into blocks.

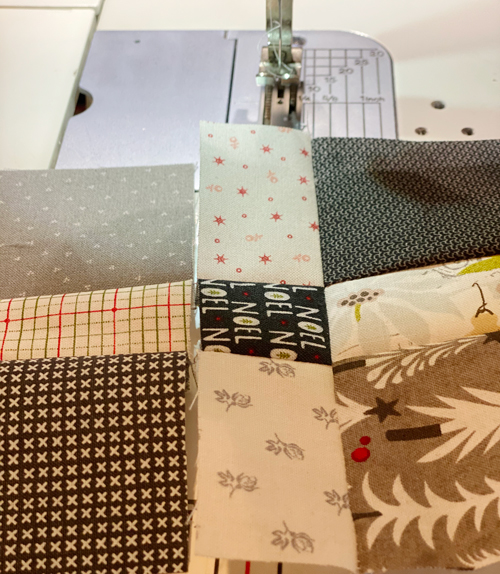
I do not clip the threads so this keeps the sections in order and eliminates pinning. it is hard to see in the picture but there is a few stitches from chain sewing that hold these sections together. As I sew, I flip the seam allowance towards the dark and they nest together beautifully.  If you like to press your seams open, not cutting the threads can be problematic. You will need to trim the threads once you have sewn the pieces together to press open.  I press my seams to the dark side so don’t have to worry about that. (remember mindless, therapeutic sewing!)


Here you can see how one side of the block is sewn together and the other side is just “hanging on by a thread” waiting to be joined.

Last week I shared how I make some of my own design boards, so if you missed that post, click here.

Week 3 of this QAL is a perfect time to include a GIVEAWAY for one of my other books, SCRAP SCHOOL.  This book has a fantastic line up of designers like Kim Diehl,
Amanda Jean Nyberg of Crazy Mom Quilts, Connie and Mary of Country Threads, Lisa Bongean, Susan Ache, Amy Smart, Sarah Huechteman, Gudrun Erla and Sherri L. McConnell.

Leave a comment and check back here next Wednesday to see who is the winner of their own copy of Scrap School. Also giving away a copy on my instagram so , visit @modalissa for another chance to win.

Join me back here, Wednesday Nov. 3rd  to make side bar section of the block. We are almost done with the sections!

Each  post will go live at 6:00 pm central.

Wednesday, Nov. 10th – Assemble Blocks
Break for Thanksgiving
-Wednesday, Dec. 1st – Sashing
-Wednesday Dec. 8th – Assemble Quilt top

I hope each of you have a fun Halloween and enjoy something sweet. What is your favorite Halloween candy?

#ohscrapchristmasqal

-modalissa


Surrounded QAL- Week 3- 9-patches

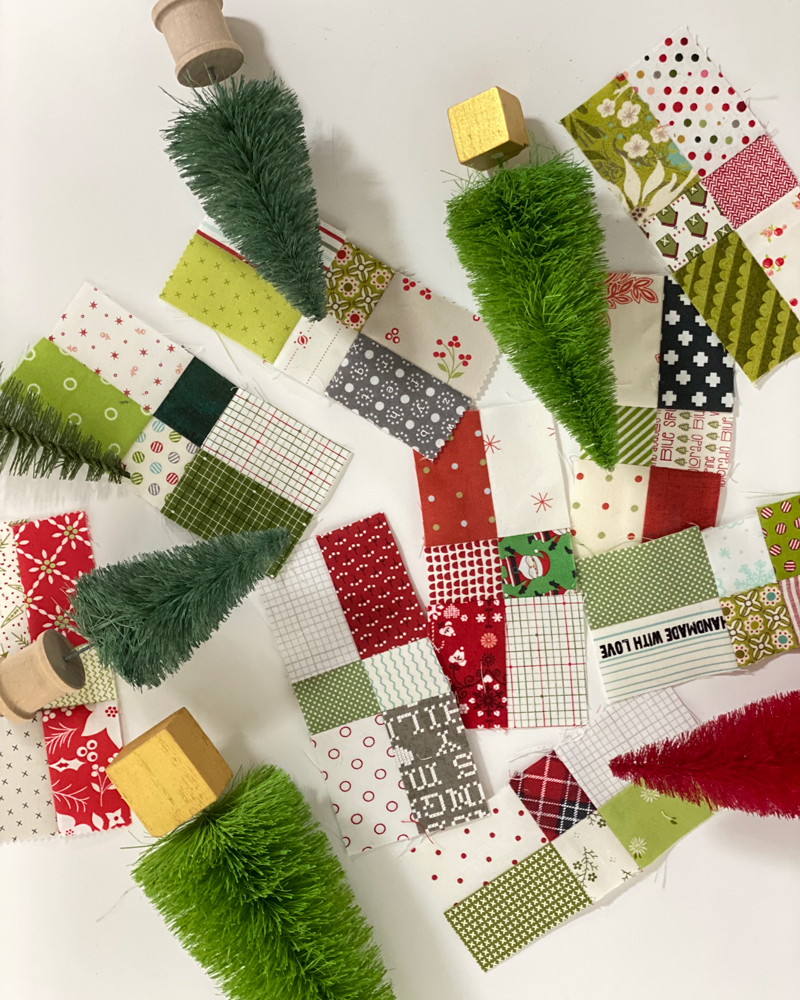
How did you do on your four patches? Did you get them all done? I know it is a crazy time of year to try and tackle one more project, right? Just do what you can each week.

What is a 9-Patch?
9 squares joined together to make one block or section of a block.

For this quilt, we will be making
2 different sizes
and
styles of 9- patches.

This week is a simple basic 9-patch where all the squares are the same size. Next week will be a combination of different sizes.

If you have time and want to keep sewing, go ahead and put together your 4-patches and 9- patches into units as shown in the picture. You will need 4 per block.

I don’t have any tips on making the 9-patches but wanted to share the design boards that I use all the time. (shown above)

These design boards come ready-made in variety of sizes but I use a ton of these so I make my own from left over batting. They aren’t as pretty but they work just the same.

Shown above a variety of boards I use. The black one is the back side of one of my boards. The 2 with trim are ones I have bought.

Foam core board is available at most craft/art stores in assorted sizes. I also use the boards that are sold for science experiments which is easily assessable at many stores. Cut the foam board to your desired size and using spray adhesive, coat the batting and board  following directions on the label. I wait to trim the batting to size until after I have glued it to the board. Flip over the board with batting on the bottom and using a rotary cutter you can trim the batting to the exact size of the board. 14″ is a good size for me. It fits nicely in the sewing space I have and works well with any 12″ block.

These come in so handy to stack up pieces to sew together.I don’t use a board for each block but instead use one board and stack the sections to chain sew. Plus I can put them away quickly without disrupting the pieces if I need to work on something else or the grandkids want to sew.

I can’t wait to see your progress.

Be sure and share using #ohscrapchristmasqal.

See you next week- Wednesday October 27- Center Blocks

-Modalissa
Each  post will go live at 6:00 pm central.
-Wednesday Nov. 3rd – Side bars
-Wednesday, Nov. 10th – Assemble Blocks
Break for Thanksgiving
-Wednesday, Dec. 1st – Sashing
-Wednesday Dec. 8th – Assemble Quilt top