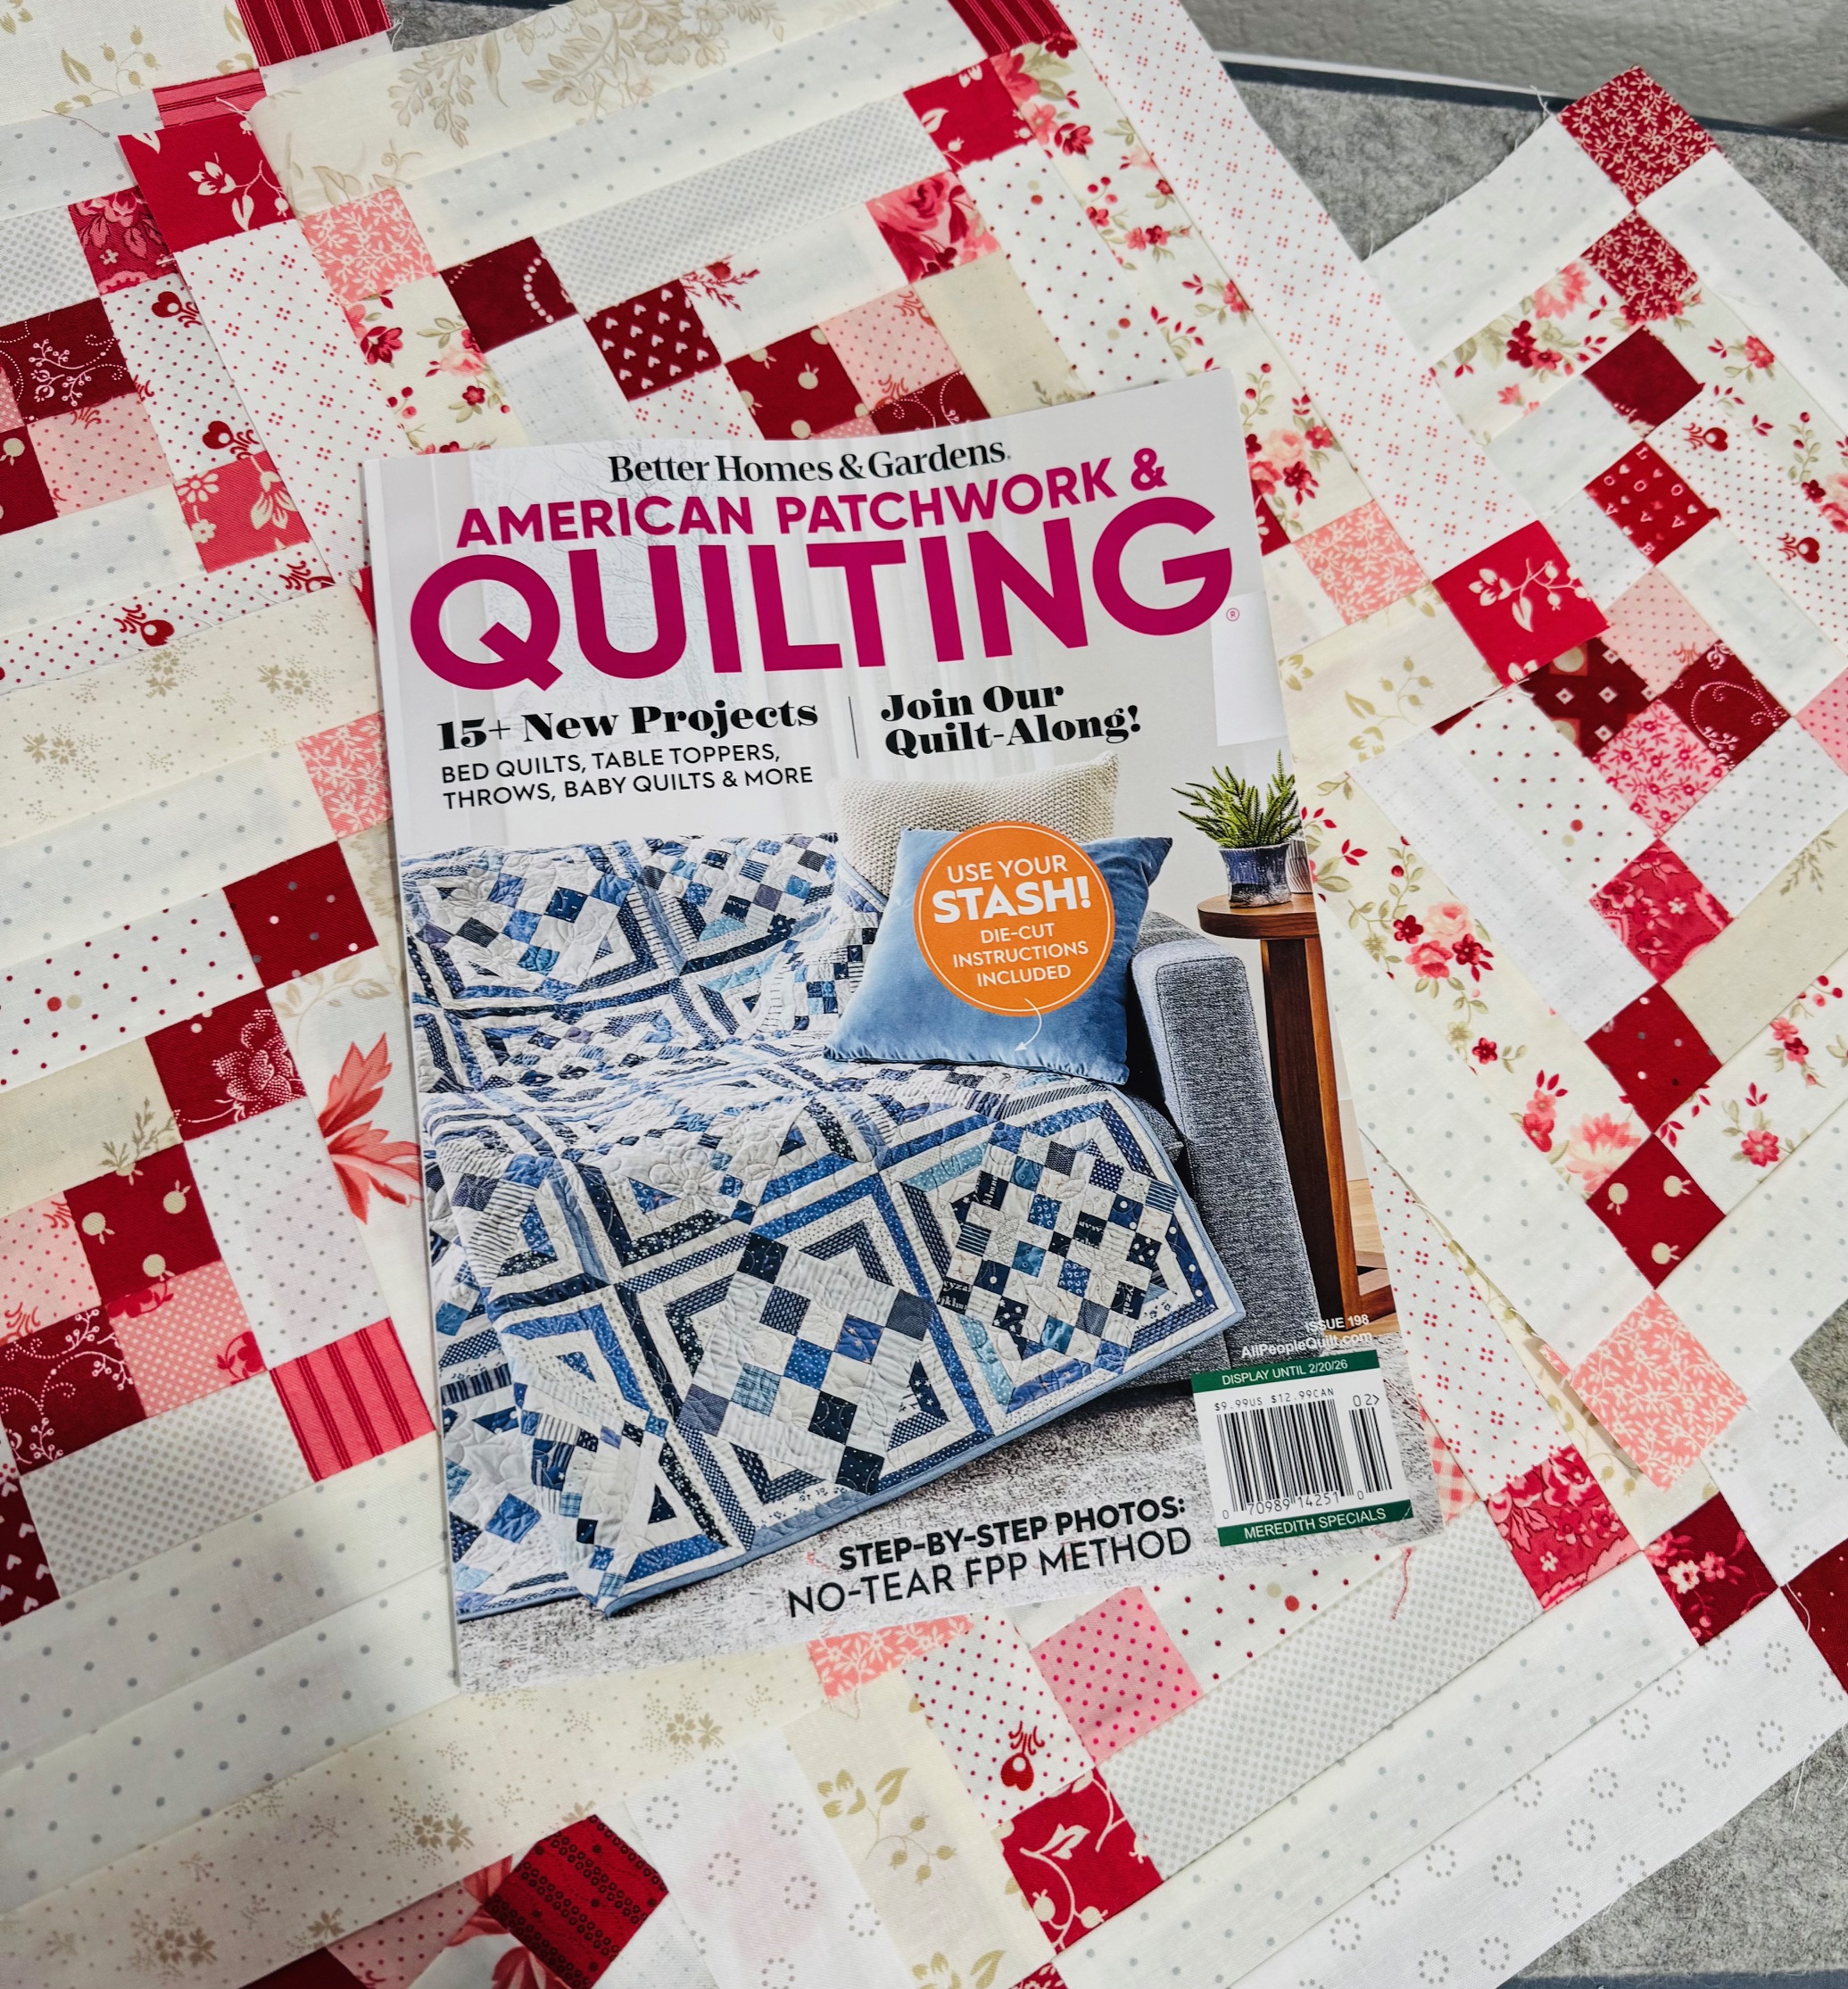
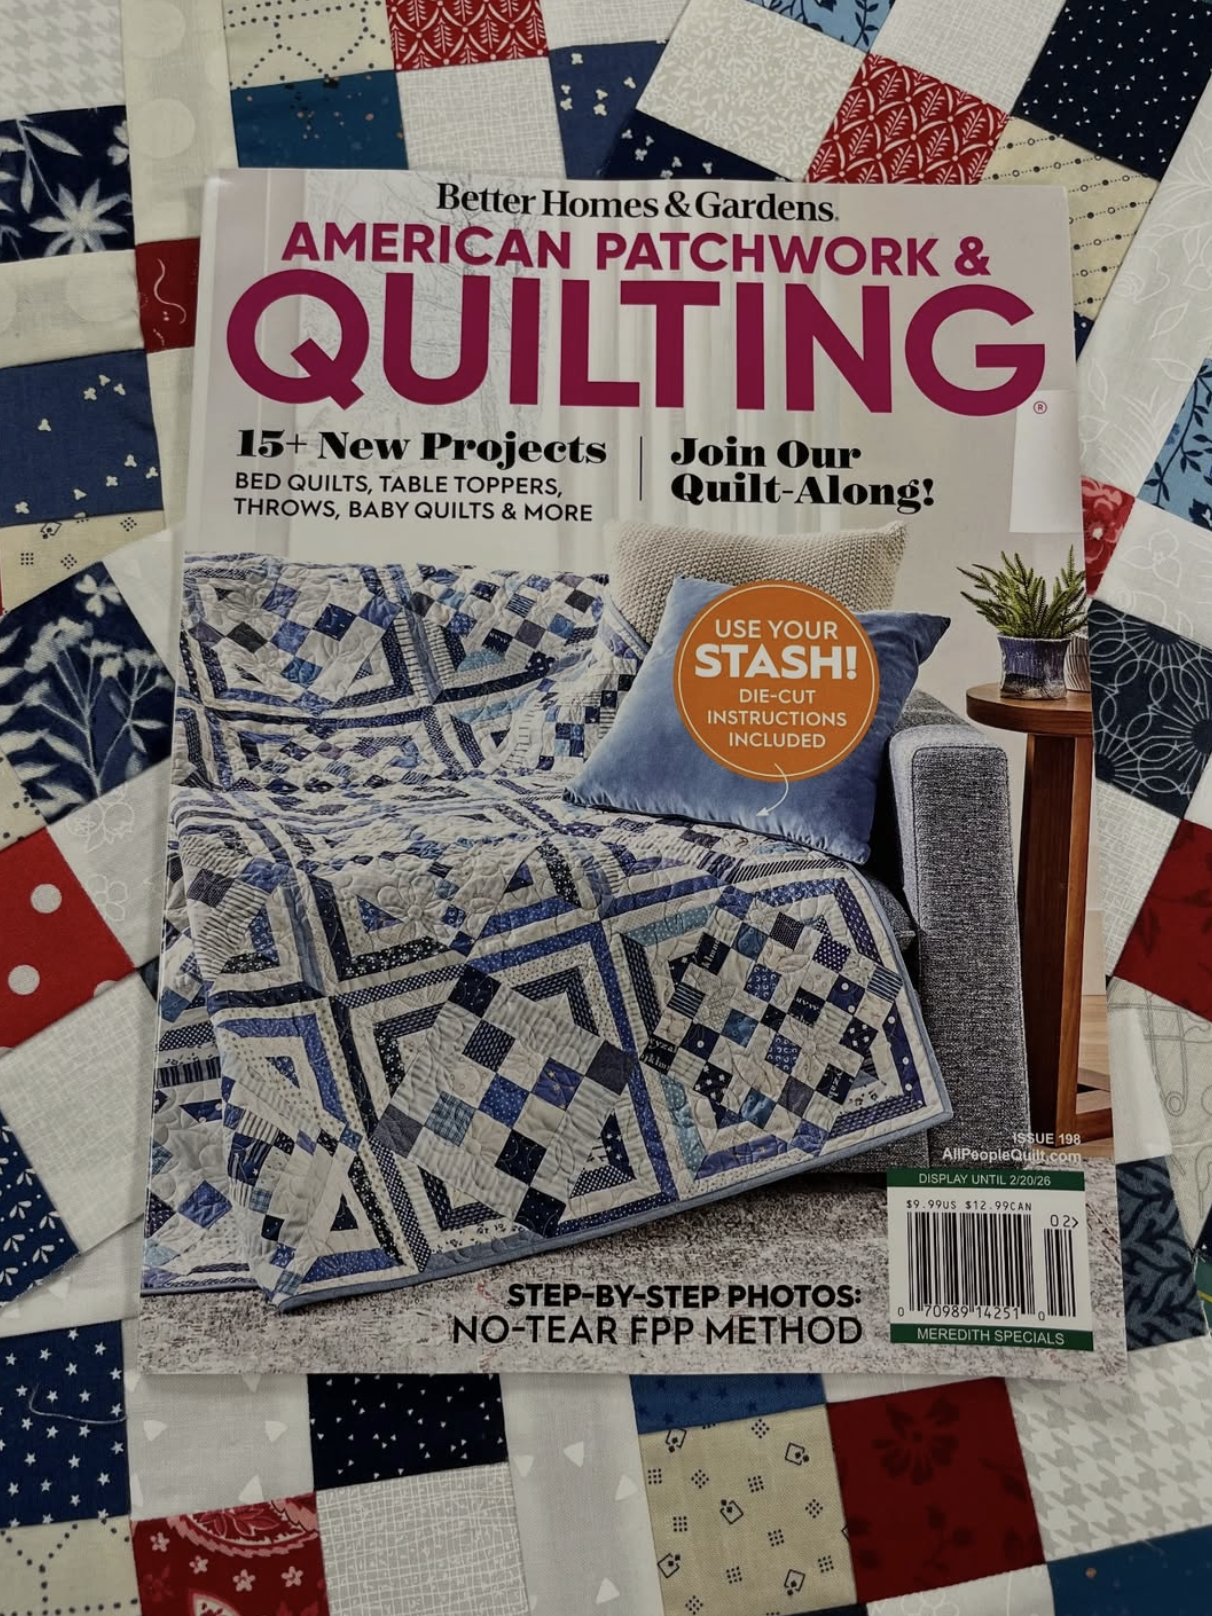
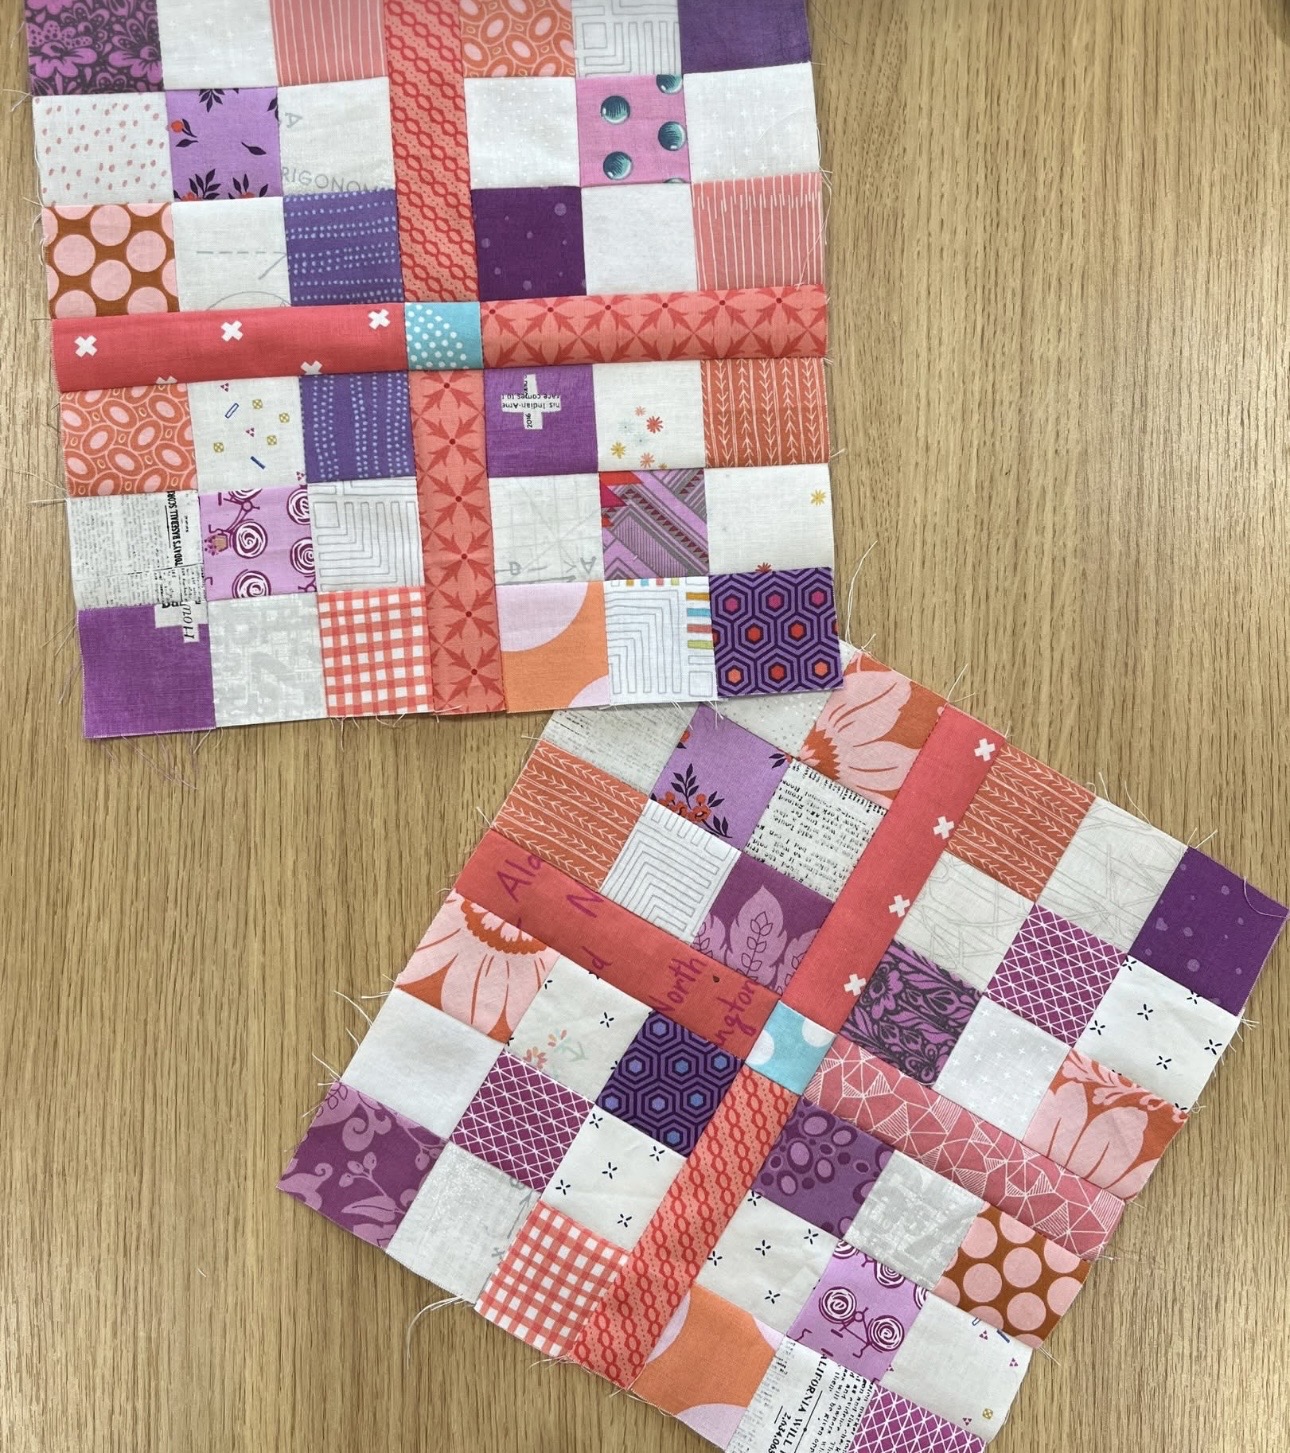
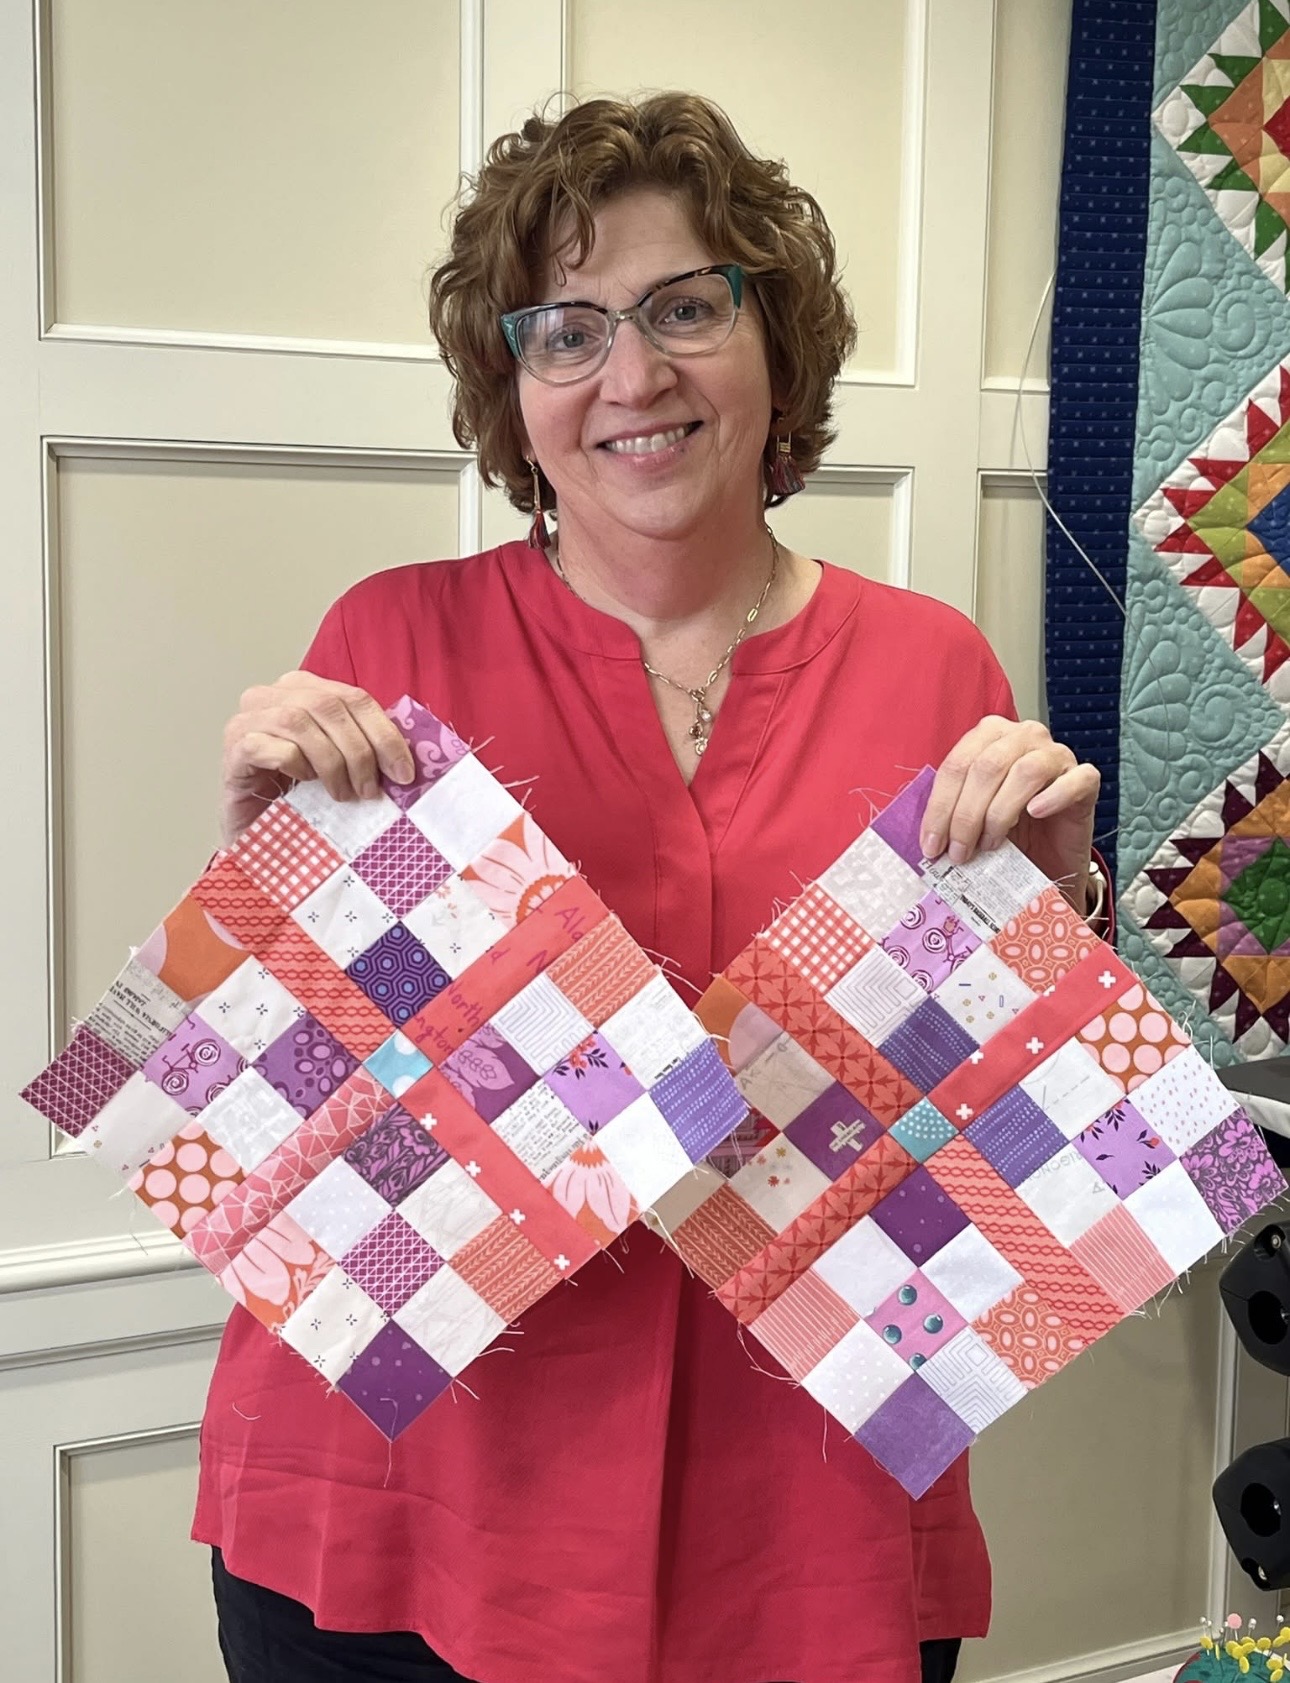
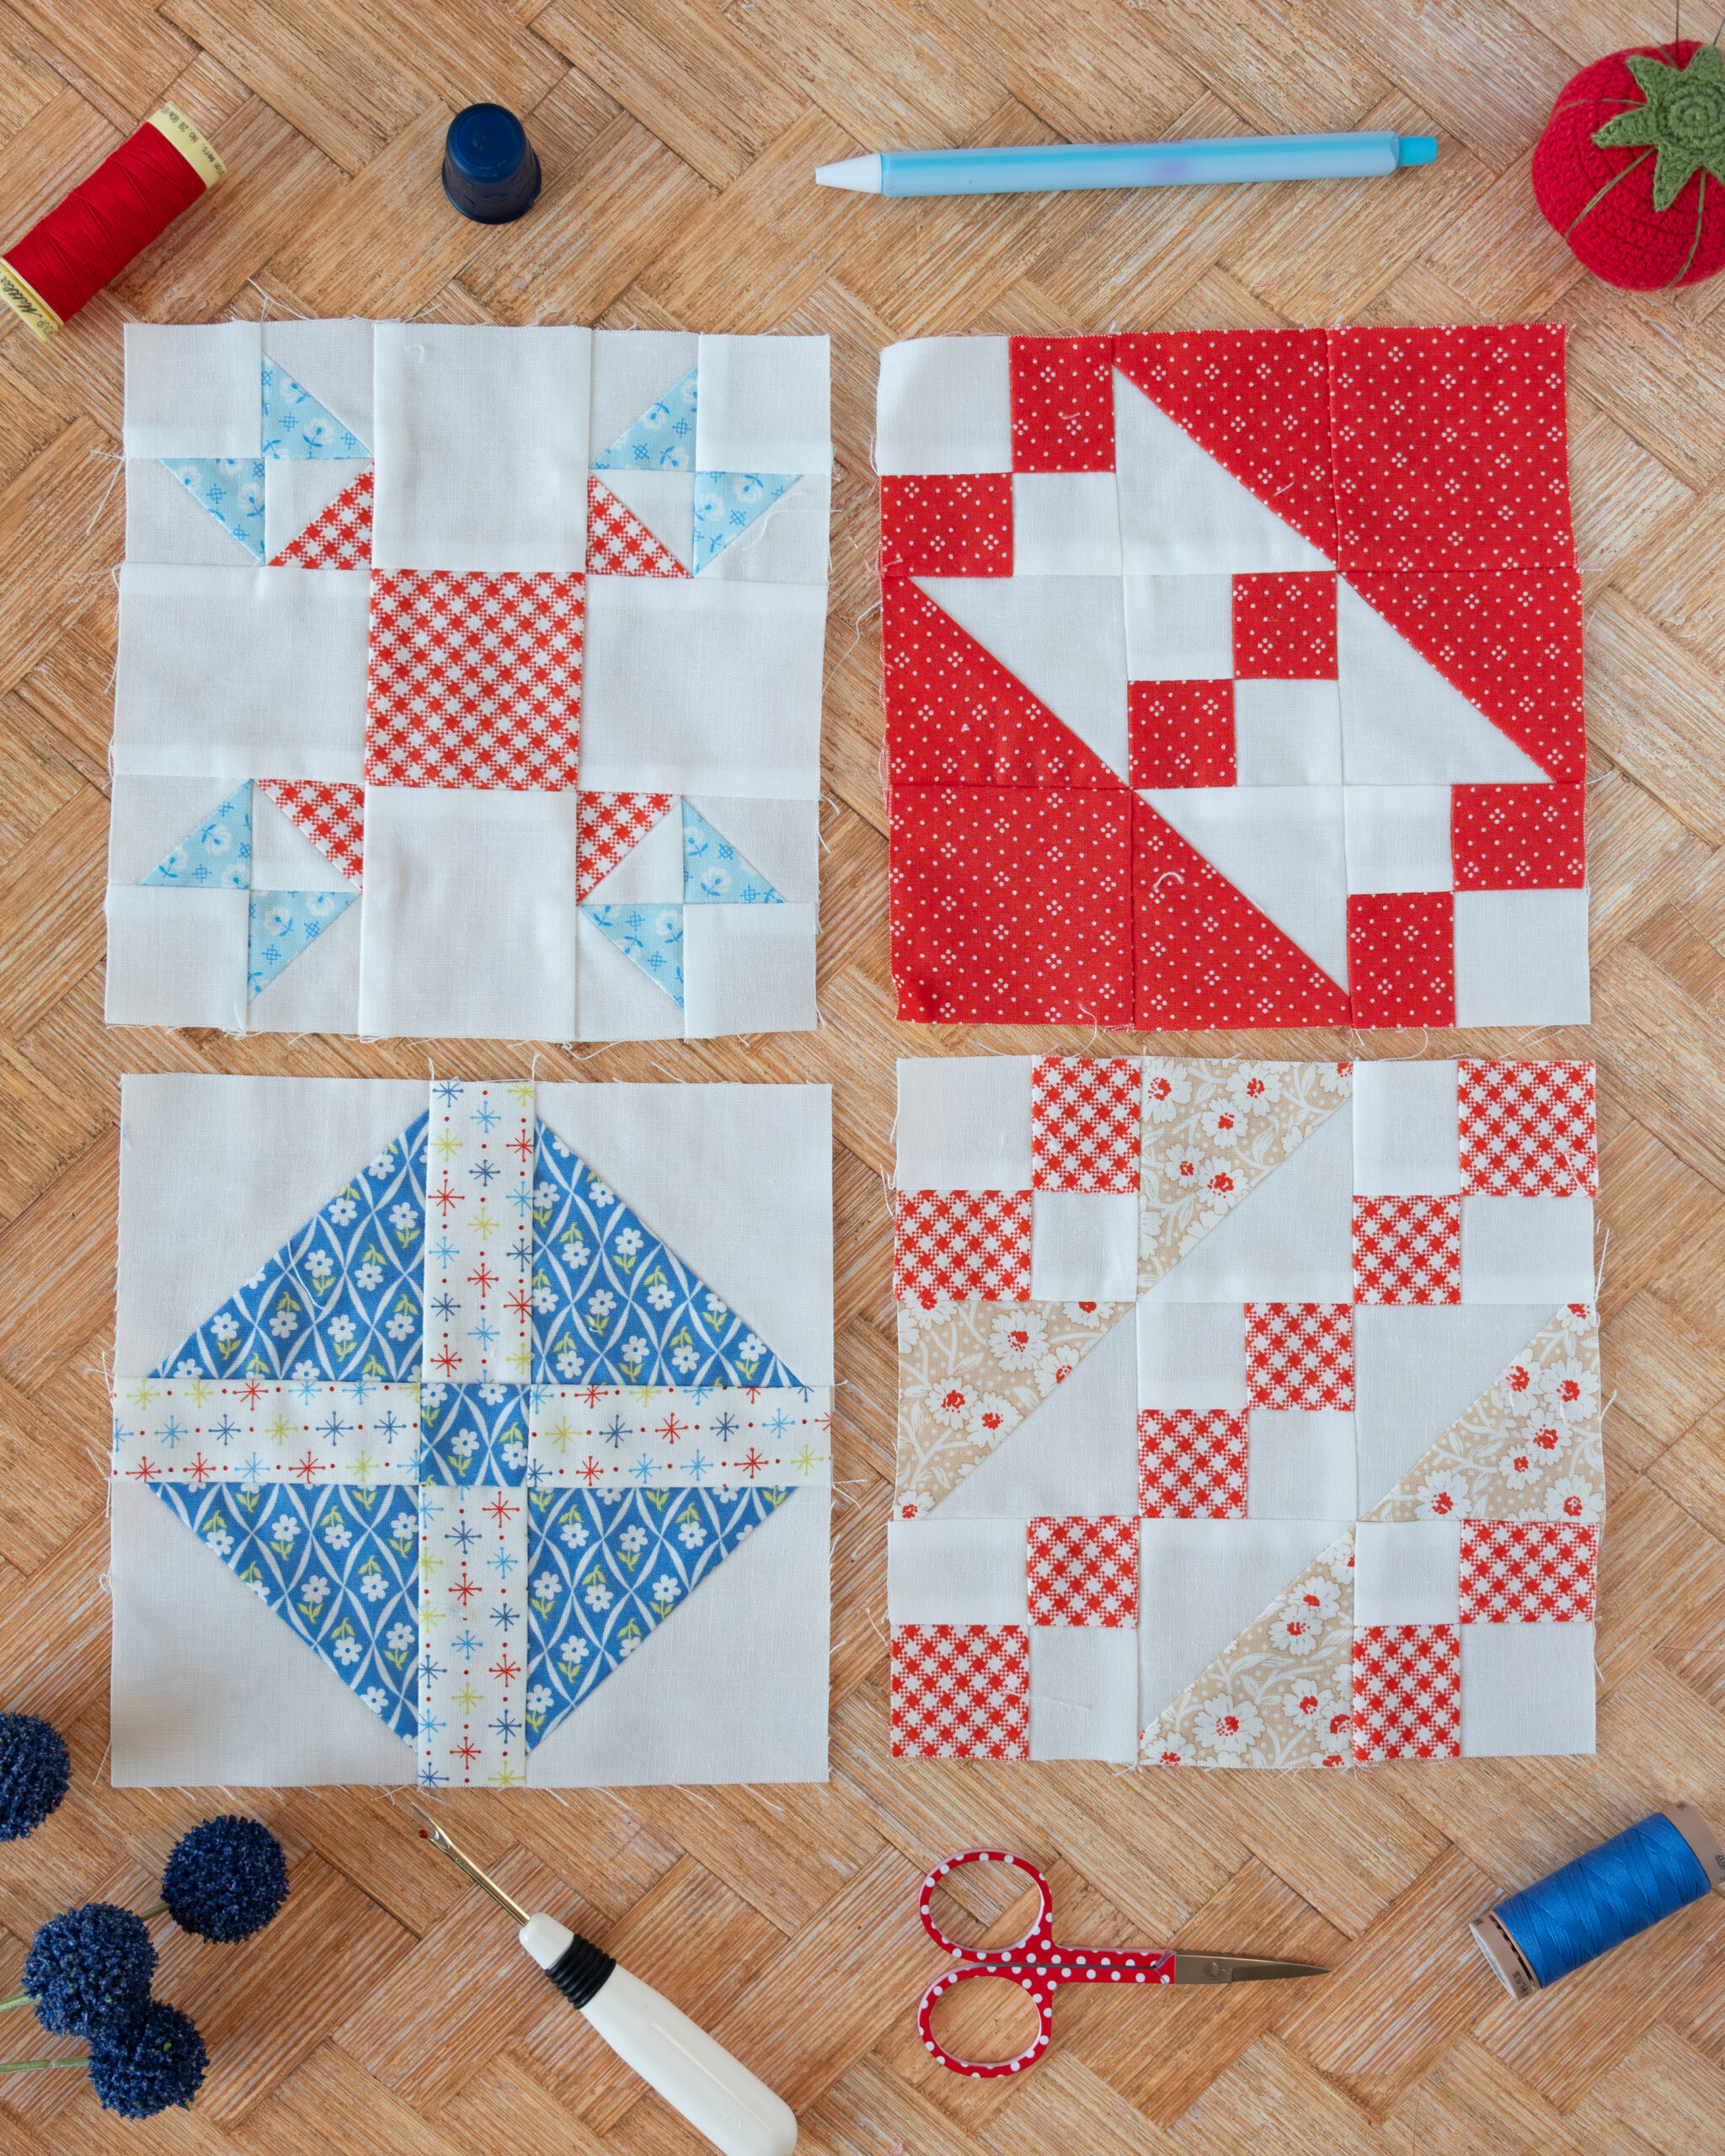
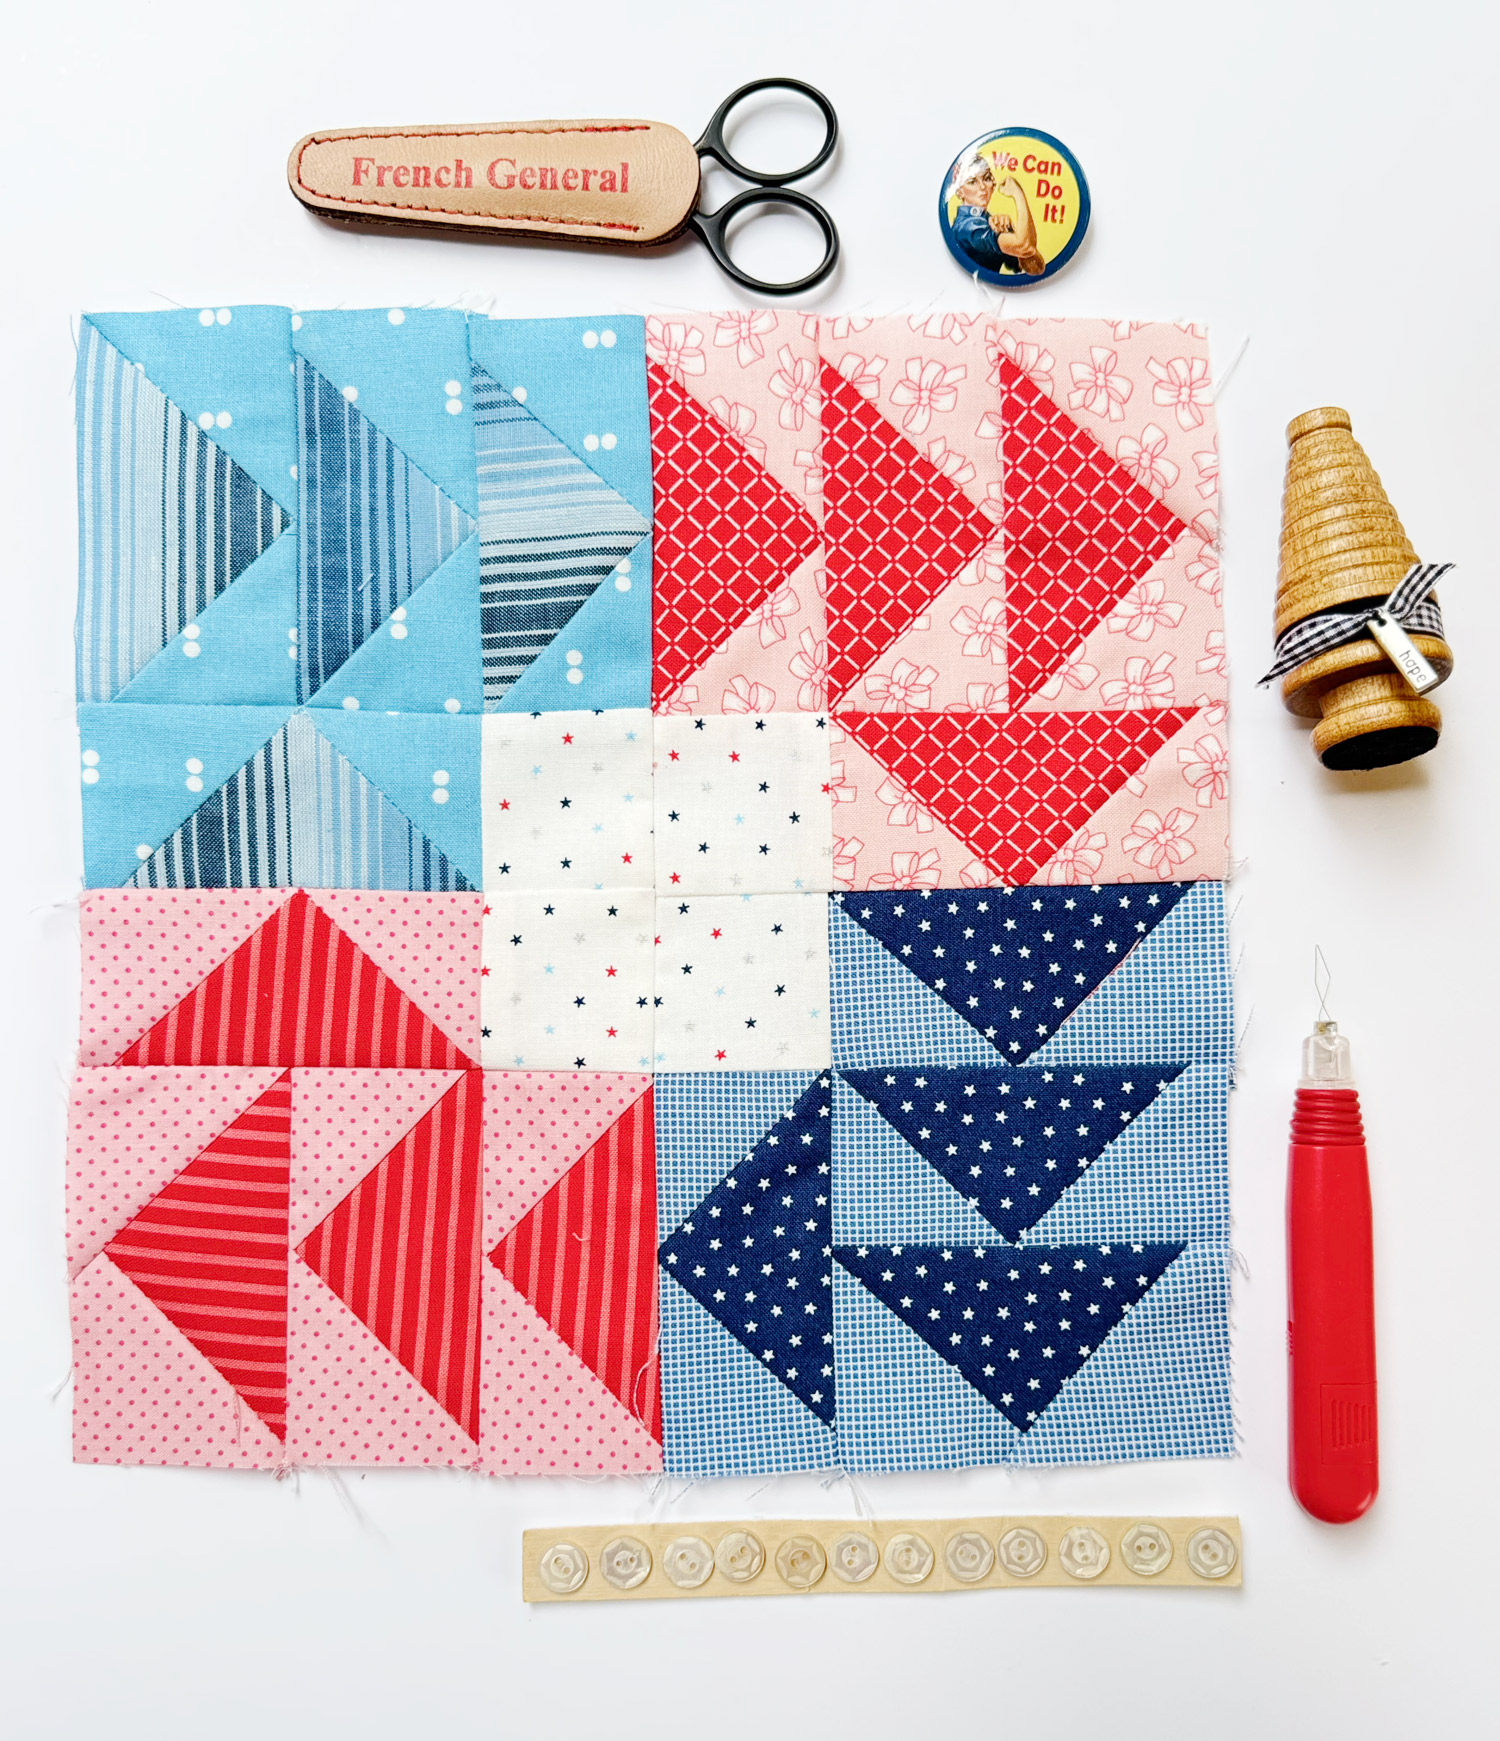
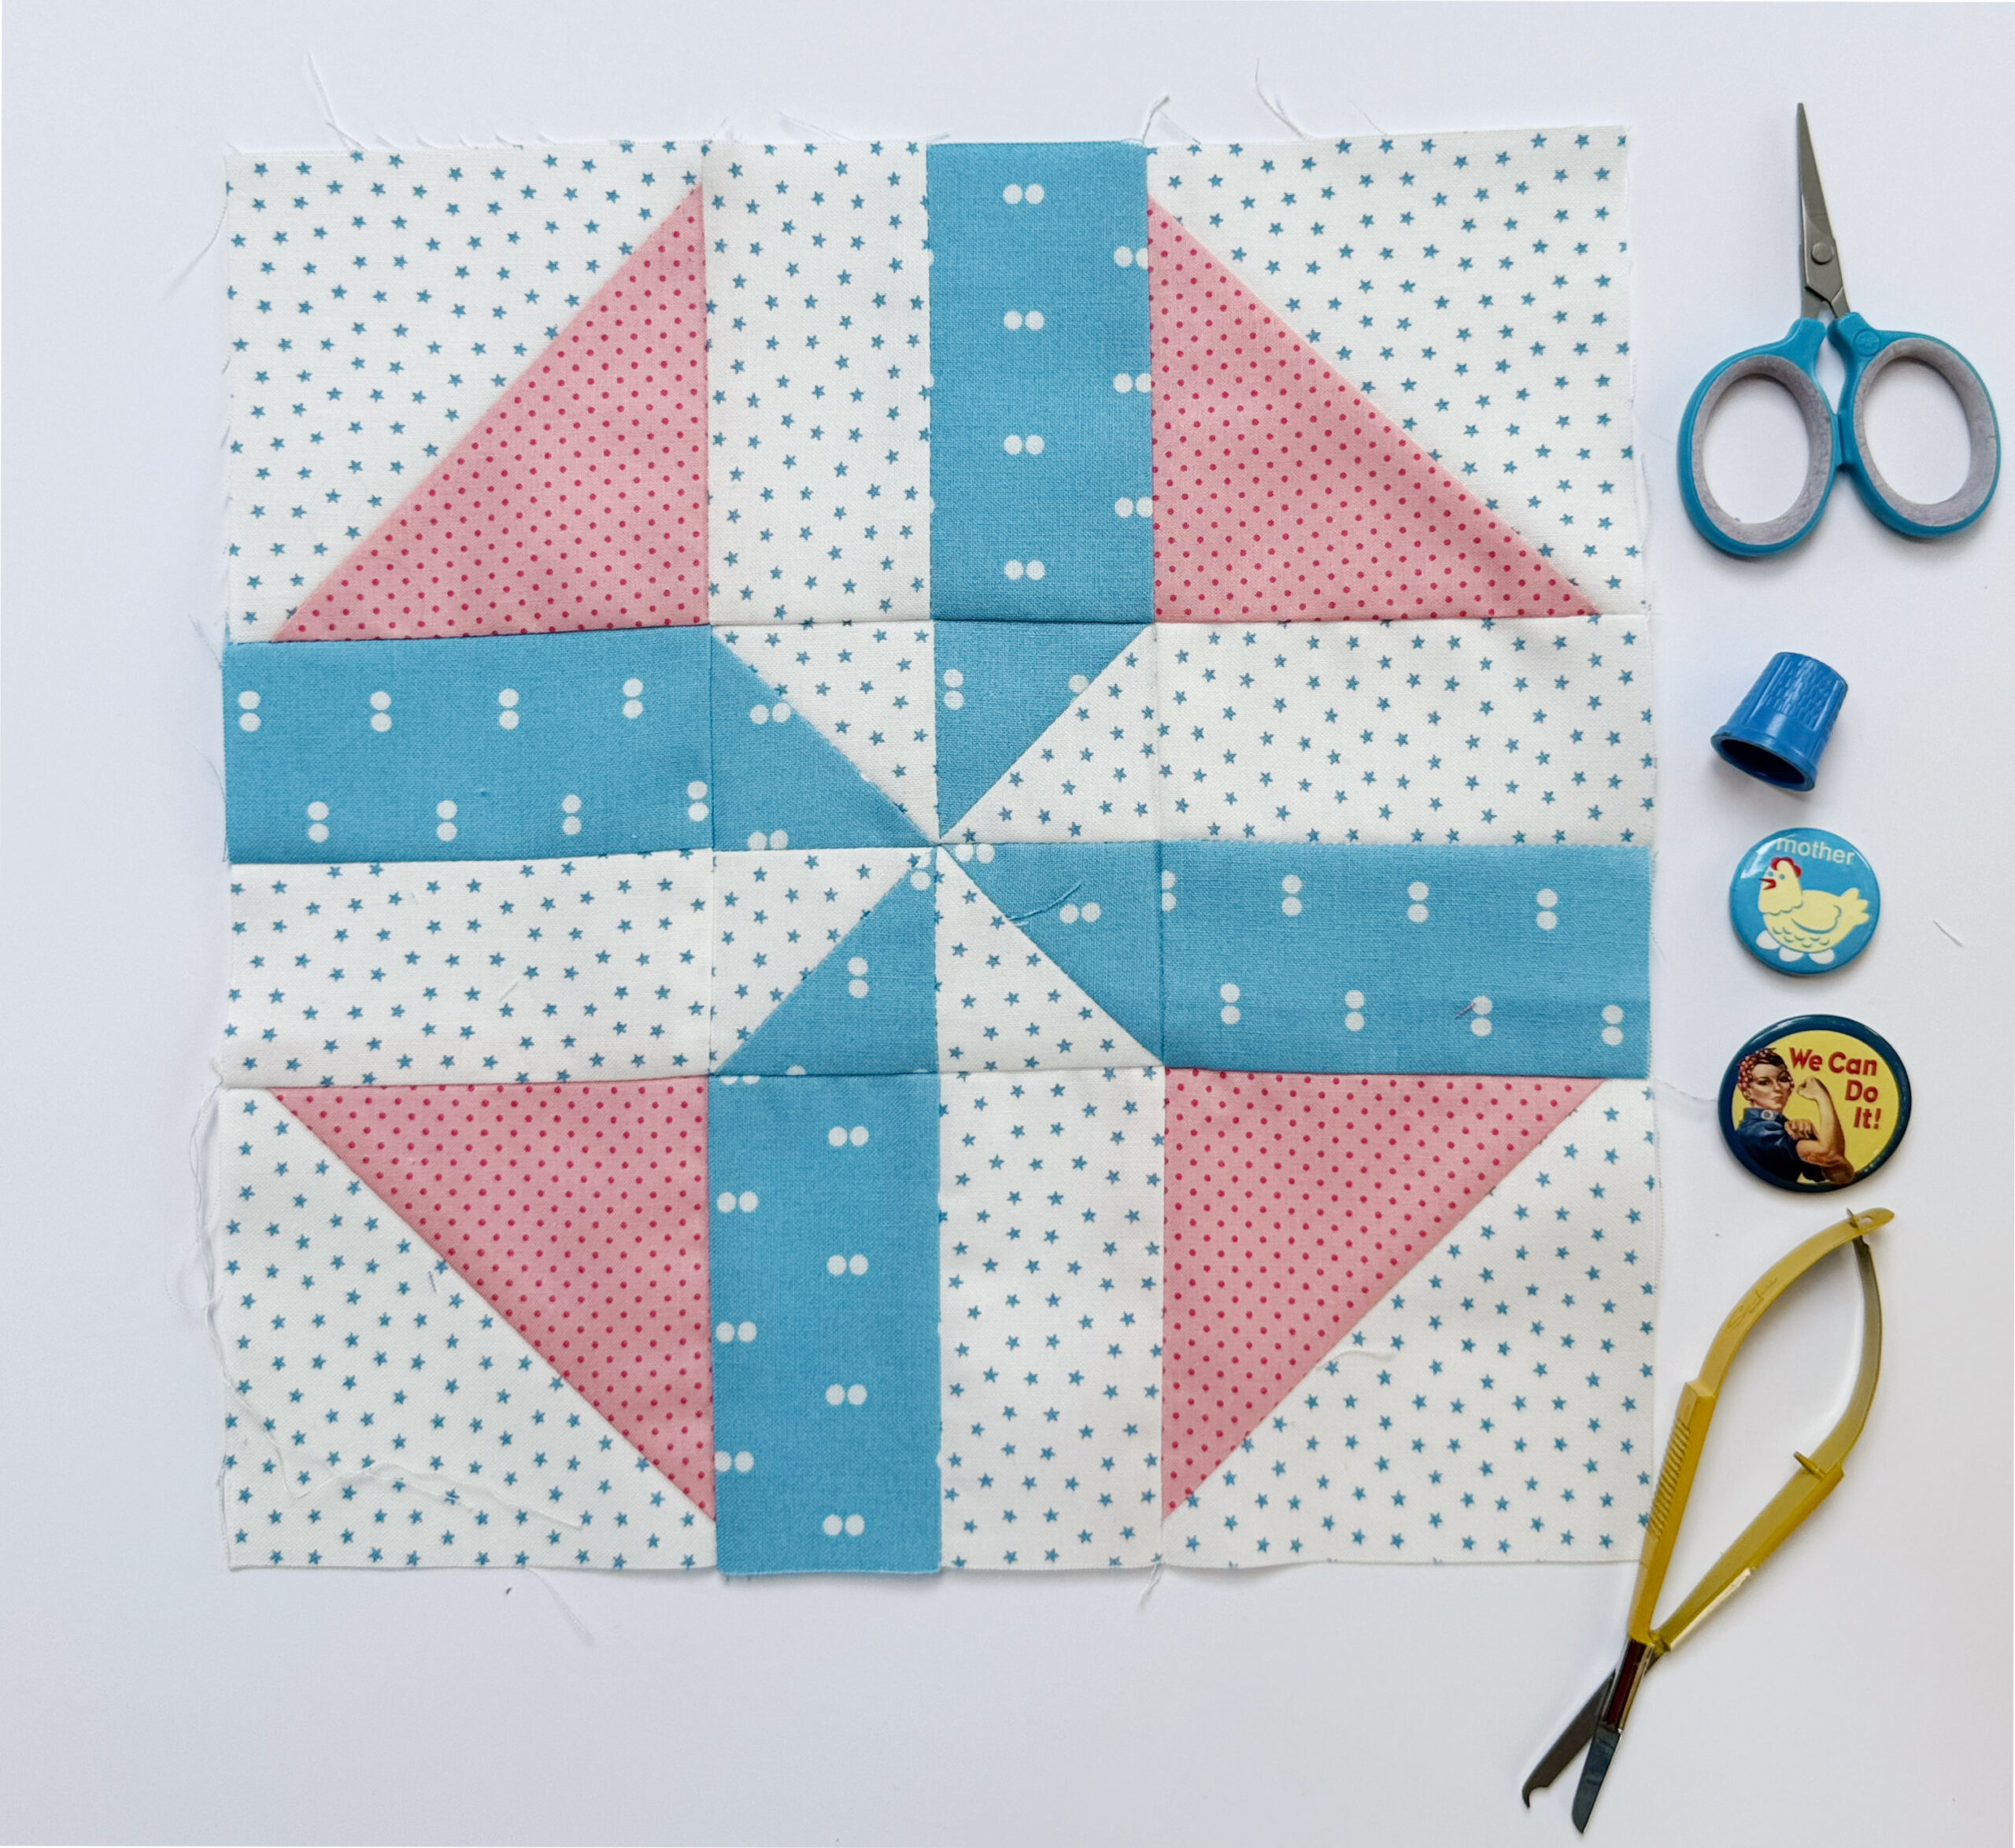
We’re back with Block 17 in the Moda Blockheads 6 series, and this one is a true celebration of clean lines, thoughtful design, and fresh talent. Meet the Ninth Wonder Block, by Jessica Rose of QuiltD Studios—a brand-new Moda designer with a bold and modern creative voice.

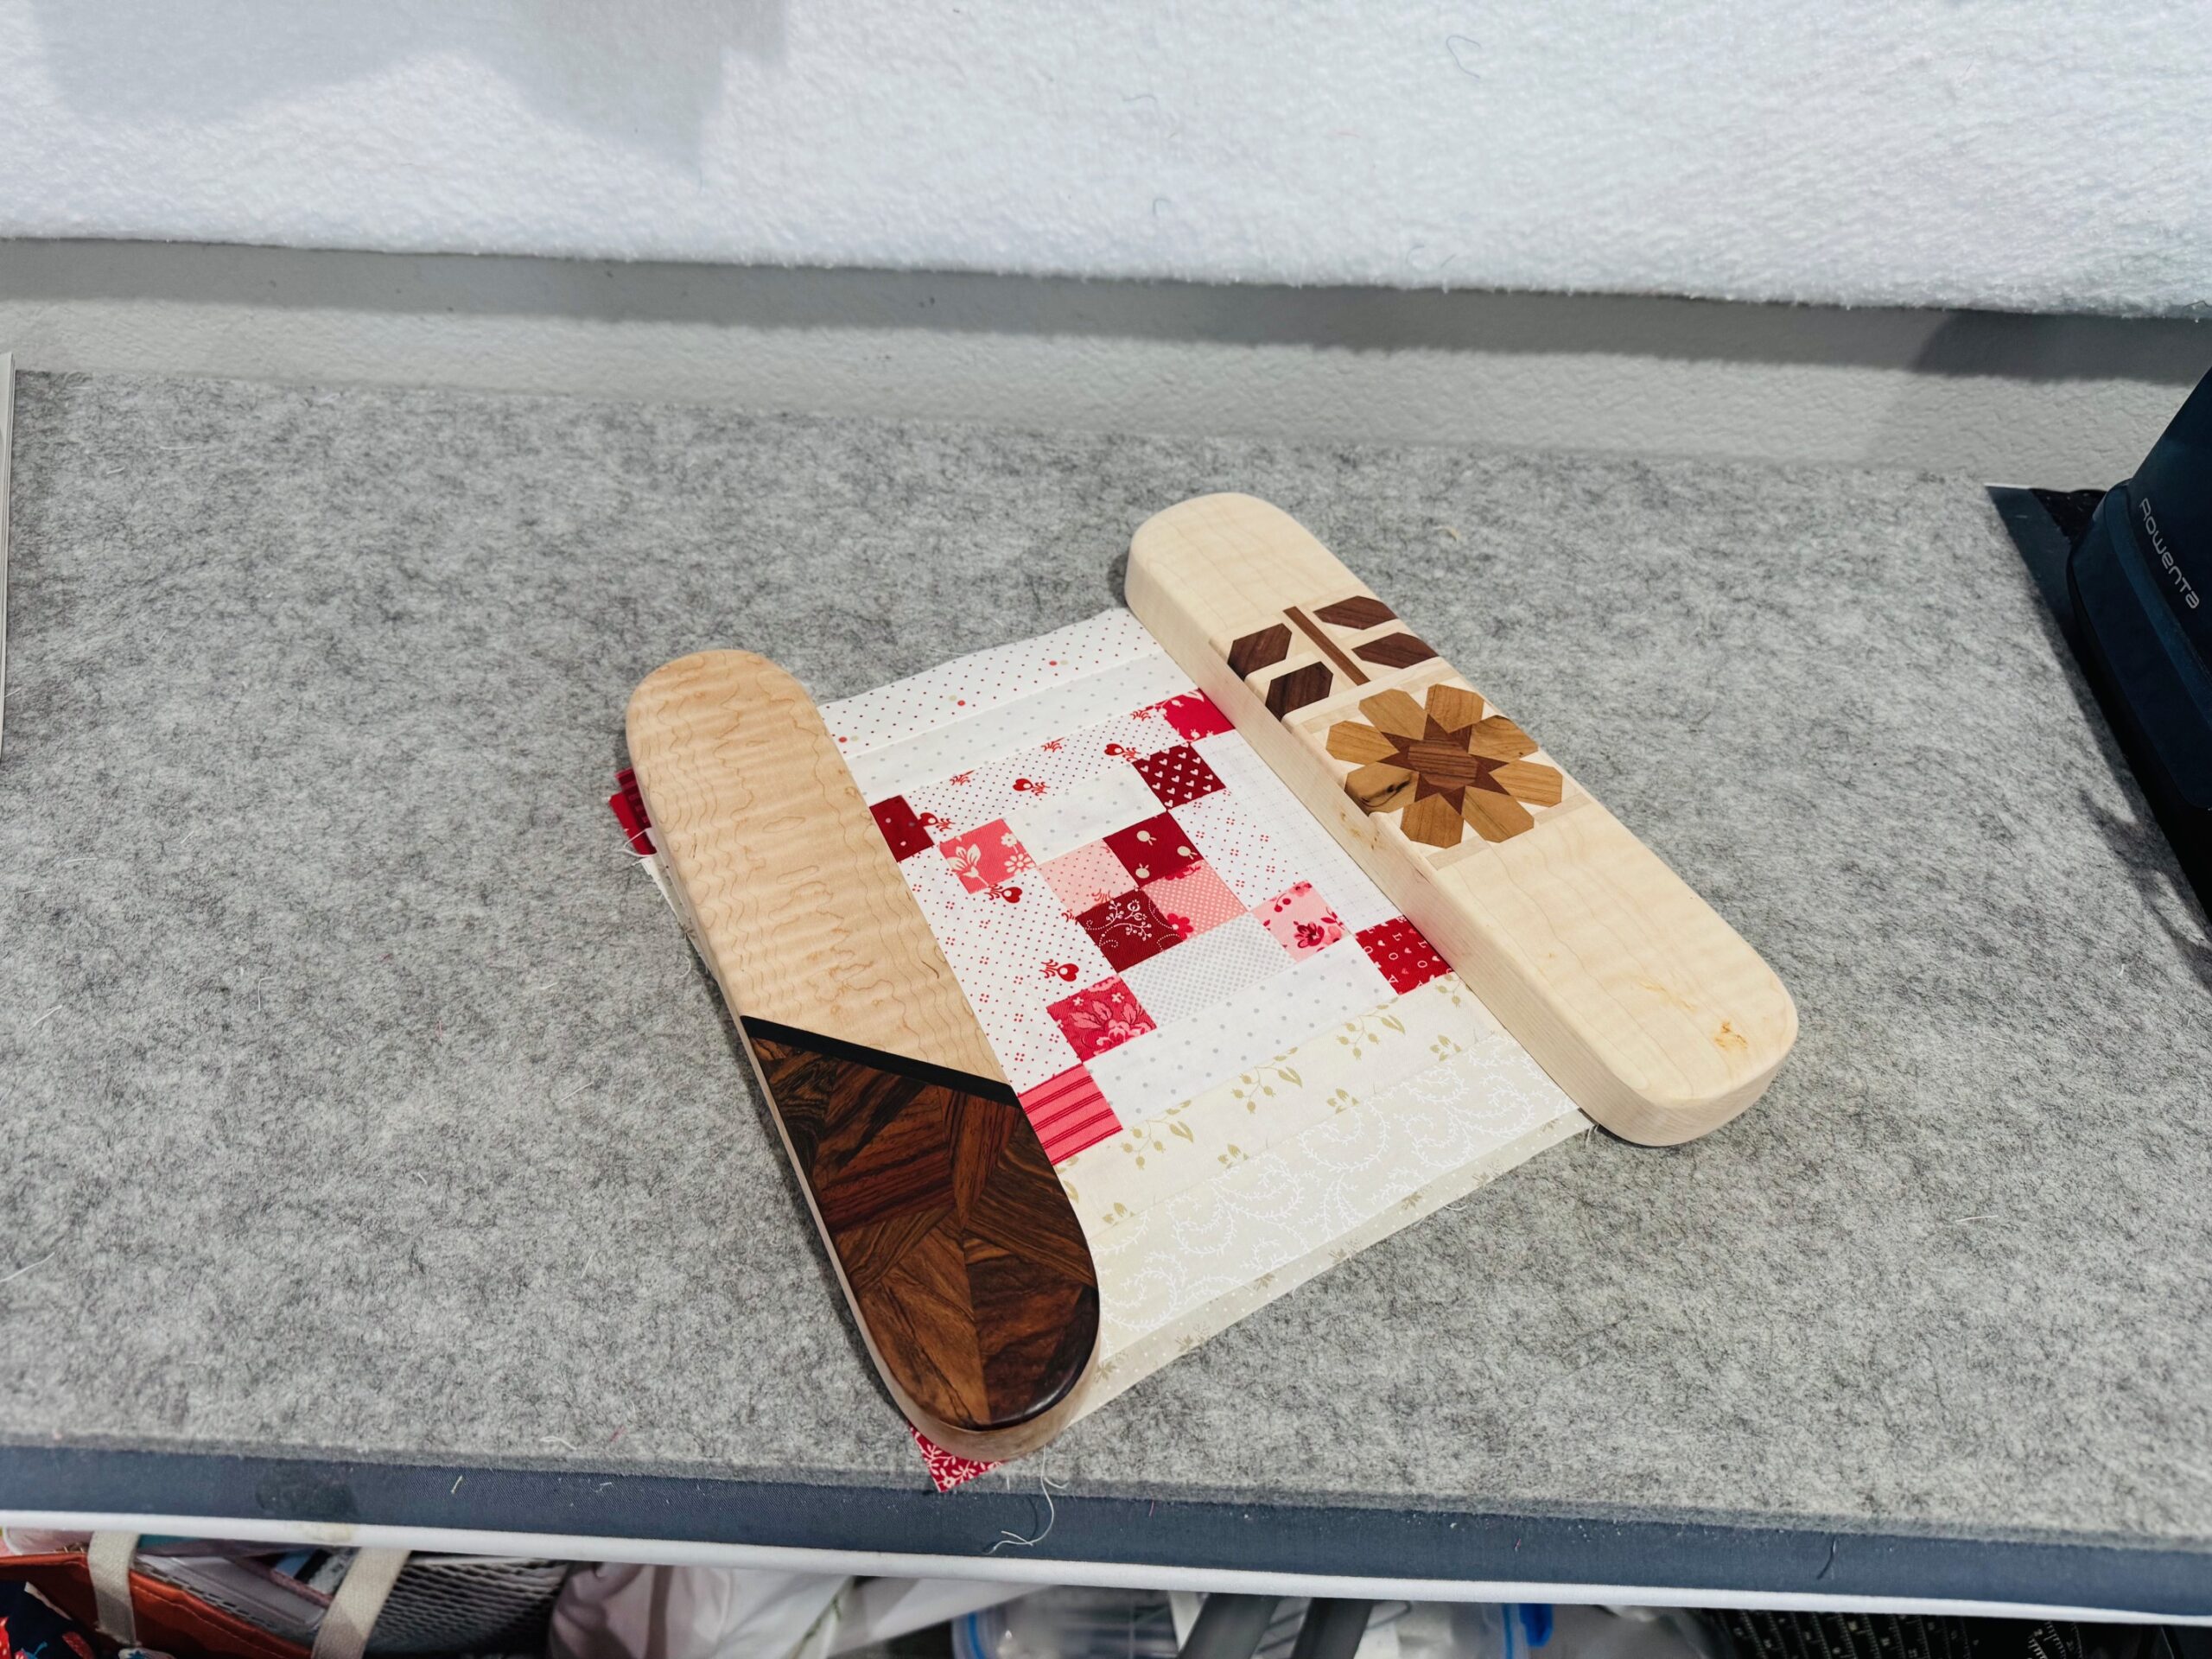
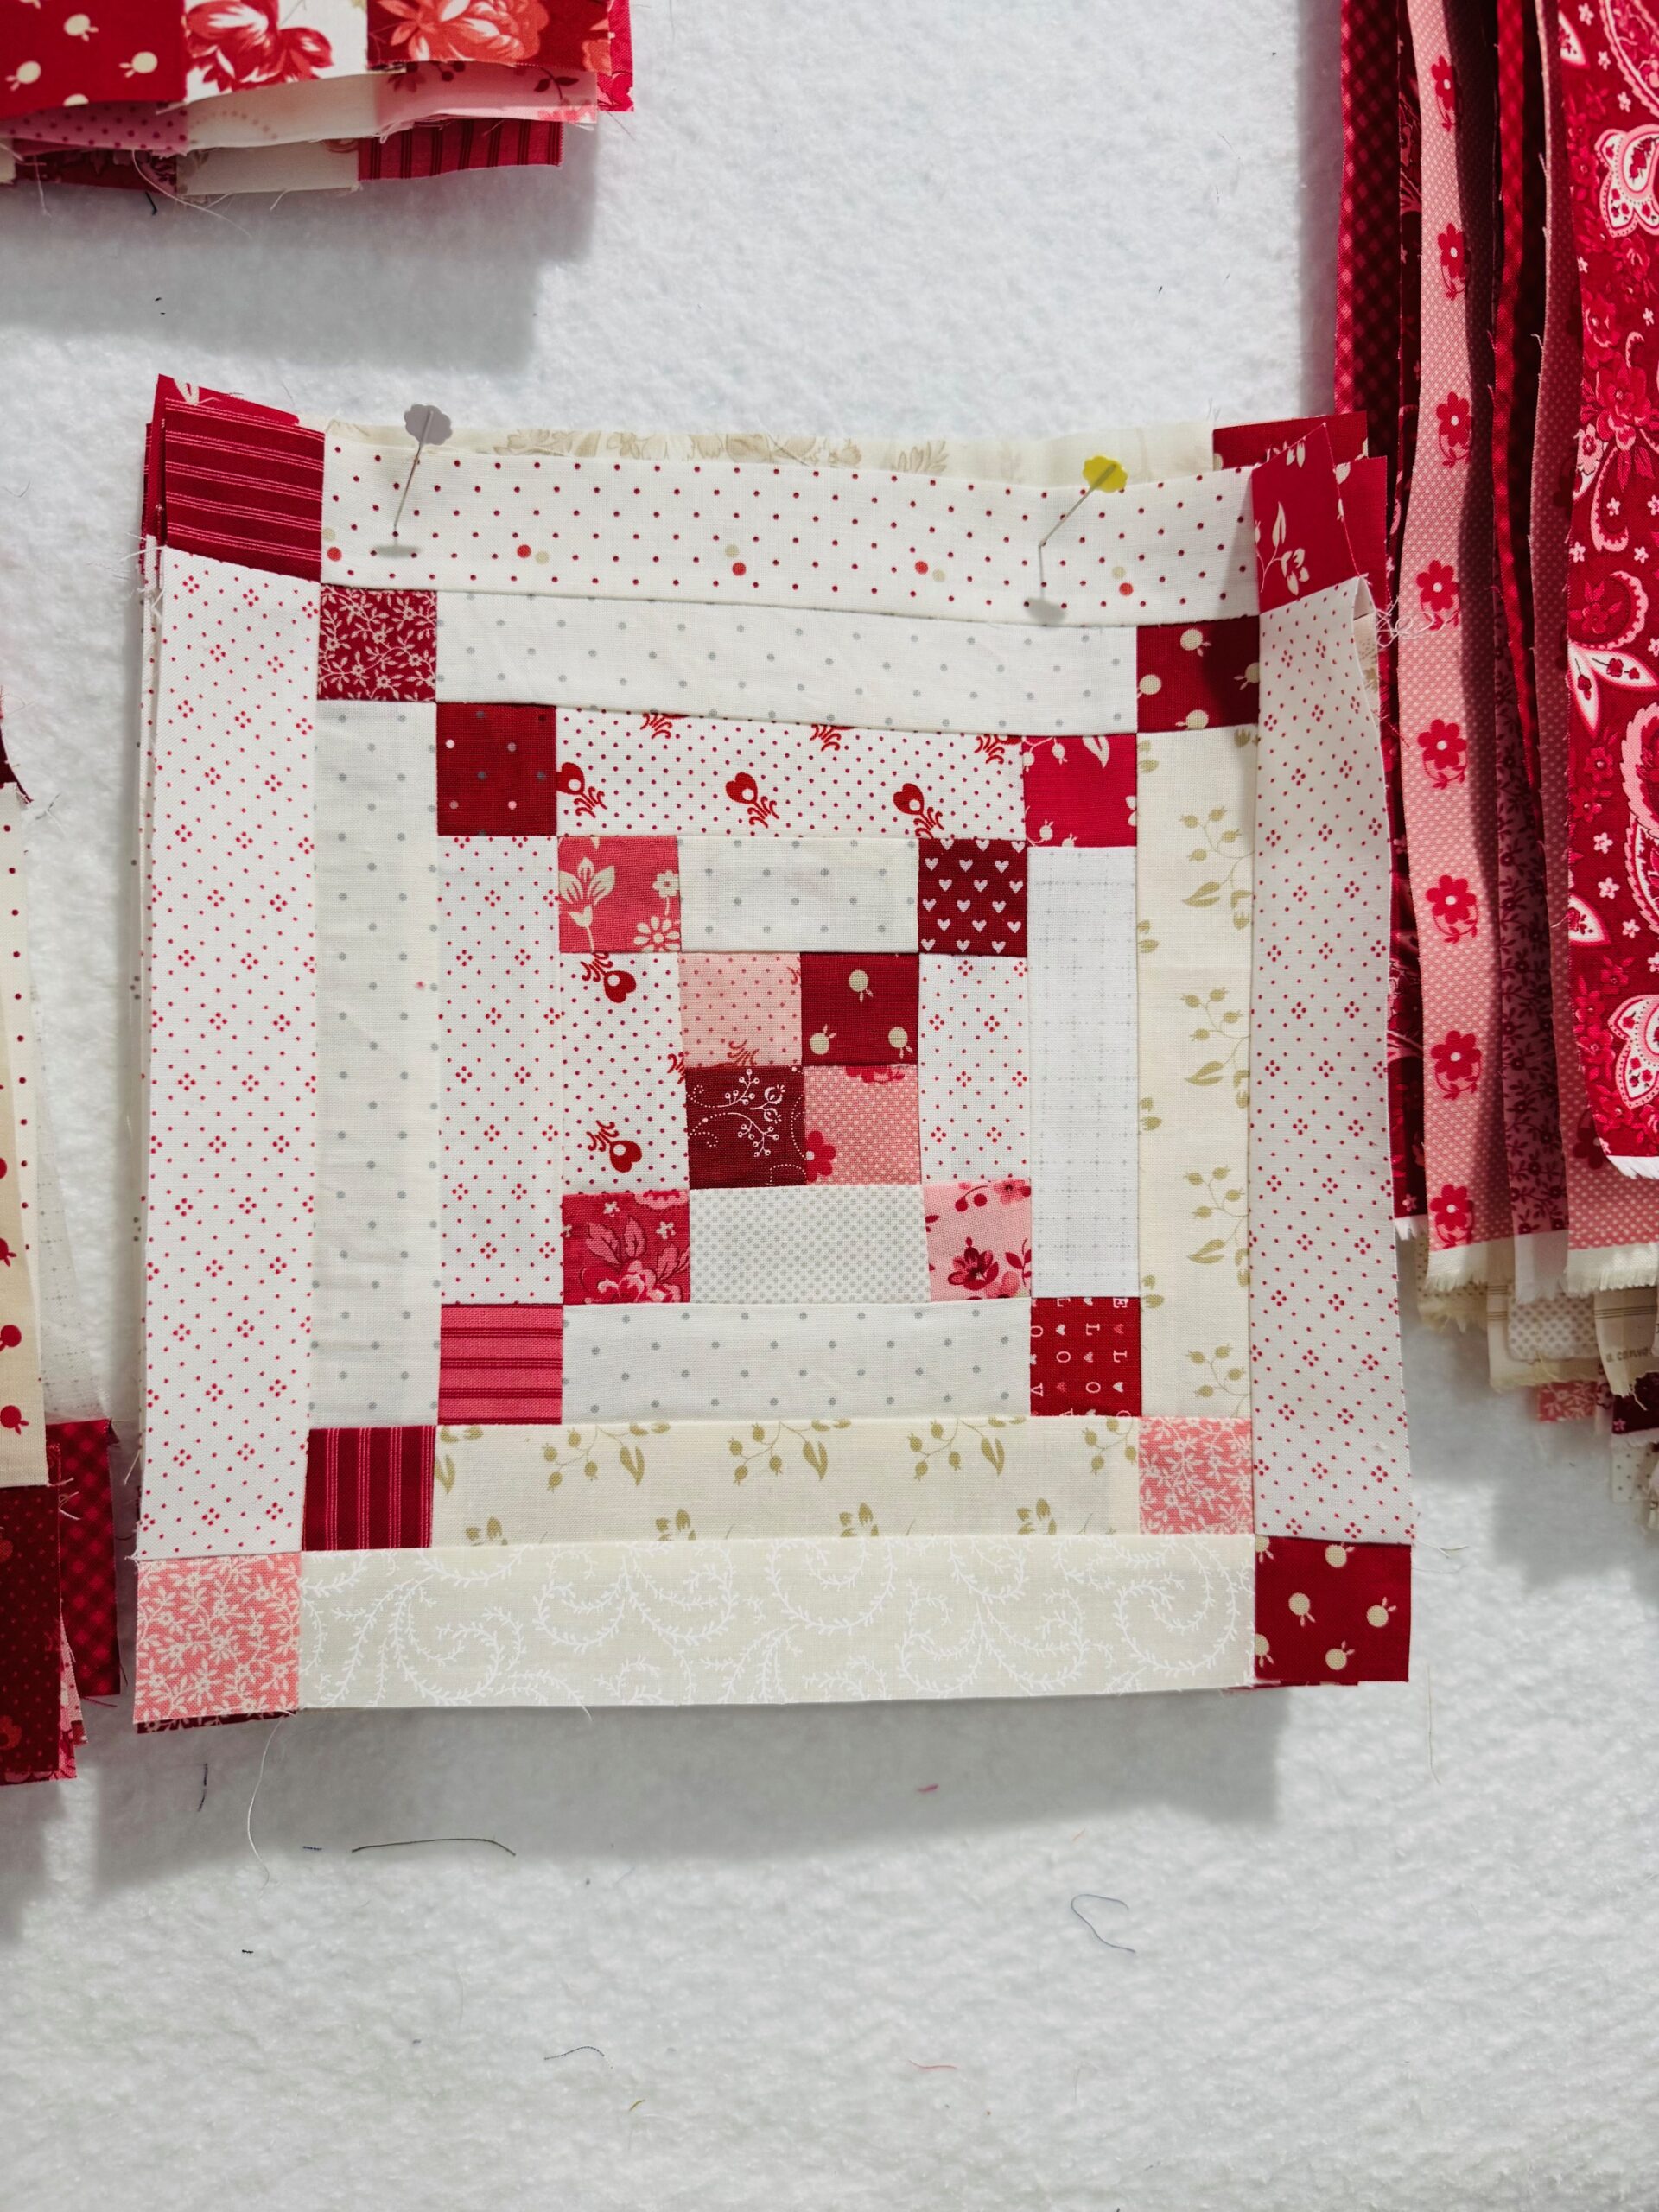
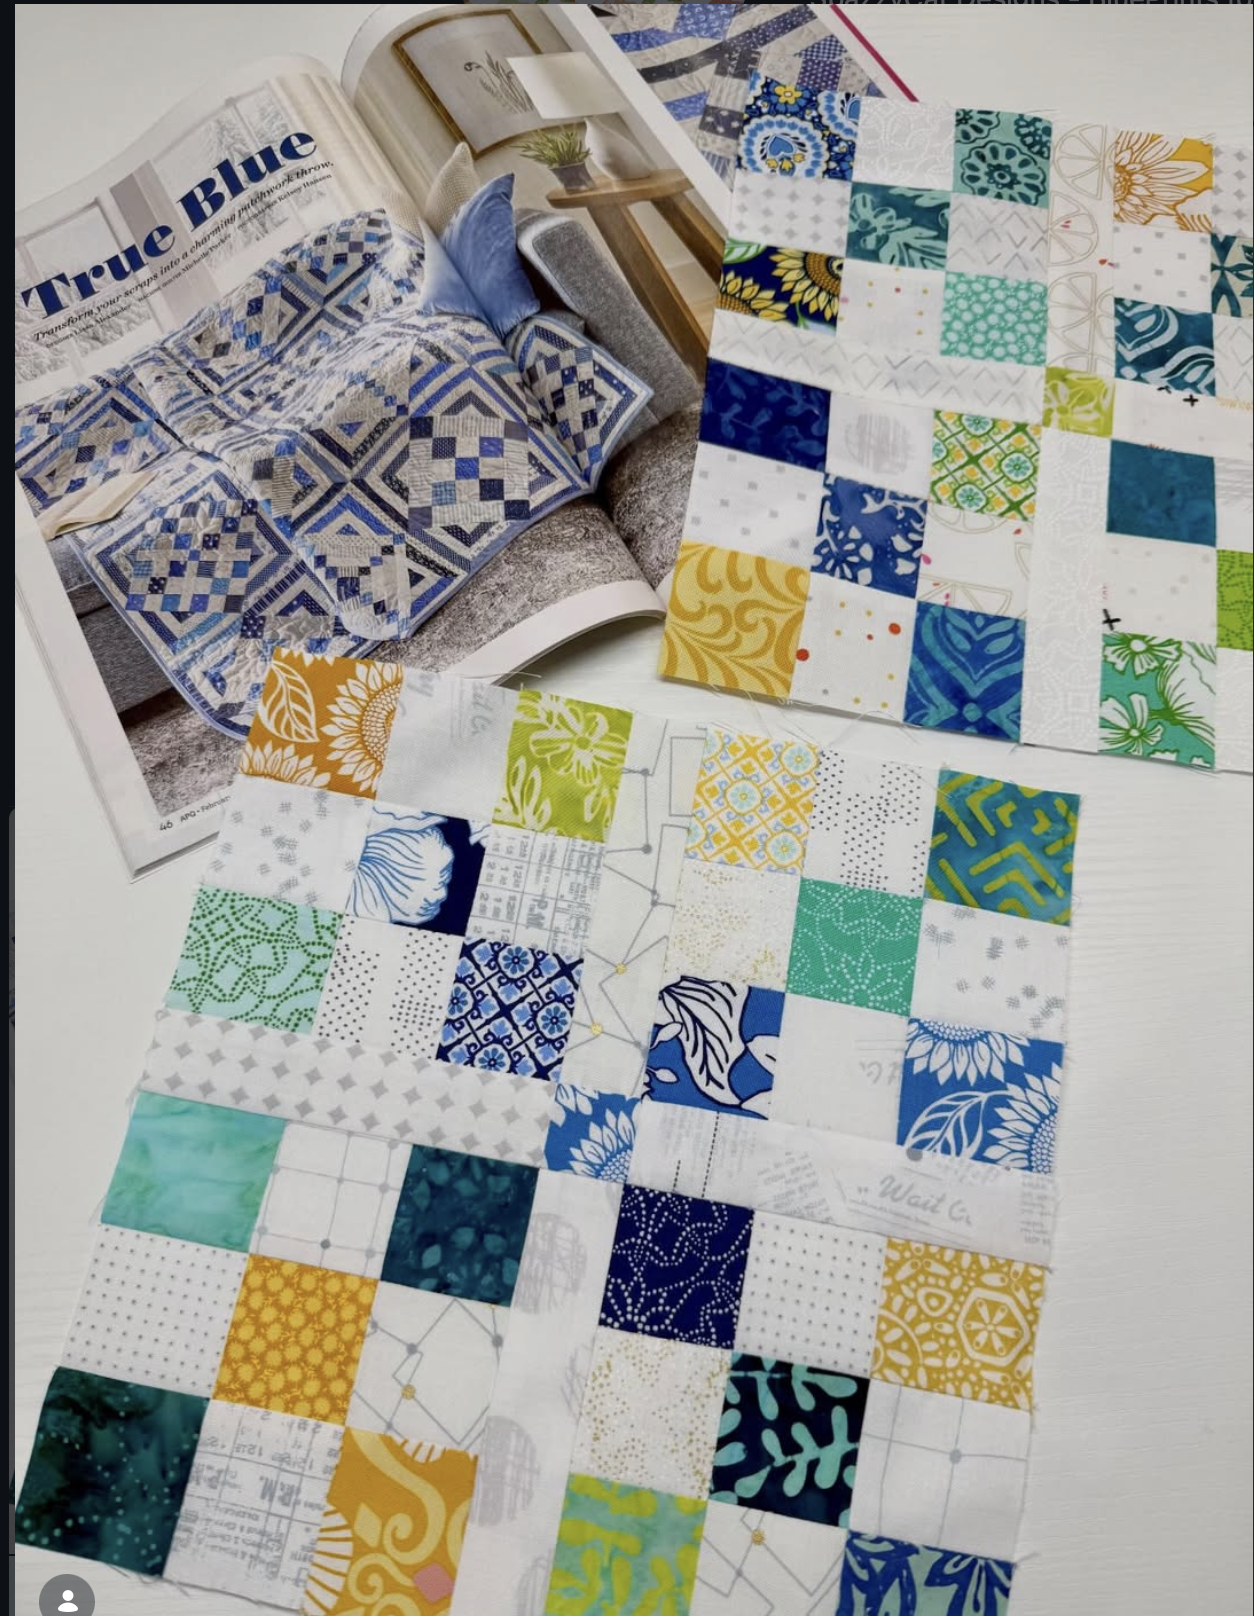
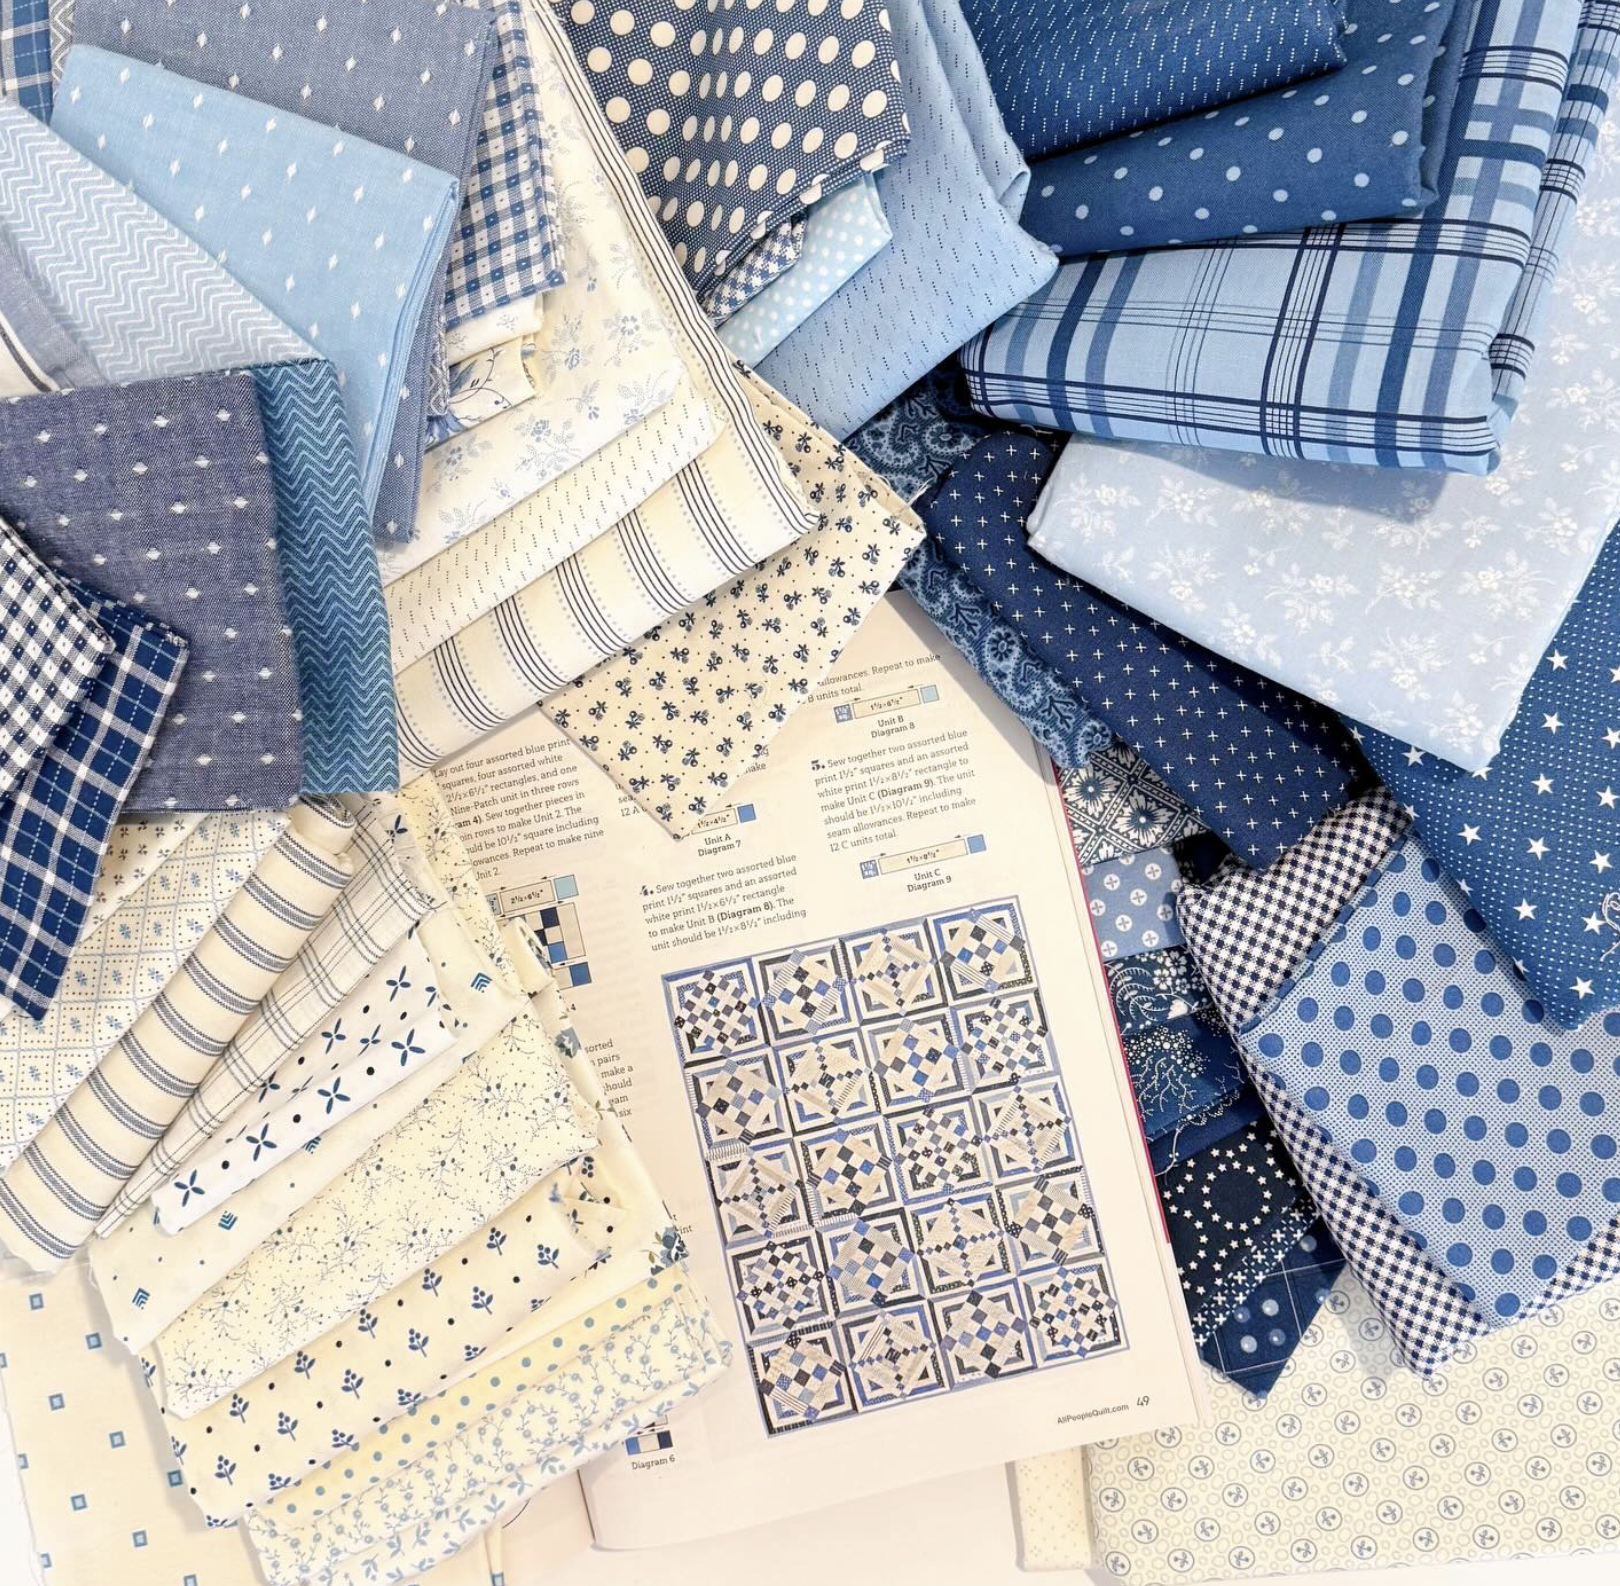
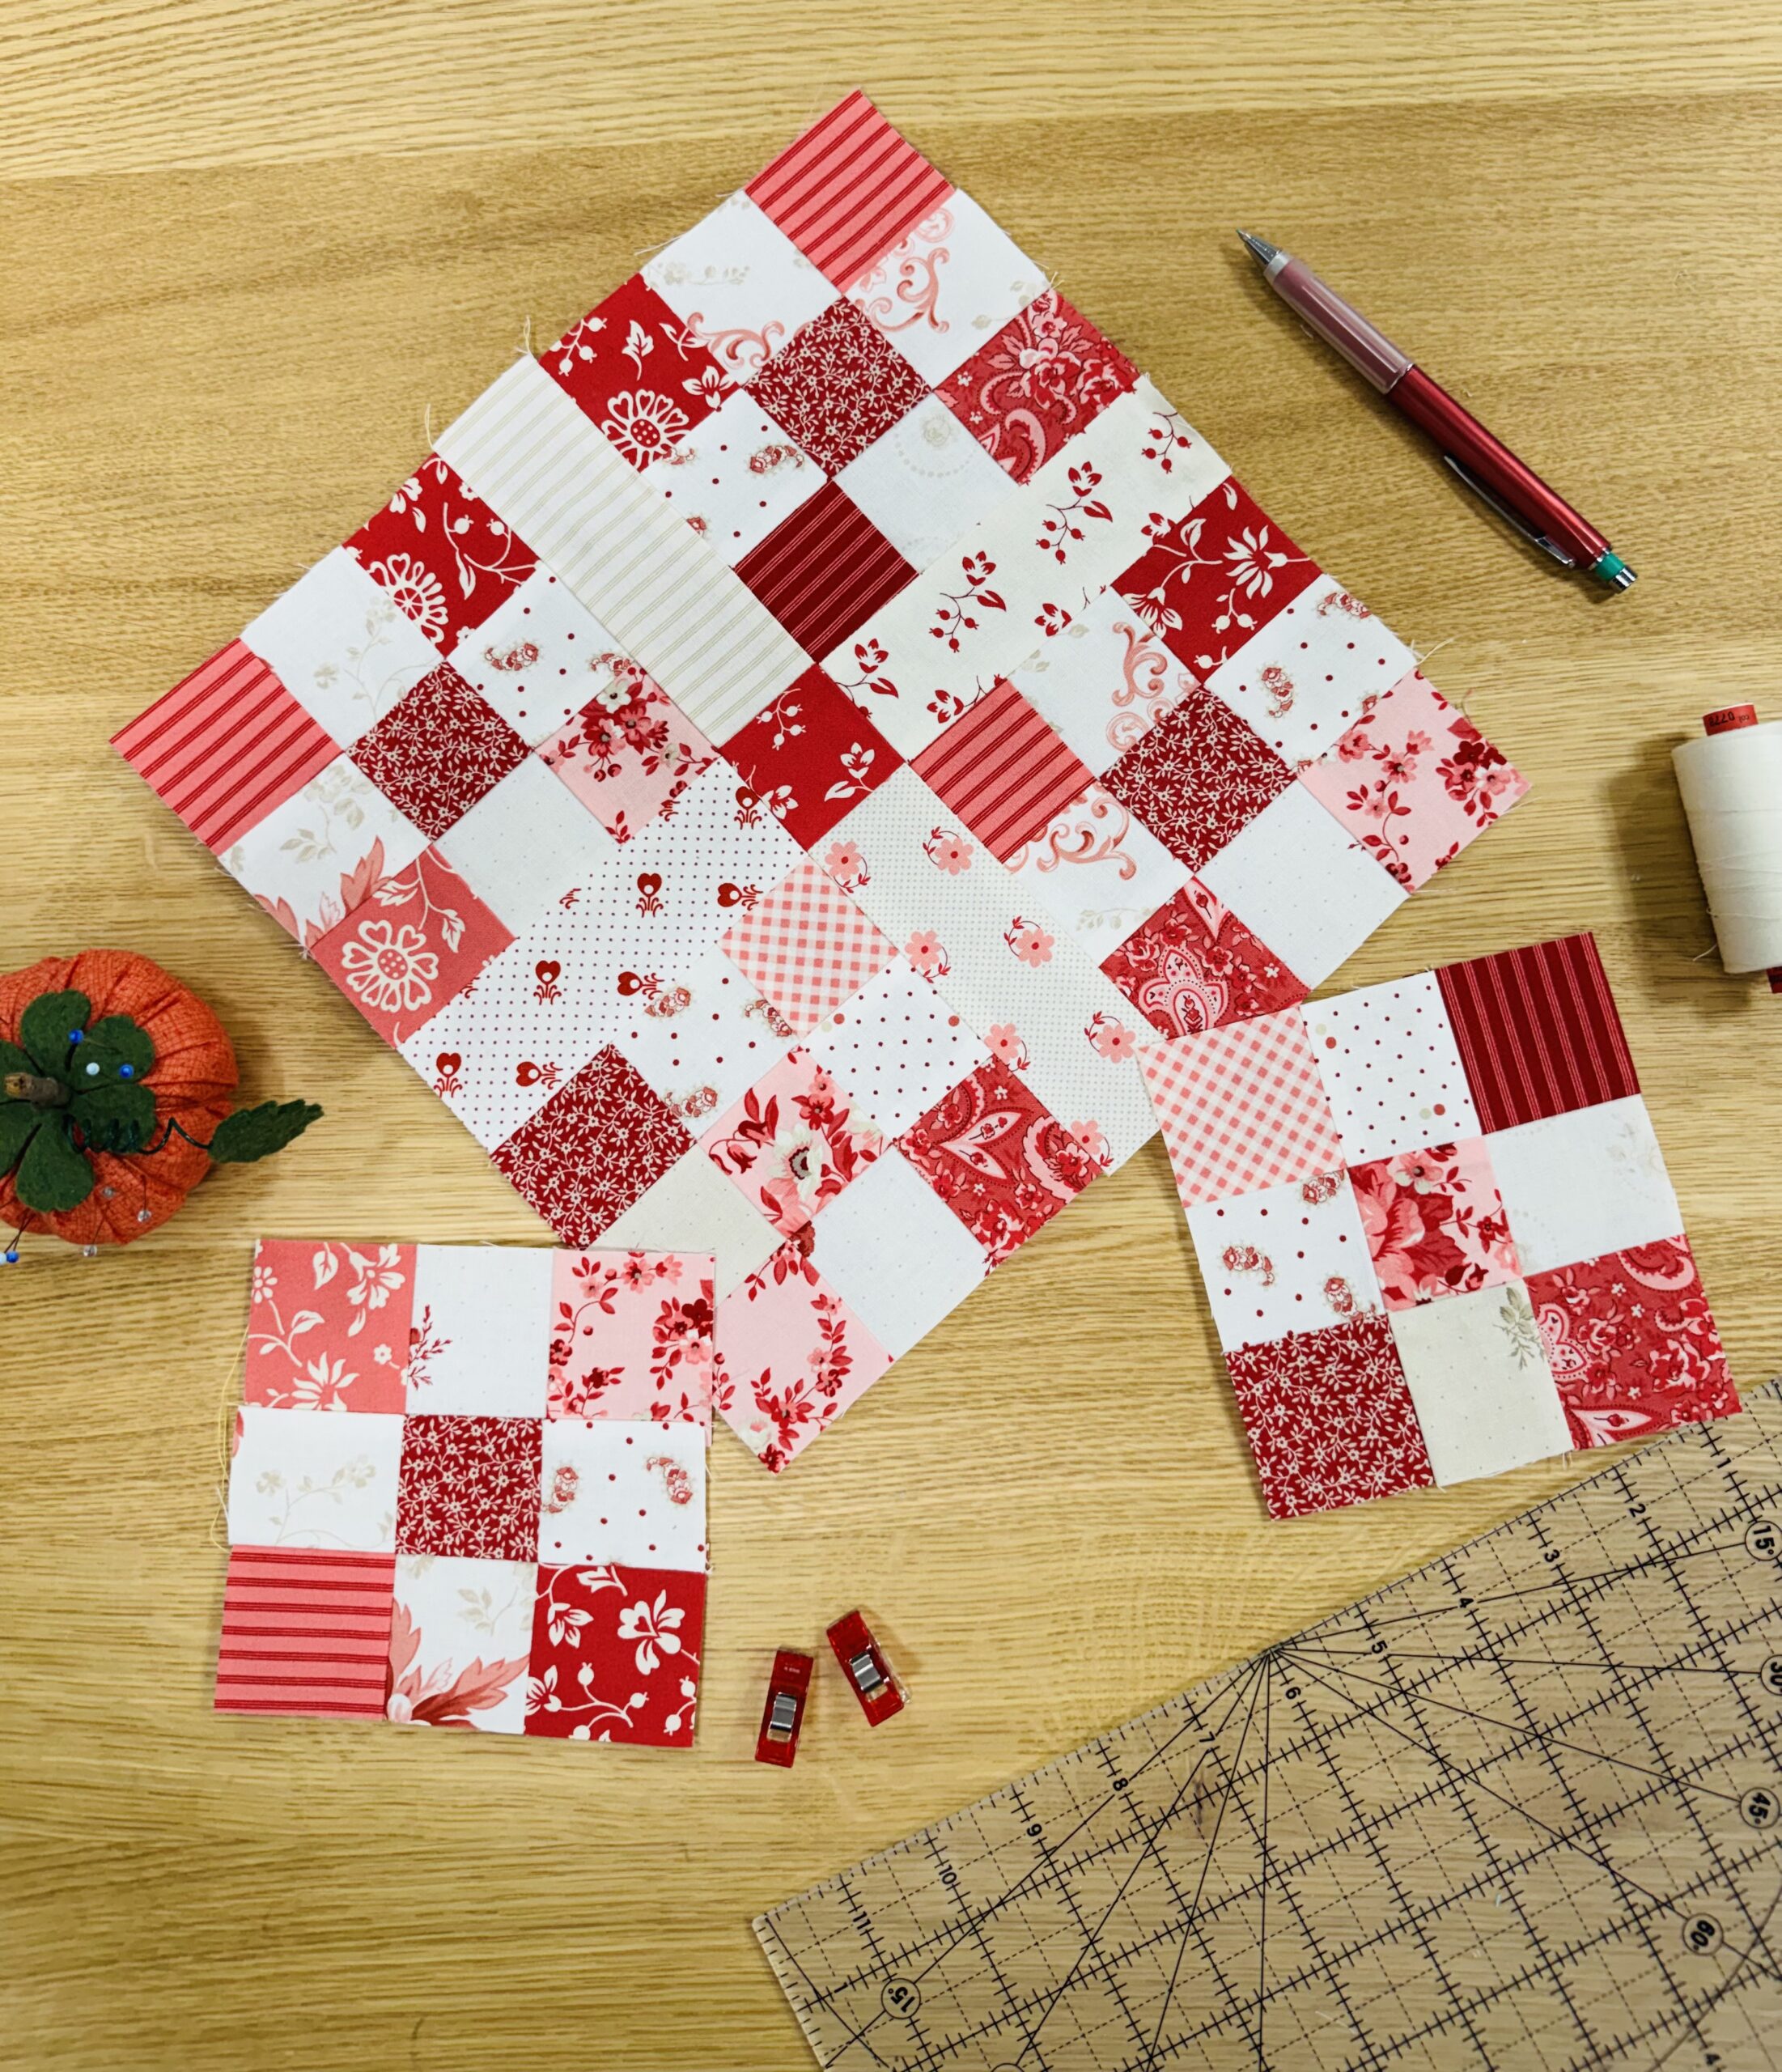
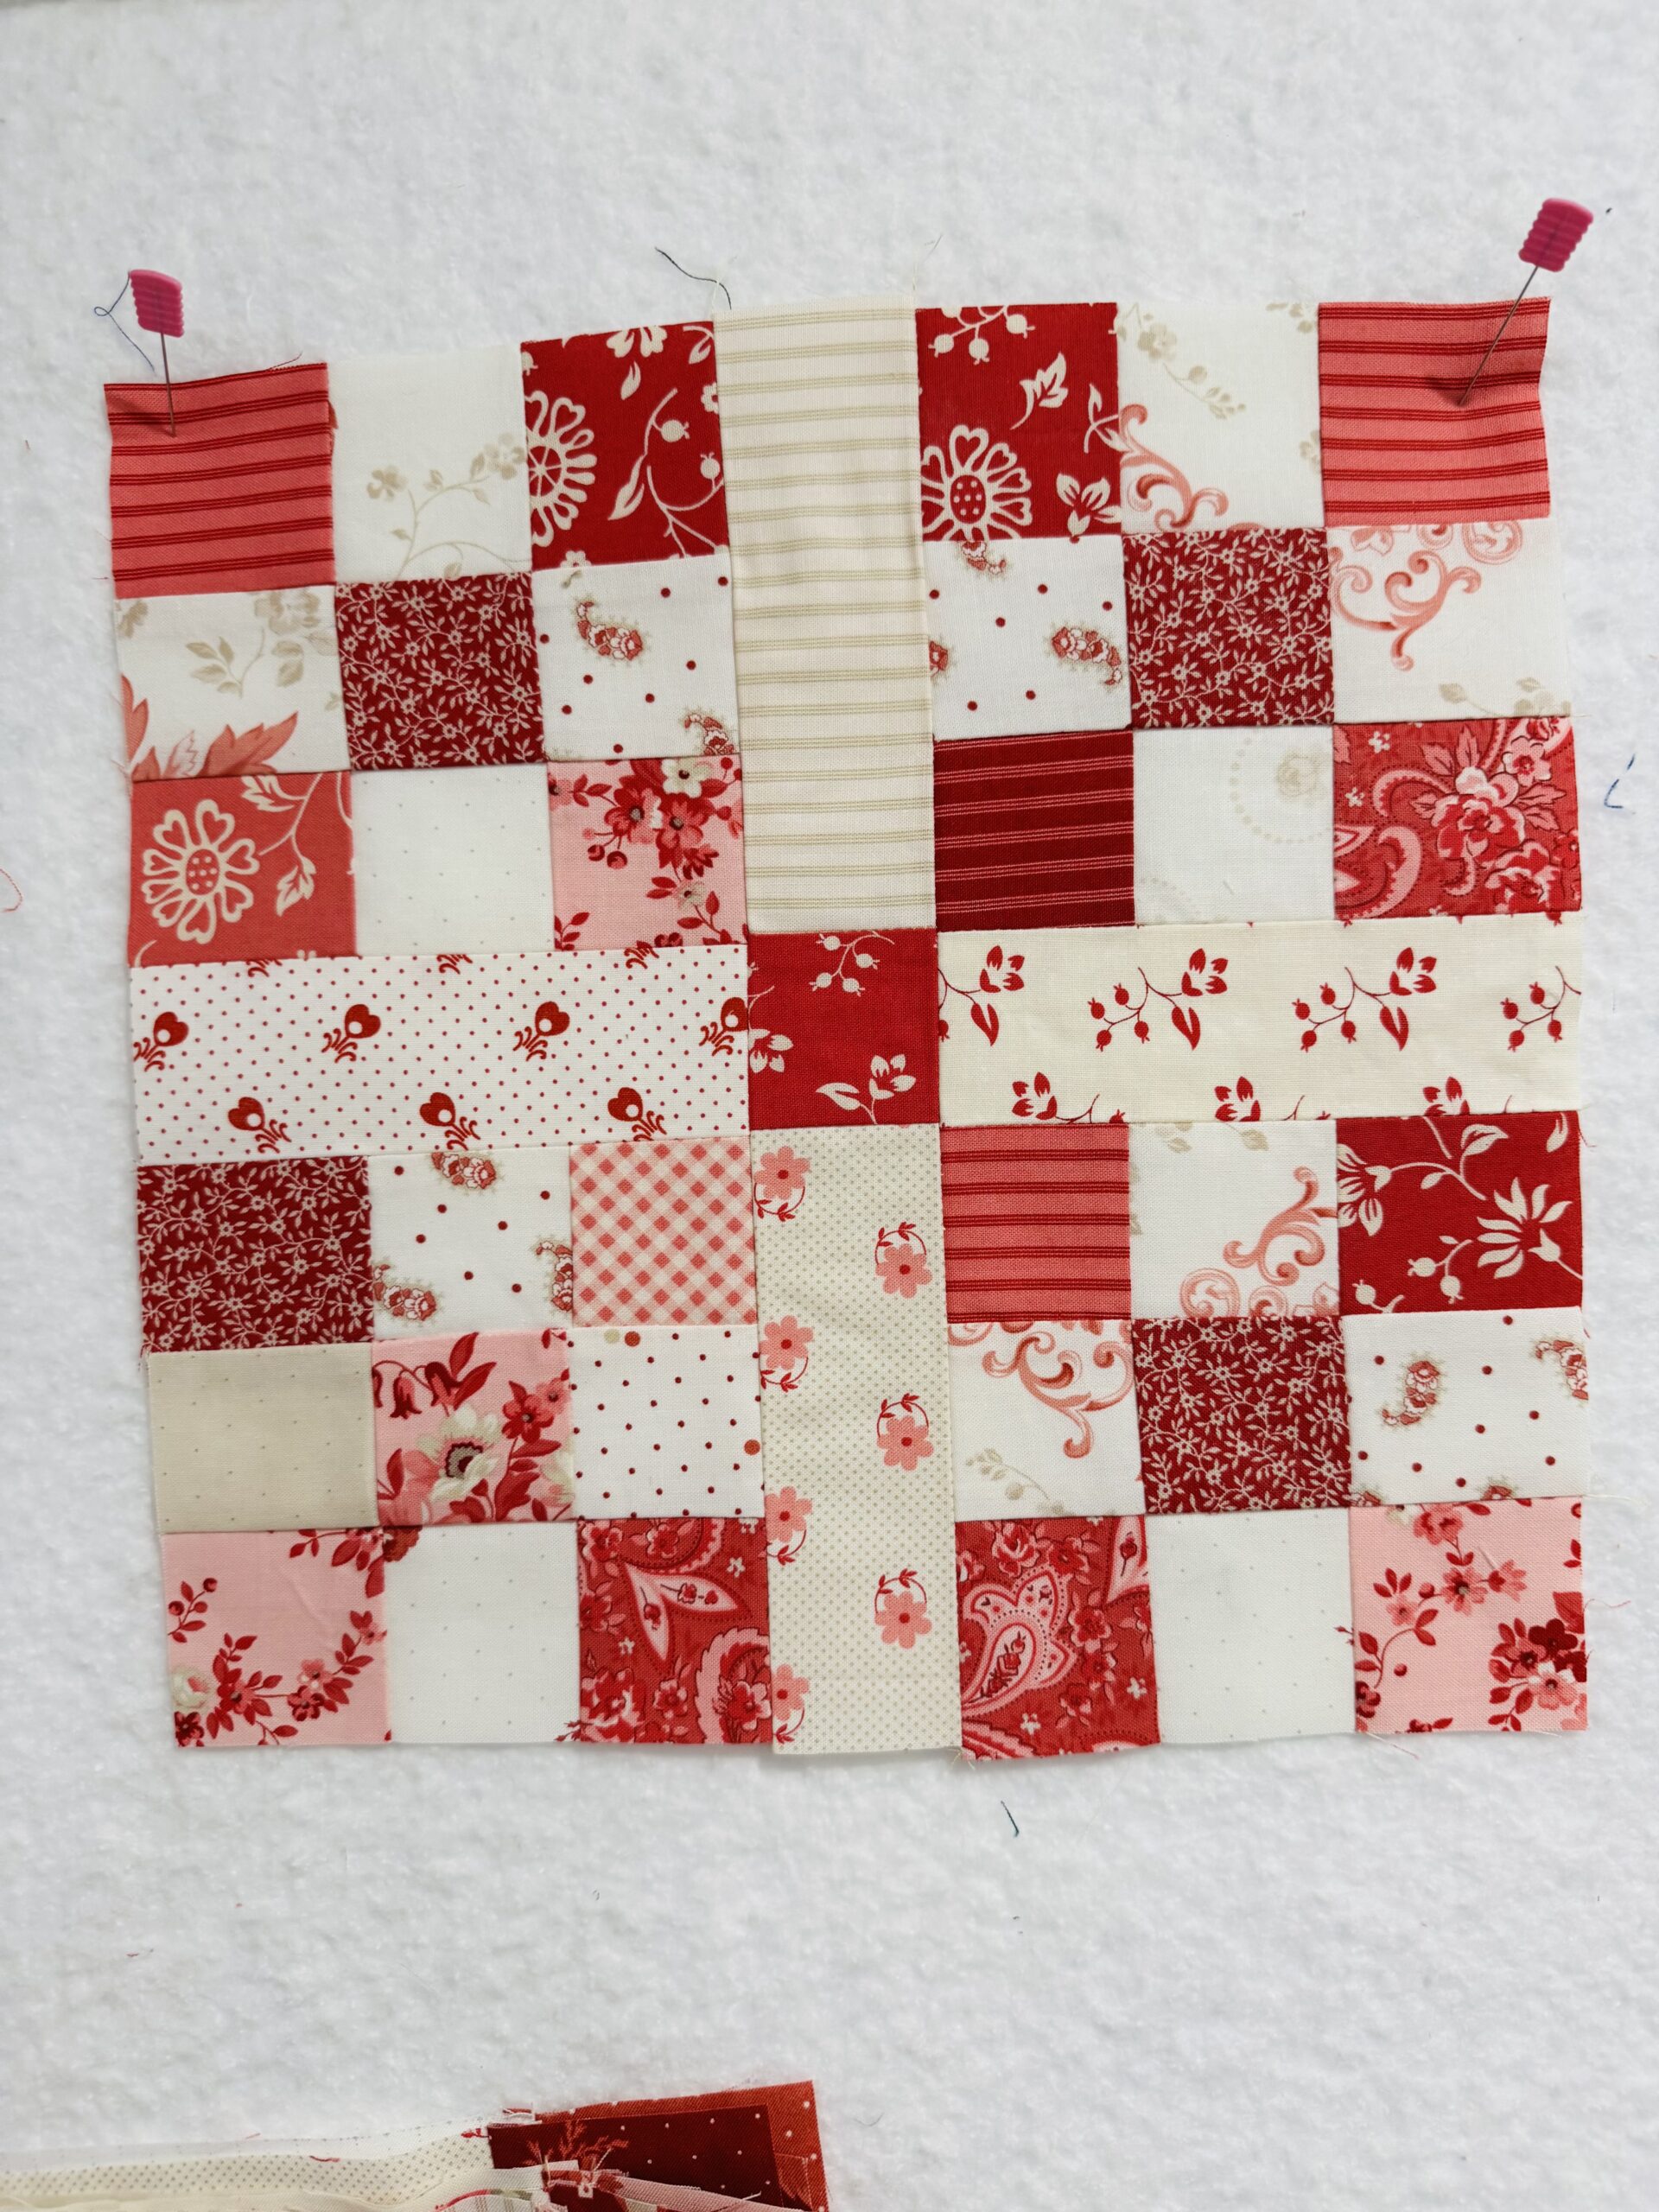
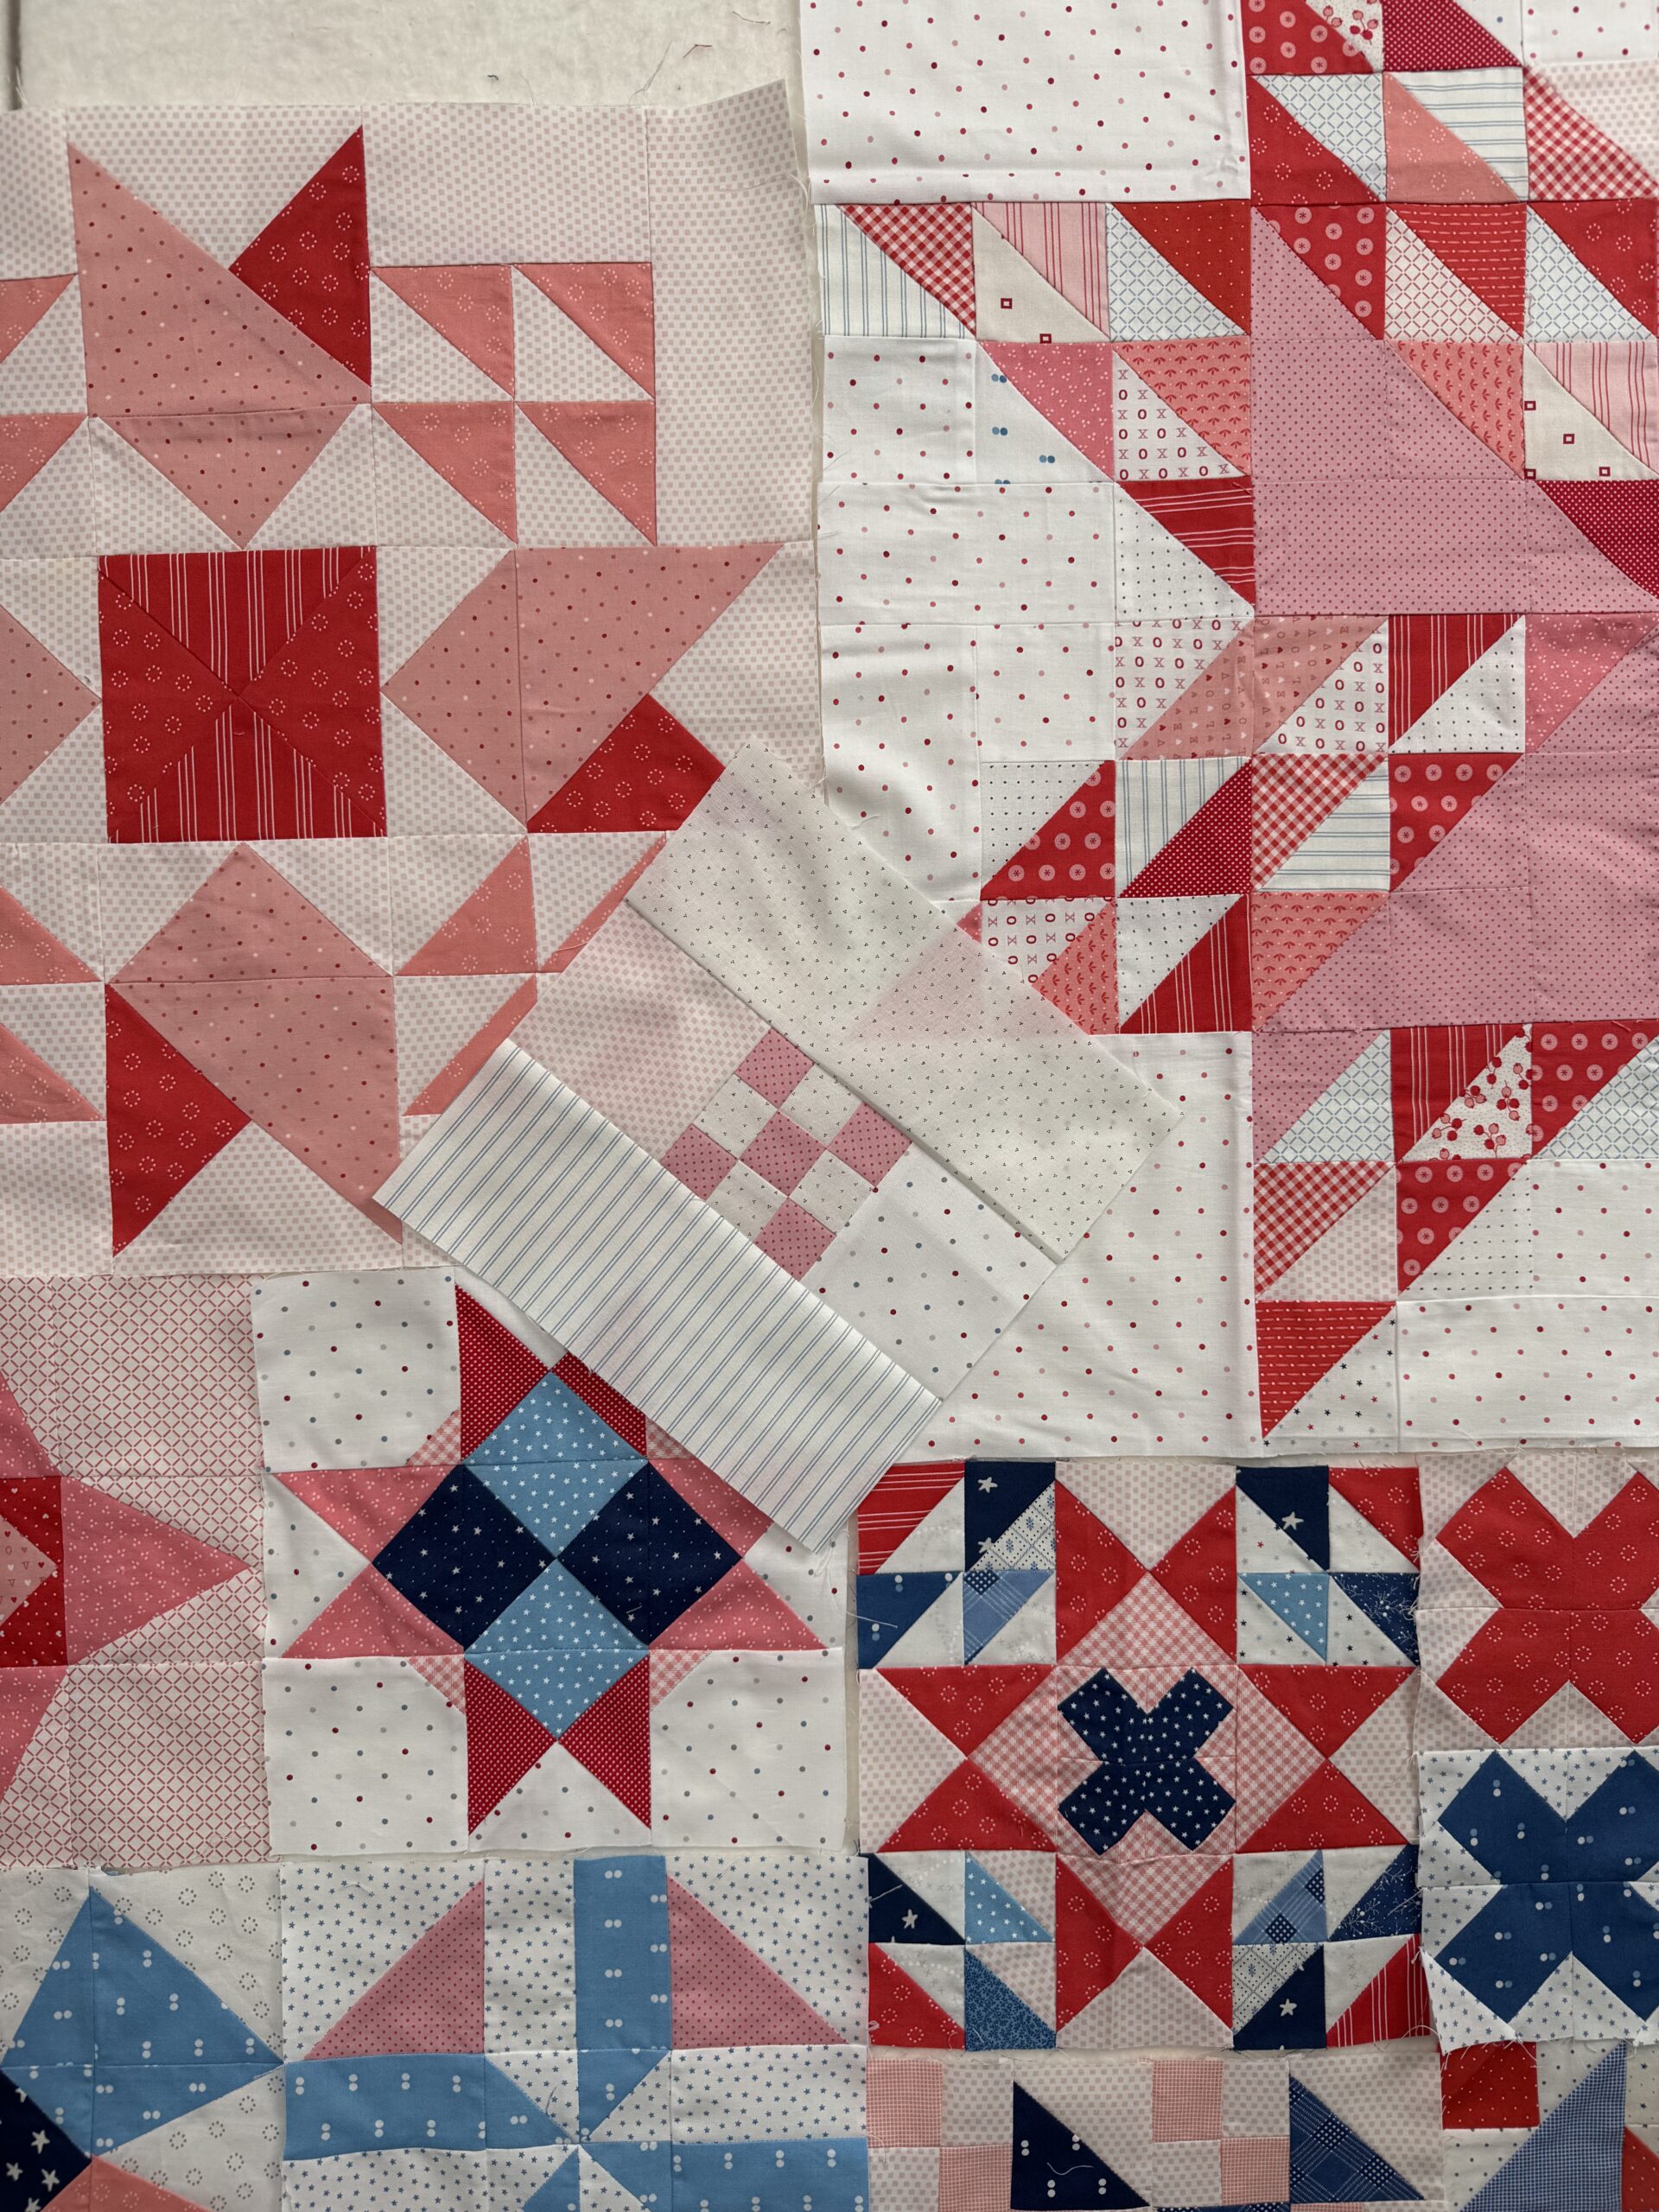
Jessica’s block is a perfect example of how simplicity and structure can come together to create something striking. Her take on the classic nine-patch is elevated, elegant, and incredibly versatile—just like her design aesthetic. Since I am not quite sure how I am going to set my quilt together, just call me slacker, I am using this block as an improv opportunity to use a variety of lights/low volumes.
Ninth Wonder – Modern Balance with Classic Roots
The Ninth Wonder block blends nine-patch units with angular setting pieces to create a layout that feels both grounded and dynamic. The result is a block with crisp lines, mirrored movement, and a subtle rhythm that echoes the logic and charm of traditional piecing—refreshed for the modern quilter.
The repeating shapes give the block structure, while the negative space allows it to breathe. It’s a thoughtful design that adapts beautifully across styles—equally stunning in low-volume neutrals, high-contrast brights, or a curated scrappy mix.
This block is based on the math of a basic 9patch so I will be playing with that for my filler low volume blocks
Meet Jessica Rose – A Fresh Face at Moda
Jessica Rose is the founder and designer behind QuiltD Studios, where she creates fresh, modern quilt patterns that balance tradition with clean design. With a background in fine art and graphic design, Jessica brings a contemporary perspective to her quilting that is both intentional and approachable. She also has a monthly block club you can join, here.
As one of the newest designers for Moda Fabrics, Jessica is stepping into the quilting world with confidence and clarity—already making her mark with smart, stylish patterns and her signature creative eye.
Follow Jessica’s journey and find inspiration here:
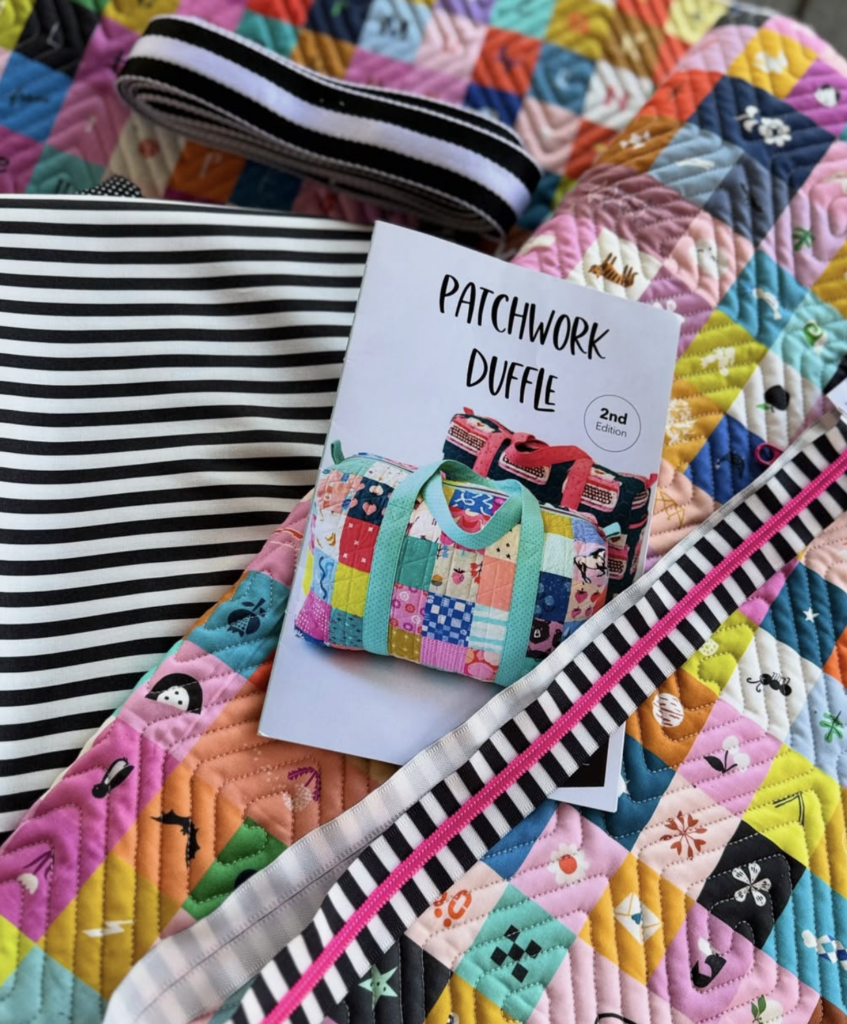
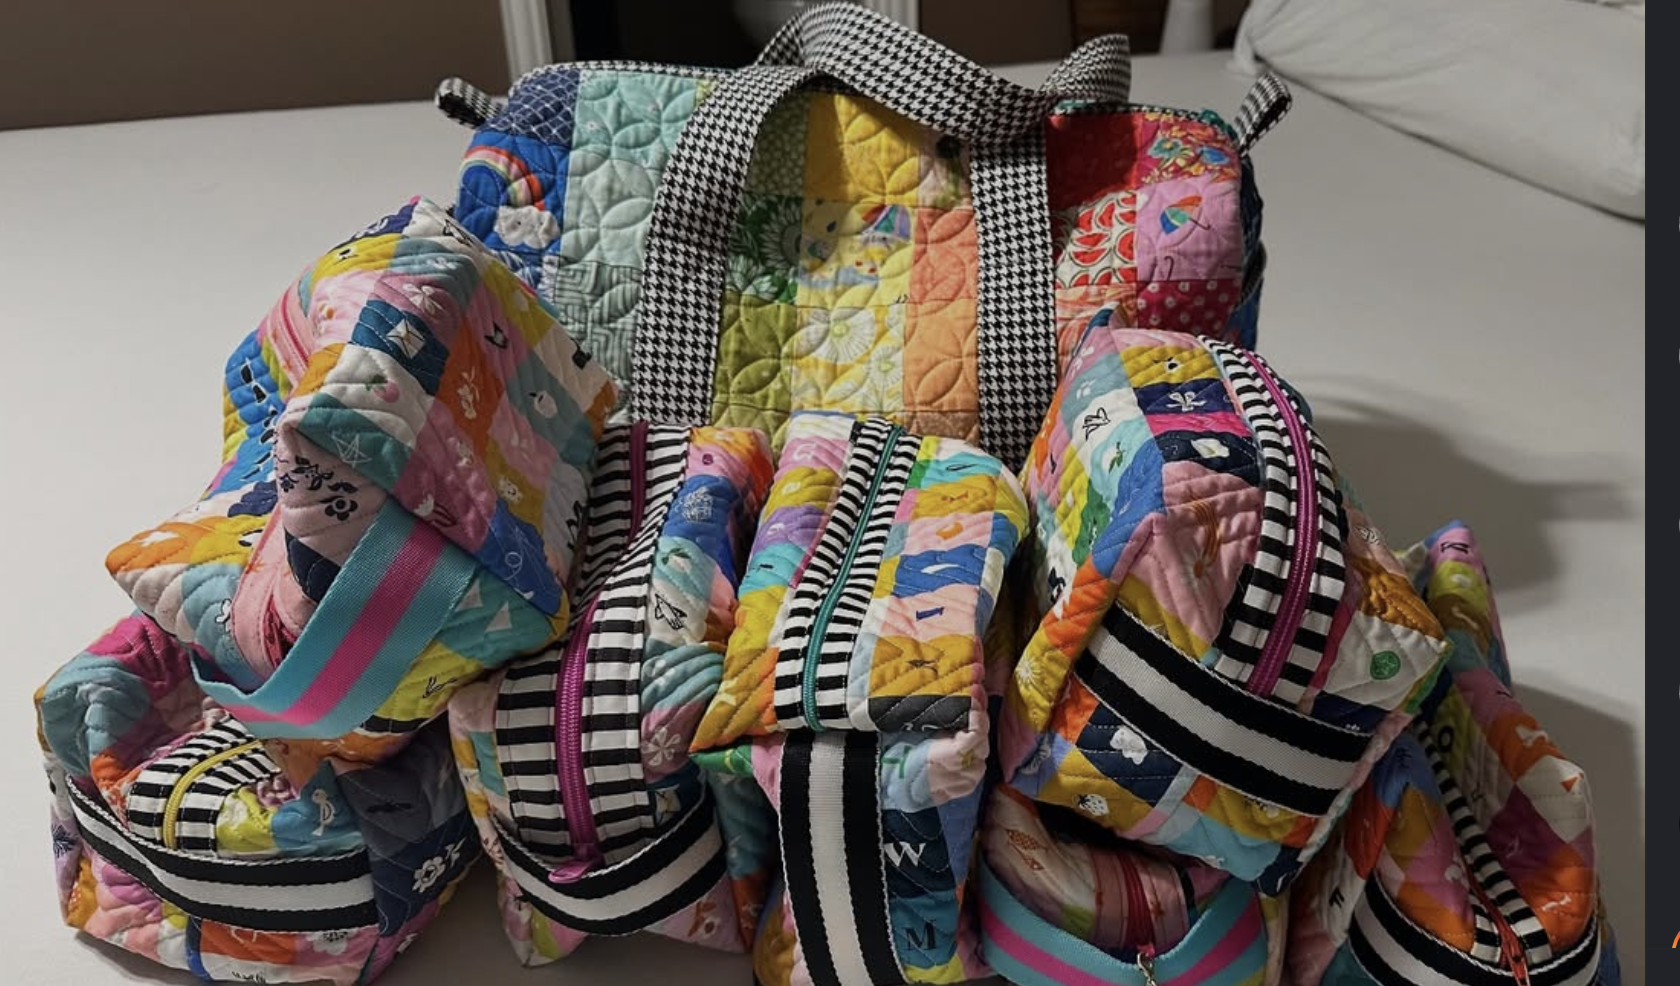
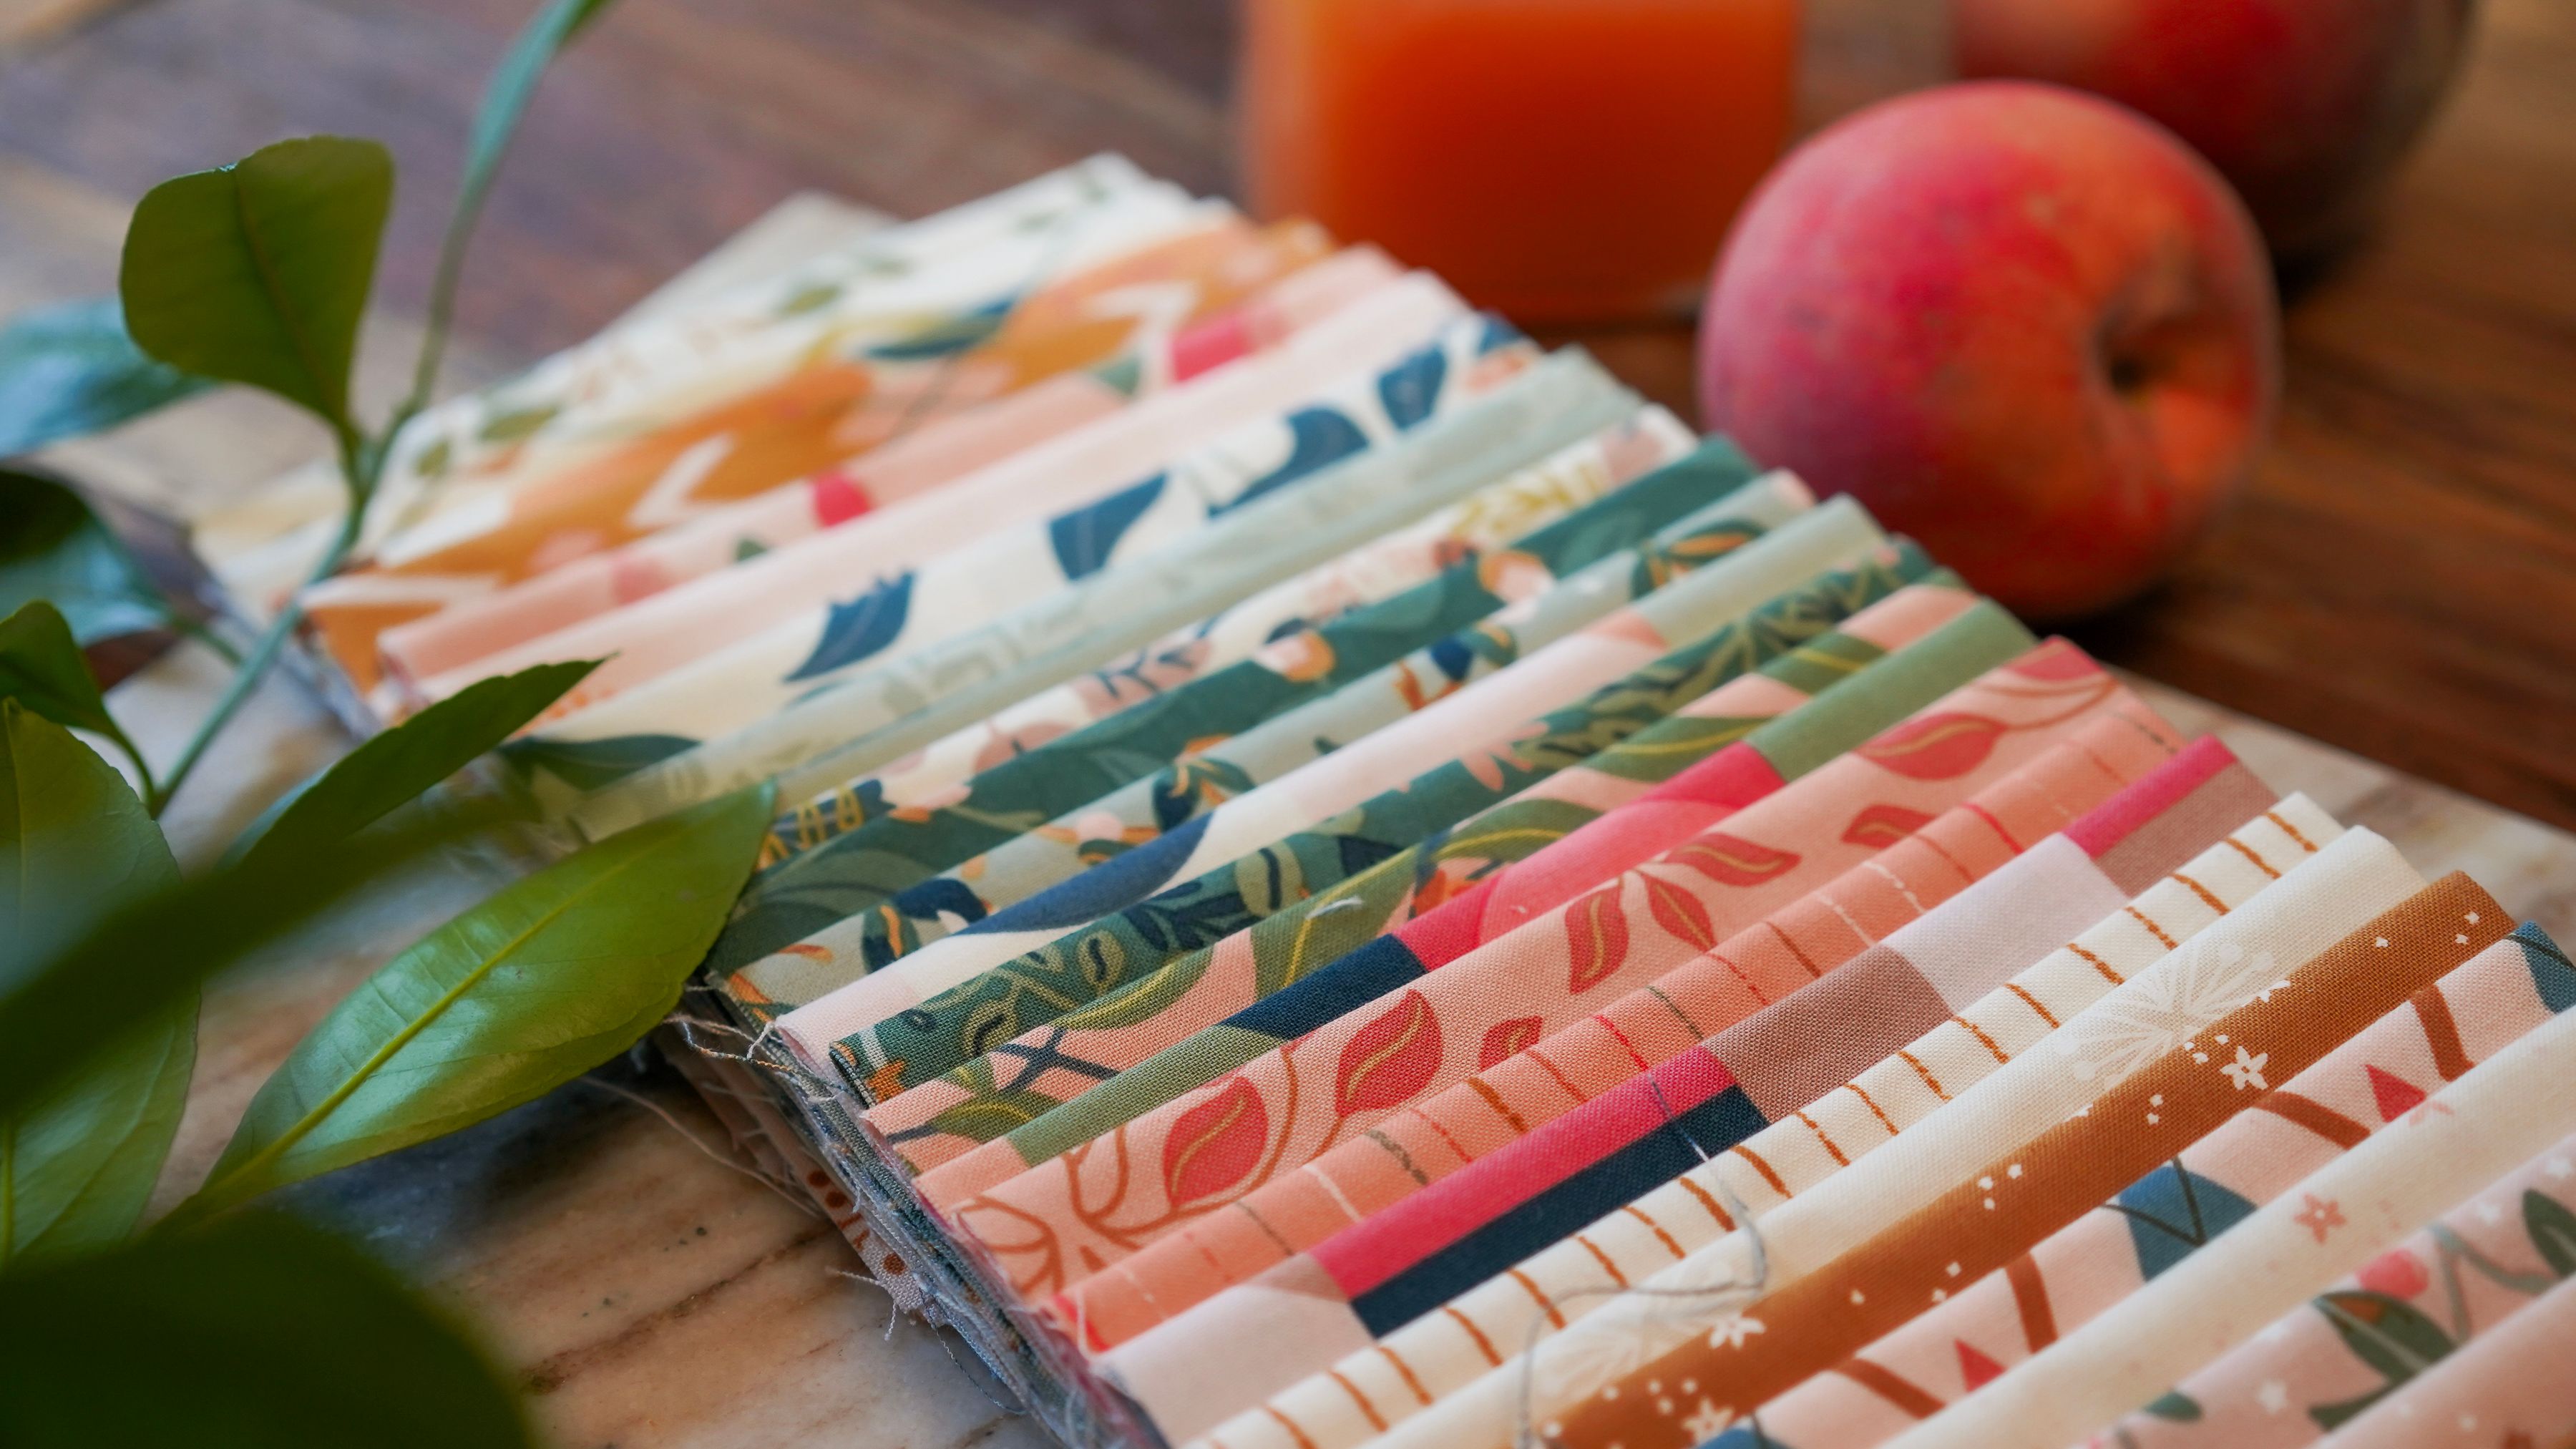
Her site is full of inspiring projects, thoughtful design tips, and her growing collection of beautifully modern patterns. She has some freebies also including a duffle bag How-to using her newest fabric line, PEACHY, in store November 2025.
Download, Watch & Sew Along
The Ninth Wonder block pattern and video tutorial are both available now on the Moda Blog. Don’t miss the chance to see how Jessica approaches color, layout, and movement in her own version—it’s a beautiful preview of the fresh design energy she brings to the Moda family.
A Wonder-Filled Addition
Be sure to share your version using #ModaBlockheads and #ModaBlockheads6, and welcome Jessica to the Blockheads community by tagging @modafabrics and @quiltedd.
It’s always exciting to see a new designer join the Moda family, and with Ninth Wonder, Jessica Rose is off to a strong—and beautiful—start.
Details about this program, click here.
Follow each of the designers listed below.
Jessica Rose
Heather Briggs
Jackie MacDonald
Jenelle Kent
Vanessa Goertzen
Stacy Iest Hsu
Laura Muir
Sarah Thomas
Vanessa Christenson – Download the pattern here.
Lynne Hagmeier -Download the pattern here.
Anne Sutton -Download the pattern here.
Kiley Ferons-Download the pattern here.
Chelsi Stratton– Download the pattern here.
Robin Pickens –Download the pattern here.
Joanna Figueroa-Download the pattern here.
Sherri McConnell -Download the pattern here.
Barb Groves – Download the pattern here.
Janet Clare-Download the pattern here.
Lisa Bongean-Download the pattern here.
Corey Yoder-Download the pattern here.
Betsy Chutchian – Download the pattern here.
Camille Roskelley-Download the pattern here.
Crystal Manning-Download the pattern here.
Debbie Maddy– Download the Pattern here.
Thank you for following along!
-modalissa