Tag: Layer Cakes

Creating Faded Vintage Fabrics: A Guide to Overdyeing and Bleaching

Are you a fan of the vintage aesthetic? Do you find yourself drawn to the soft, worn-in look of aged fabrics? If so, you’re in luck! Achieving that perfect faded vintage look is easier than you might think. With a few simple techniques, you can transform modern fabrics into timeless treasures. This blog post will guide you through the processes of overdyeing and bleaching to create beautifully faded fabrics. The examples shown in this blog post only cover the bleaching process. Depending on the results and what the final outcome I would then overdye so I have included all the steps.

DISCLAMIER: this was just an experiment and I never know the final result. This is the fun art of this experiment.

What is Overdyeing and Bleaching?

**Overdyeing** involves adding a new layer of dye over an existing color. This technique can create rich, complex hues and can help tone down overly bright colors. When combined with bleaching, it can give fabrics a beautifully worn and aged look.

**Bleaching**, on the other hand, involves removing some of the original color from the fabric. This can create a variety of effects, from subtle fading to dramatic contrasts, depending on the technique and amount of bleach used.

 Materials You’ll Need

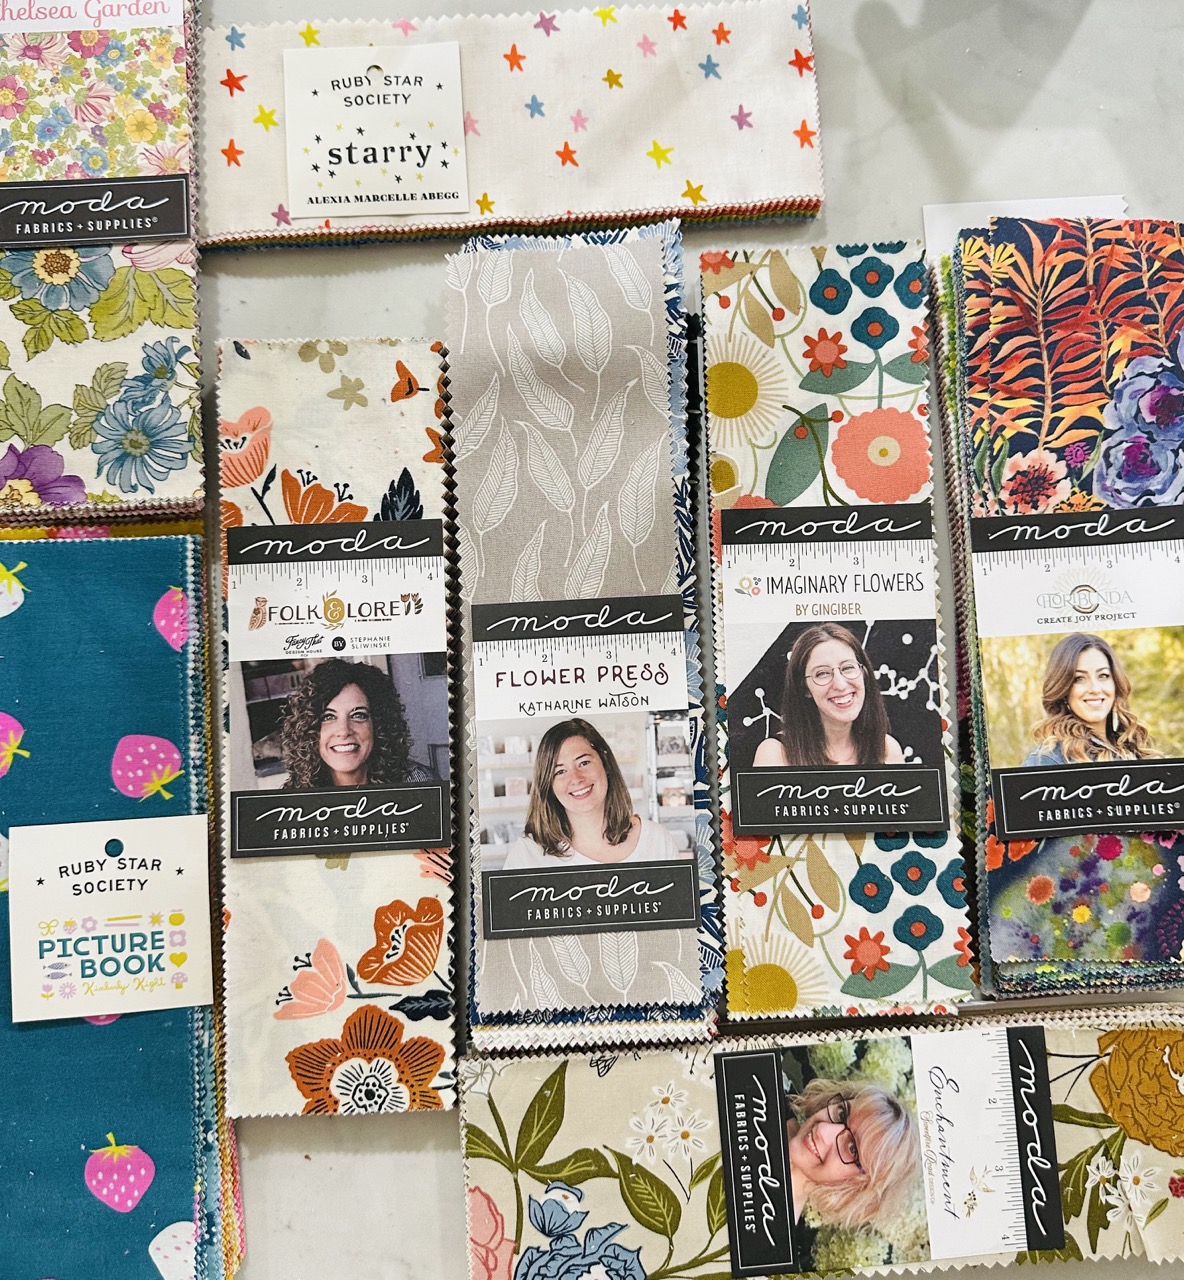
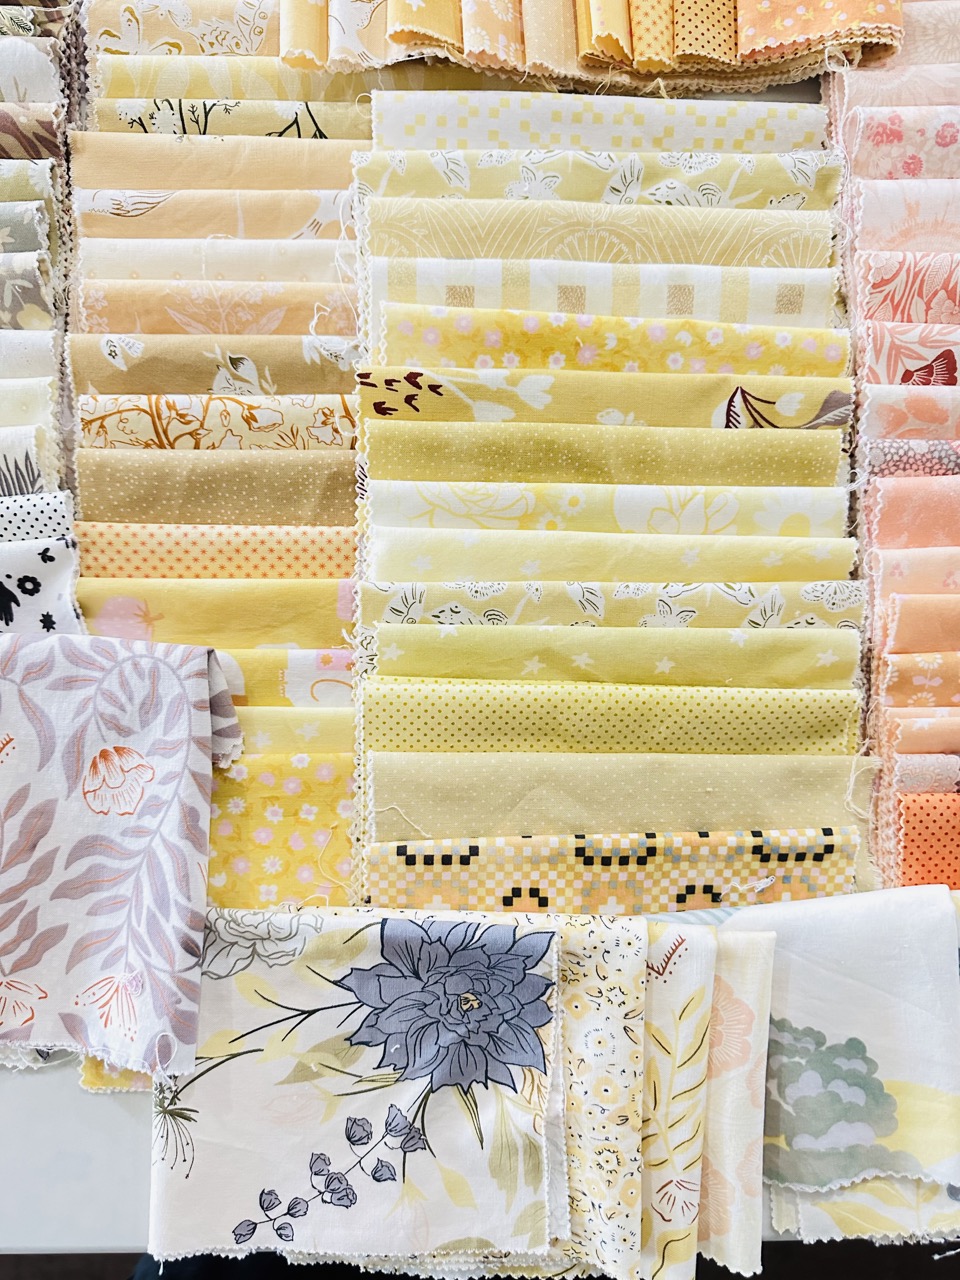
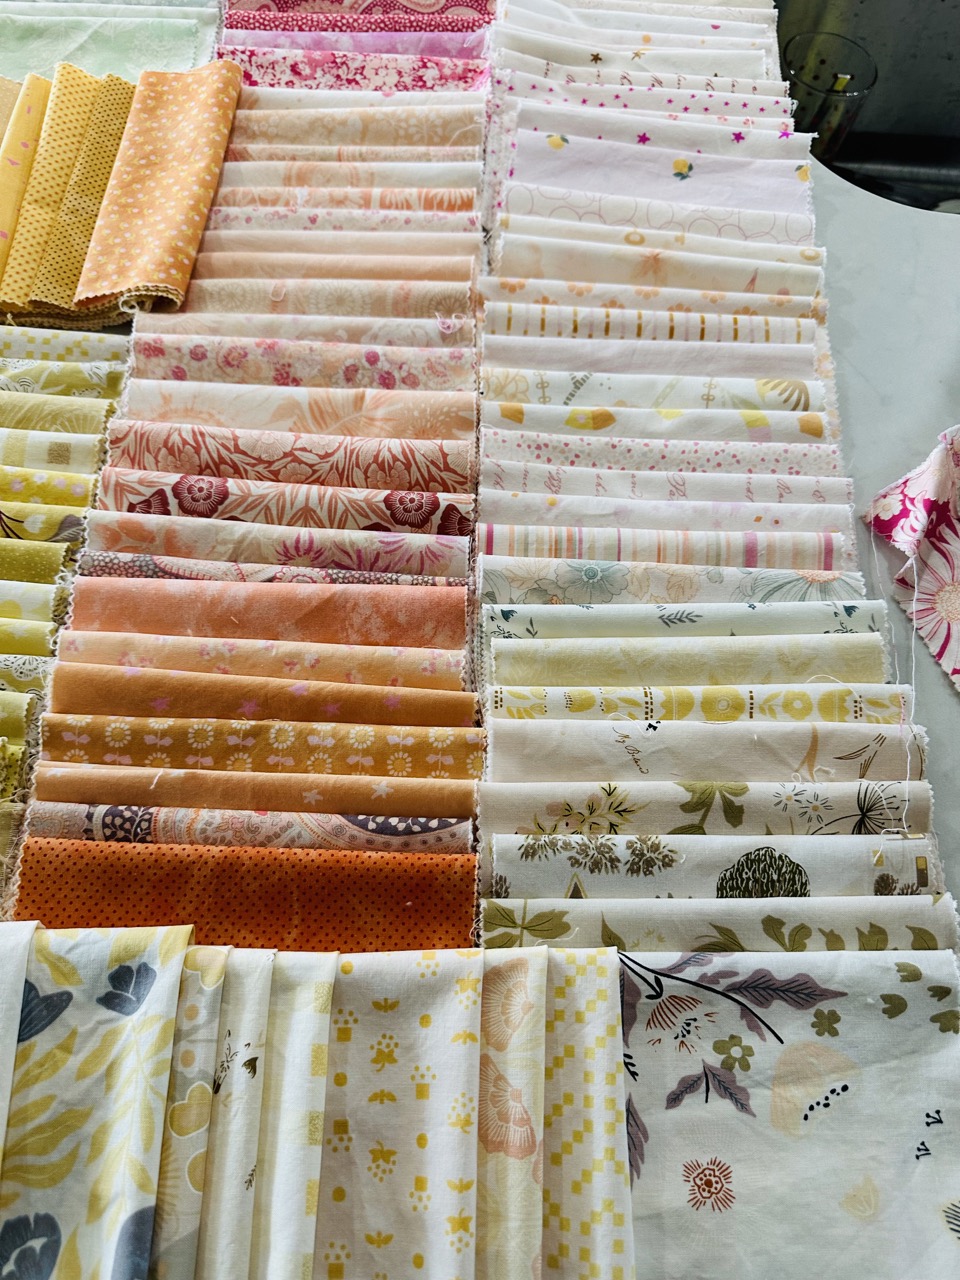
– Fabric (natural fibers like cotton, linen, and wool work best. I used 100% cotton Moda- Layer Cakes)
– Fabric dye (your color of choice)
– Bleach (liquid bleach or bleach pens)
– Plastic containers or a sink for dyeing and bleaching
– Rubber gloves
– Protective clothing or apron
– Plastic sheet or old newspapers (to protect your work surface)
– Measuring cups and spoons
– Stirring sticks or spoons

Some of the Bleached fabrics

Step-by-Step Guide

 1. Preparing Your Fabric

Before you begin, it’s essential to prepare your fabric. Wash it to remove any sizing or finishes that might interfere with the dyeing process. Do not use fabric softener as it can prevent the dye from penetrating the fabric evenly.

 2. Overdyeing the Fabric

Overdyeing is a great way to create a base layer of color.

– **Choose Your Dye:** Select a dye that complements the existing color of your fabric. If you’re aiming for a vintage look, consider using muted or earthy tones. I use Ritz Dye and combine tan and taupe. Always start light and you can make darker as needed.
– **Prepare the Dye Bath:** Follow the instructions on the dye package to create your dye bath. Typically, this involves mixing the dye with hot water and a fixative like salt or vinegar.
– **Dye the Fabric:** Submerge your fabric in the dye bath and stir continuously to ensure even coverage. Leave the fabric in the dye bath for the recommended amount of time, then rinse until the water runs clear.
– **Dry the Fabric:** Allow the fabric to air dry completely.

3. Bleaching the Fabric

Once your fabric is dyed and dried, it’s time to create that faded, vintage look with bleach.

– **Prepare Your Work Area:** Lay down a plastic sheet or old newspapers to protect your work surface. Make sure the area is well-ventilated.
– **Dilute the Bleach:** Mix bleach with water to create a diluted solution. A 1:10 ratio of bleach to water is a good starting point, but you can adjust this depending on how much color you want to remove.
– **Apply the Bleach:** There are several techniques you can use:
– **Full Submersion:** Submerge the fabric in the bleach solution and monitor it closely. Remove the fabric once it has reached the desired level of fading. The majority of the fabrics during this experiment I left in the bleach solution a tad bit too long. They came out out lighter than I was hoping for.
– **Rinse Thoroughly:** Once the fabric has lightened to your satisfaction, rinse it thoroughly in cold water to stop the bleaching process. Keep in mind that the wet fabric will be appear darker than the final dried version. Wash the fabric with a mild detergent to remove any remaining bleach. You can also through the fabric into hydrogen peroxide to stop the bleaching process.
4. Finishing Touches

After bleaching, you might want to overdye the fabric again to add depth to the color. Repeat the overdyeing process as needed until you achieve the desired look. Once you’re satisfied, wash and dry the fabric one final time.

Tips and Tricks

– **Test First:** Always test your dye and bleach on a small swatch of fabric before applying to the entire piece. This will help you gauge how the fabric will react.
– **Use Natural Fibers:** Natural fibers like cotton, linen, and wool absorb dye better and react more predictably to bleach.
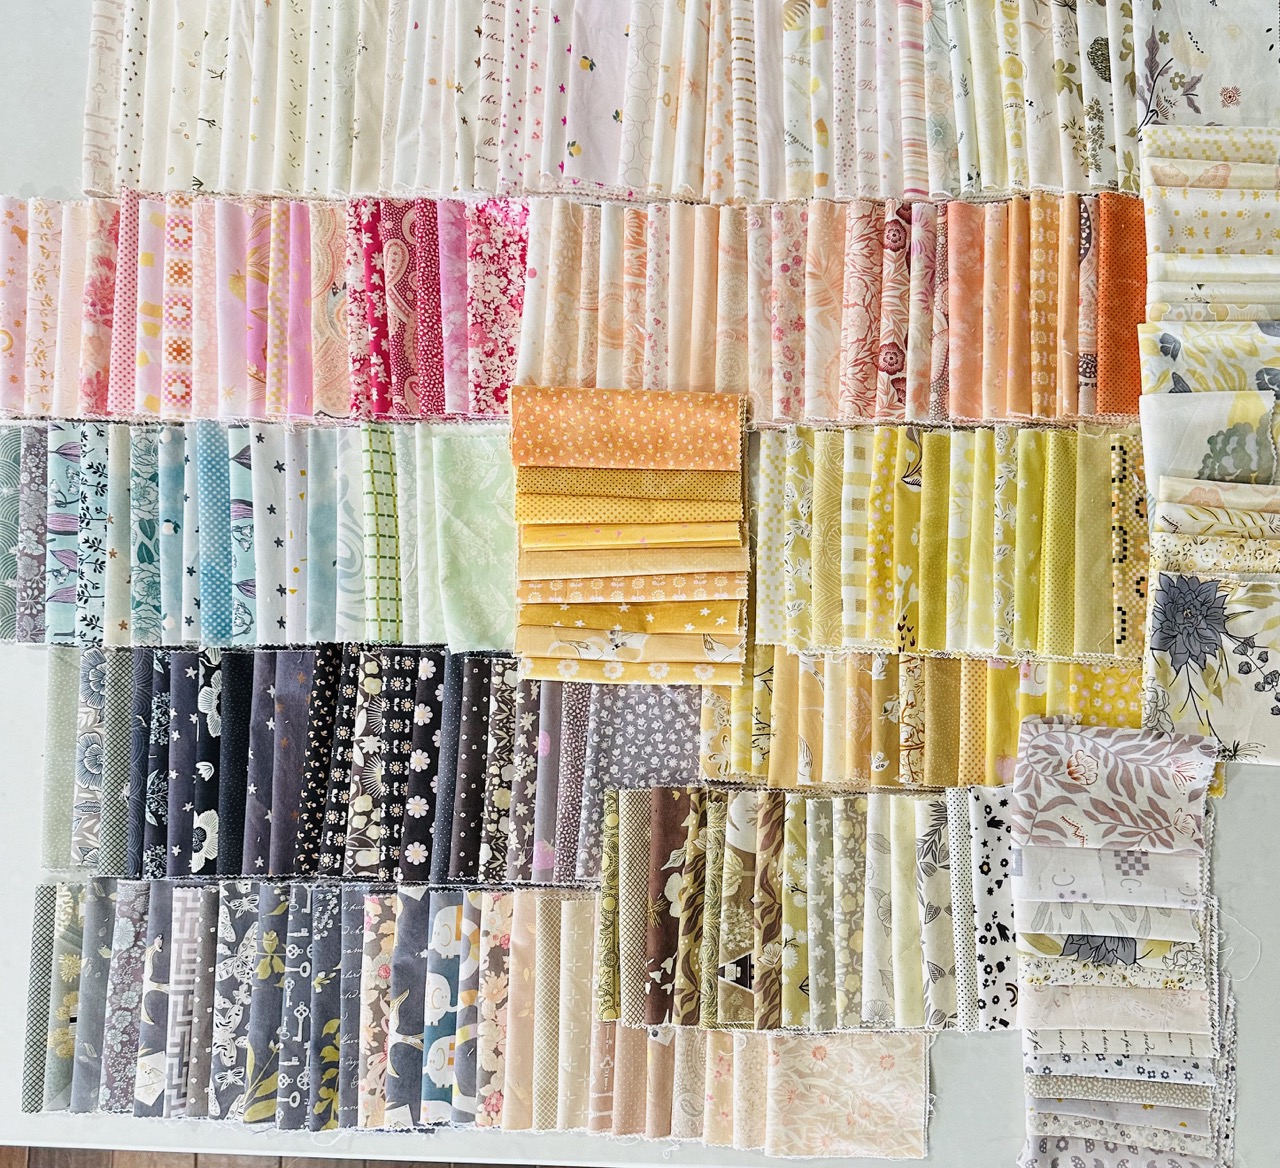
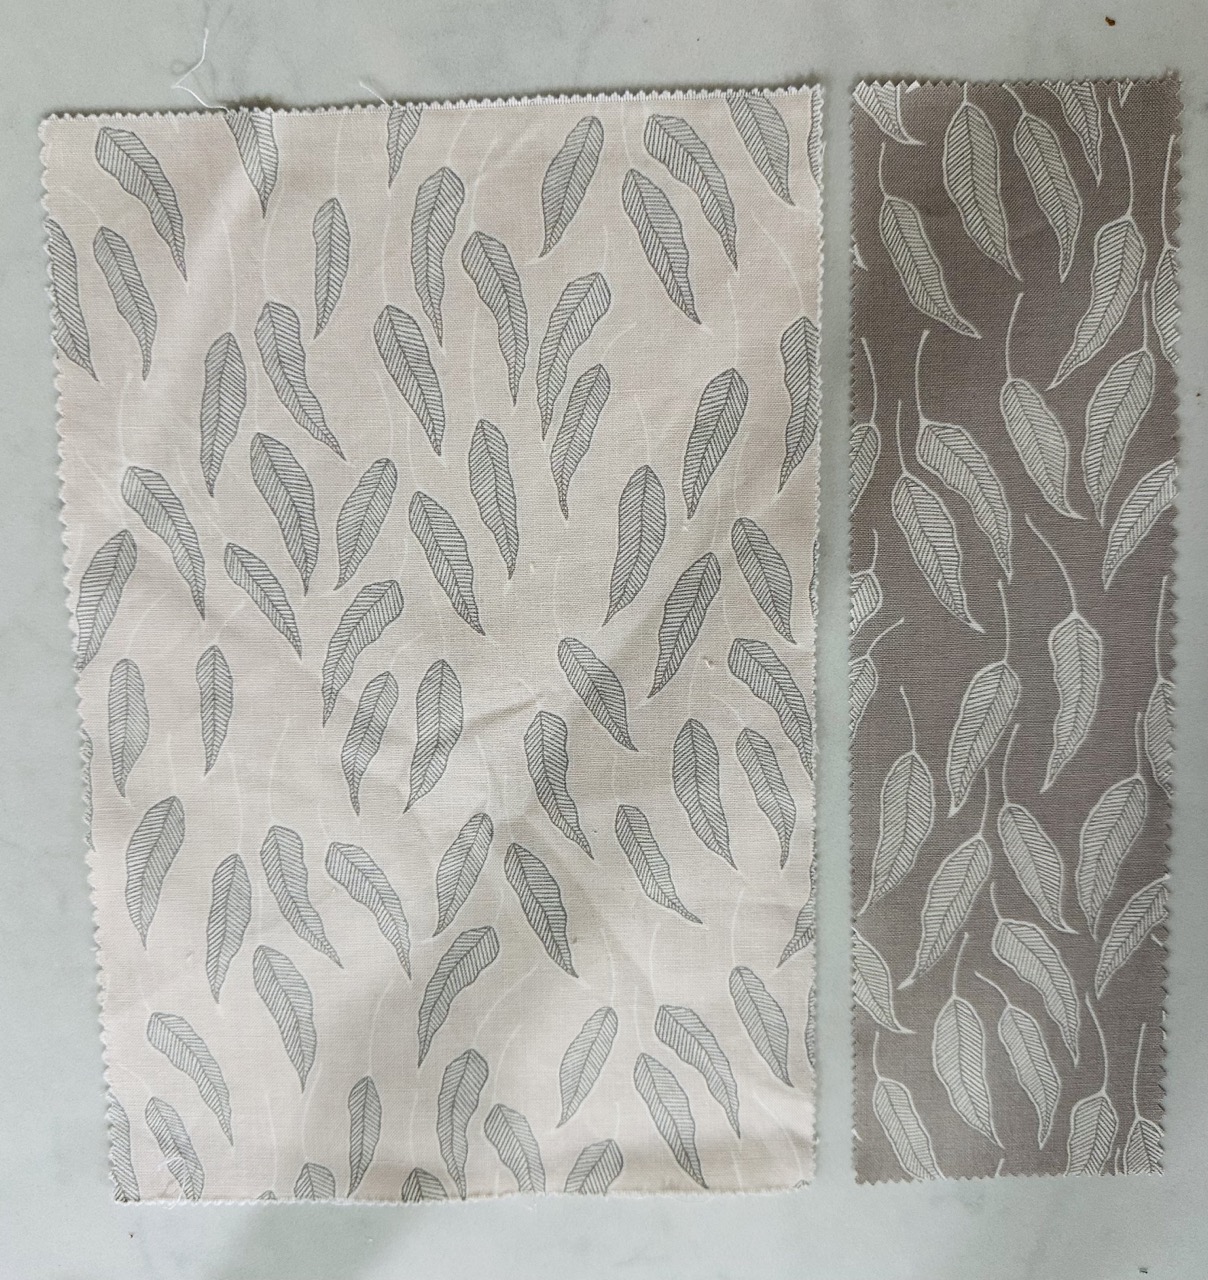
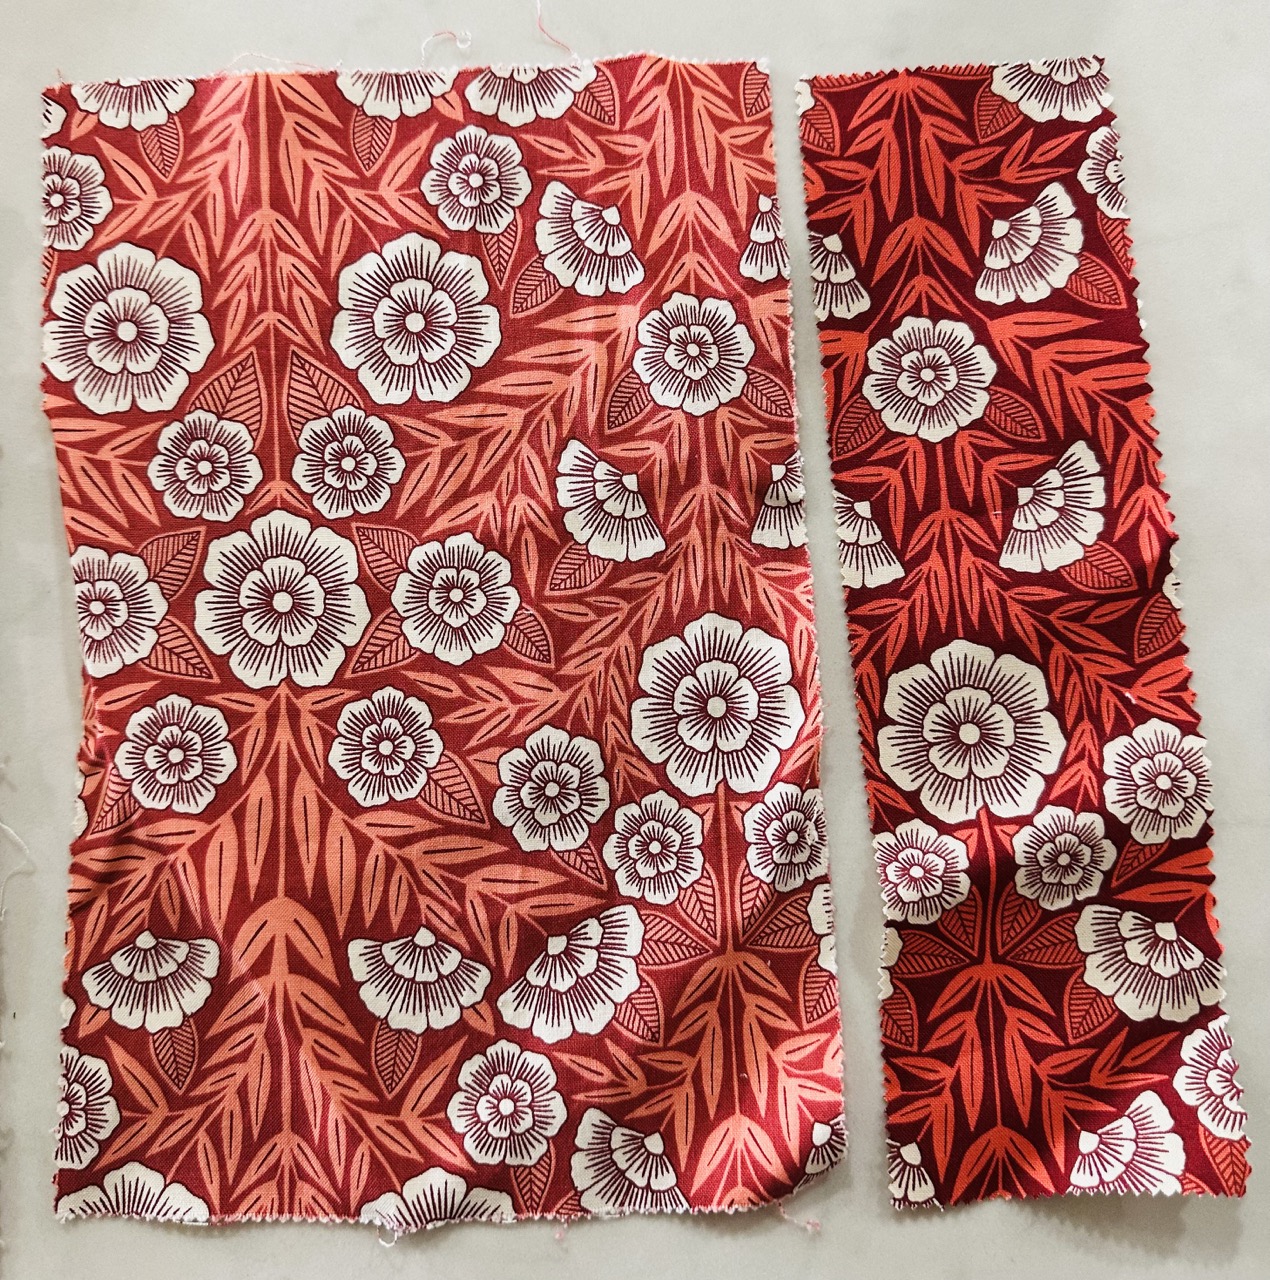
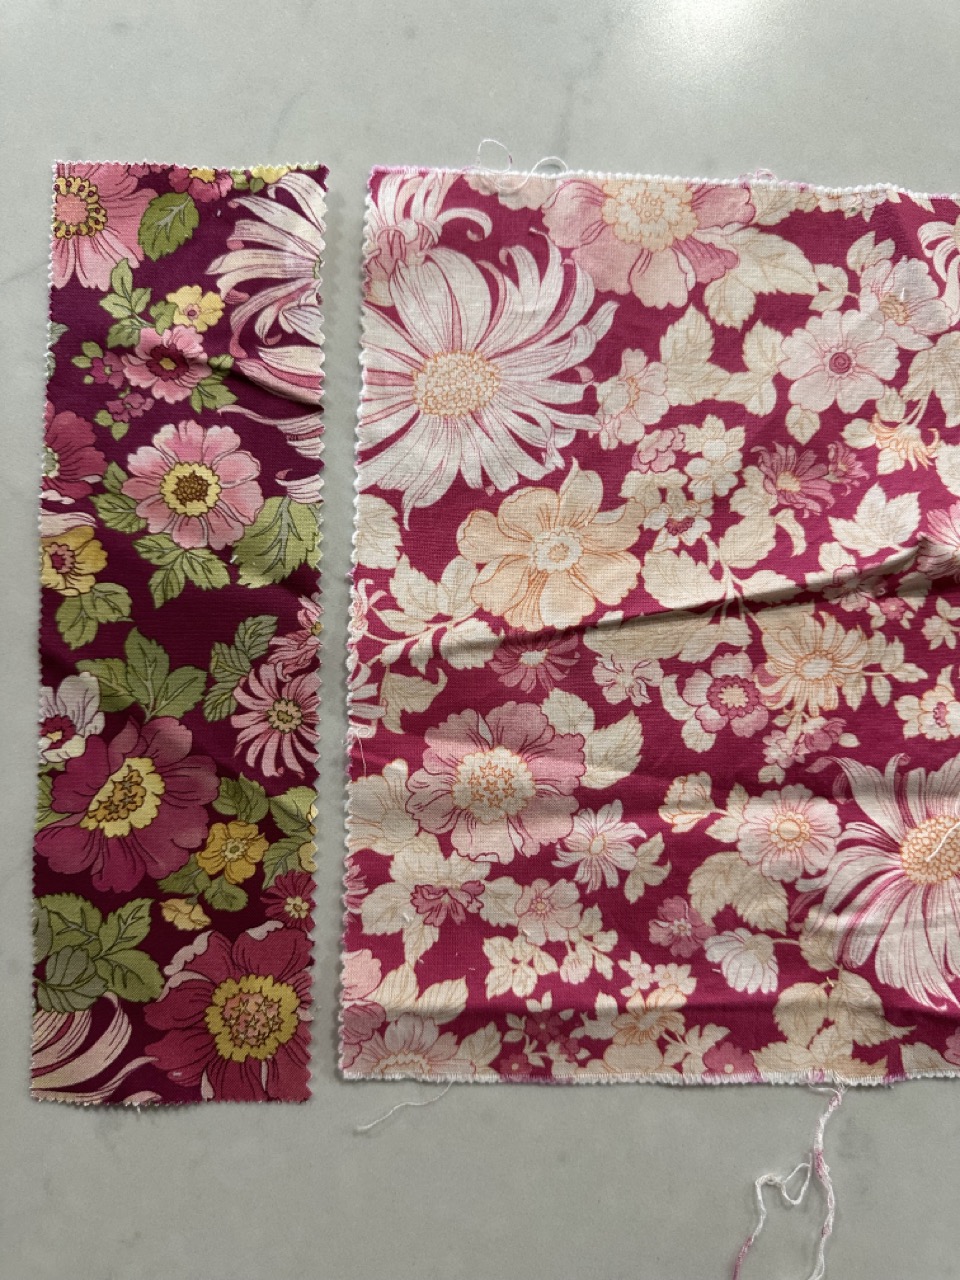
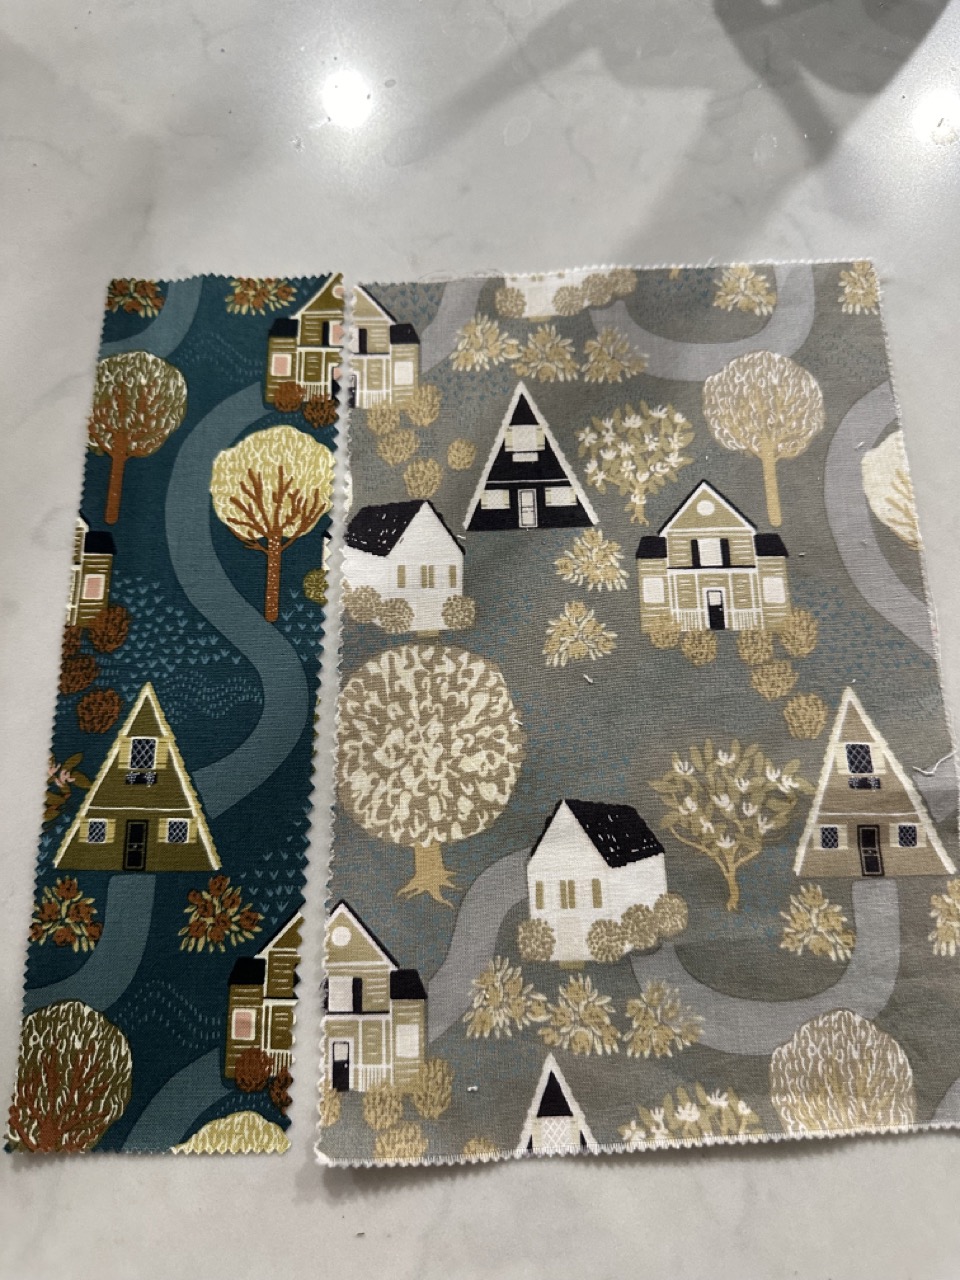
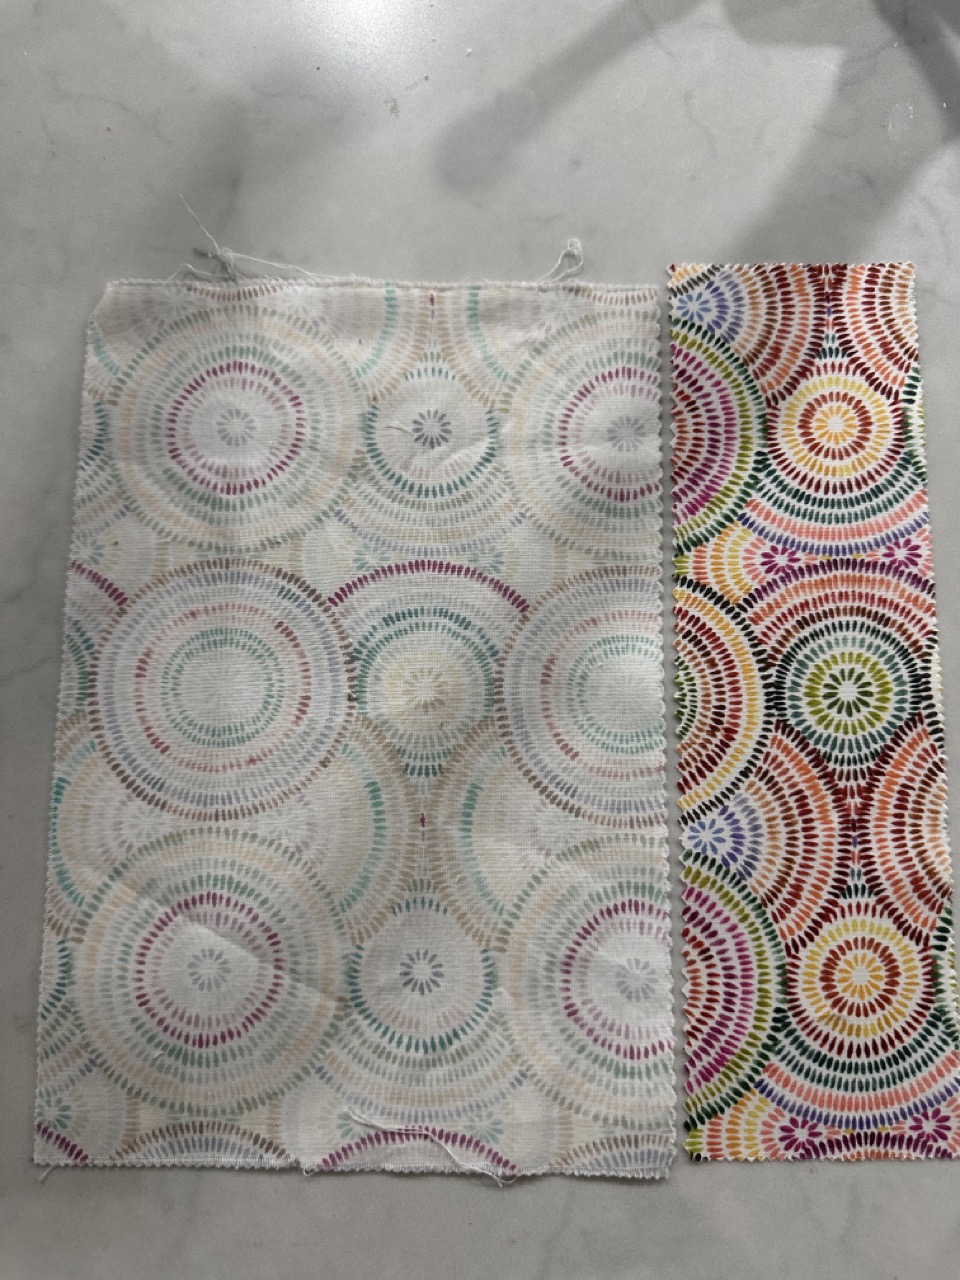
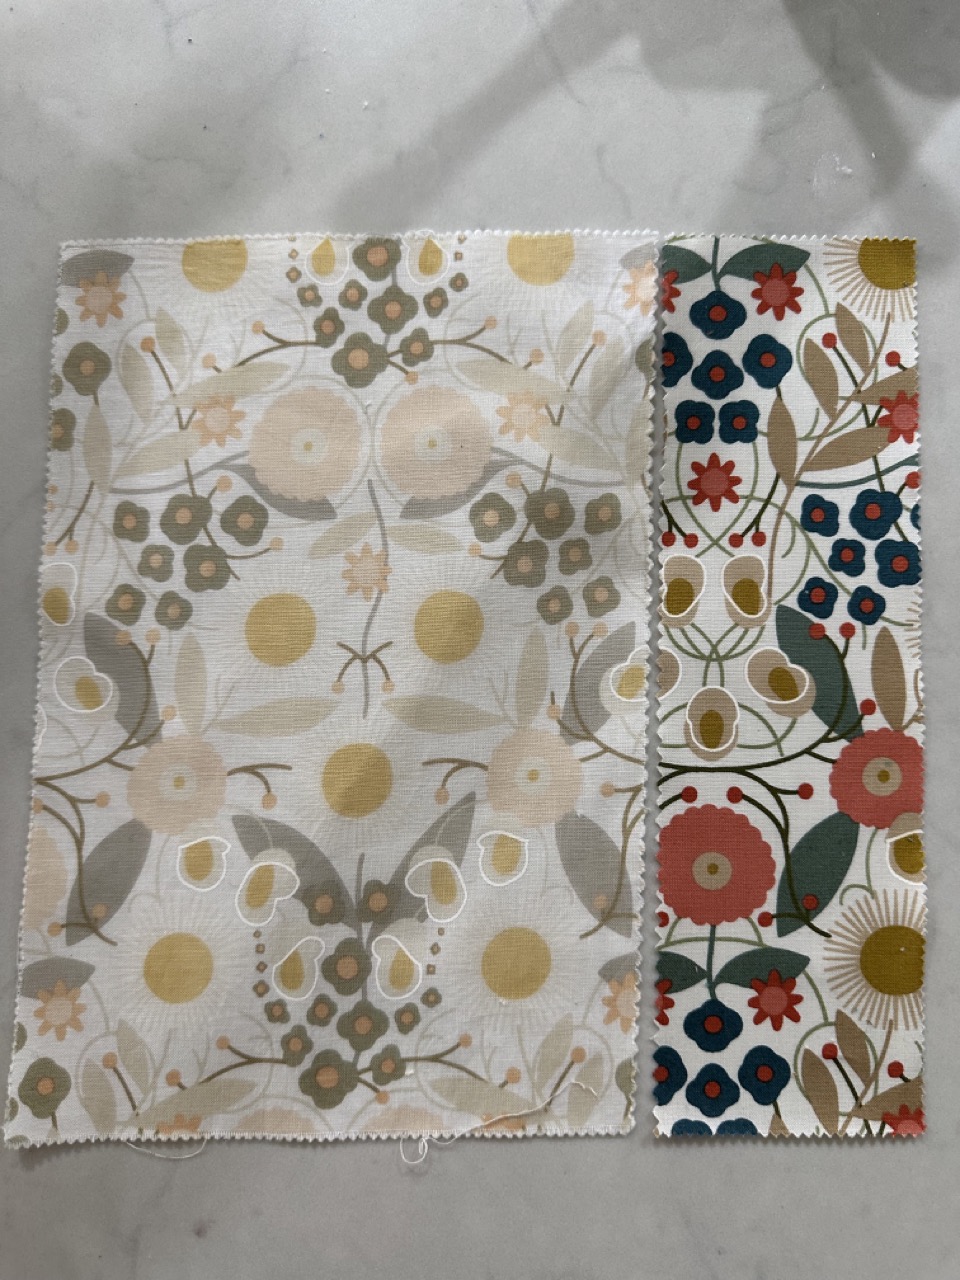
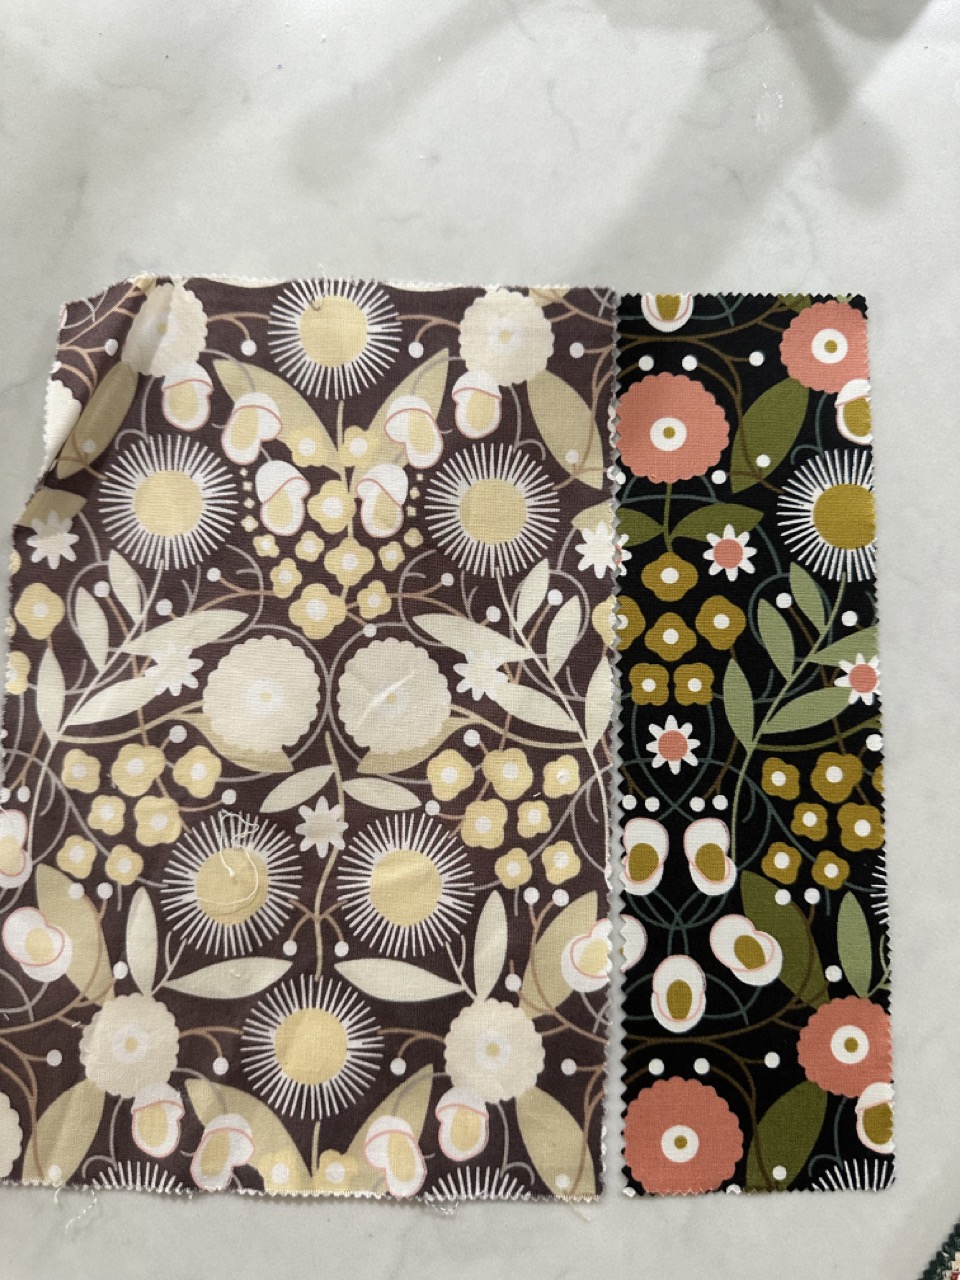
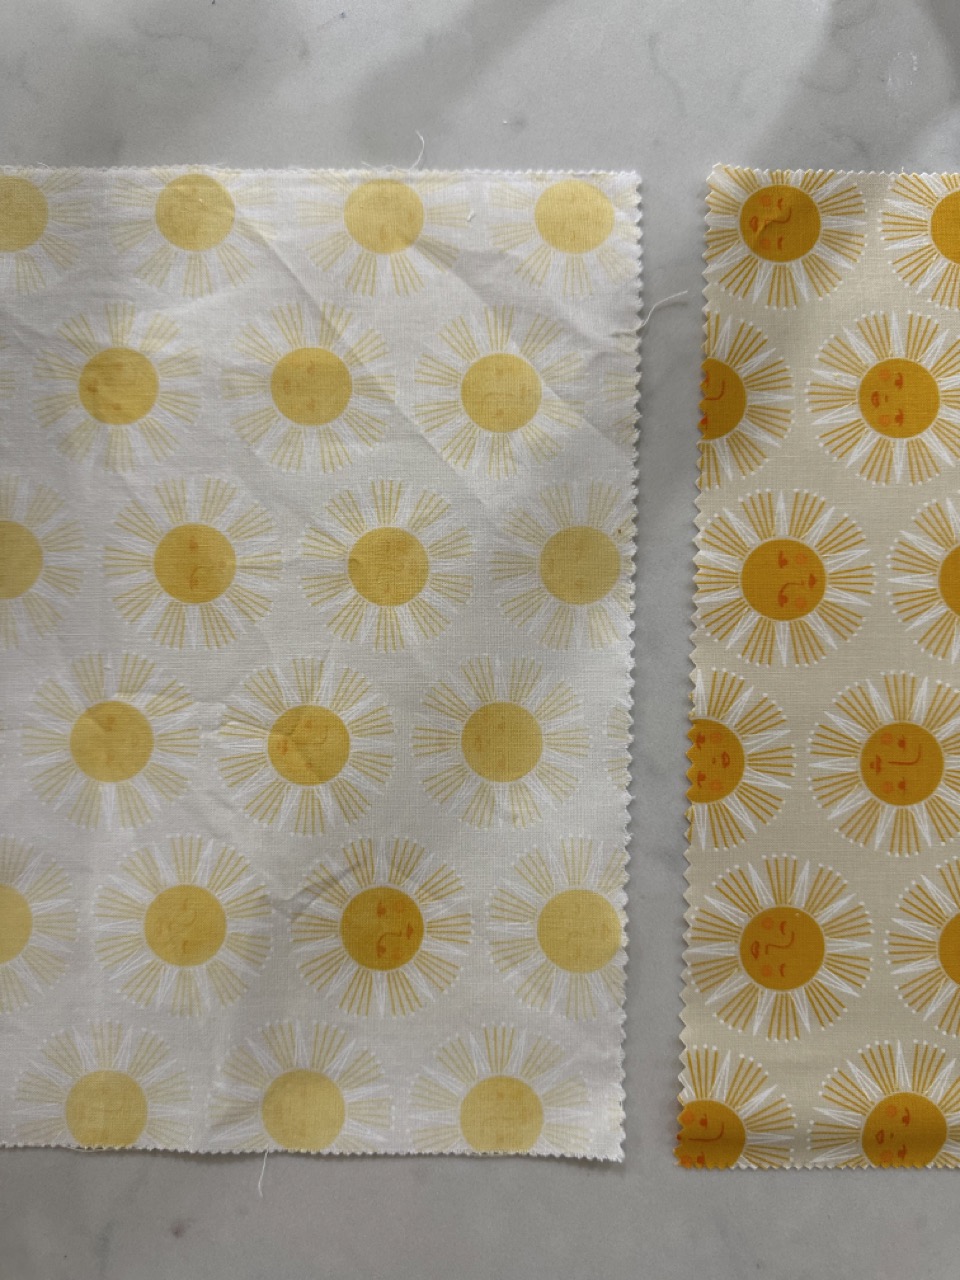
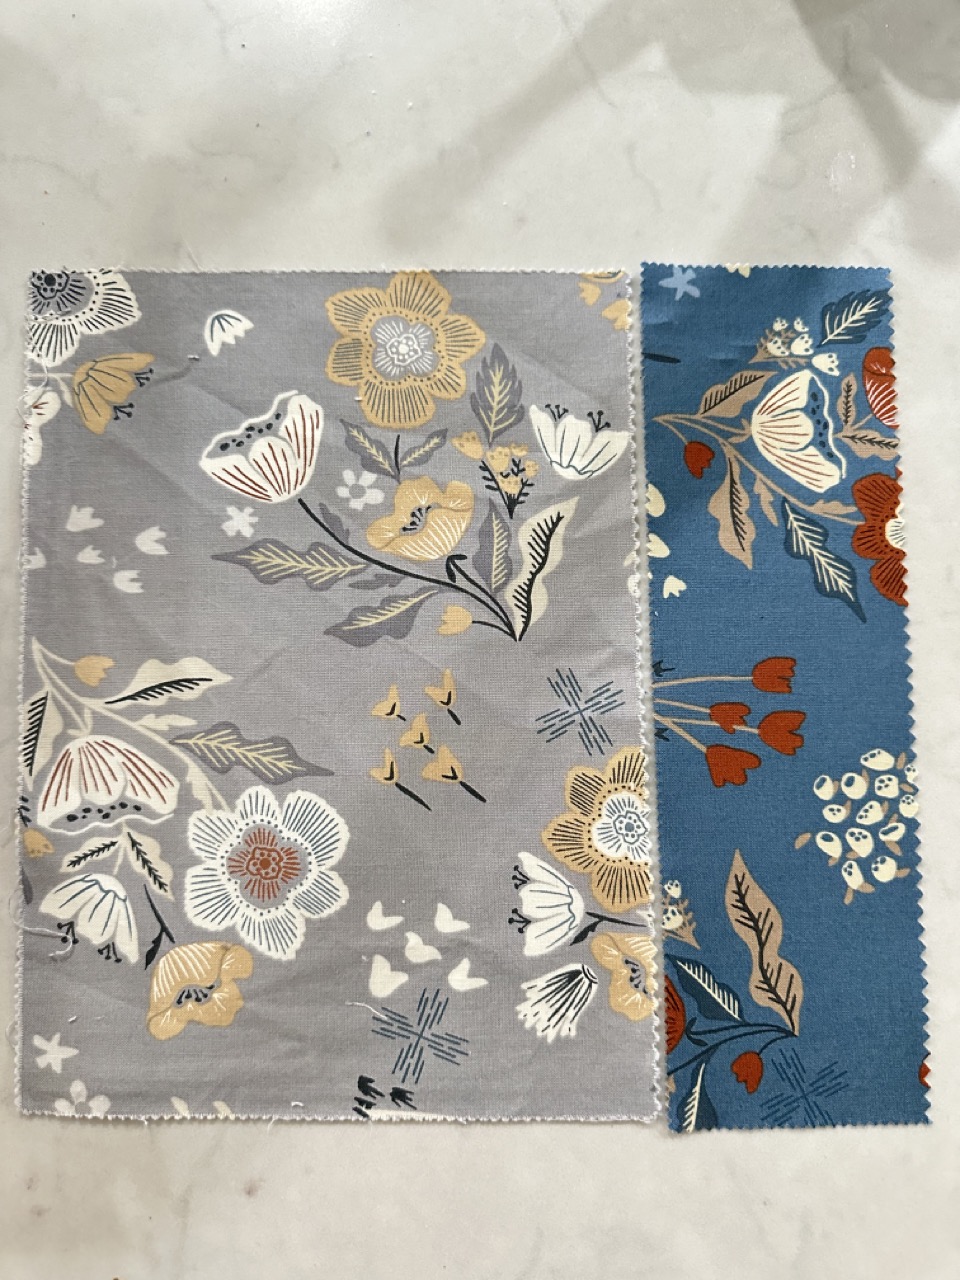
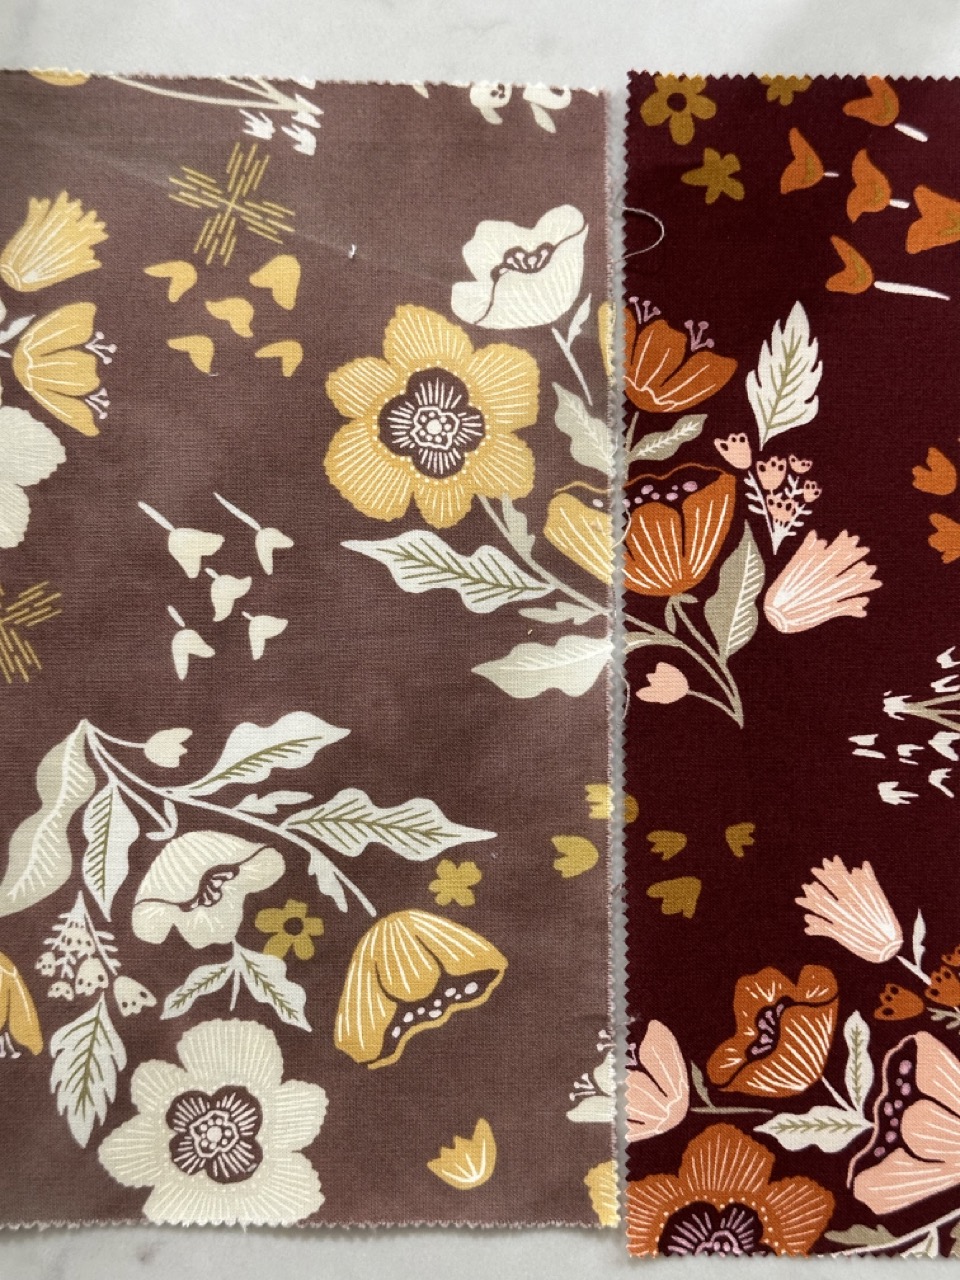
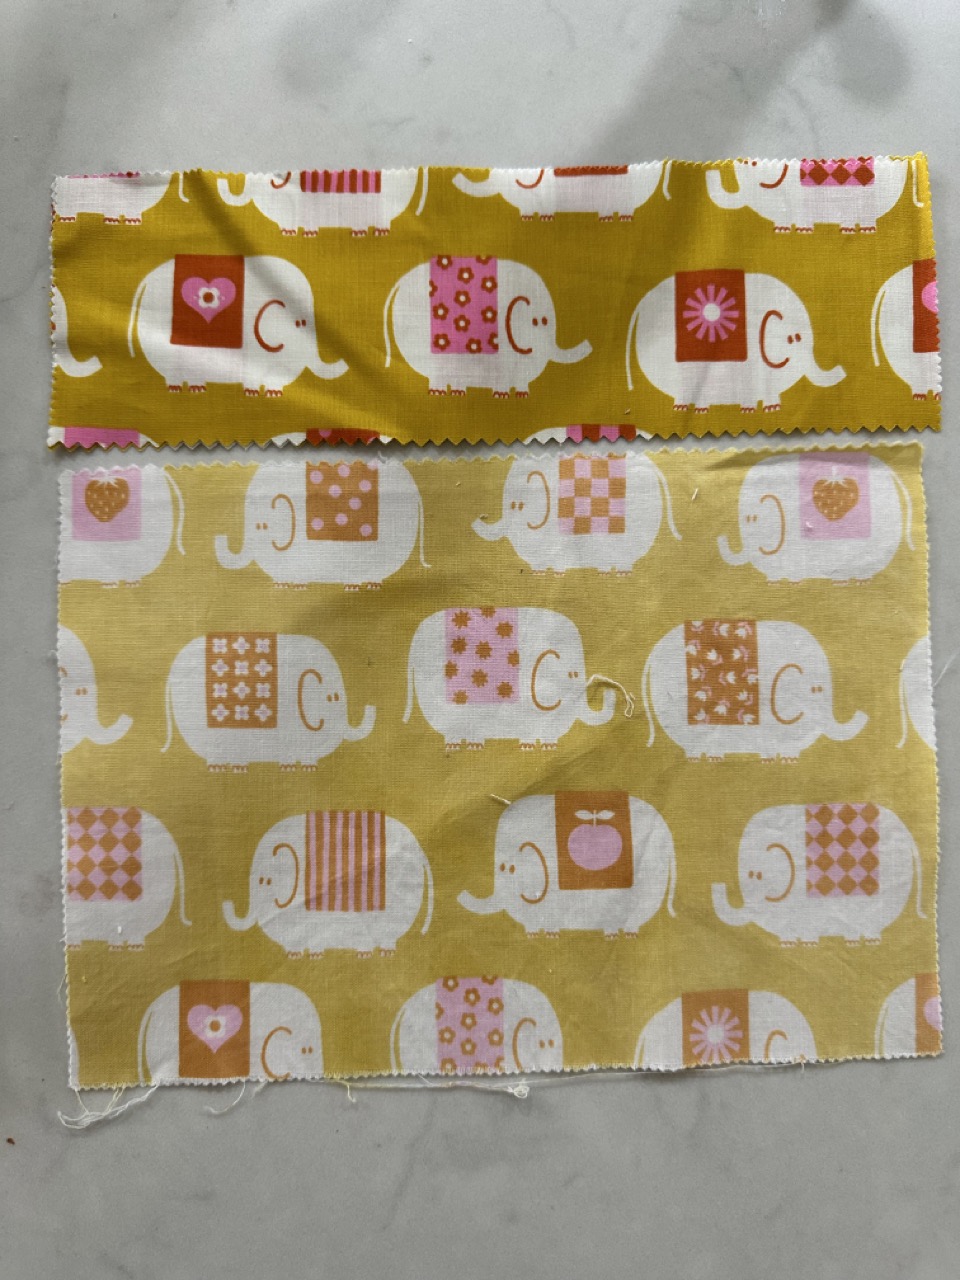
– **Experiment with Techniques:** Don’t be afraid to experiment with different dyeing and bleaching techniques to achieve unique effects. The beauty of vintage fabrics lies in their imperfections and individuality. I saved a piece of each fabric before bleaching. Some prints did not change much until they were compared side by side to the original. Others changed greatly so I have shared some side by side comparisons here.

Before and After
Before and After
Before and After
Before and After
Before and After

Conclusion

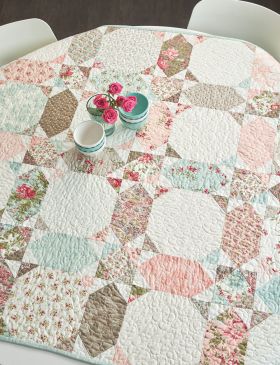
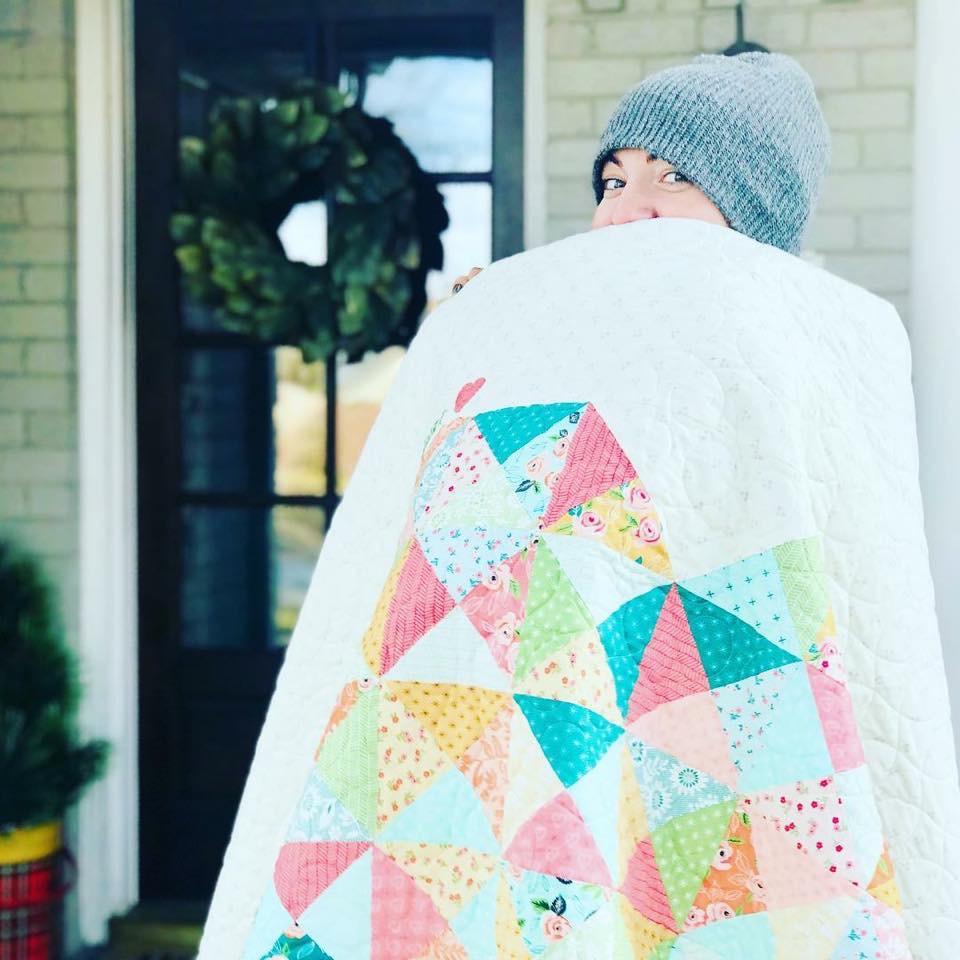
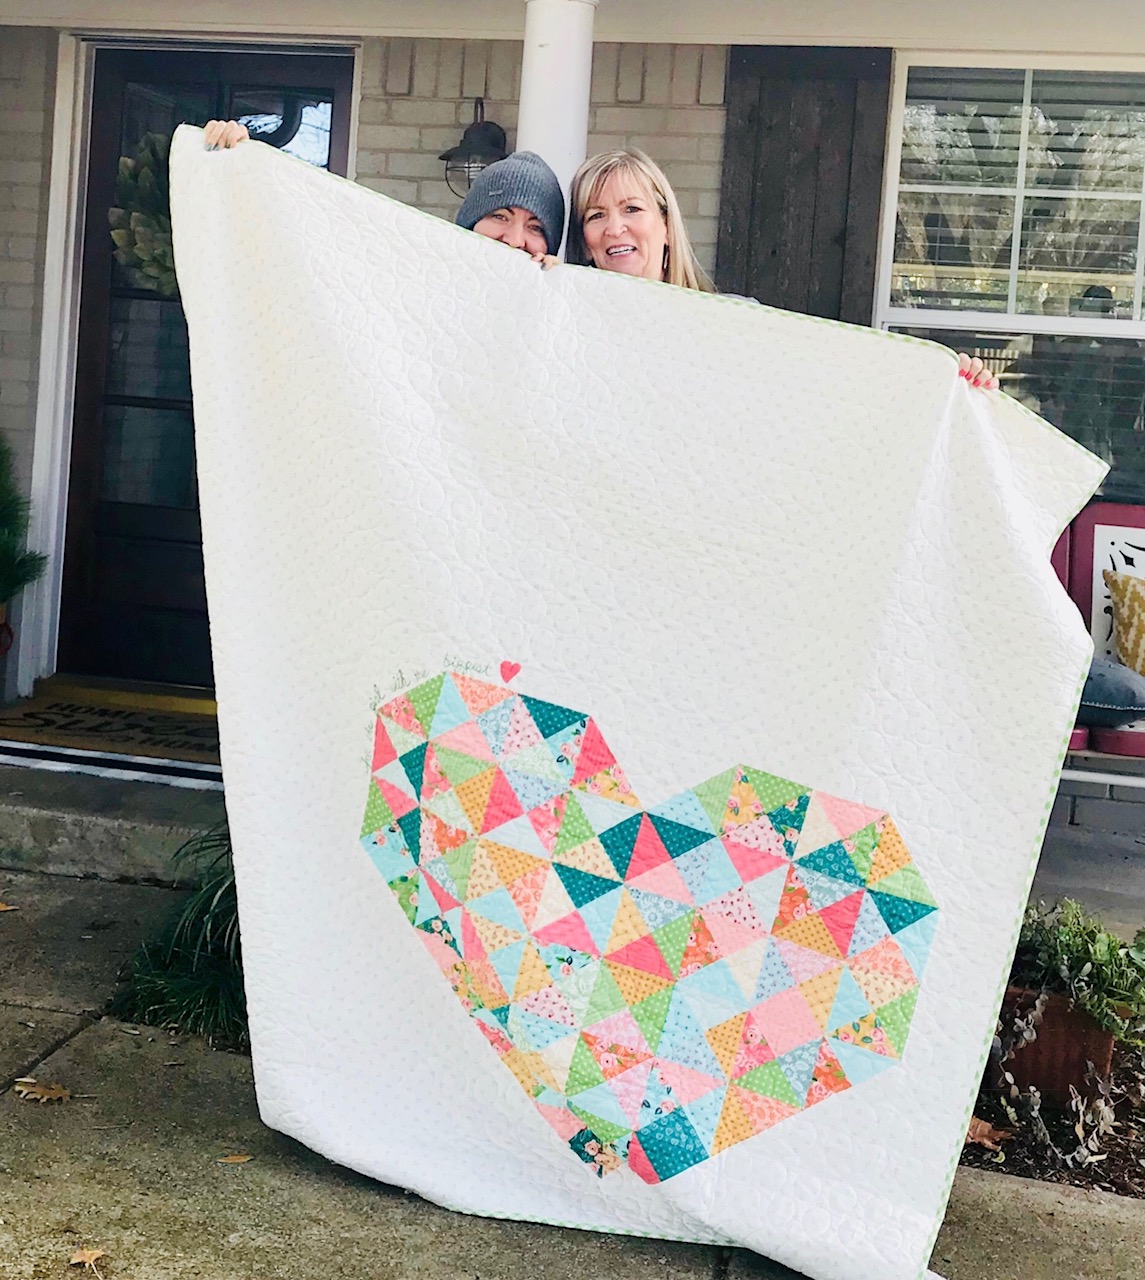
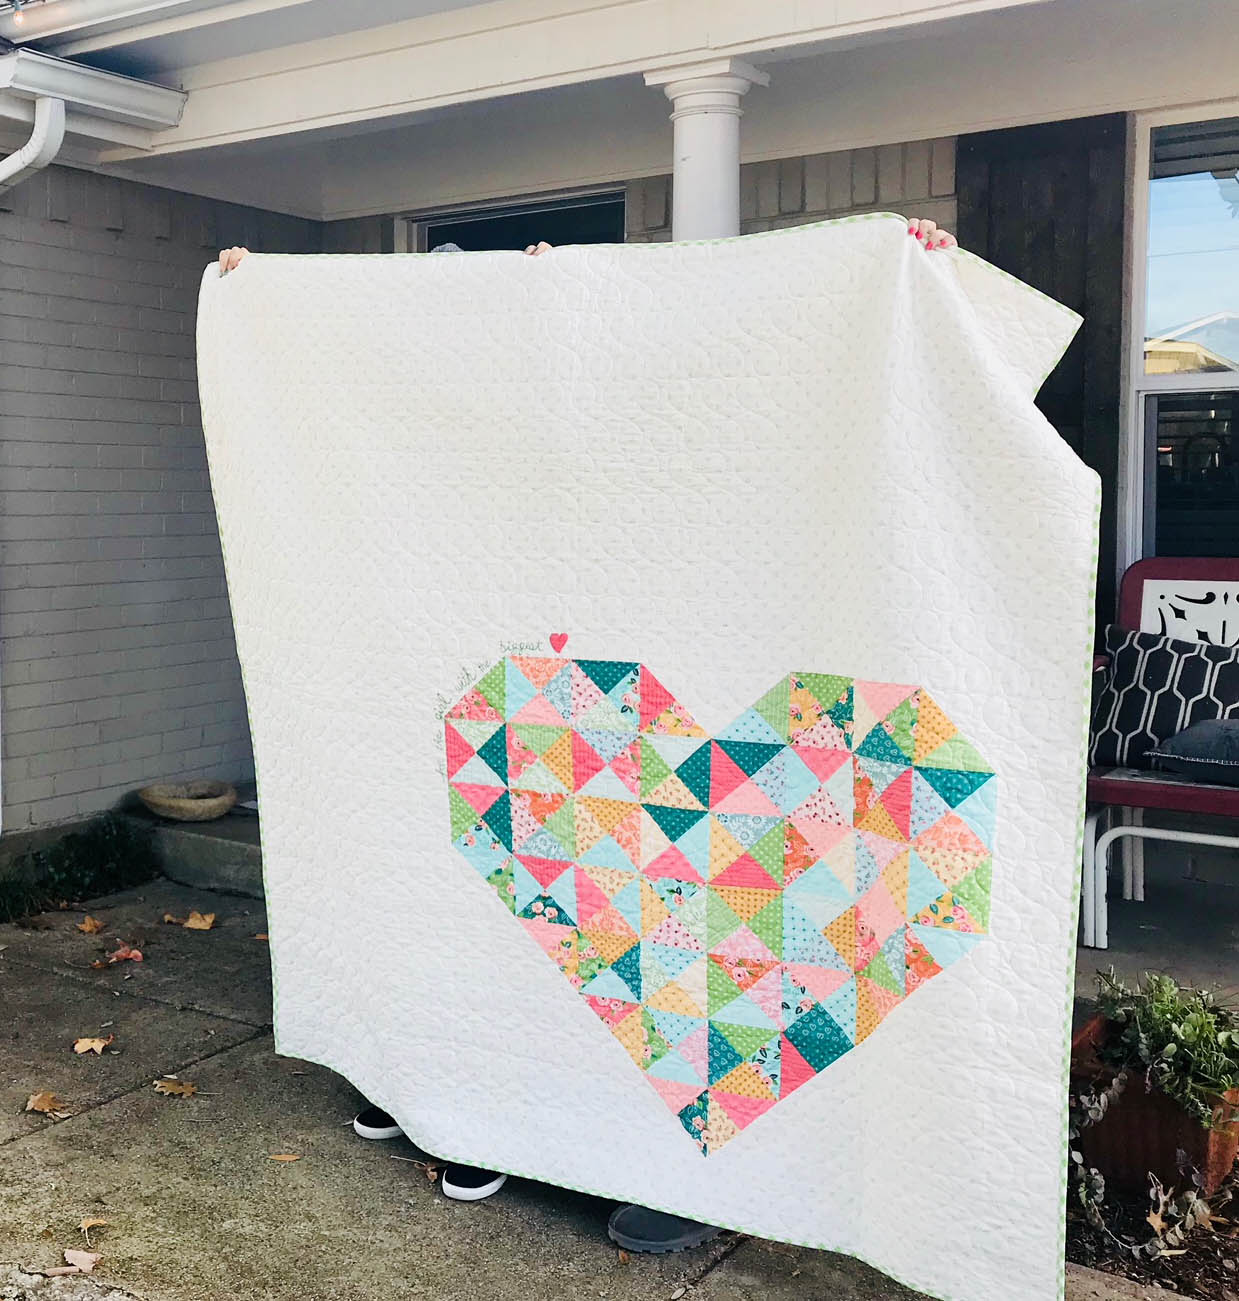
Creating faded, vintage fabrics is a rewarding and creative process. With overdyeing and bleaching, you can breathe new life into modern fabrics, giving them a unique, aged look that’s perfect for home décor, fashion, and quilting projects Now I just need to decide what project I want to use these in. Any suggestions? Leave a comment and let me know if there is a perfect pattern to use these fabrics.

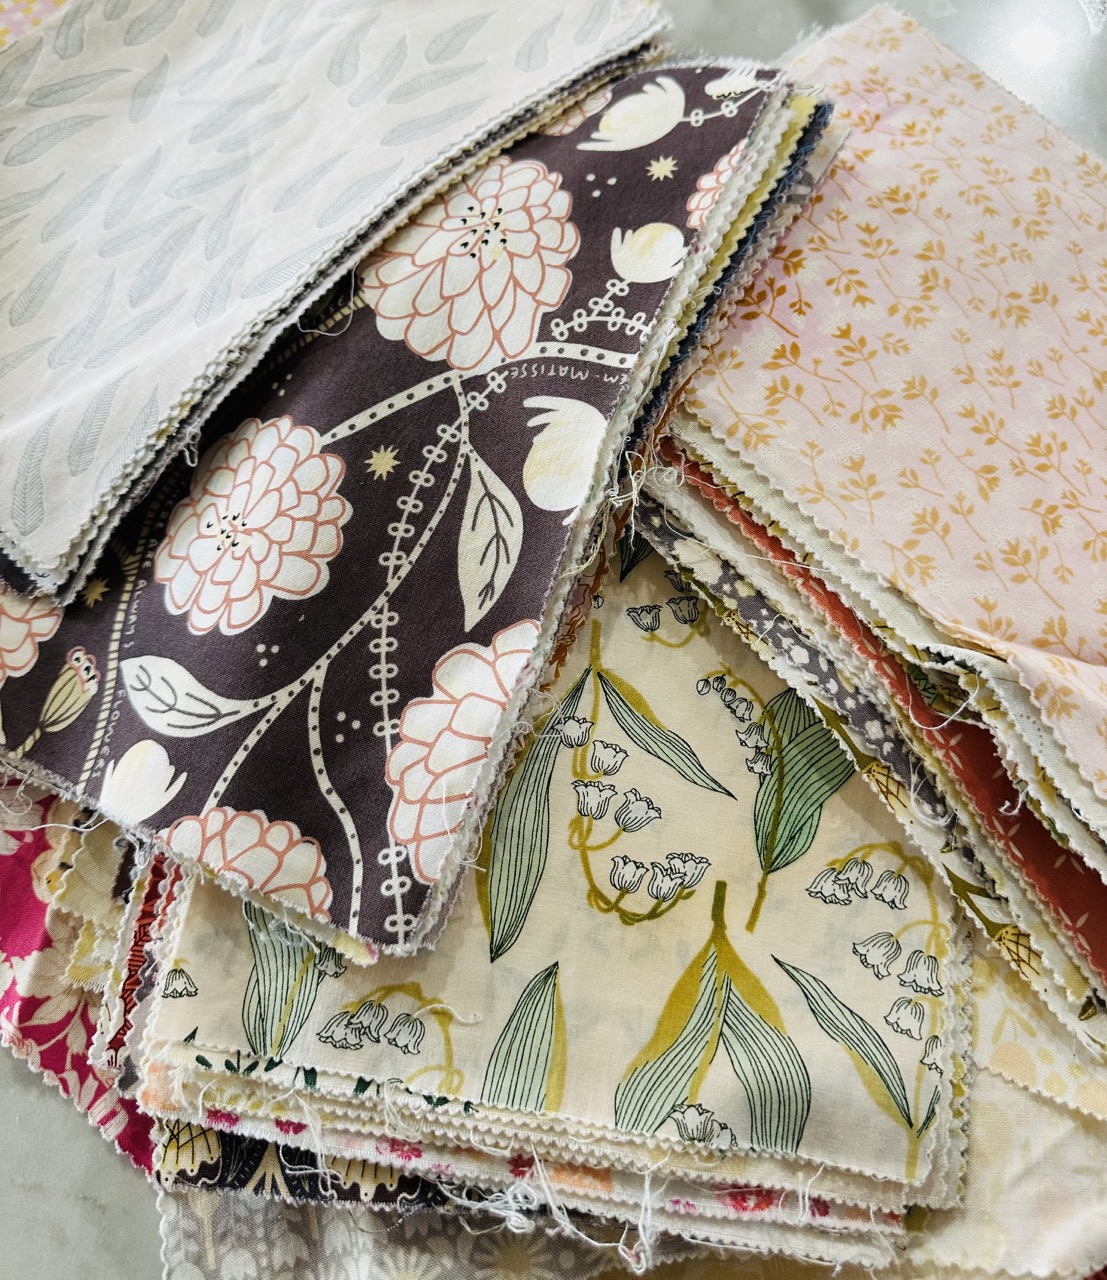
I still have quite a few fabrics to sort through.

Please keep in mind this was just some mad, crazy, lab experiment. I never suggest to use bleach in washing quilts.

Enjoy- Modalissa

Cakewalk by the Moda All Stars

Sherri McConnell’s quilt shown on the cover. All photography supplied by Martingale Publishing.

I am so excited to share the newest Moda All Star’s quilt book, Cakewalk, Stock # B1553

You probably know that Moda’s layer cakes are my favorite cut of fabric. If you don’t know about layer cakes, they are 10″ squares of an entire collection totaling 42 squares. Layer cakes are so versatile and can be sewn together as is for a quick easy project or cut into all different sizes.

Designer royalties from the sale of this book will be donated to Feed The Children. 

Kathy Schmitz

Be sure and follow Kathy Schmitz. She will be teaching Scissor Happy in an upcoming Martingale University video class. For more information on the class information, click here.

Betsy Chutchian
Lisa Bongean

Vintage or New? The quilting is outstanding and makes this new quilt have the look of a vintage piece. I may have forgotten to mention that you may need a hunk of additional fabric to go with your layer cake if you want to make this quilt.

Zen Chic
Me and My Sister
Kansas Troubles

Wouldn’t this one be dreamy to complete for Christmas?

Sandy Klop of American Jane
Laurie Simpson

I love Orange and American Jane so this quilt will probably be the first on my to do list.

Linzee Kull McCray & Pam Ehrhardt
Deb Strain
Corey Yoder
Brenda Riddle

No matter if you already have a stack of precut Layer Cakes in your stash or if you need a good reason to head to your local quilt shop to replenish your supply, rest assured the patterns in this book offer layers of fun! Thank you to the uber talented Moda designers for sharing their creativity and given to a very worth while charity during these crazy times.

Enjoy,

-modalissa


A big heart

My daughter is the middle child. She has two older brothers and two younger brothers.

If you have read many of my posts you know I am into birth order. Jillian has so many different traits that it is hard to define her into a certain birth order. She is the middle child, she is the only daughter so that is like being a first-born and sometimes the only child comes out in her.  So with this being said the main trait she carries is the girl with the biggest heart which has nothing to do with birth order at all.

She worries about all of this motley crew known as her family and makes sure they are all taken care of.

Shopping for her is impossible!
So when it was time to figure out what to do for her for Christmas, it needed to be a gift that she couldn’t take back.

So the answer was a quilt, but just what quilt was the tough part.

I decided the girl with the biggest heart needed a quilt that was just that… a big heart.

The quilt is fun and fast to make with 1 moda layer cake and 3.75 yds of background fabrics.
She loves Lella Boutique’s fabrics so it was easy to choose what fabrics to use.

After the quilt was quilted I decided it needed to add a bit of embroidery which was not the smartest move.
Embroidery through the quilt with Snuggles on the back did not make for the best stitches but she loves it no matter what.

This pic is a better pic for actual color and also to show the snuggles on the back. Once she has used a quilt with snuggles on the back that is all she ever wants to use! Have you tried different textures on the back of your quilts? Flannels, snuggles, lawns, denims, wovens? It is so much fun that there are so many options now. Remember when the only thing quilter’s used for their backings was muslin? How boring!

Another shot of some of the crowd with Jillian always hiding in the back. Love her to pieces!!

The pattern was designed by Holly Hickman and featured a Kate Spain fabric collection but translates into any collection.

If you want to make this quilt for the person with the biggest heart in your family, here is the pattern.
You will need 1 moda layer cake and 3.75 yards of background.

Perfect for a Valentine’s day project!

– Love yall.

-modalissa

Lush Uptown Giveaway

The giveaway is closed and the winner has been notified.
 Happy Monday to all, 
For those of you that missed me over the weekend,
I forgot to remind you that the giveaways were only 
going on during the week. 
Bare with me as I tell you the
quick history behind today’s giveaway.
MANY, MANY years ago I worked at a local quilt store,
Old Craft Store in Carrollton, Texas.
They had a member’s club, similar to Sam’s or Costco.
There was a membership fee and that gave you
discounts throughout the year along with a 30% discount
 the week of your birthday.
We had a very very sweet customer
 that every year would bring us a cake on her birthday.
We couldn’t wait to see her come in the door for her
shopping spree and also she was a wonderful cook.
Part 2 to the story is that I was also asked by
Kimberly Jolly to be a part of her
 Jelly Roll Jam pattern event happening TODAY.
So with these 2 things as my inspiration.
Since my birthday was over the weekend,
I thought I was going to give back.
I am going to de-stash a true treasure.
 It is not old
but it is in high demand. 
Lush Uptown by Erin Michael jelly roll.

So hear is what you need to do.
Leave a comment on
my post telling me if you want this jelly roll.
Then check out the free pattern by Fat Quarter Shop
called Jelly Roll Jam. This pattern is quick and easy and is
 yummy in any combination.
Here is the video tutorial as well.
I will post the winner of the Jelly roll Tuesday the 17th at 6:00 am.
The winner of Friday’s destash was:
Blogger
Katie said…Do I need it? NO! Do I want it? YES! Fabric, glorious fabric!

September 13, 2013 at 11:19 PM

Vintage Tula Pink Giveaway


The giveaway is closed and the winner has been notified.

Tula Pink fans stand up and clap your hands!
Now is your chance to get your hands on some
vintage pieces from her early collections.

 over 65 assorted layer cakes
some duplication but it is all good
along with a
few other bits and pieces.
If you want a chance,
leave a comment and I will do a random drawing.
The winner will be posted here tomorrow, Tuesday the 10th.

The winner of Friday’s fabric giveaway is
Blogger
karen @ badlandsquilts said…
Hmm, sounds devine…perfect for fall. I have been sneaking in
some civil war creams in with my modern low volume mixes and they go so
well. THanks for the chance.

September 6, 2013 at 7:01 AM