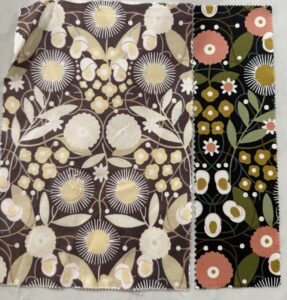
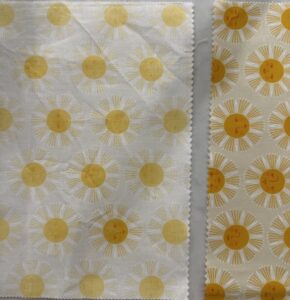
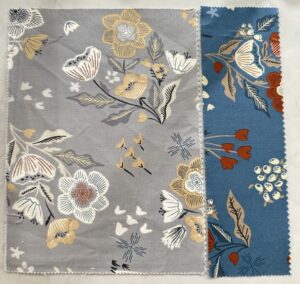
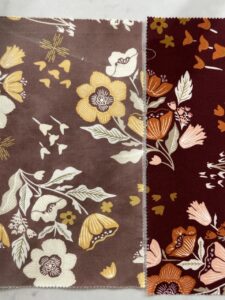
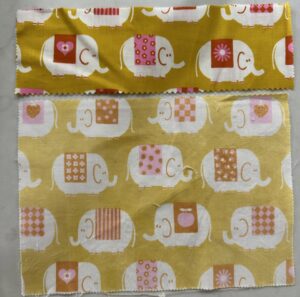
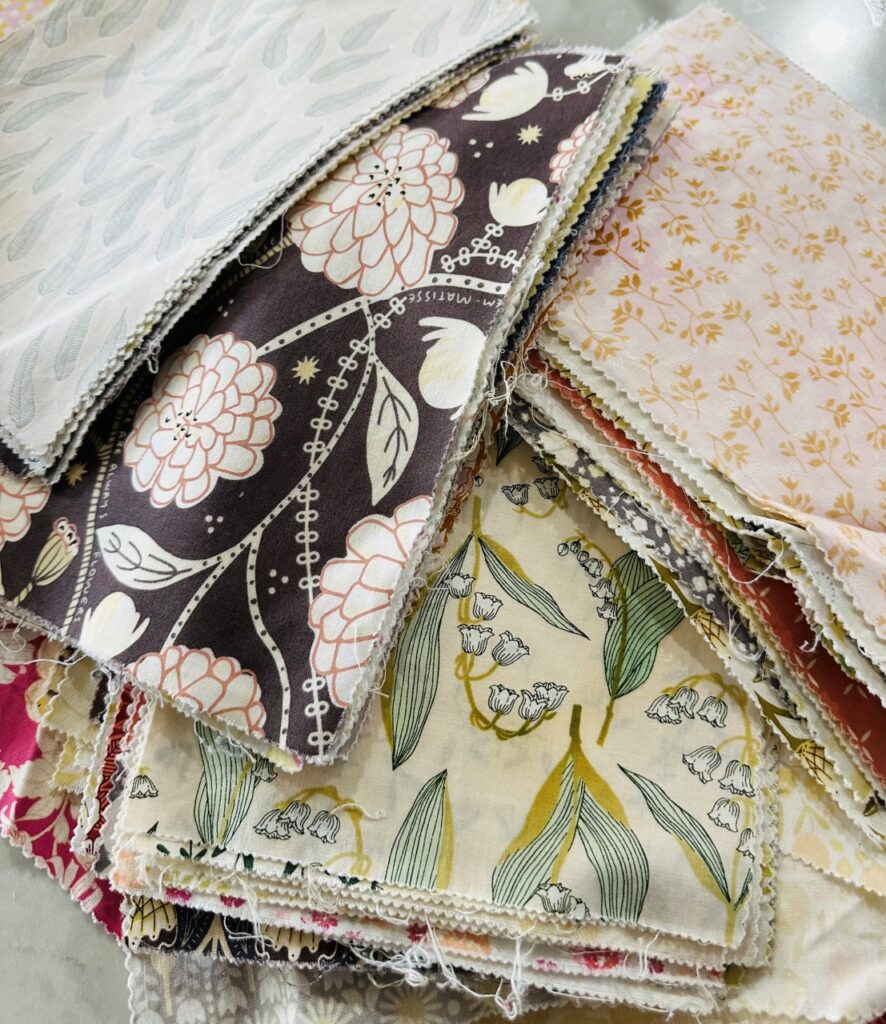
Are you a fan of the vintage aesthetic? Do you find yourself drawn to the soft, worn-in look of aged fabrics? If so, you’re in luck! Achieving that perfect faded vintage look is easier than you might think. With a few simple techniques, you can transform modern fabrics into timeless treasures. This blog post will guide you through the processes of overdyeing and bleaching to create beautifully faded fabrics. The examples shown in this blog post only cover the bleaching process. Depending on the results and what the final outcome I would then overdye so I have included all the steps.
DISCLAMIER: this was just an experiment and I never know the final result. This is the fun art of this experiment.
What is Overdyeing and Bleaching?
**Overdyeing** involves adding a new layer of dye over an existing color. This technique can create rich, complex hues and can help tone down overly bright colors. When combined with bleaching, it can give fabrics a beautifully worn and aged look.
**Bleaching**, on the other hand, involves removing some of the original color from the fabric. This can create a variety of effects, from subtle fading to dramatic contrasts, depending on the technique and amount of bleach used.
Materials You’ll Need
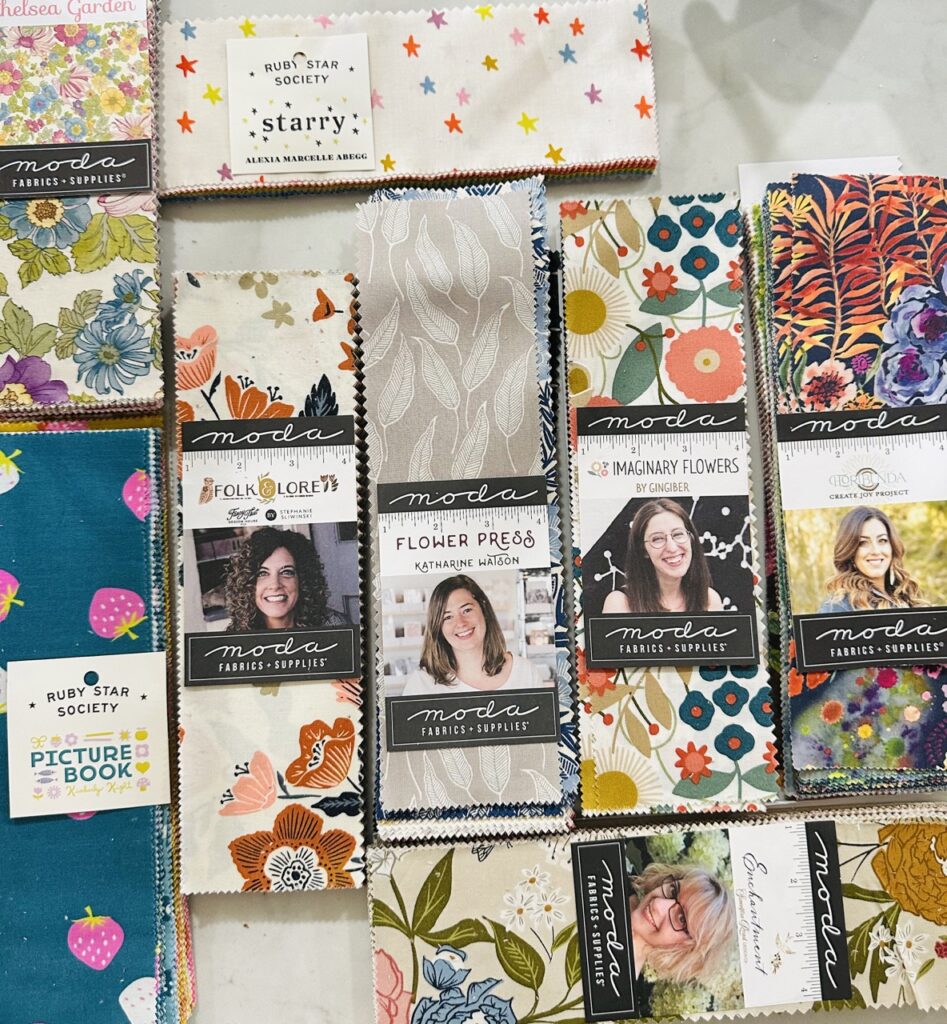
– Fabric (natural fibers like cotton, linen, and wool work best. I used 100% cotton Moda- Layer Cakes)
– Fabric dye (your color of choice)
– Bleach (liquid bleach or bleach pens)
– Plastic containers or a sink for dyeing and bleaching
– Rubber gloves
– Protective clothing or apron
– Plastic sheet or old newspapers (to protect your work surface)
– Measuring cups and spoons
– Stirring sticks or spoons
Step-by-Step Guide
1. Preparing Your Fabric
Before you begin, it’s essential to prepare your fabric. Wash it to remove any sizing or finishes that might interfere with the dyeing process. Do not use fabric softener as it can prevent the dye from penetrating the fabric evenly.
2. Overdyeing the Fabric
Overdyeing is a great way to create a base layer of color.
– **Choose Your Dye:** Select a dye that complements the existing color of your fabric. If you’re aiming for a vintage look, consider using muted or earthy tones. I use Ritz Dye and combine tan and taupe. Always start light and you can make darker as needed.
– **Prepare the Dye Bath:** Follow the instructions on the dye package to create your dye bath. Typically, this involves mixing the dye with hot water and a fixative like salt or vinegar.
– **Dye the Fabric:** Submerge your fabric in the dye bath and stir continuously to ensure even coverage. Leave the fabric in the dye bath for the recommended amount of time, then rinse until the water runs clear.
– **Dry the Fabric:** Allow the fabric to air dry completely.
3. Bleaching the Fabric
Once your fabric is dyed and dried, it’s time to create that faded, vintage look with bleach.
– **Prepare Your Work Area:** Lay down a plastic sheet or old newspapers to protect your work surface. Make sure the area is well-ventilated.
– **Dilute the Bleach:** Mix bleach with water to create a diluted solution. A 1:10 ratio of bleach to water is a good starting point, but you can adjust this depending on how much color you want to remove.
– **Apply the Bleach:** There are several techniques you can use:
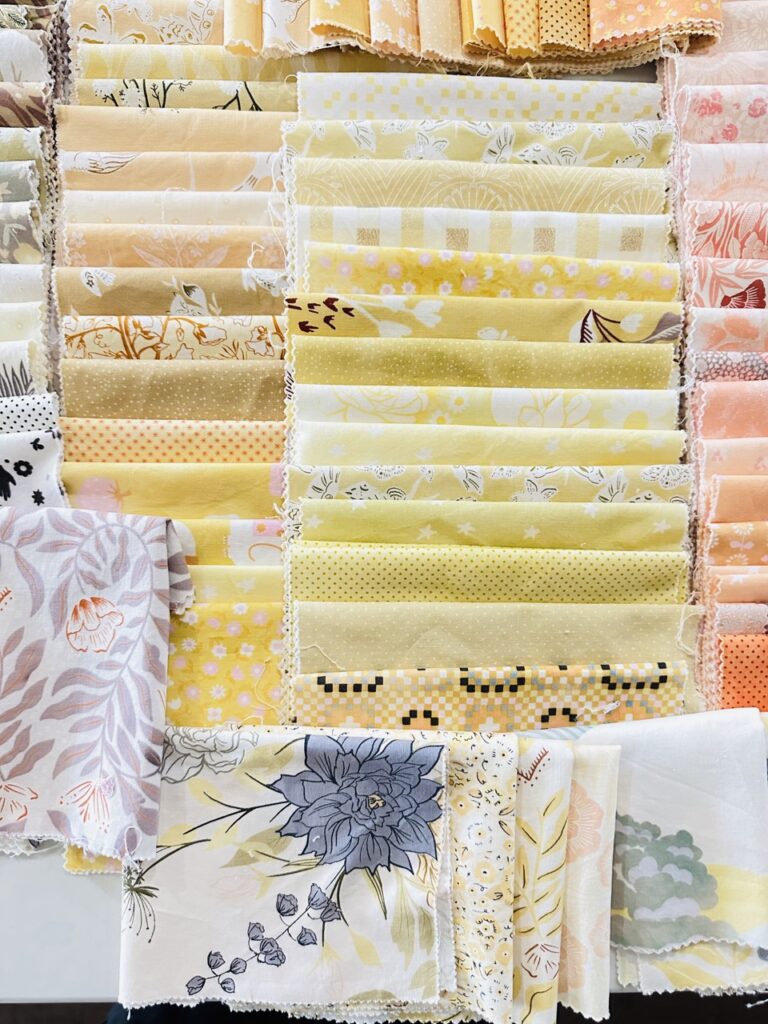
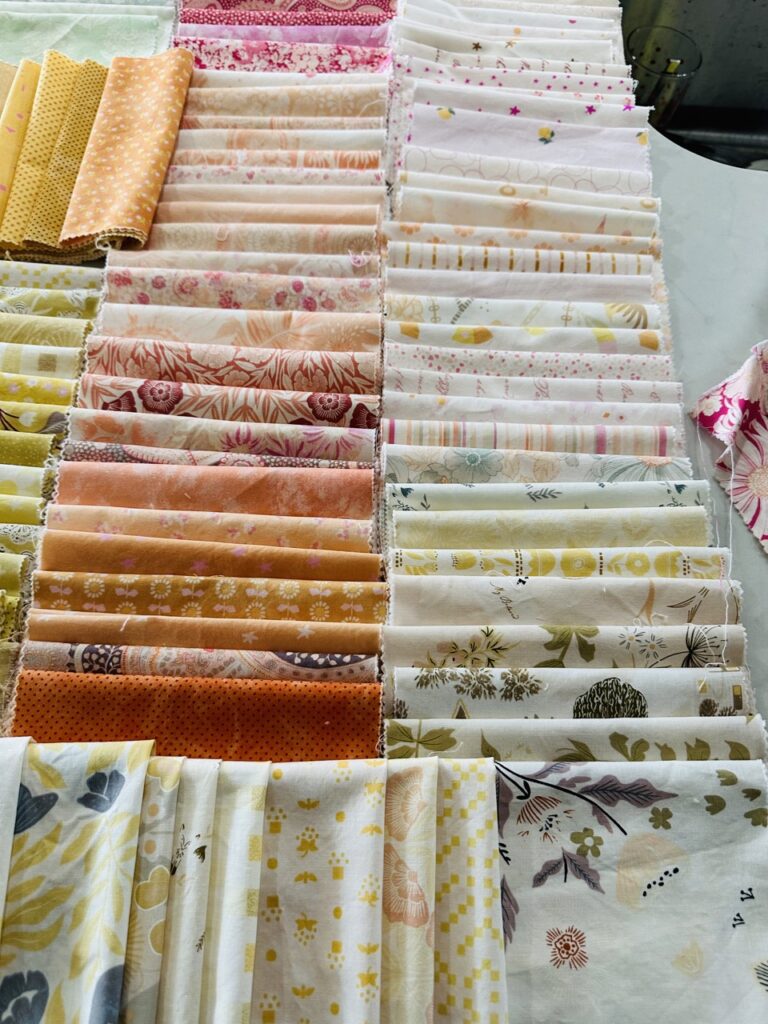
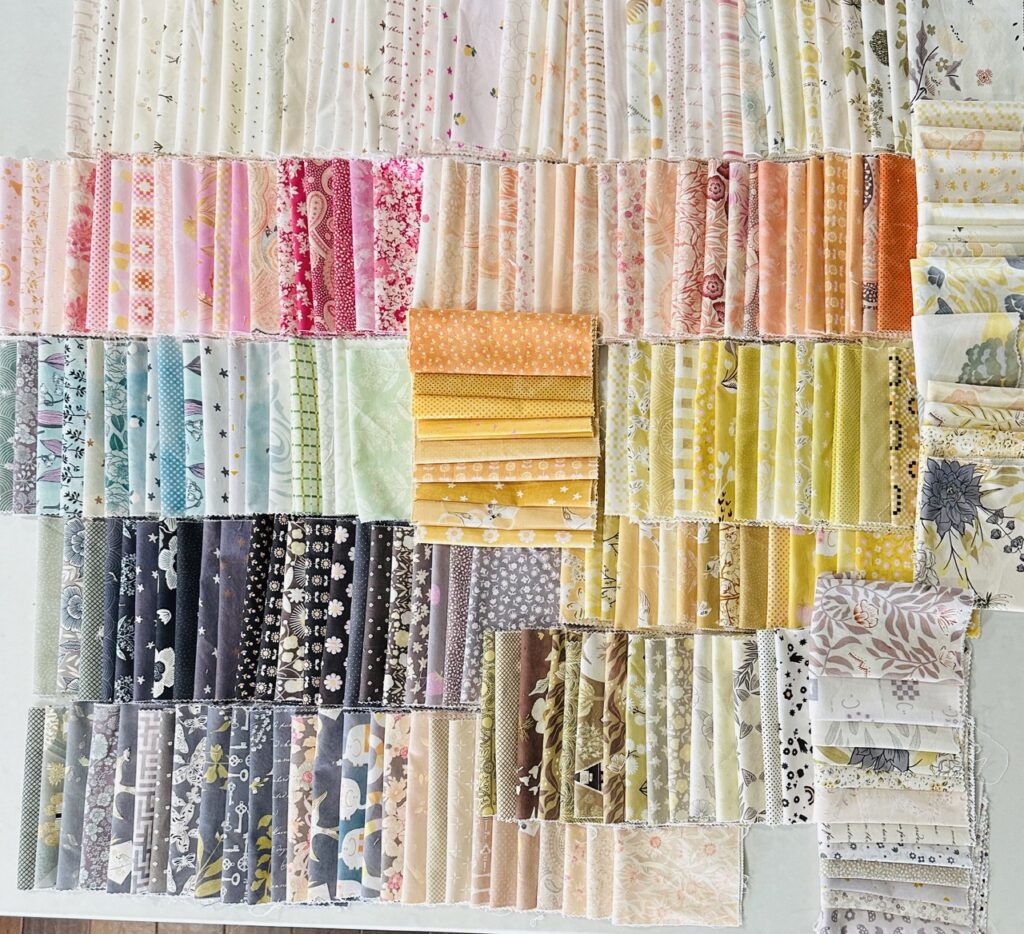
– **Full Submersion:** Submerge the fabric in the bleach solution and monitor it closely. Remove the fabric once it has reached the desired level of fading. The majority of the fabrics during this experiment I left in the bleach solution a tad bit too long. They came out out lighter than I was hoping for.
– **Rinse Thoroughly:** Once the fabric has lightened to your satisfaction, rinse it thoroughly in cold water to stop the bleaching process. Keep in mind that the wet fabric will be appear darker than the final dried version. Wash the fabric with a mild detergent to remove any remaining bleach. You can also through the fabric into hydrogen peroxide to stop the bleaching process.
4. Finishing Touches
After bleaching, you might want to overdye the fabric again to add depth to the color. Repeat the overdyeing process as needed until you achieve the desired look. Once you’re satisfied, wash and dry the fabric one final time.
Tips and Tricks
– **Test First:** Always test your dye and bleach on a small swatch of fabric before applying to the entire piece. This will help you gauge how the fabric will react.
– **Use Natural Fibers:** Natural fibers like cotton, linen, and wool absorb dye better and react more predictably to bleach.
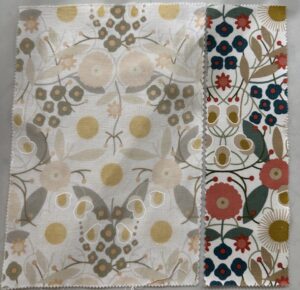
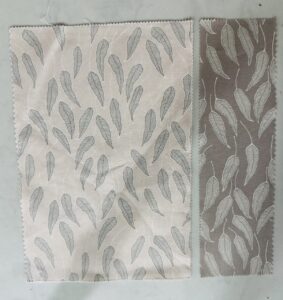
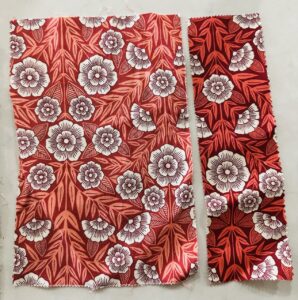
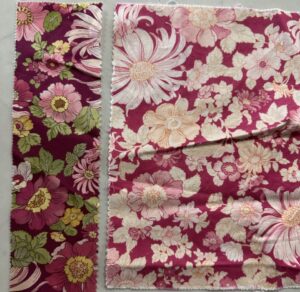
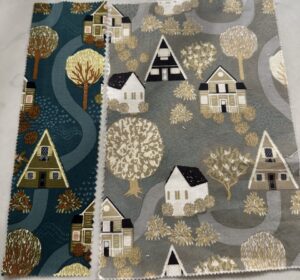
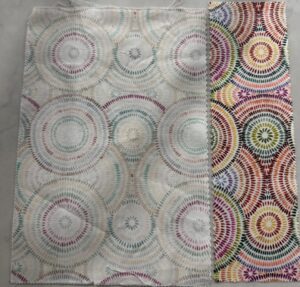
– **Experiment with Techniques:** Don’t be afraid to experiment with different dyeing and bleaching techniques to achieve unique effects. The beauty of vintage fabrics lies in their imperfections and individuality. I saved a piece of each fabric before bleaching. Some prints did not change much until they were compared side by side to the original. Others changed greatly so I have shared some side by side comparisons here.
Conclusion
Creating faded, vintage fabrics is a rewarding and creative process. With overdyeing and bleaching, you can breathe new life into modern fabrics, giving them a unique, aged look that’s perfect for home décor, fashion, and quilting projects Now I just need to decide what project I want to use these in. Any suggestions? Leave a comment and let me know if there is a perfect pattern to use these fabrics.
I still have quite a few fabrics to sort through.
Please keep in mind this was just some mad, crazy, lab experiment. I never suggest to use bleach in washing quilts.
Enjoy- Modalissa
