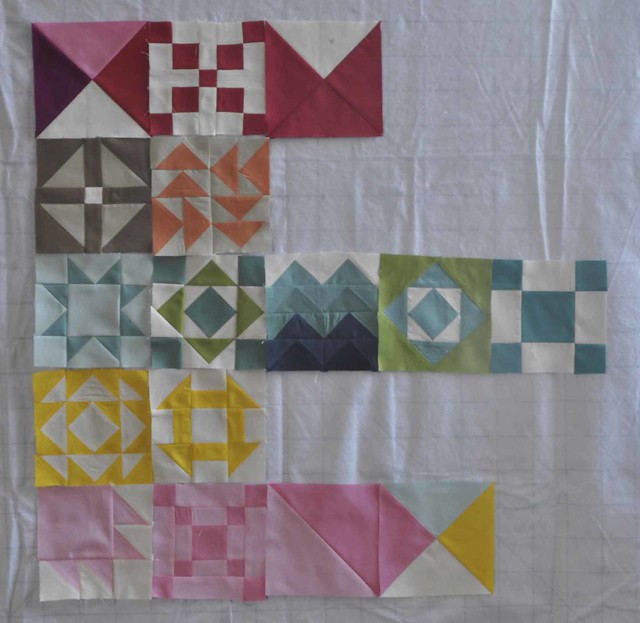
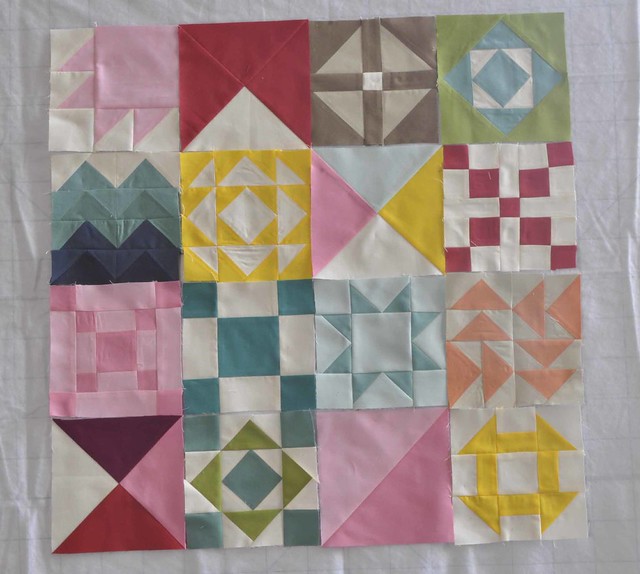
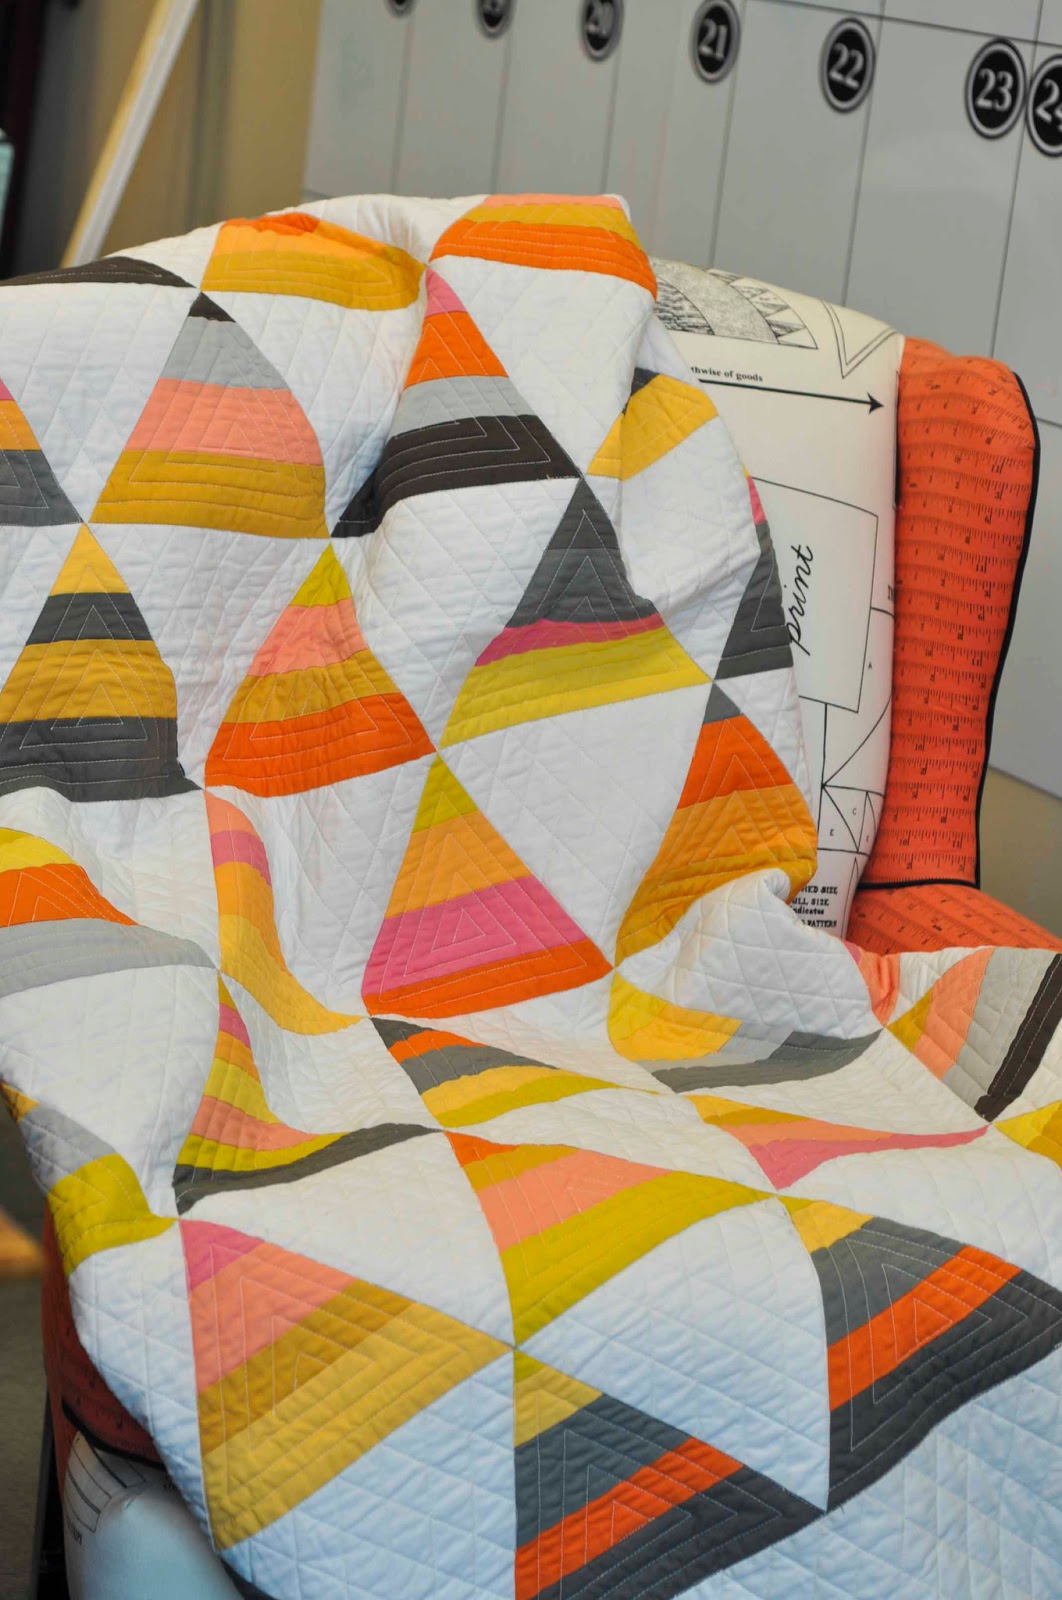
I recently posted a picture of this quilt on my Instagram because I love it.
I love the colors.
I love the pattern.
I love the quilting.
I love, love, love it.
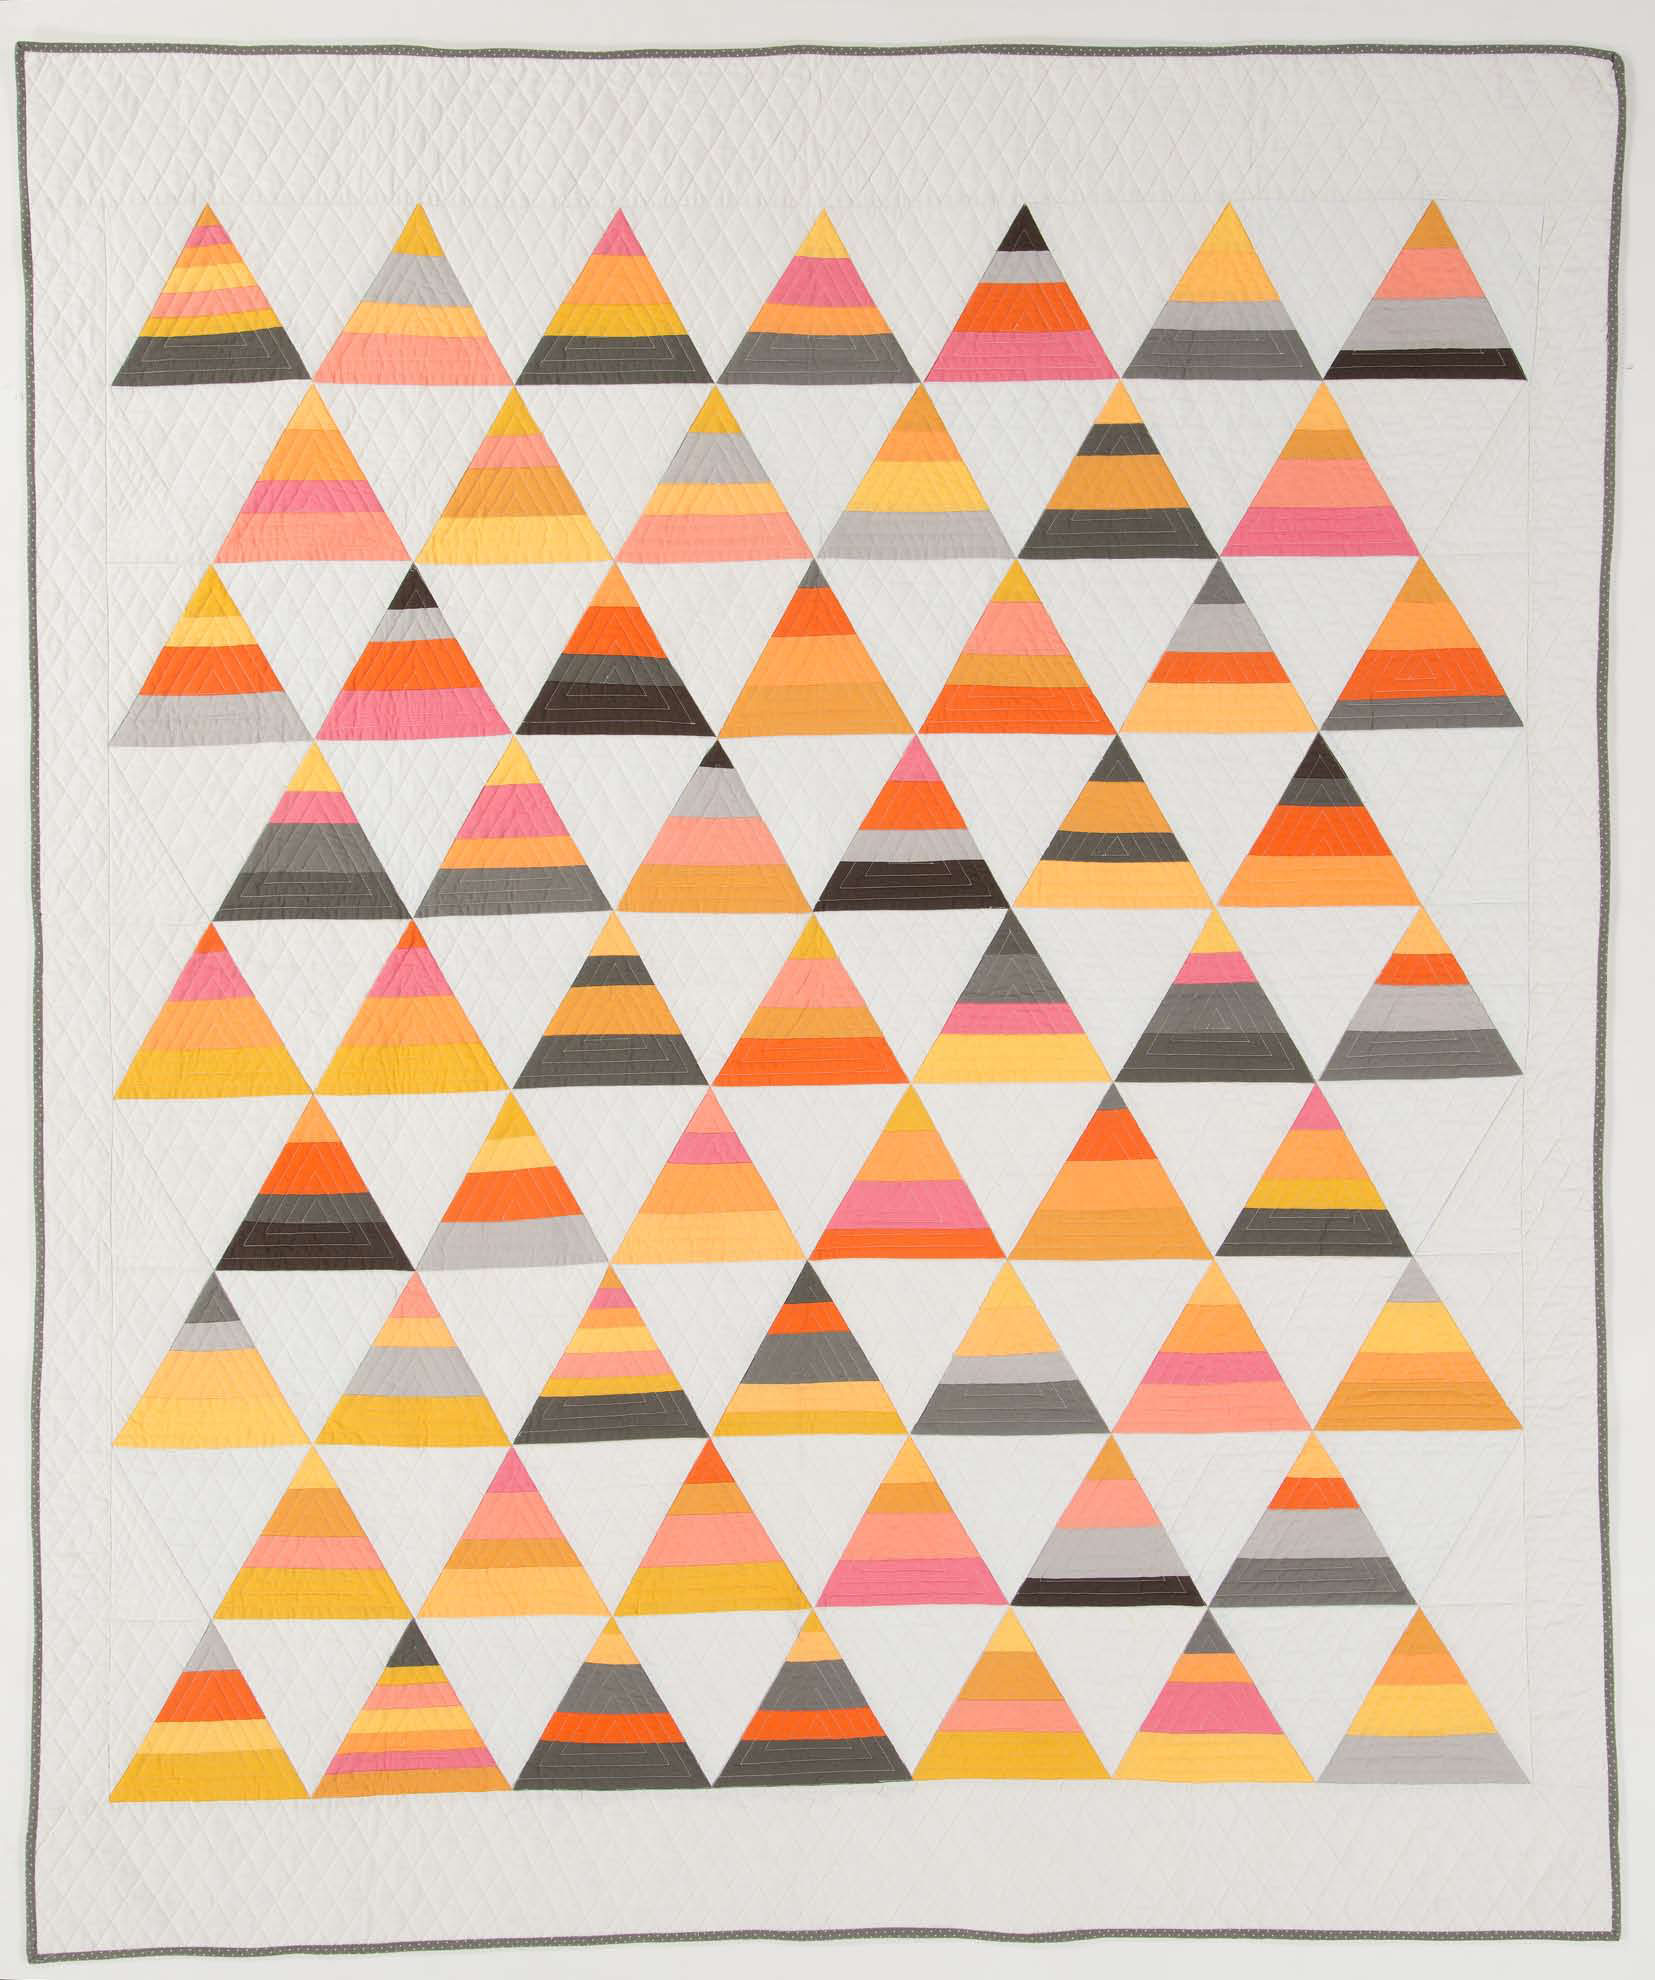
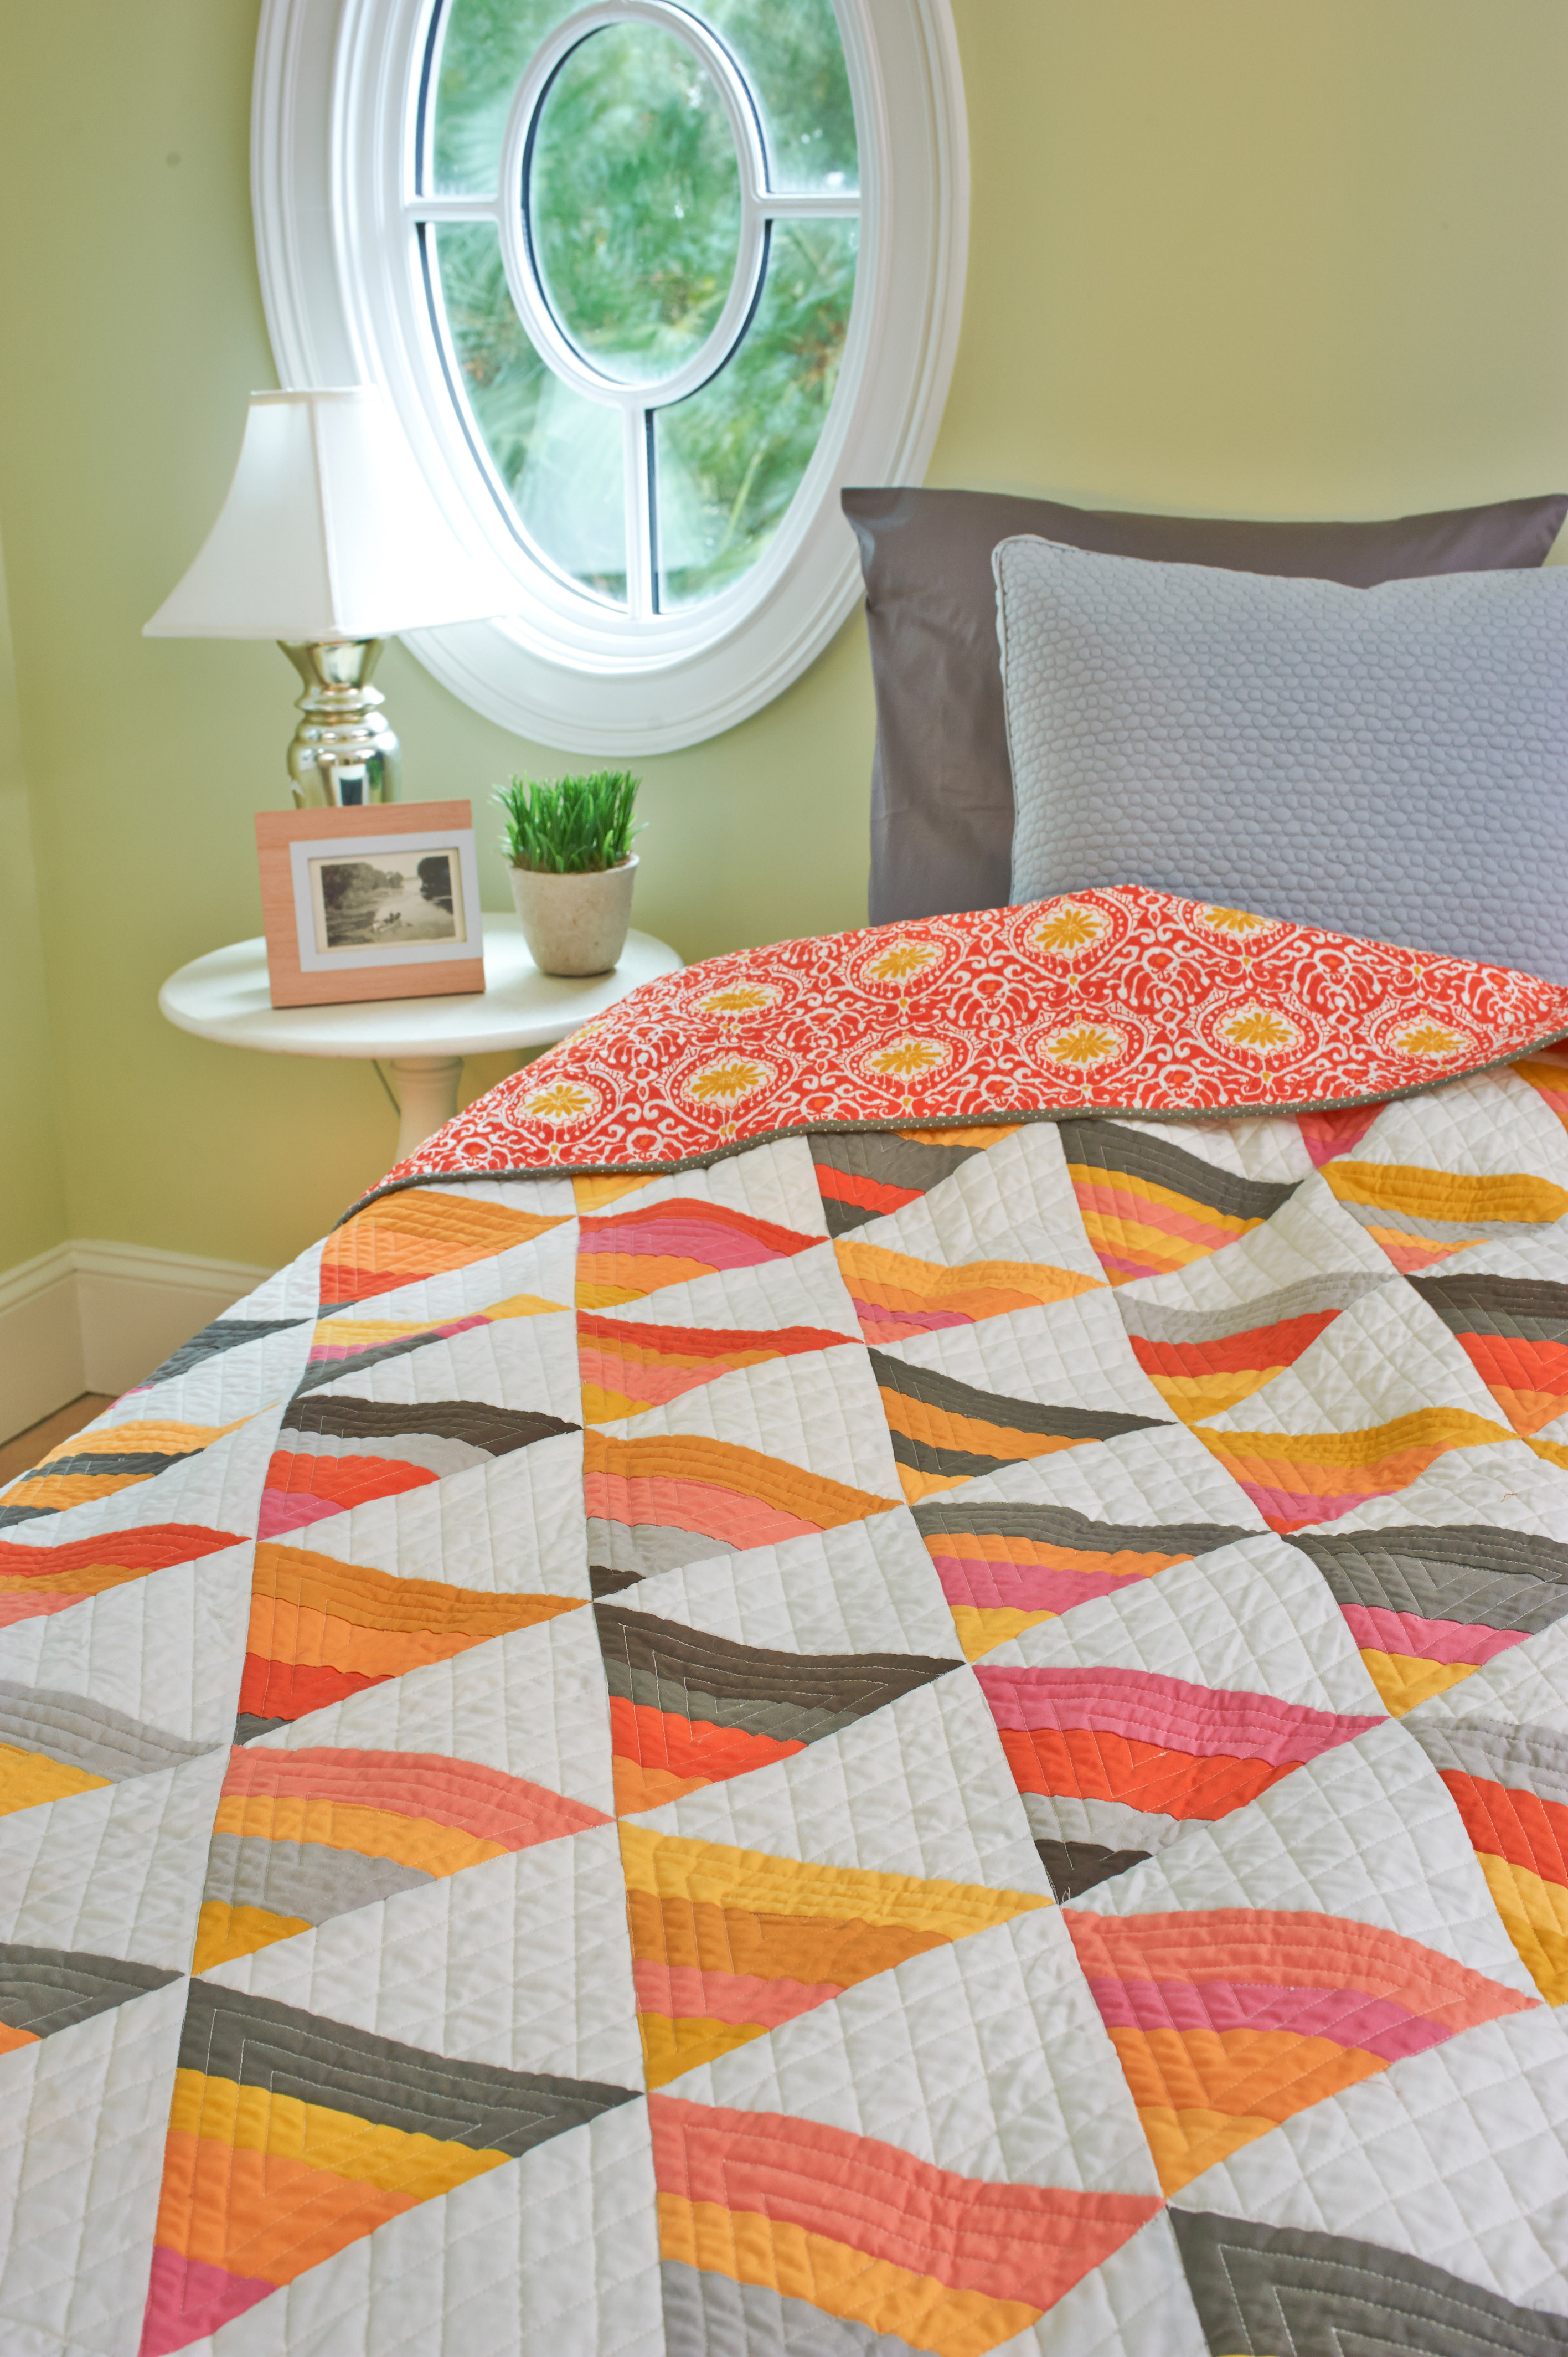
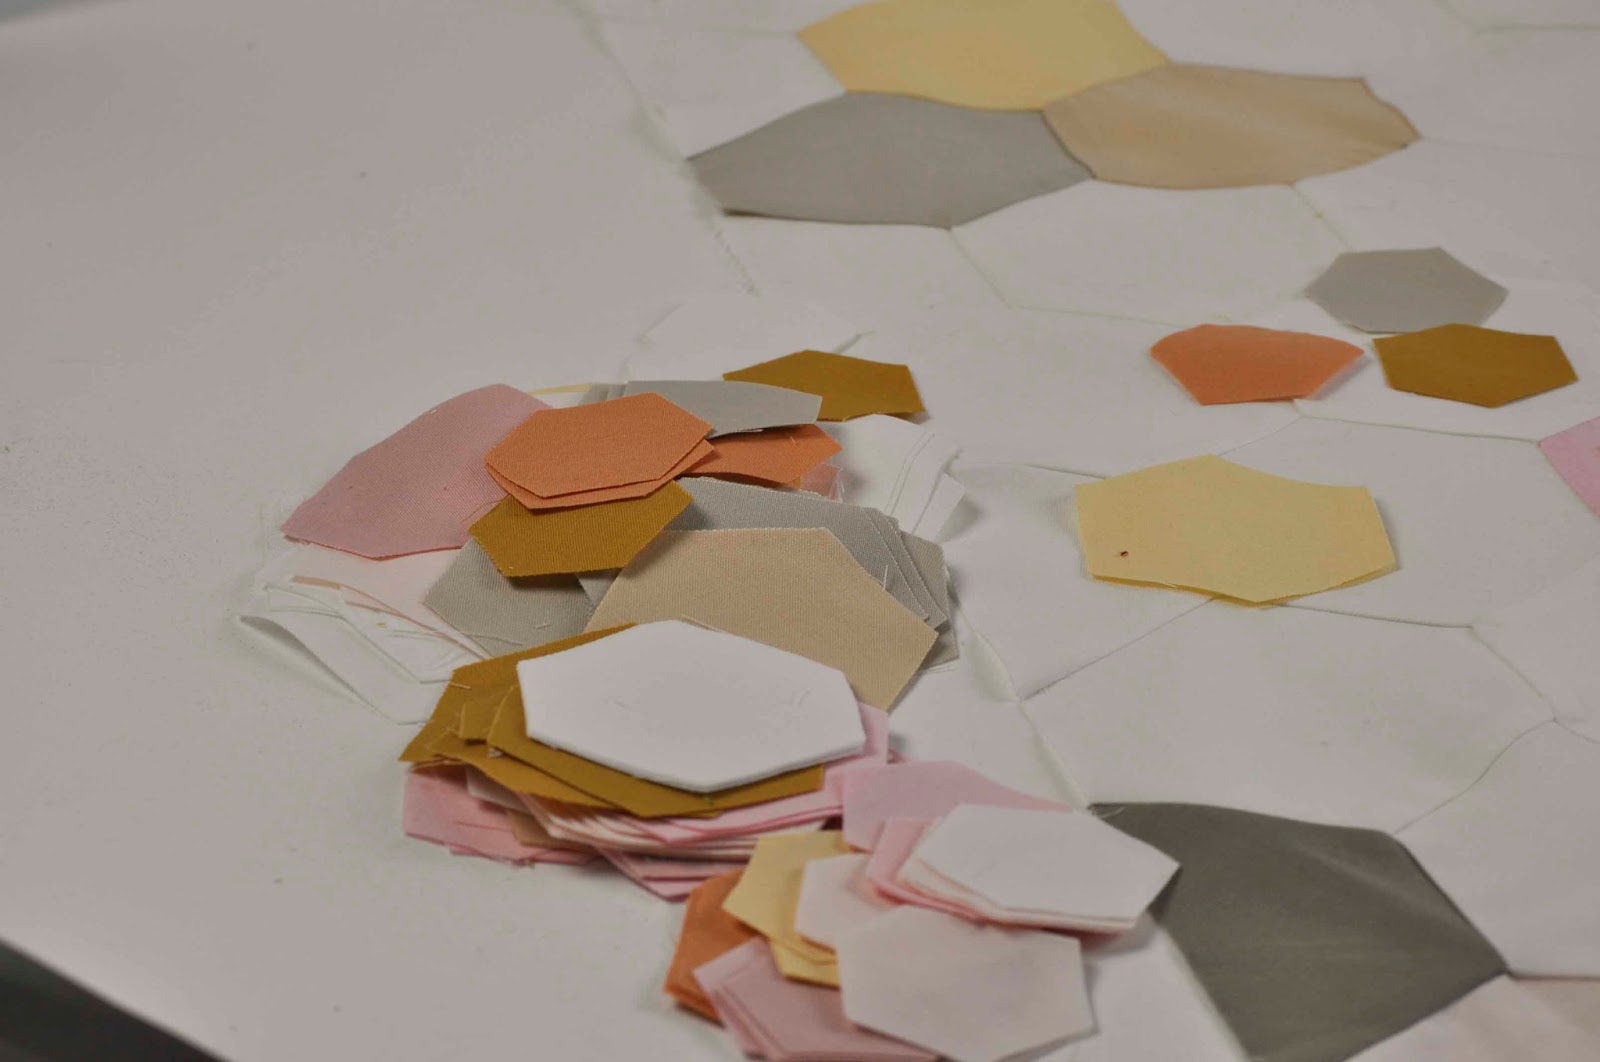
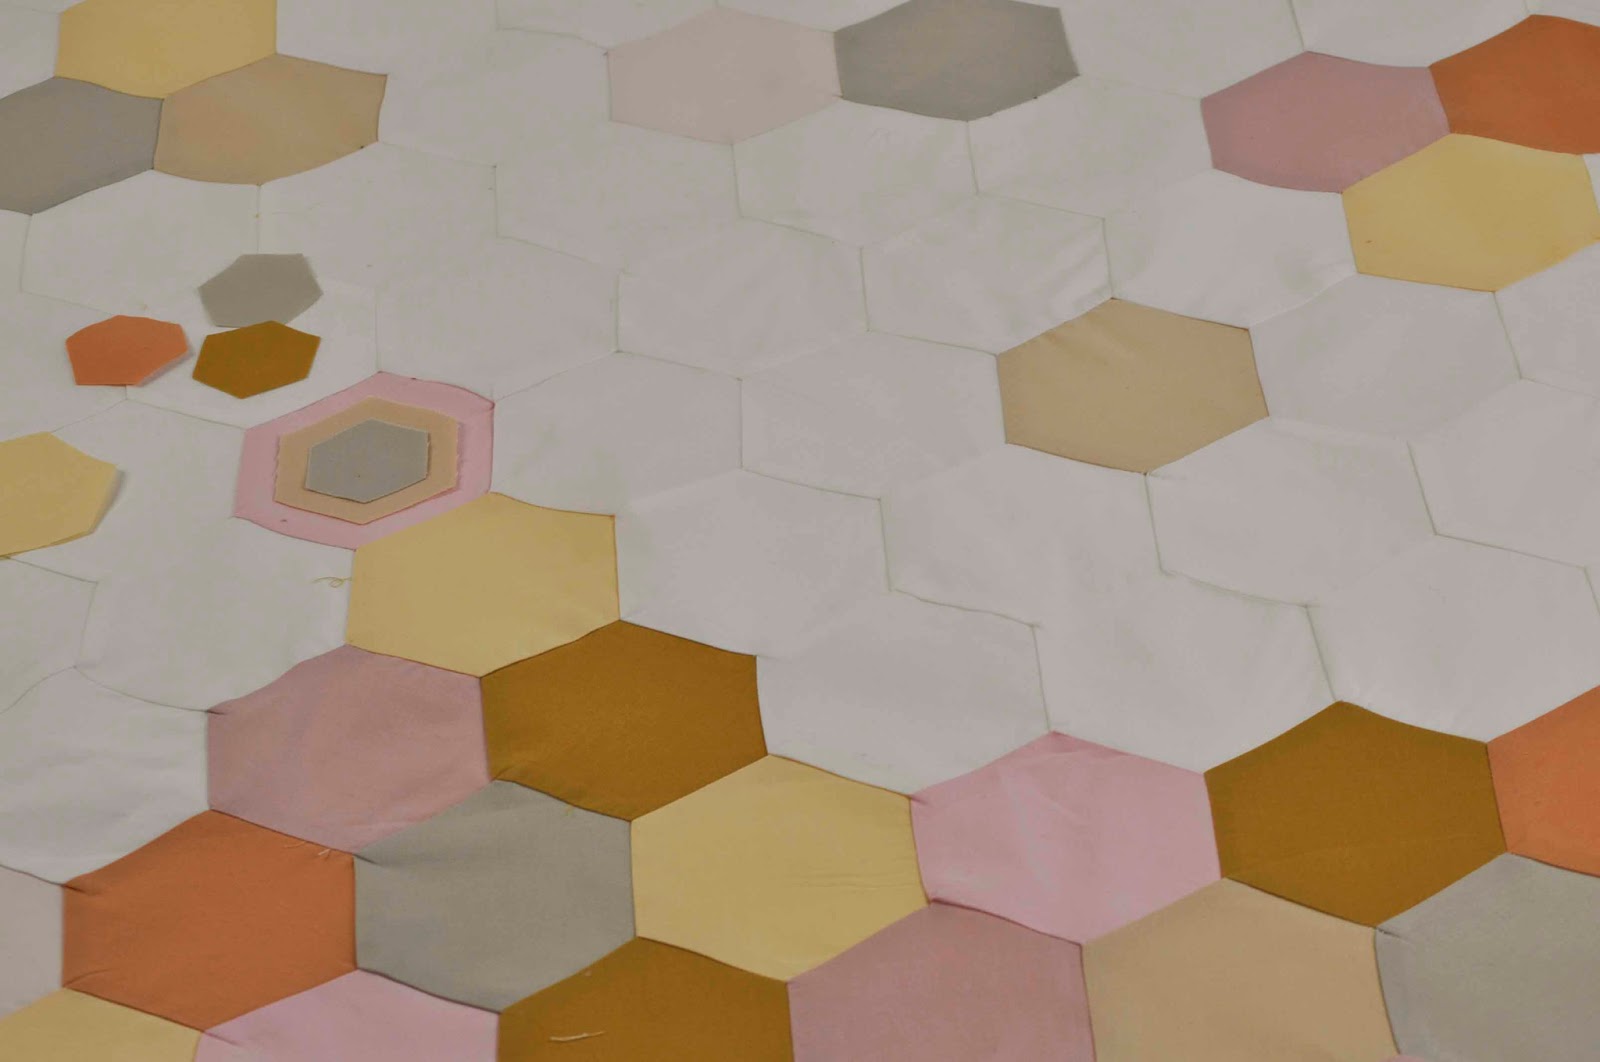
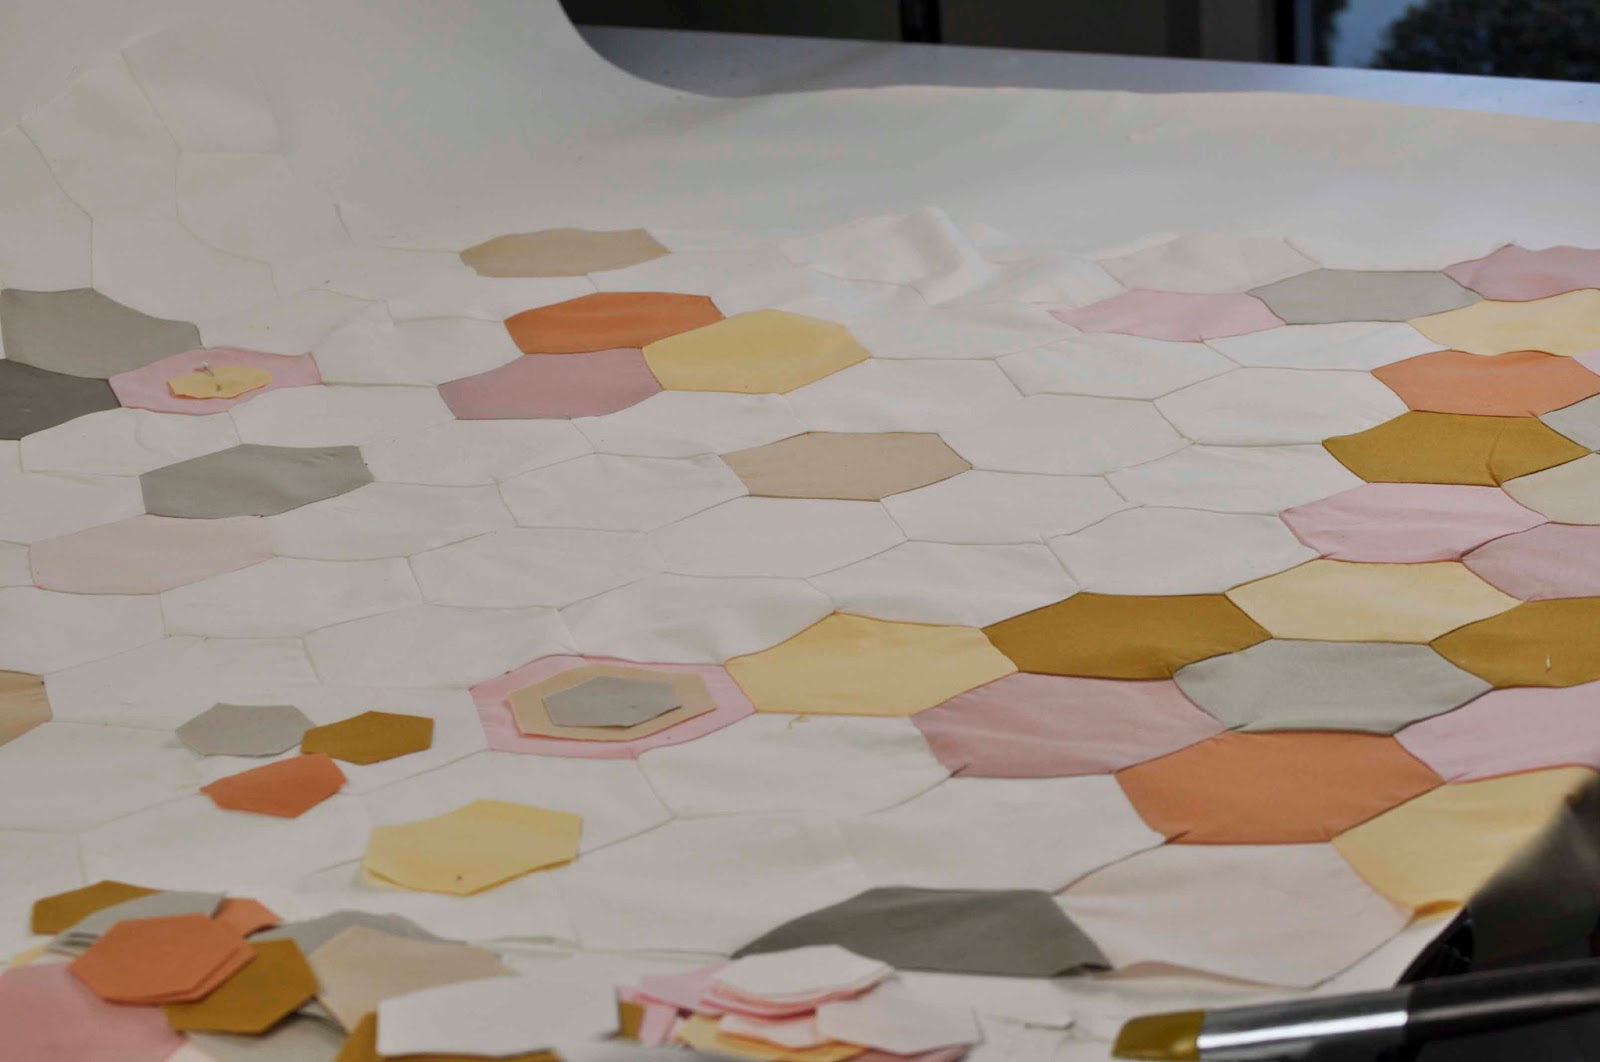
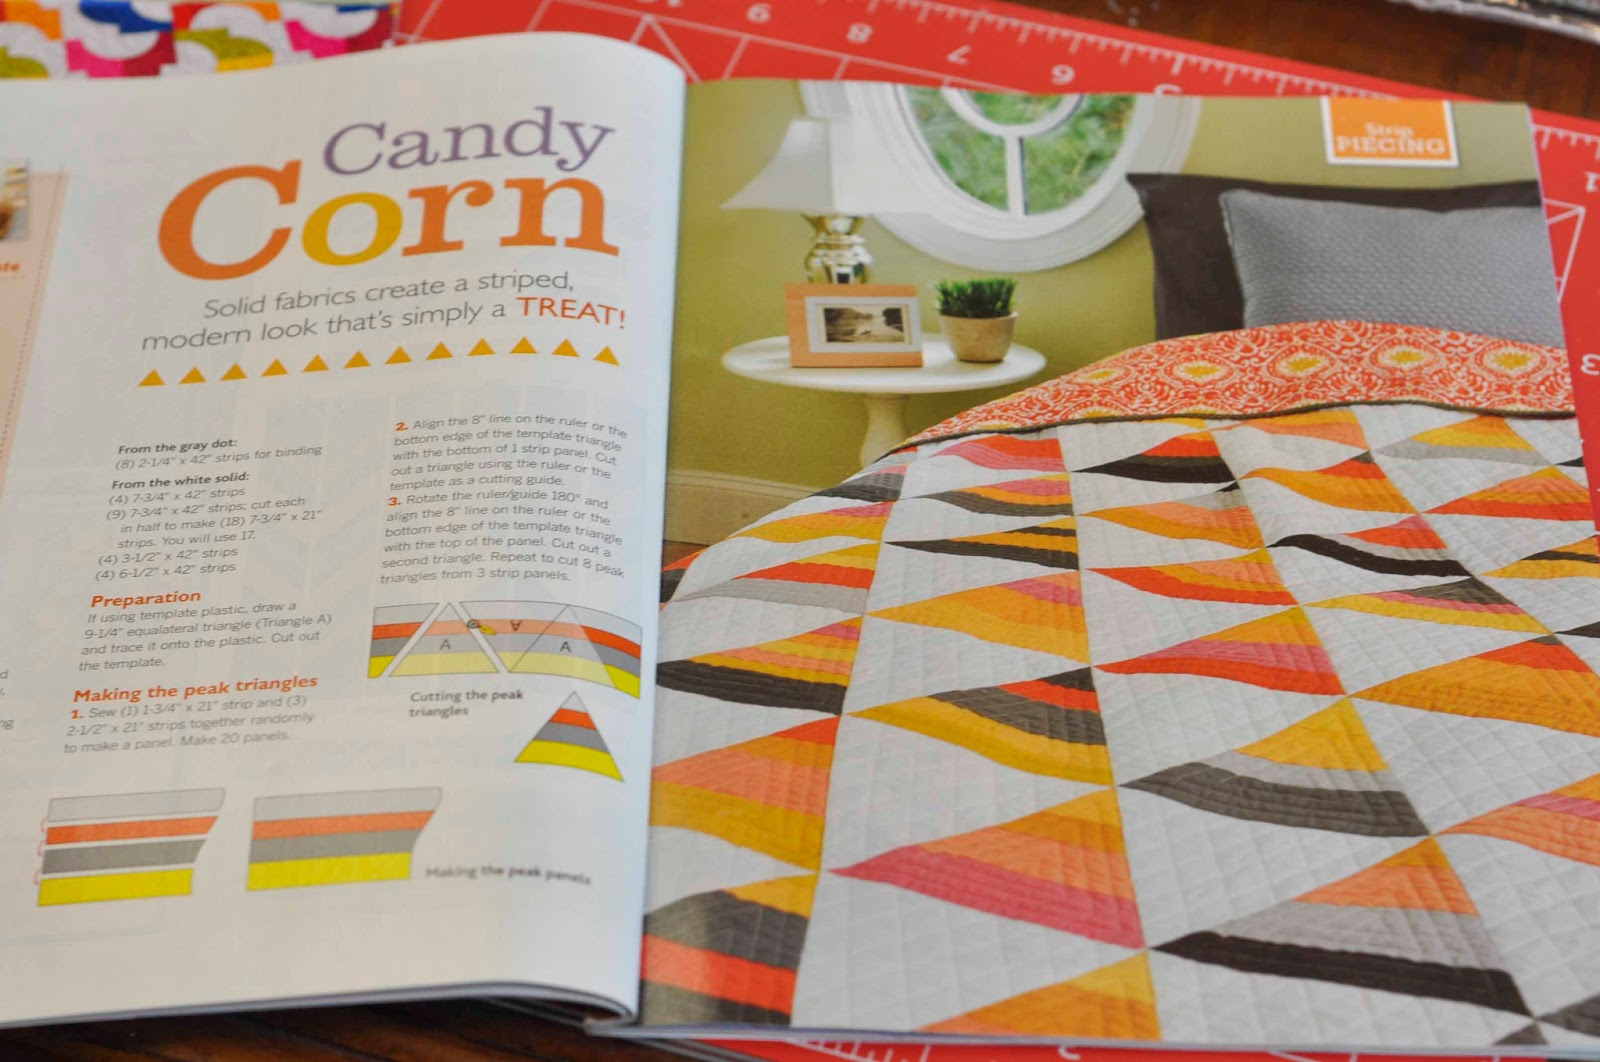
Someone asked me about the pattern and colors so I thought I would share it here. When I went to hunt down
the good pics, I remembered it was featured in the April May 2013 QUILT magazine.
So here are their nice styled, color corrected pictures from 2013.
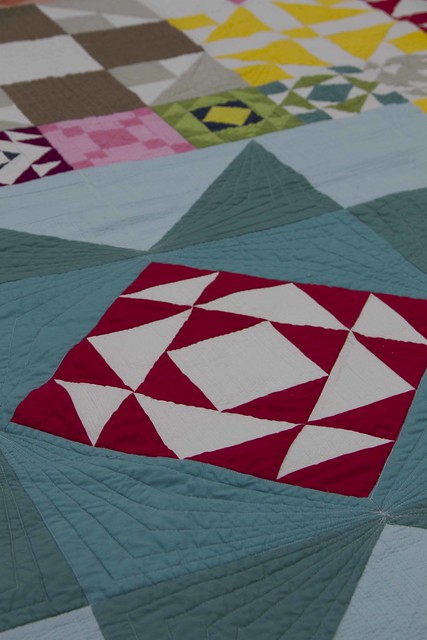
 And here are the details if you want to make your own version using Bella solids.
9900-51- Buttercup,
9900-81 Goldenrod,
9900-83 Grey,
9900-125 Betty’s Brown,
9900-147 Coral,
9900-162 Amelia Apricot,
9900-171 Etchings Charcoal,
9900-185 Zen Grey
9900-209 Clementine,
9900-210 Strawberry,
9900-213 Mustard,
9900-244 Harvest Gold.
A fat quarter of each.
The background could be anything but I used 9900-182 Porcelain (4 1/4 yds.)
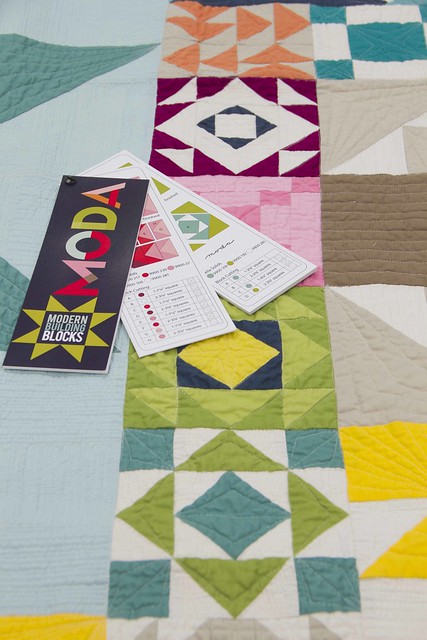
I refer to this type of quilt as a 12 pack, not a 6- pack that is something completely different. Pick your favorite 12 colors, add background of your choice
and the possibilities are endless.
Choose all shades of greens and browns for trees,
blues and greens with a little white on top for snow capped mountains,
30’s prints for a retro quilt
or just a combination of all your funky favorite fabrics as a scrap buster!
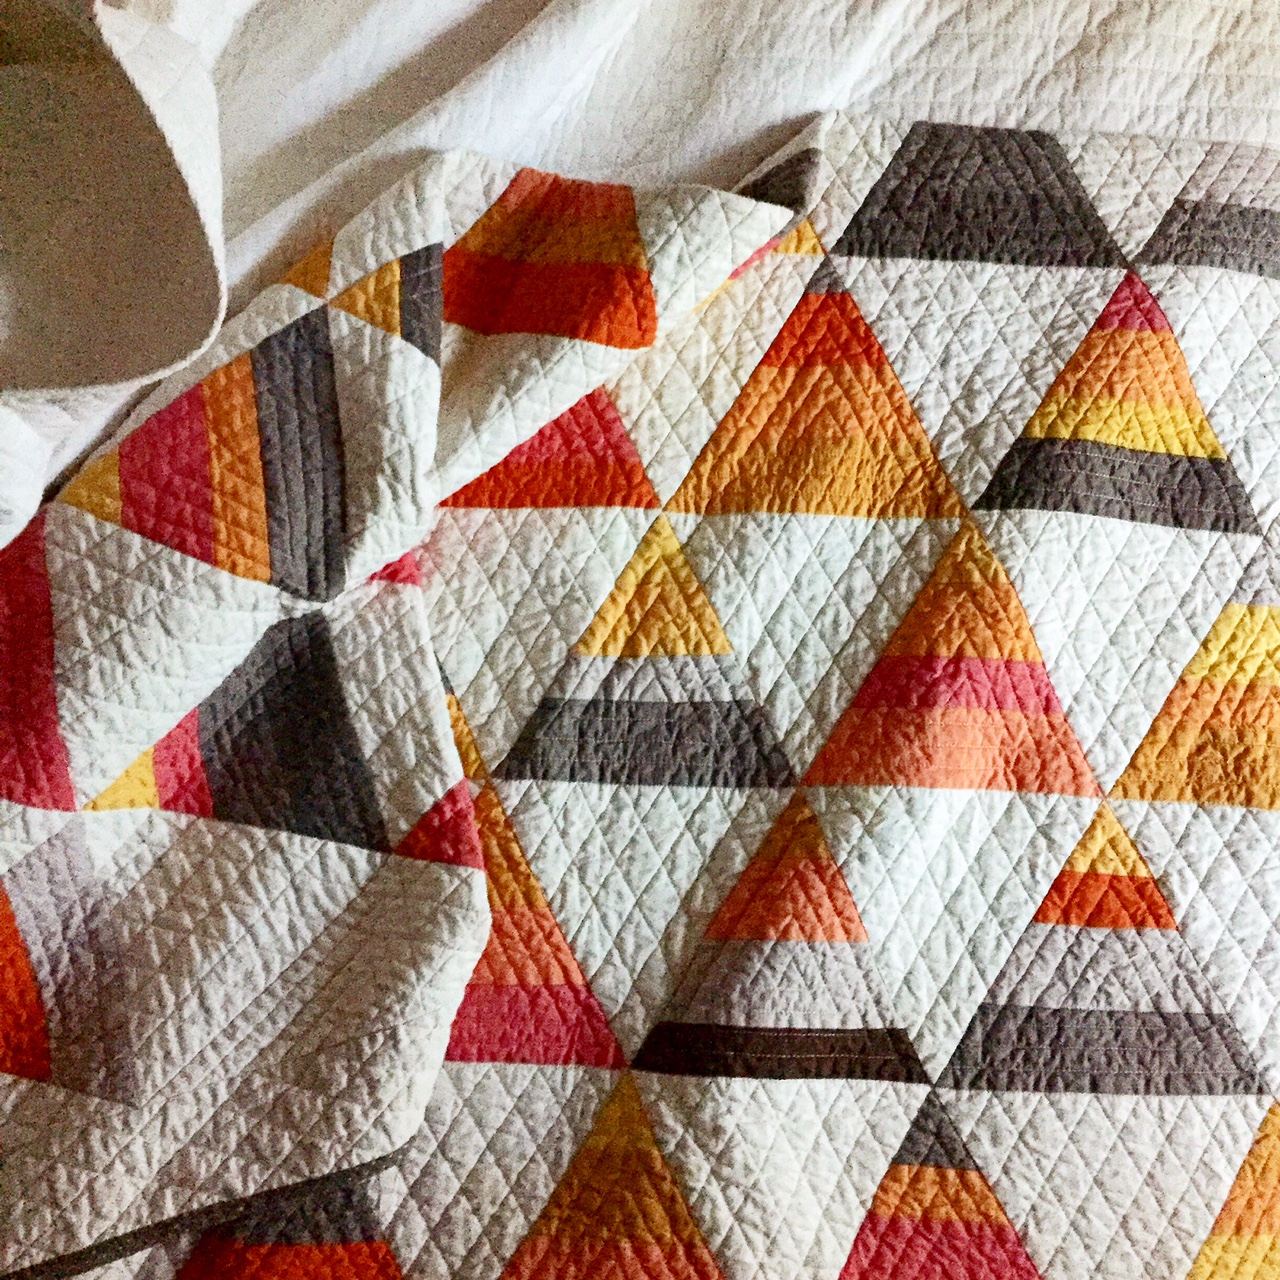 I shot a pic of the quilt with my Iphone as I zipped by the quilt laying on an unmade bed at my sons house.
The quilt looked even better washed and used. I love it when a quilt has been put to good use.
Tag me if you make a version of this quilt. I would love to see it.
Here is the pattern for your use.
Enjoy!!
-modalissa


 Easy, easy. easy and fun! With quiltsmart the templates are printed on lightweight fusible interfacing. First cut the interfacing, sew them to the fabric pieces and turn like a pillow. The exposed side of the interfacing is fusible so no or little pinning is required. Iron it in place and sew it down with whatever method you prefer. You can leave the interfacing in or cut it out from the back side of the quilt. Viola! Viola!
