Month: October 2021

Surrounded QAL-Week 4- Center Blocks


I sew any chance I get. I quite often get up early so I can sew a little before work or stay up late to work on any project I am obsessed by. To be able to work on items in short little burst of time, I have a few processes to help keep me on task. Today I am going to share how I pieced the center section of the block together. The is somewhat a mindless, therapeutic method that lets me stop and start without loosing my place.

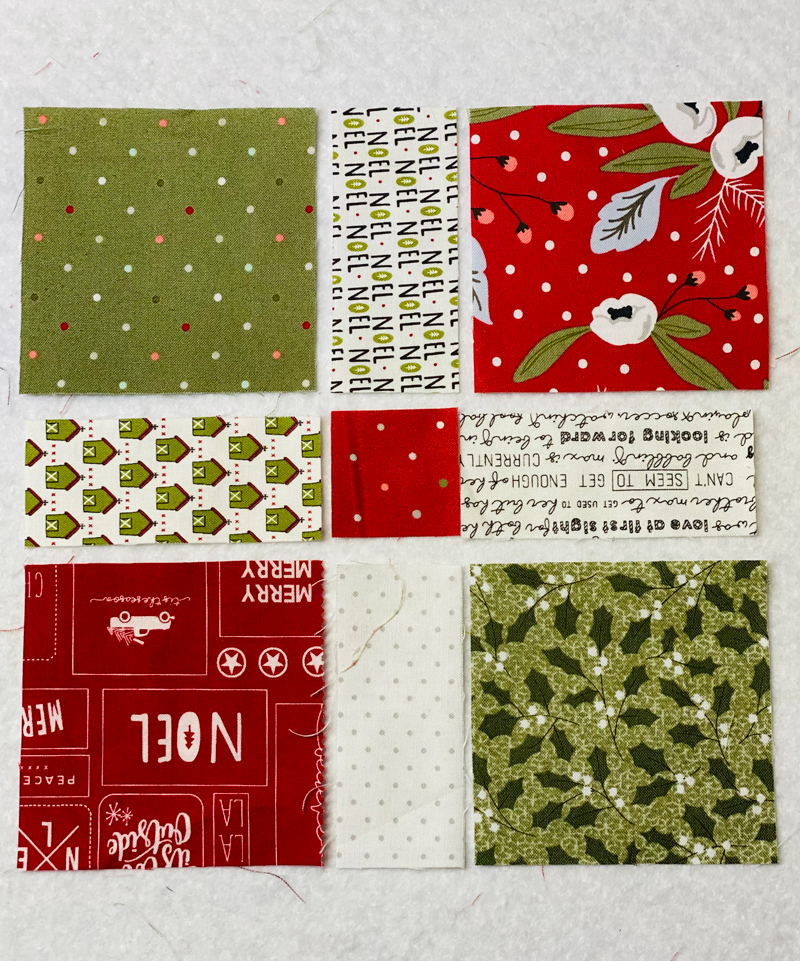
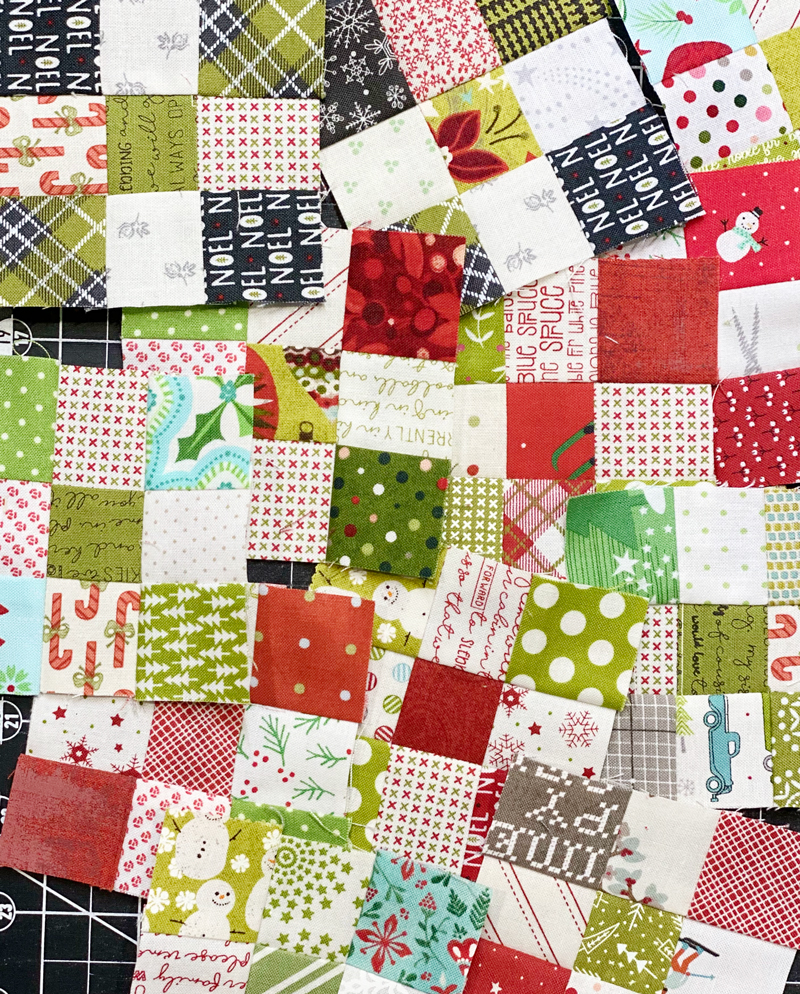
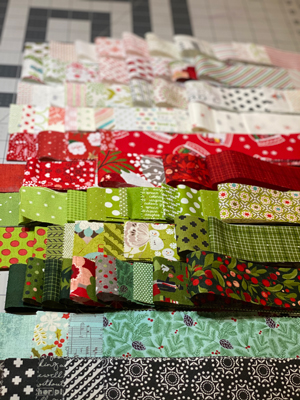
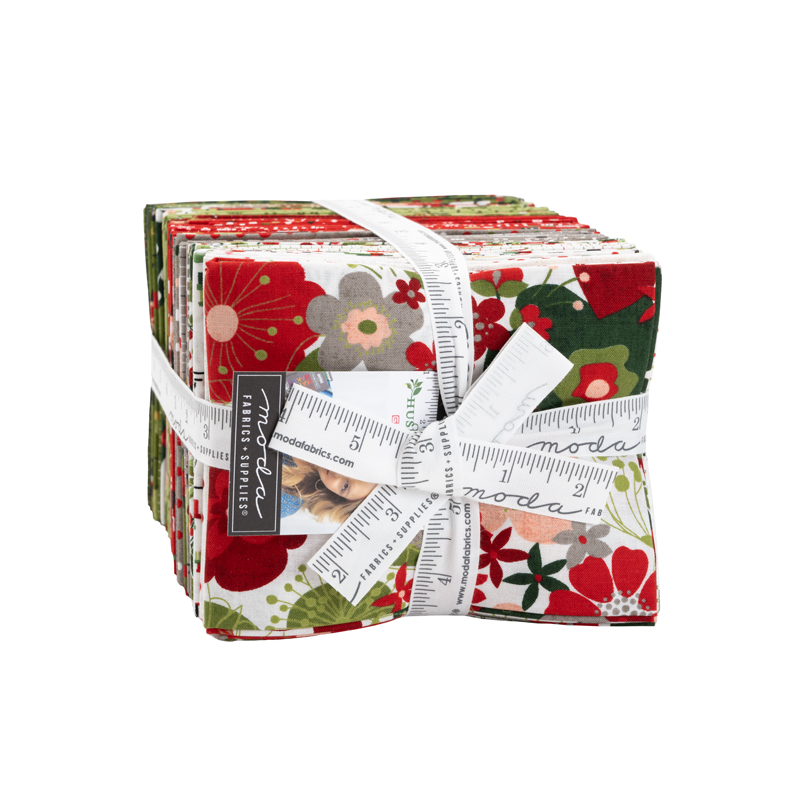
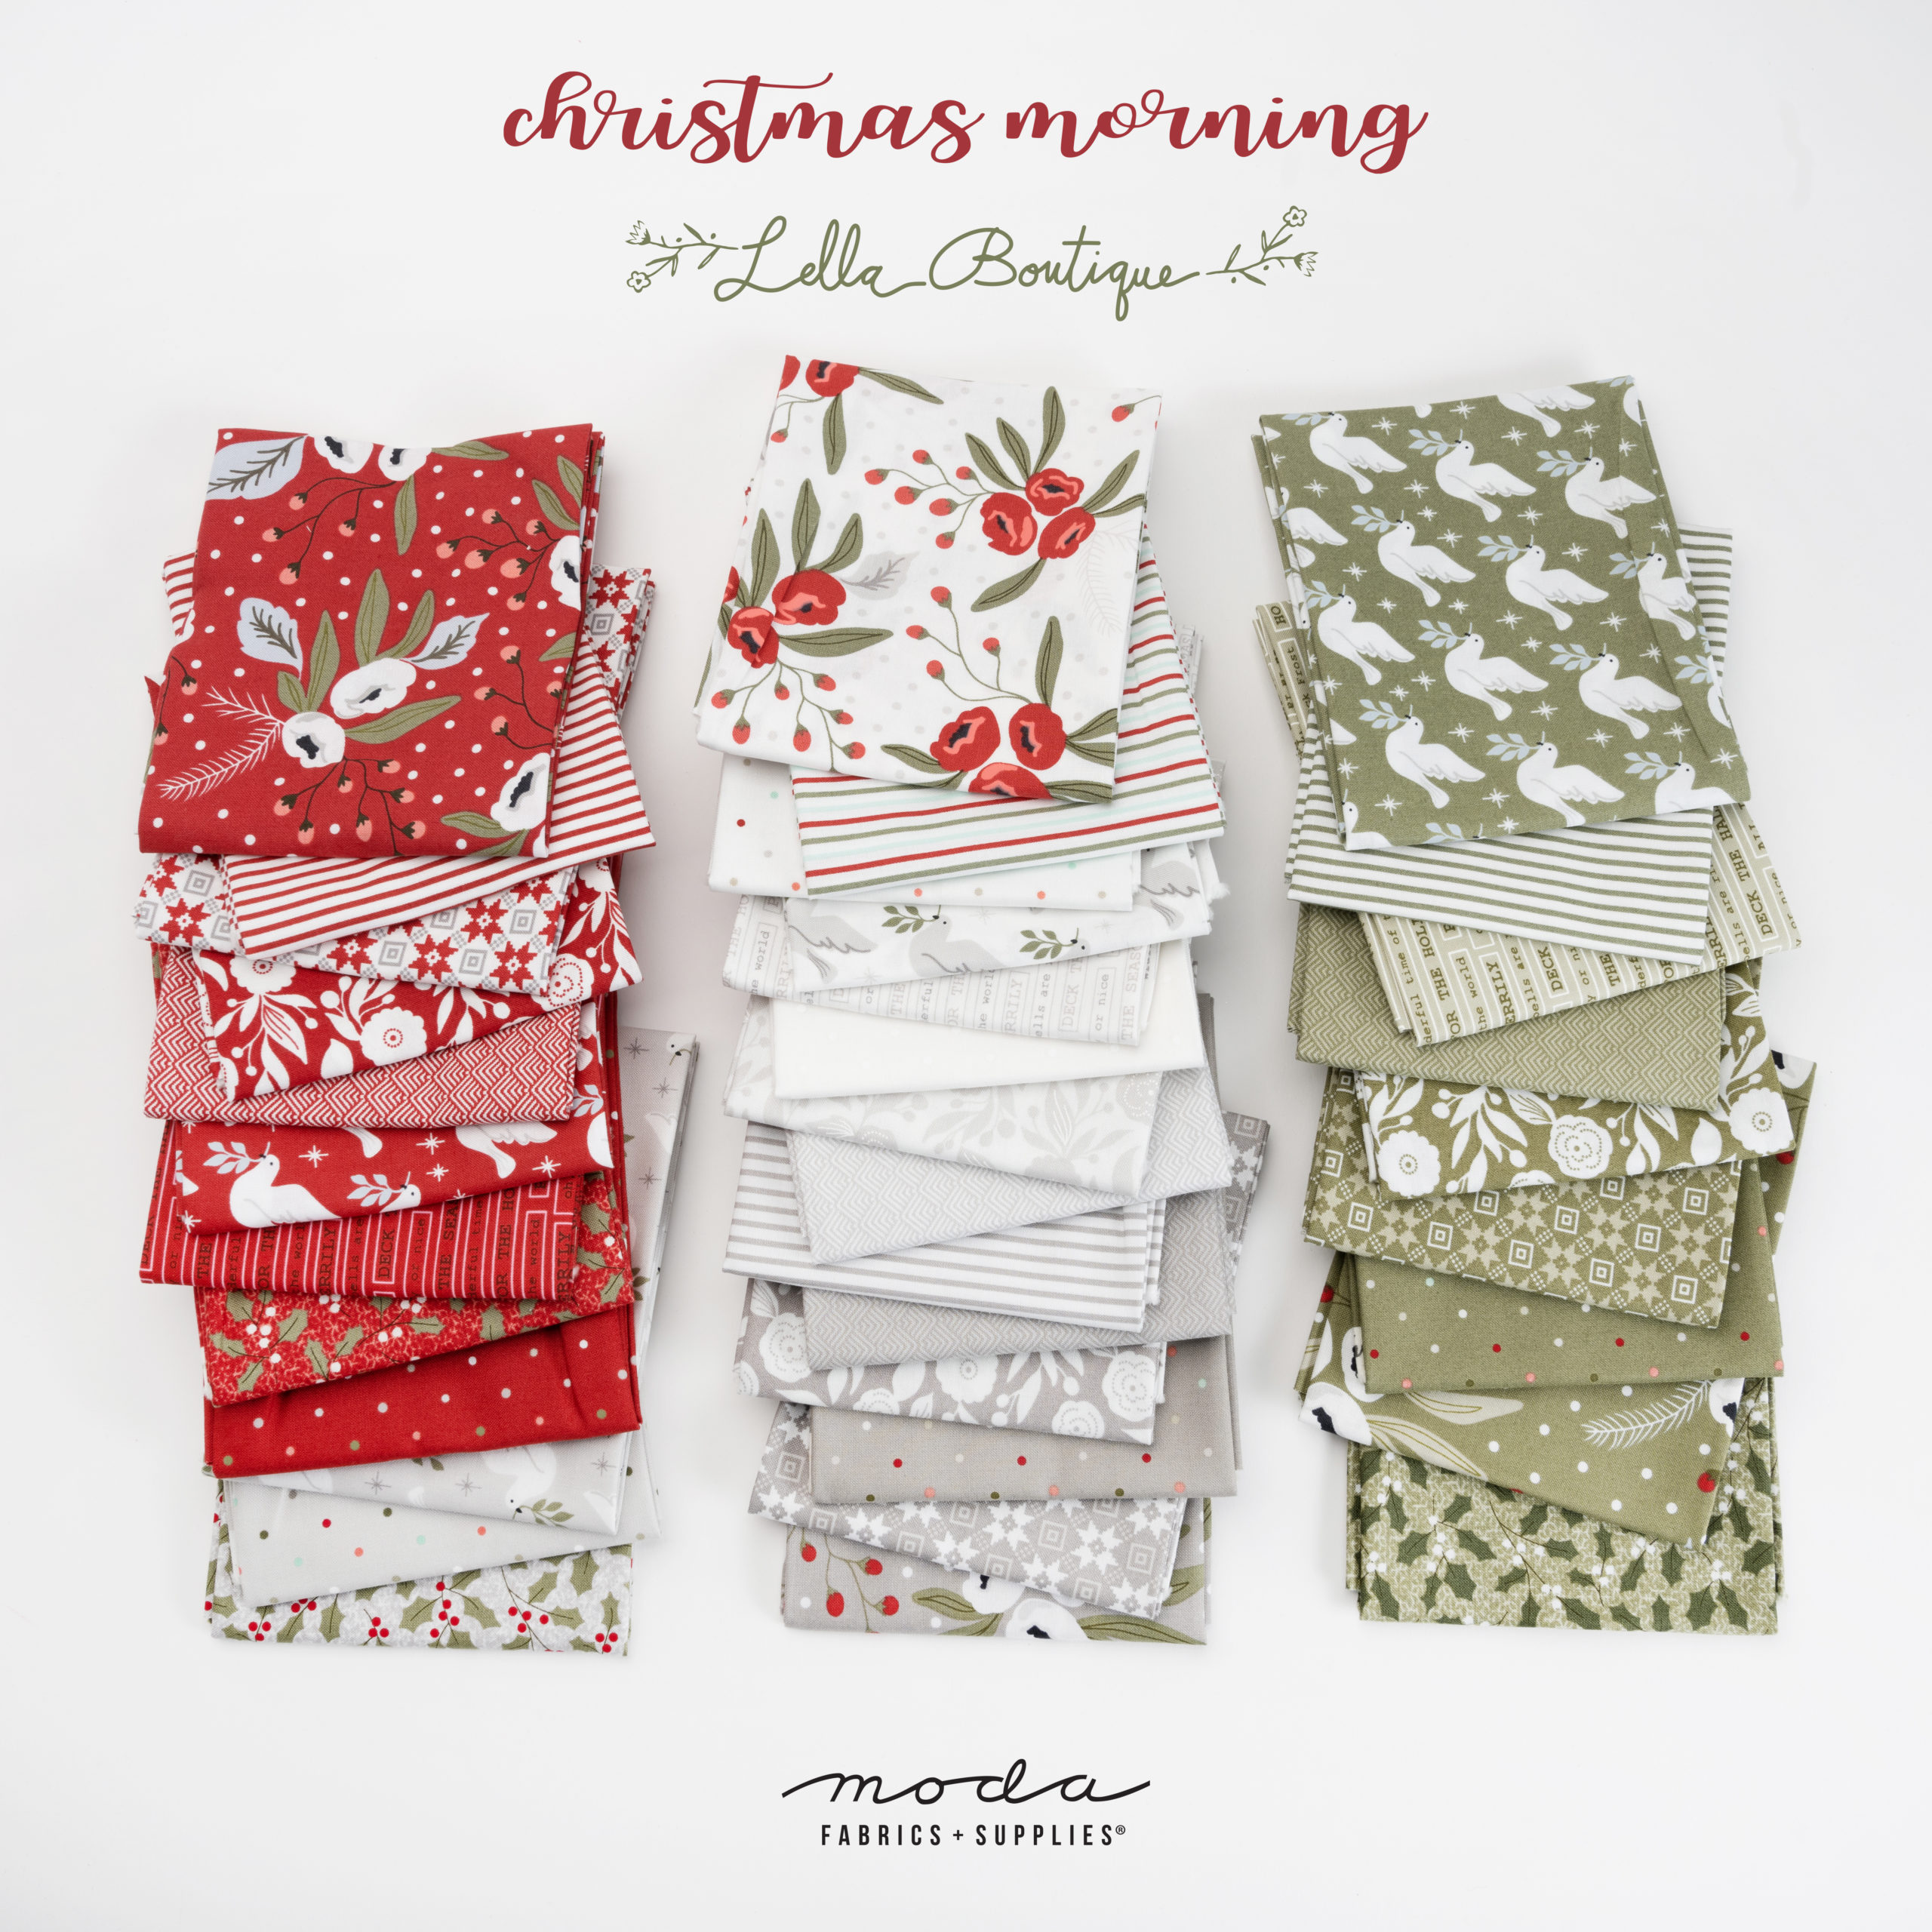
I shared with you that the main focus fabrics for this quilt were from Hustle and BustIe by Basic Grey and that I also added some of Christmas Morning by Lella Boutique. The fabrics above are from Christmas Morning and Red Barn Christmas by Sweetwater. Those of you that follow me often know that I am obsessed by dots. Everything I make has some dot fabric in it. I would buy an entire bolt of the red and green dot shown above. It is just that good!

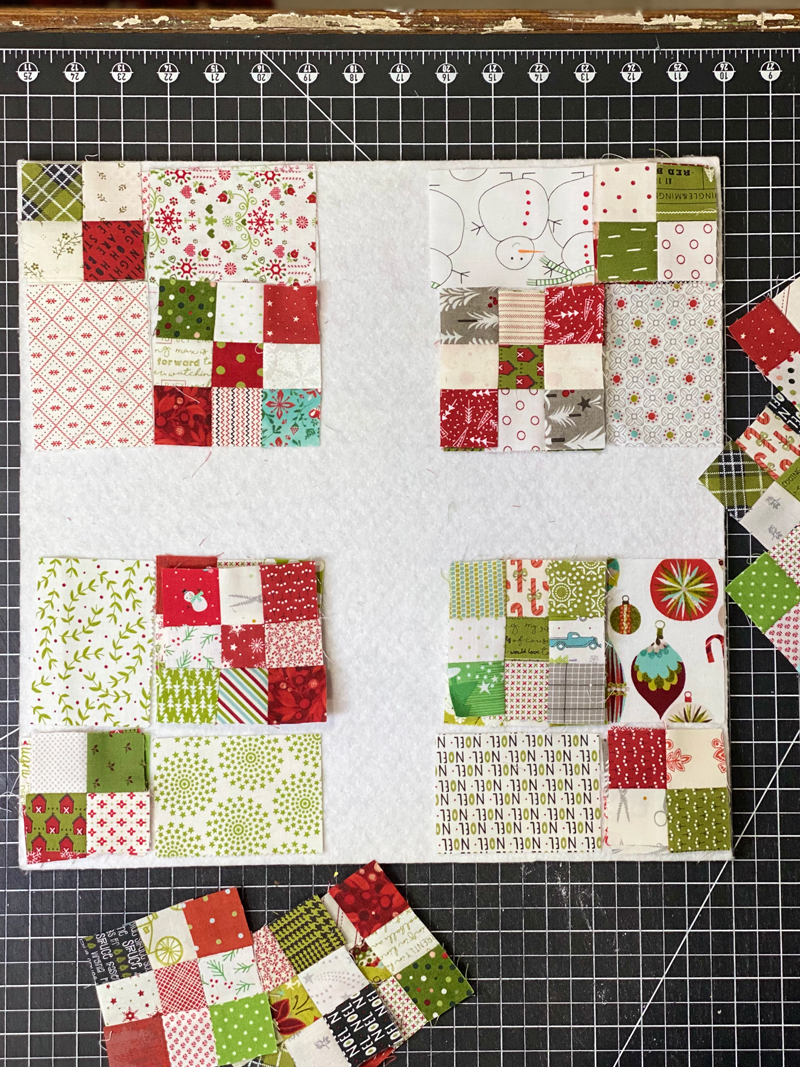
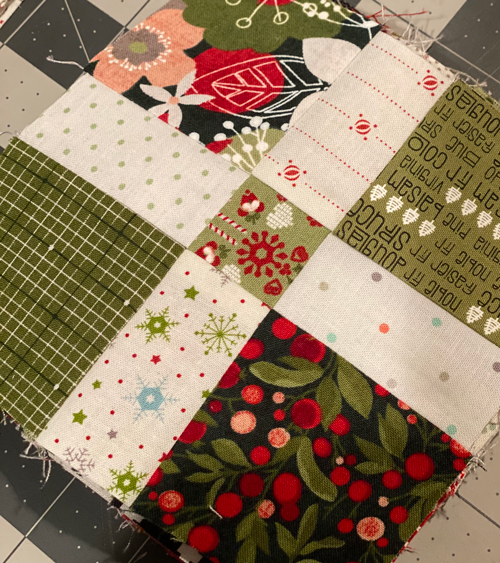
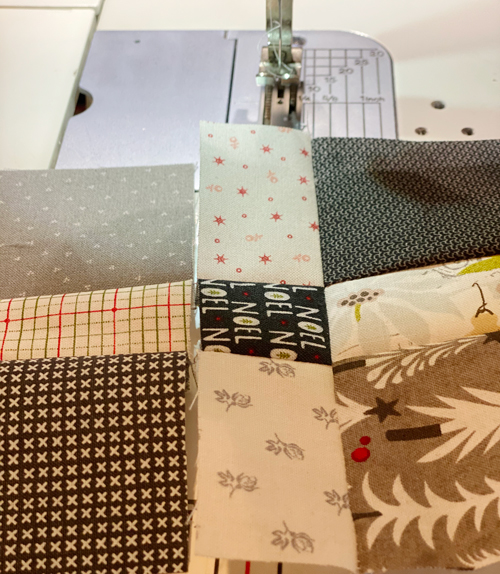
I stack all my pieces on one design board and chain sew  working vertically down each section.  This helps me keep all my pieces in order. (shown above is just 1 layer, normally I would have layers for all the blocks needed for my quilt.) 

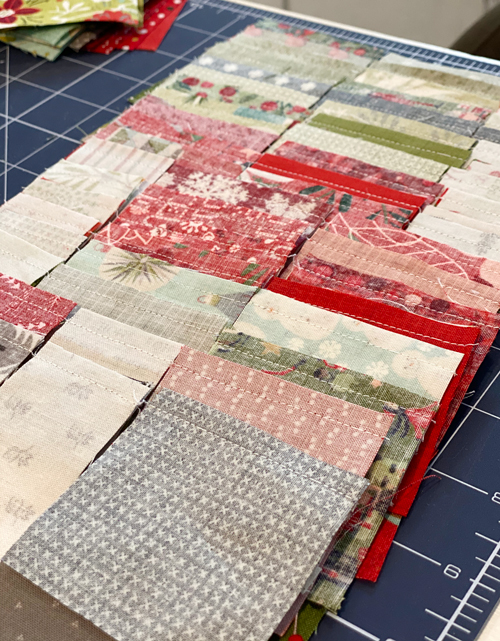
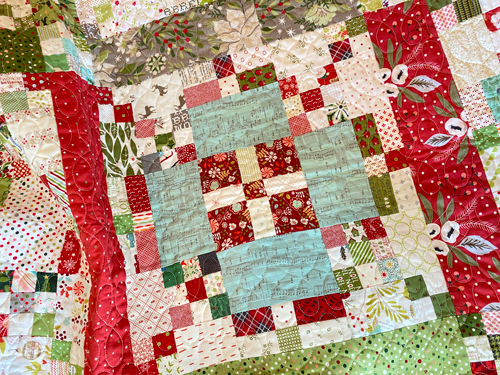
Shown above – all my center 9 patches chain pieced and ready to join into blocks.

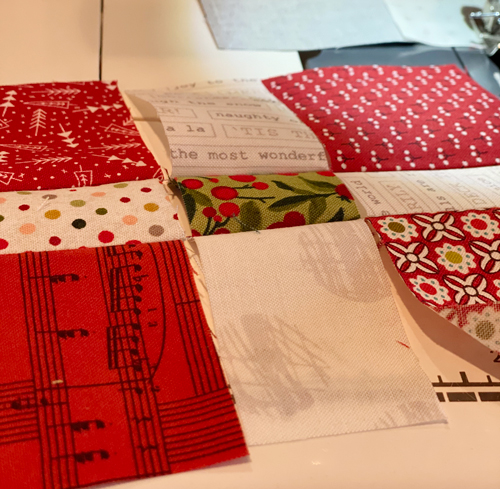
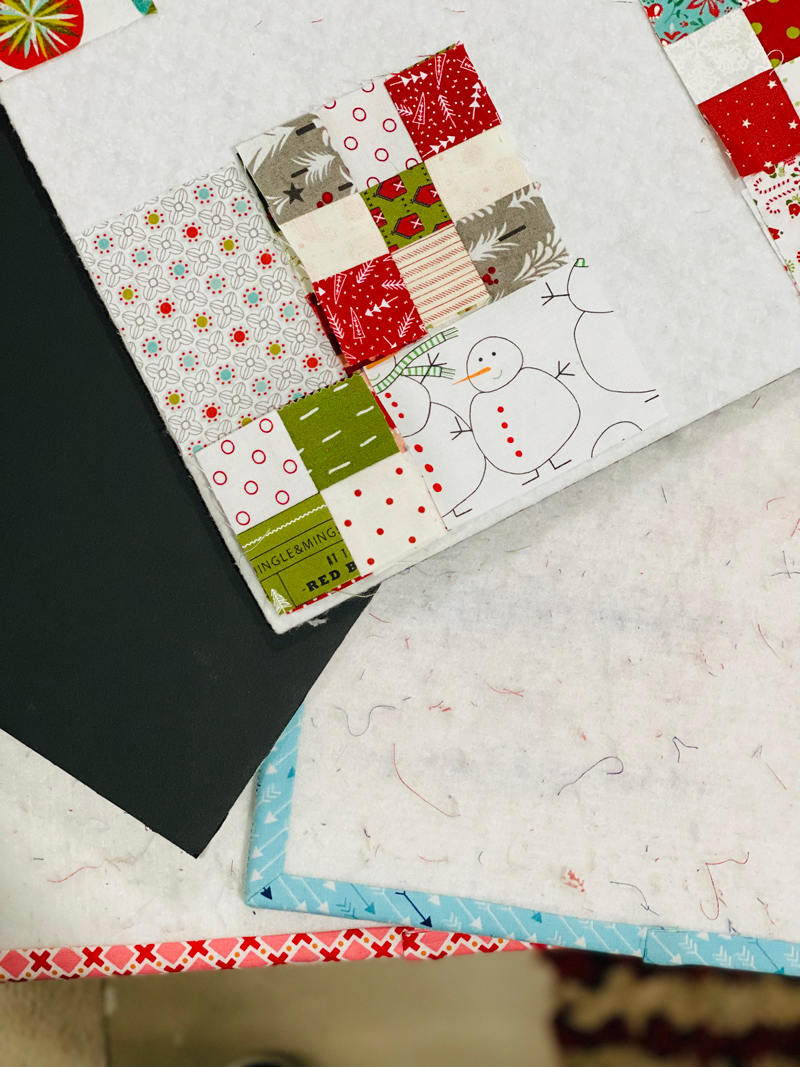
I do not clip the threads so this keeps the sections in order and eliminates pinning. it is hard to see in the picture but there is a few stitches from chain sewing that hold these sections together. As I sew, I flip the seam allowance towards the dark and they nest together beautifully.  If you like to press your seams open, not cutting the threads can be problematic. You will need to trim the threads once you have sewn the pieces together to press open.  I press my seams to the dark side so don’t have to worry about that. (remember mindless, therapeutic sewing!)


Here you can see how one side of the block is sewn together and the other side is just “hanging on by a thread” waiting to be joined.

Last week I shared how I make some of my own design boards, so if you missed that post, click here.

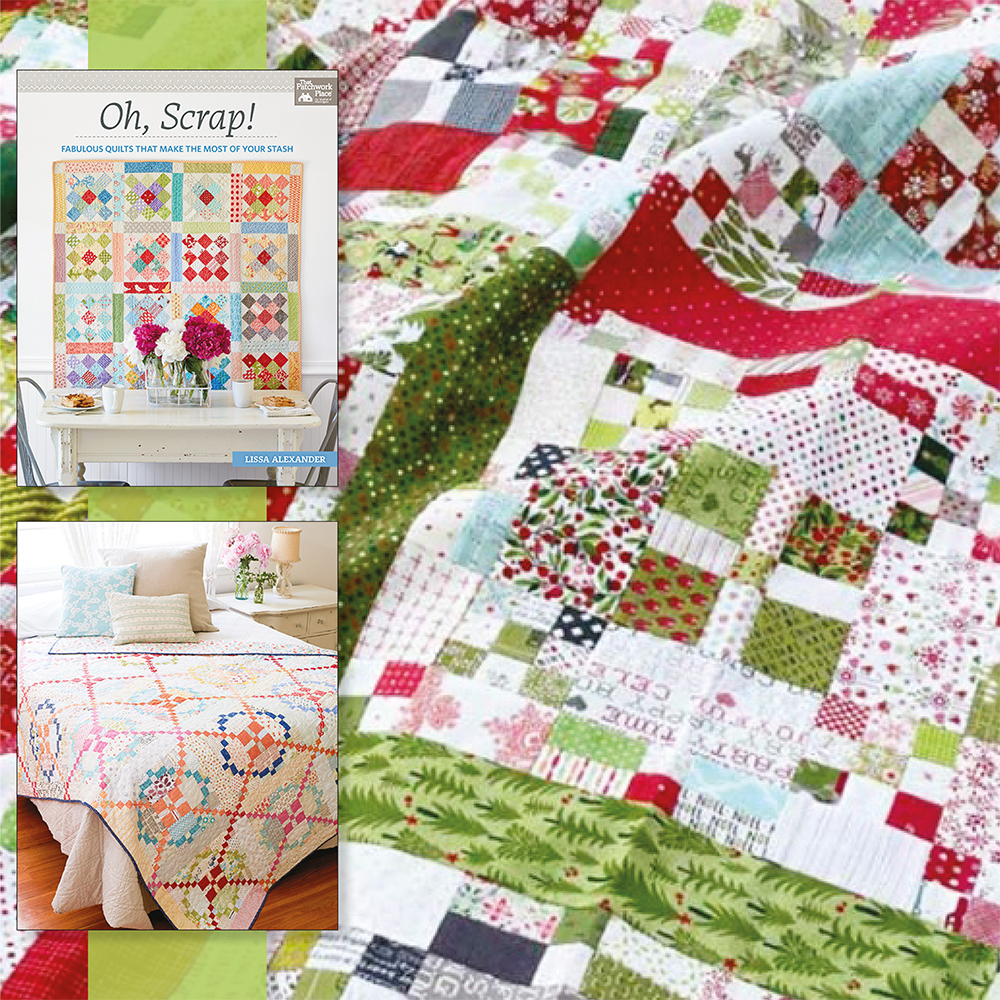
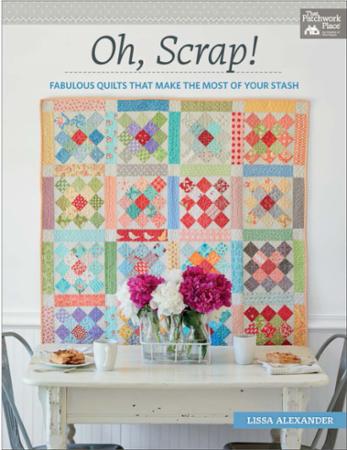
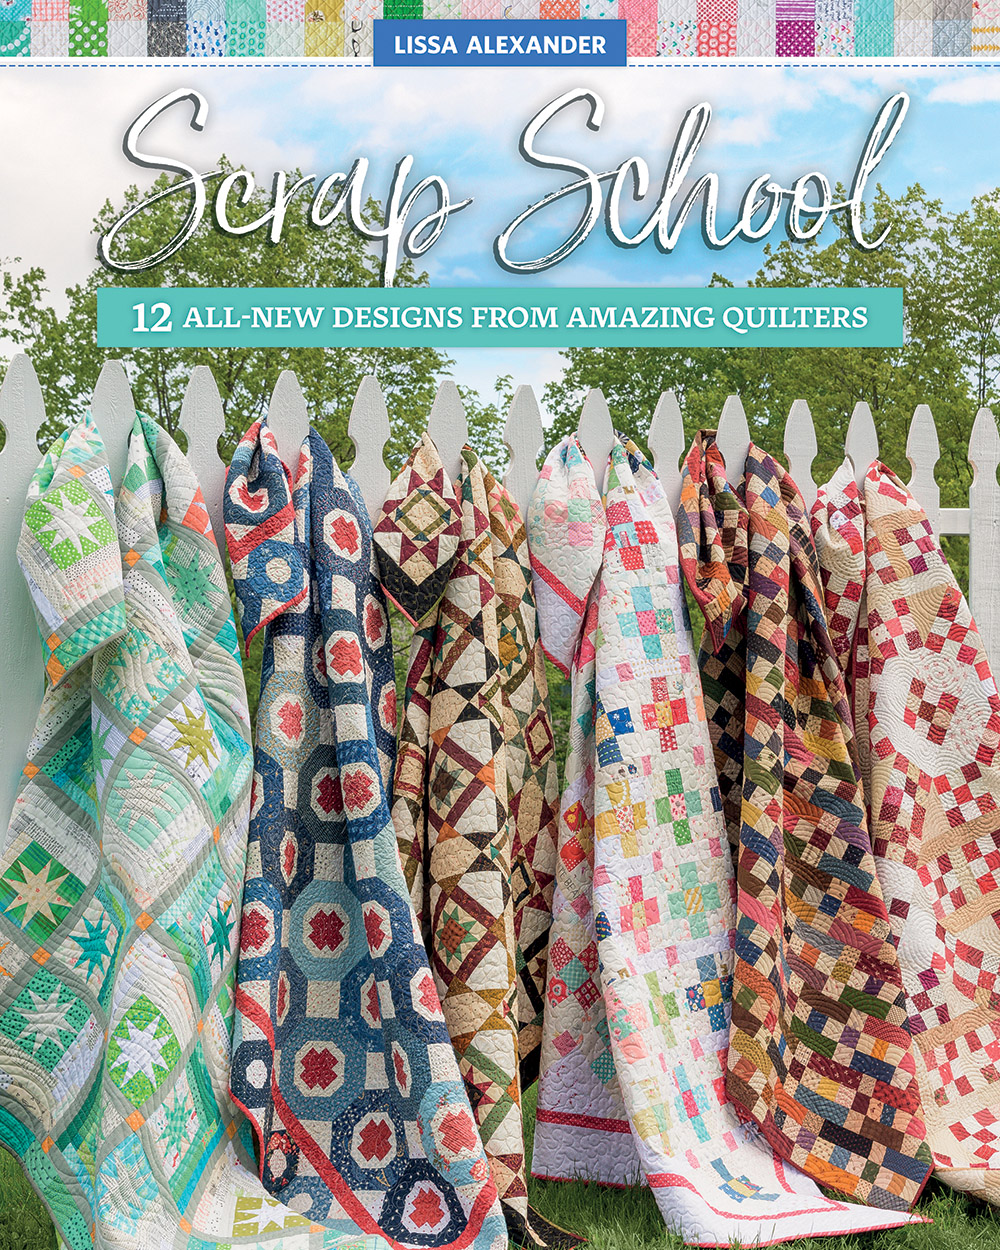
Week 3 of this QAL is a perfect time to include a GIVEAWAY for one of my other books, SCRAP SCHOOL.  This book has a fantastic line up of designers like Kim Diehl,
Amanda Jean Nyberg of Crazy Mom Quilts, Connie and Mary of Country Threads, Lisa Bongean, Susan Ache, Amy Smart, Sarah Huechteman, Gudrun Erla and Sherri L. McConnell.

Leave a comment and check back here next Wednesday to see who is the winner of their own copy of Scrap School. Also giving away a copy on my instagram so , visit @modalissa for another chance to win.

Join me back here, Wednesday Nov. 3rd  to make side bar section of the block. We are almost done with the sections!

Each  post will go live at 6:00 pm central.

Wednesday, Nov. 10th – Assemble Blocks
Break for Thanksgiving
-Wednesday, Dec. 1st – Sashing
-Wednesday Dec. 8th – Assemble Quilt top

I hope each of you have a fun Halloween and enjoy something sweet. What is your favorite Halloween candy?

#ohscrapchristmasqal

-modalissa


Surrounded QAL- Week 3- 9-patches

How did you do on your four patches? Did you get them all done? I know it is a crazy time of year to try and tackle one more project, right? Just do what you can each week.

What is a 9-Patch?
9 squares joined together to make one block or section of a block.

For this quilt, we will be making
2 different sizes
and
styles of 9- patches.

This week is a simple basic 9-patch where all the squares are the same size. Next week will be a combination of different sizes.

If you have time and want to keep sewing, go ahead and put together your 4-patches and 9- patches into units as shown in the picture. You will need 4 per block.

I don’t have any tips on making the 9-patches but wanted to share the design boards that I use all the time. (shown above)

These design boards come ready-made in variety of sizes but I use a ton of these so I make my own from left over batting. They aren’t as pretty but they work just the same.

Shown above a variety of boards I use. The black one is the back side of one of my boards. The 2 with trim are ones I have bought.

Foam core board is available at most craft/art stores in assorted sizes. I also use the boards that are sold for science experiments which is easily assessable at many stores. Cut the foam board to your desired size and using spray adhesive, coat the batting and board  following directions on the label. I wait to trim the batting to size until after I have glued it to the board. Flip over the board with batting on the bottom and using a rotary cutter you can trim the batting to the exact size of the board. 14″ is a good size for me. It fits nicely in the sewing space I have and works well with any 12″ block.

These come in so handy to stack up pieces to sew together.I don’t use a board for each block but instead use one board and stack the sections to chain sew. Plus I can put them away quickly without disrupting the pieces if I need to work on something else or the grandkids want to sew.

I can’t wait to see your progress.

Be sure and share using #ohscrapchristmasqal.

See you next week- Wednesday October 27- Center Blocks

-Modalissa

Each  post will go live at 6:00 pm central.
-Wednesday Nov. 3rd – Side bars
-Wednesday, Nov. 10th – Assemble Blocks
Break for Thanksgiving
-Wednesday, Dec. 1st – Sashing
-Wednesday Dec. 8th – Assemble Quilt top


Surrounded QAL- Week 2- 4- patches

WEEK 2 of  #OhScrapChristmasQAL

Wednesday, October 13th- 4 patches

Whew! that was a lot of cutting, right?

Last week when I mentioned cutting the biggest pieces for the quilt out first, we are going to do the opposite when it comes to sewing. Begin strip piecing lights and darks together. Sew, Sew, Sew. This is somewhat mindless sewing while binge watching your favorite show or listening to an audible book. This part seems like it will never end but just keep sewing.

GENERAL TIP: I like setting my seams by pressing the strips right after I sew them. This seems to help keep everything nice and straight before pressing the seams to the dark side. The picture below is charm packs, cut and chain pieced together. Use you favorite way to press, but for this project I pressed everything to the dark side to make the seams nest nicely. I put together a few videos to explain these tips.


I stacked up sections right sides together with darks opposing and sub cut into the size needed for 4 patches. This gave me sets to sew, already paired up and could chain sew them. The combinations can be as scrappy as you choose.


-Save any leftovers of strips or 4 patch sections for possible use later.

-Wednesday, October 20th- 9 patches
-Wednesday, October 27th – Center Blocks
-Wednesday Nov. 3rd – Side bars
-Wednesday, Nov. 10th – Assemble Blocks
Break for Thanksgiving
-Wednesday, Dec. 1st – Sashing
-Wednesday Dec. 8th – Assemble Quilt top

Use the hashtag #OhScrapChristmasQAL so I can follow along.

Enjoy!! ( sorry my videos are sideways!)

Surrounded Christmas QAL- Week 1- Cutting

Welcome! Hope you are here to join the Surrounded Christmas QAL. This is week 1 and the goal is to get your entire quilt cut out.

You will need Oh Scrap book available at quilt stores now for the actual measurements.

Today ‘s post is about yardages and cutting for the SURROUNDED QAL.

The original quilt used light sashing so the yardages from the book will vary some if you want dark sashing like I used in my version.

IF using a Fat quarter bundle, cut your sashing pieces first ( Listed under fabrics A in the book- qty 49) This is always a good rule of thumb when cutting fabrics, start with the largest cuts first in case of a mis cut. It is always easier to replace a small piece of yardage than to have to replace fabrics for bigger cuts. Most patterns/books are written this way but always pay attention to this..

Then cut your 80 block rectangles ( also listed under A).
On some of the blocks I cut 4 of the same so they would match especially on the fabrics that would add a bit of pop. This was also where I used some fabrics that I just had small bits.

Shown above where the aqua fabric is


Everything else is pretty much exactly like the book says regarding if it is a dark or a light.

I always cut extra. I don’t know if it is a character flaw or what, but I like to have options.

Keep your pieces together, labeling them by the size. Some of the same size pieces are used throughout and some pieces are almost the same size so it is easy to get then mixed up!

I did not subcut strips into squares for four patches and nine patches. Instead I strip-pieced and then subcut. Do whatever you are comfortable with. Next week we will start sewing 4 patches and I wanted to show you that I even cut strips from charm packs or scraps for this. Next week we will start sewing 4 patches.


GENERAL TIP: Sorting through scraps does add some time to the process. Anytime I straighten up fabrics, i don’t just cut a sliver to straighten the edge, I go ahead and cut at least 1 1/2″, sometimes 2 1/2″ depending on much fabric I have. Once I finish cutting any project I go ahead and submit the remaining fabric into “scraps” and sort them by size. I tend to do this the most with lights. I use lots of lights.

Use the hashtag #OhScrapChristmasQAL so I can follow along.

Hope you join me!

-modalissa

Time to Hustle – Quiltalong

On my “must make” list has always been a Christmas version of SURROUNDED from my book, OH, Scrap!

When I saw Hustle & Bustle by Basic Grey, I knew this fabric line was perfect for this project. There are enough big scale iconic fabrics to use for sashing and a nice range of greens and reds to be able to easily mix additional holiday lines.

The quilt takes a total of almost 10 yds which is what is in a Moda Fat Quarter bundle of 40 prints, but I wanted more variety so I added Christmas Morning by Lella Boutique and a few other bits and pieces that you will see along the QAL. Start gathering your fabrics!

I could say we are going to have to Hustle to get this done by Christmas 2021, but there is  no hurry. Just get started!!

Or if you have already started this quilt and need a QAL to help motivate you to finish, this is the time.

What about making this quilt in Red White and Blue? A combination of your
Minick and Simpson fabrics would be yummy. Just get started!

So here is the plan. You will need Oh Scrap book available at quilt stores now for the actual measurements. Each week I will share tips and what I did to make this quilt.

Each  post will go live at 6:00 pm central.

– Wednesday, October 6th-  Yardages and cutting
-Wednesday, October 13th- 4 patches
-Wednesday, October 20th- 9 patches
-Wednesday, October 27th – Center Blocks
-Wednesday Nov. 3rd – Side bars
-Wednesday, Nov. 10th – Assemble Blocks
Break for Thanksgiving
-Wednesday, Dec. 1st – Sashing
-Wednesday Dec. 8th – Assemble Quilt top

Remember this is a scrap quilt so any fabrics can be used.

Use the hashtag #OhScrapChristmasQAL so I can follow along.

Hope you join me!

SIDE NOTE! The global supply chain has been tough this past year and has created an overall upheaval is deliveries. This is tough especially for the  independent quilt retailers.  Be sure and support your favorite quilt or specialty retailers  during this holiday season.


-Modalissa