This week’s Moda Blockheads 6 block comes with a breath of fresh morning air—introducing Dew Drops, a quilt block by the ever-talented Chelsi Stratton of Chelsi Stratton Designs.
If you’ve been quilting along, you know each week brings a new surprise, and a new voice—and Chelsi’s block is sure to impress. It’s the kind of block that is intriguing and may challenge your piecing skills, so take your time. It is well worth it.
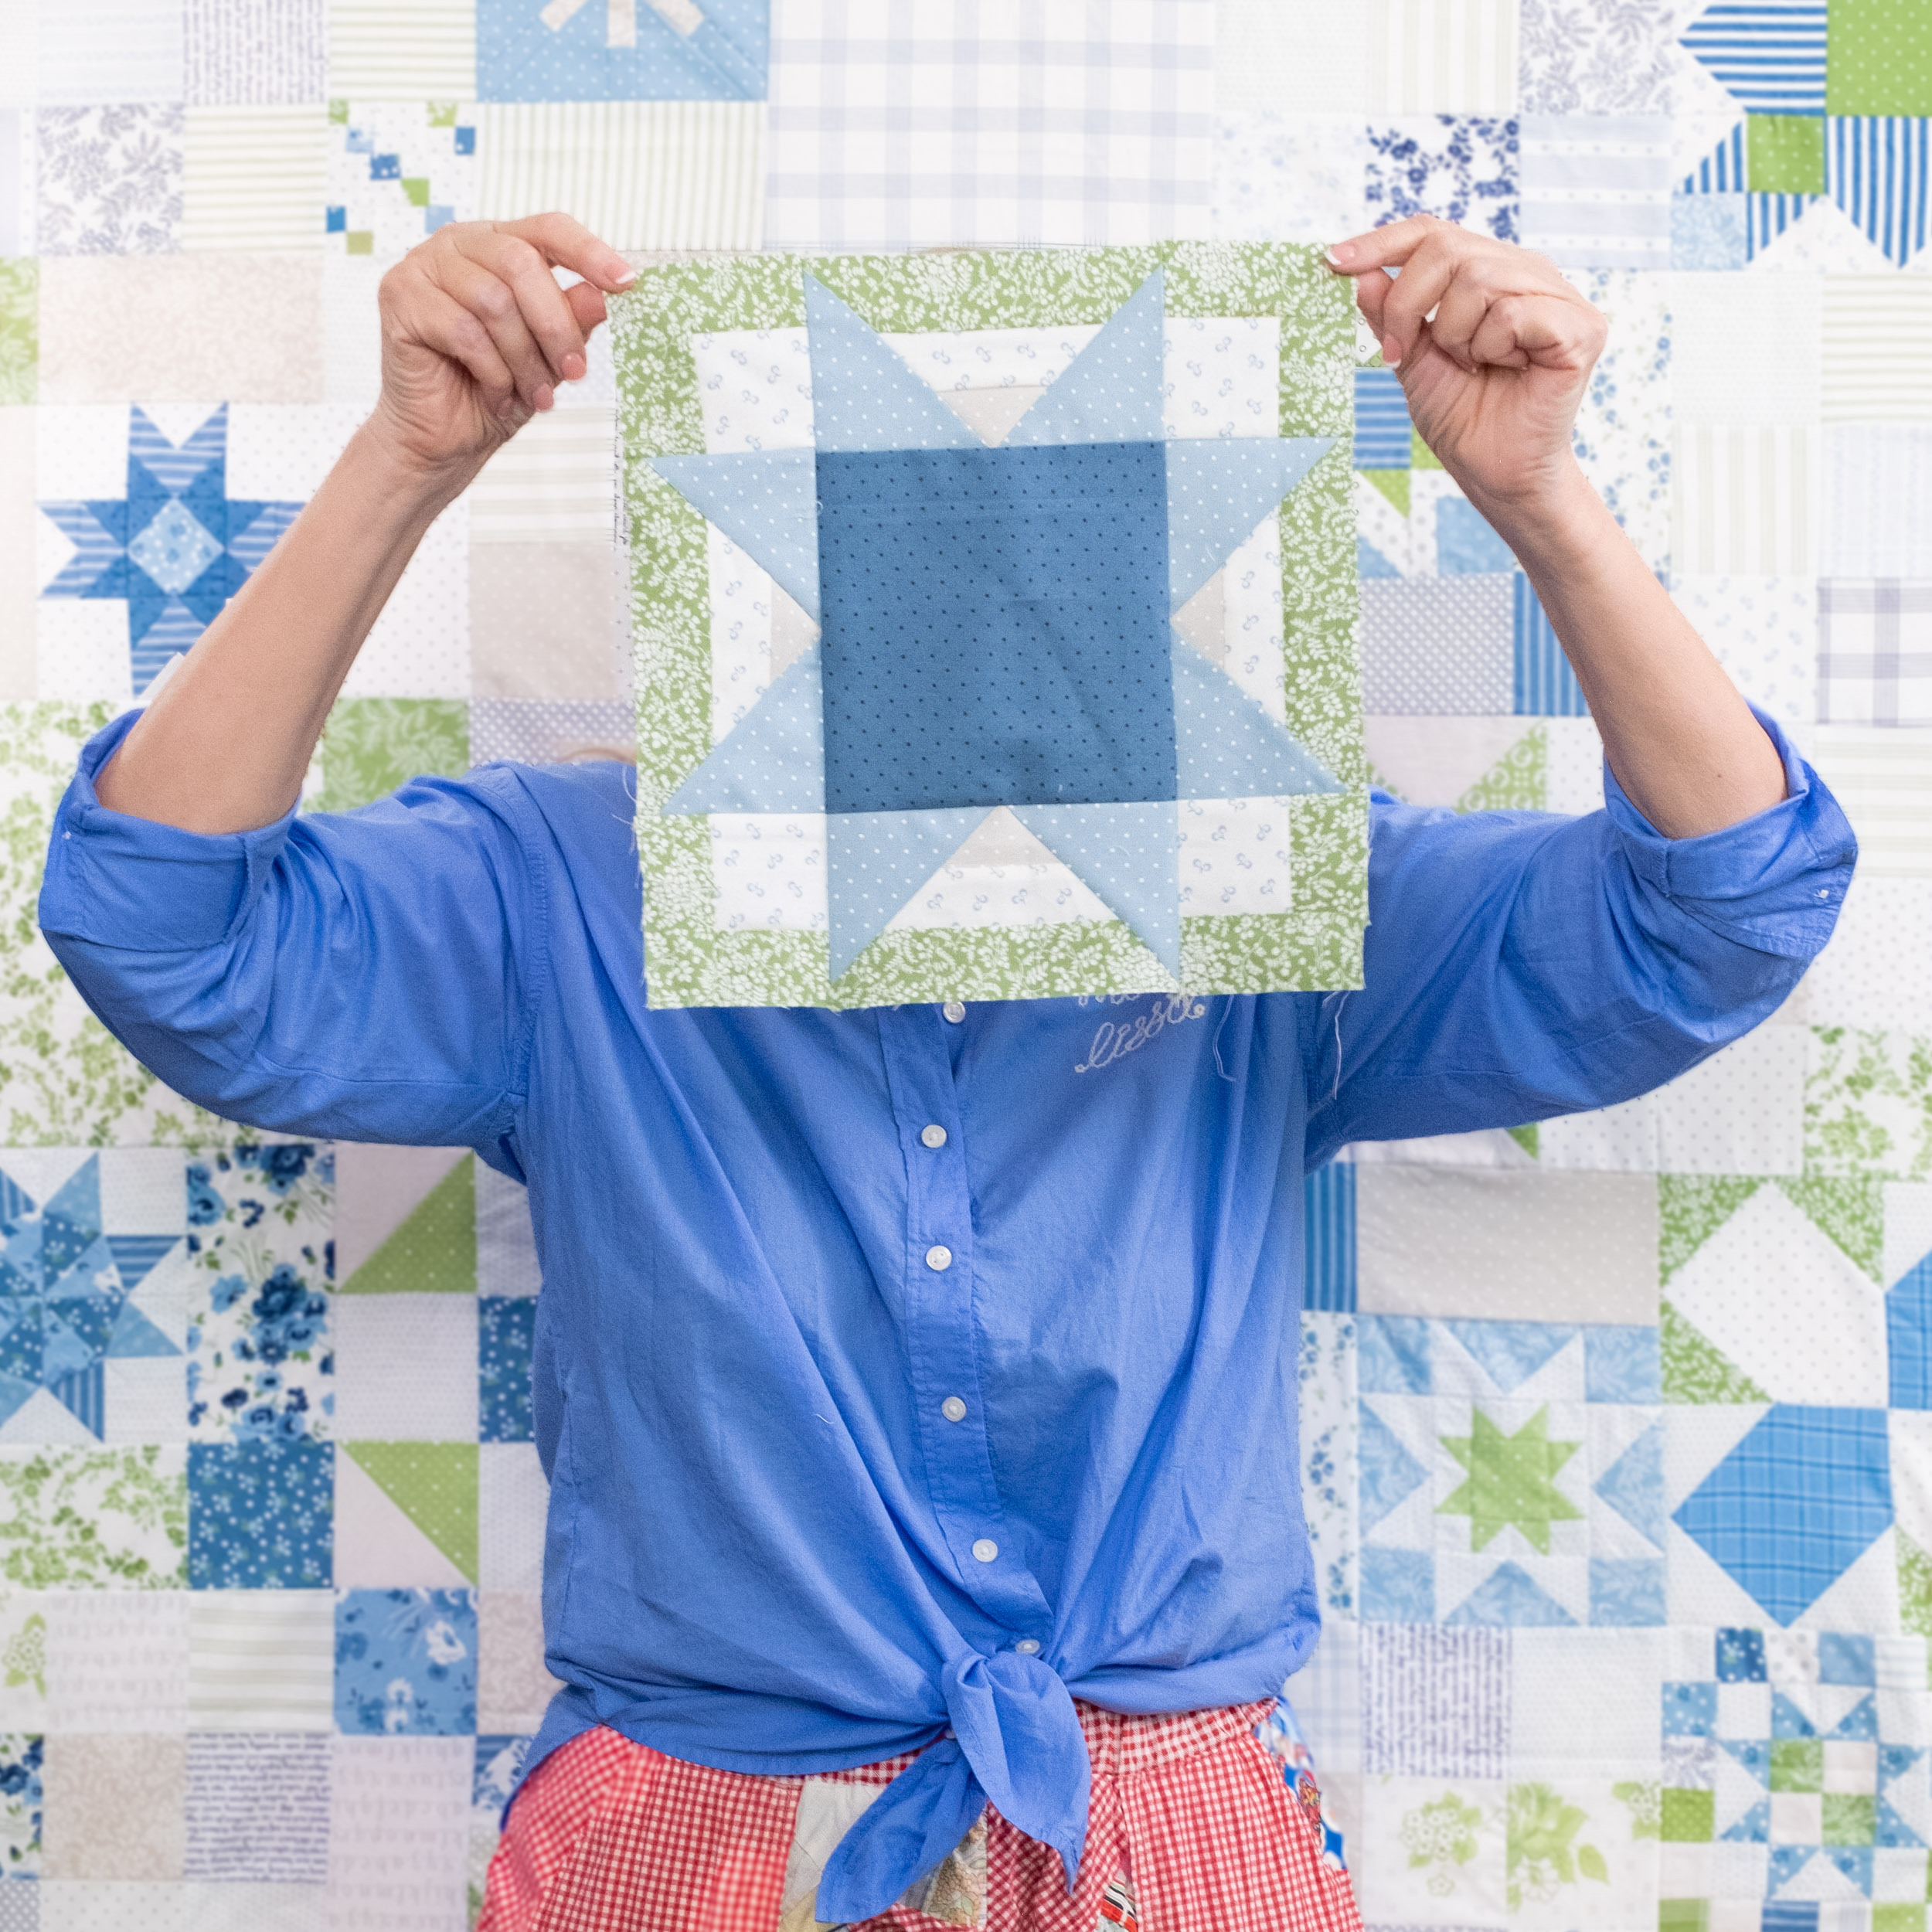
Dew Drops – A Gentle Start to the Day
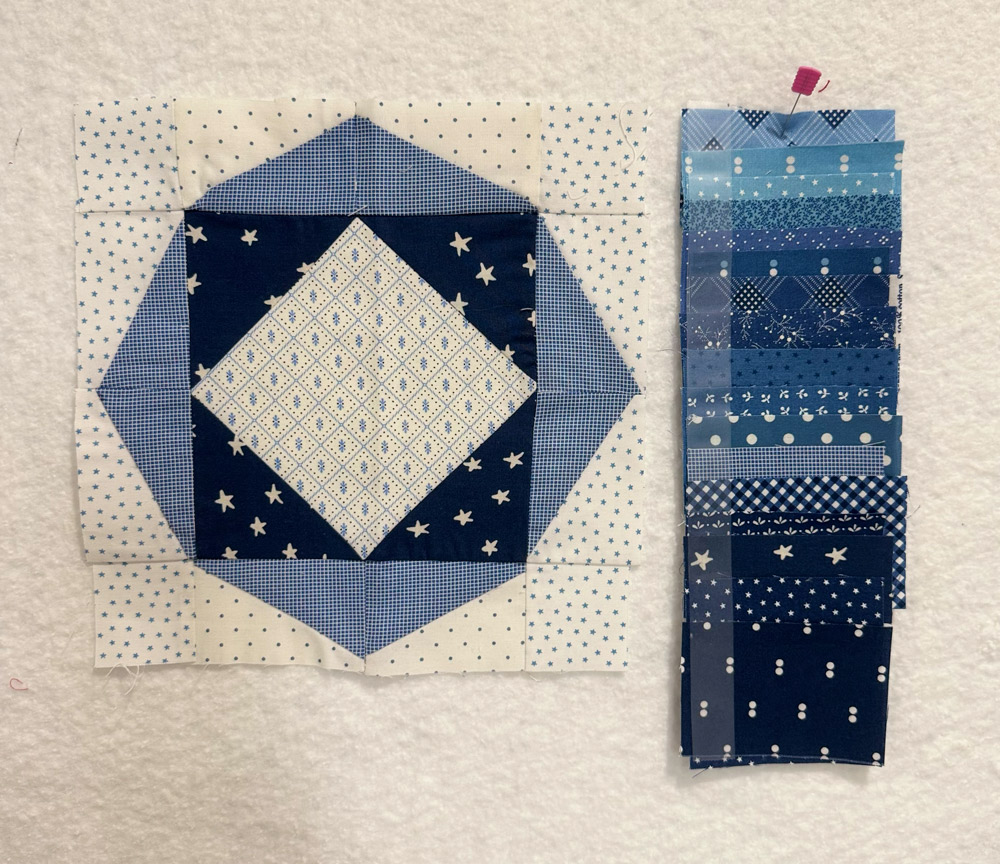
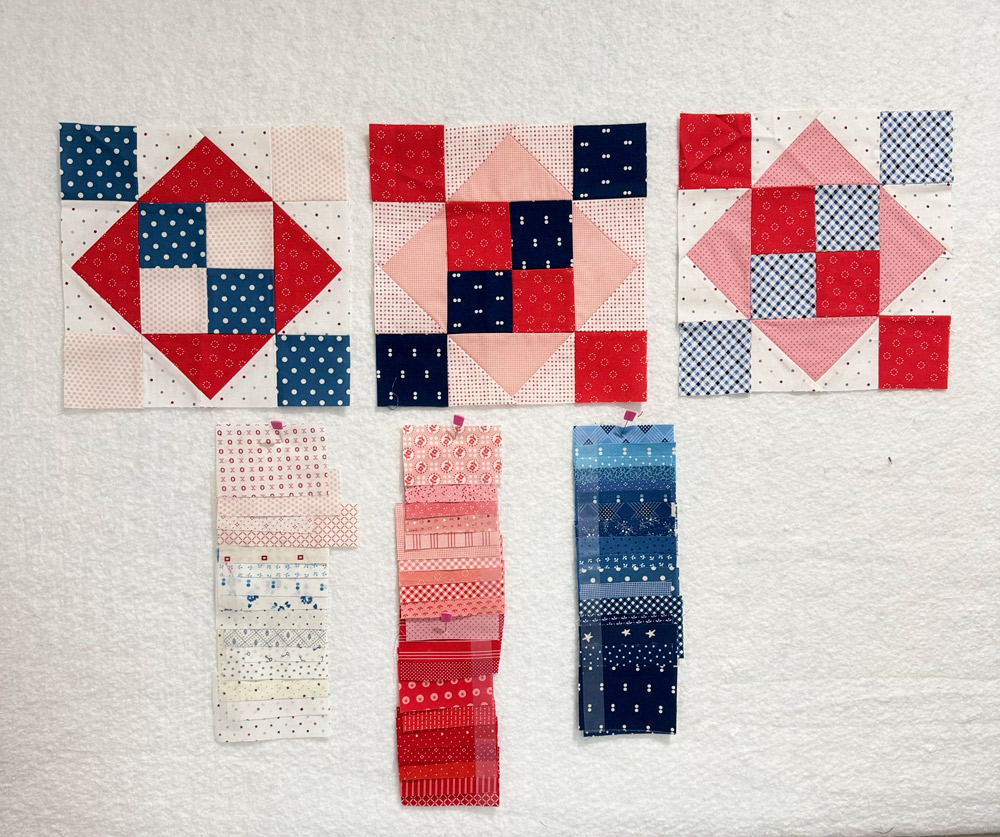
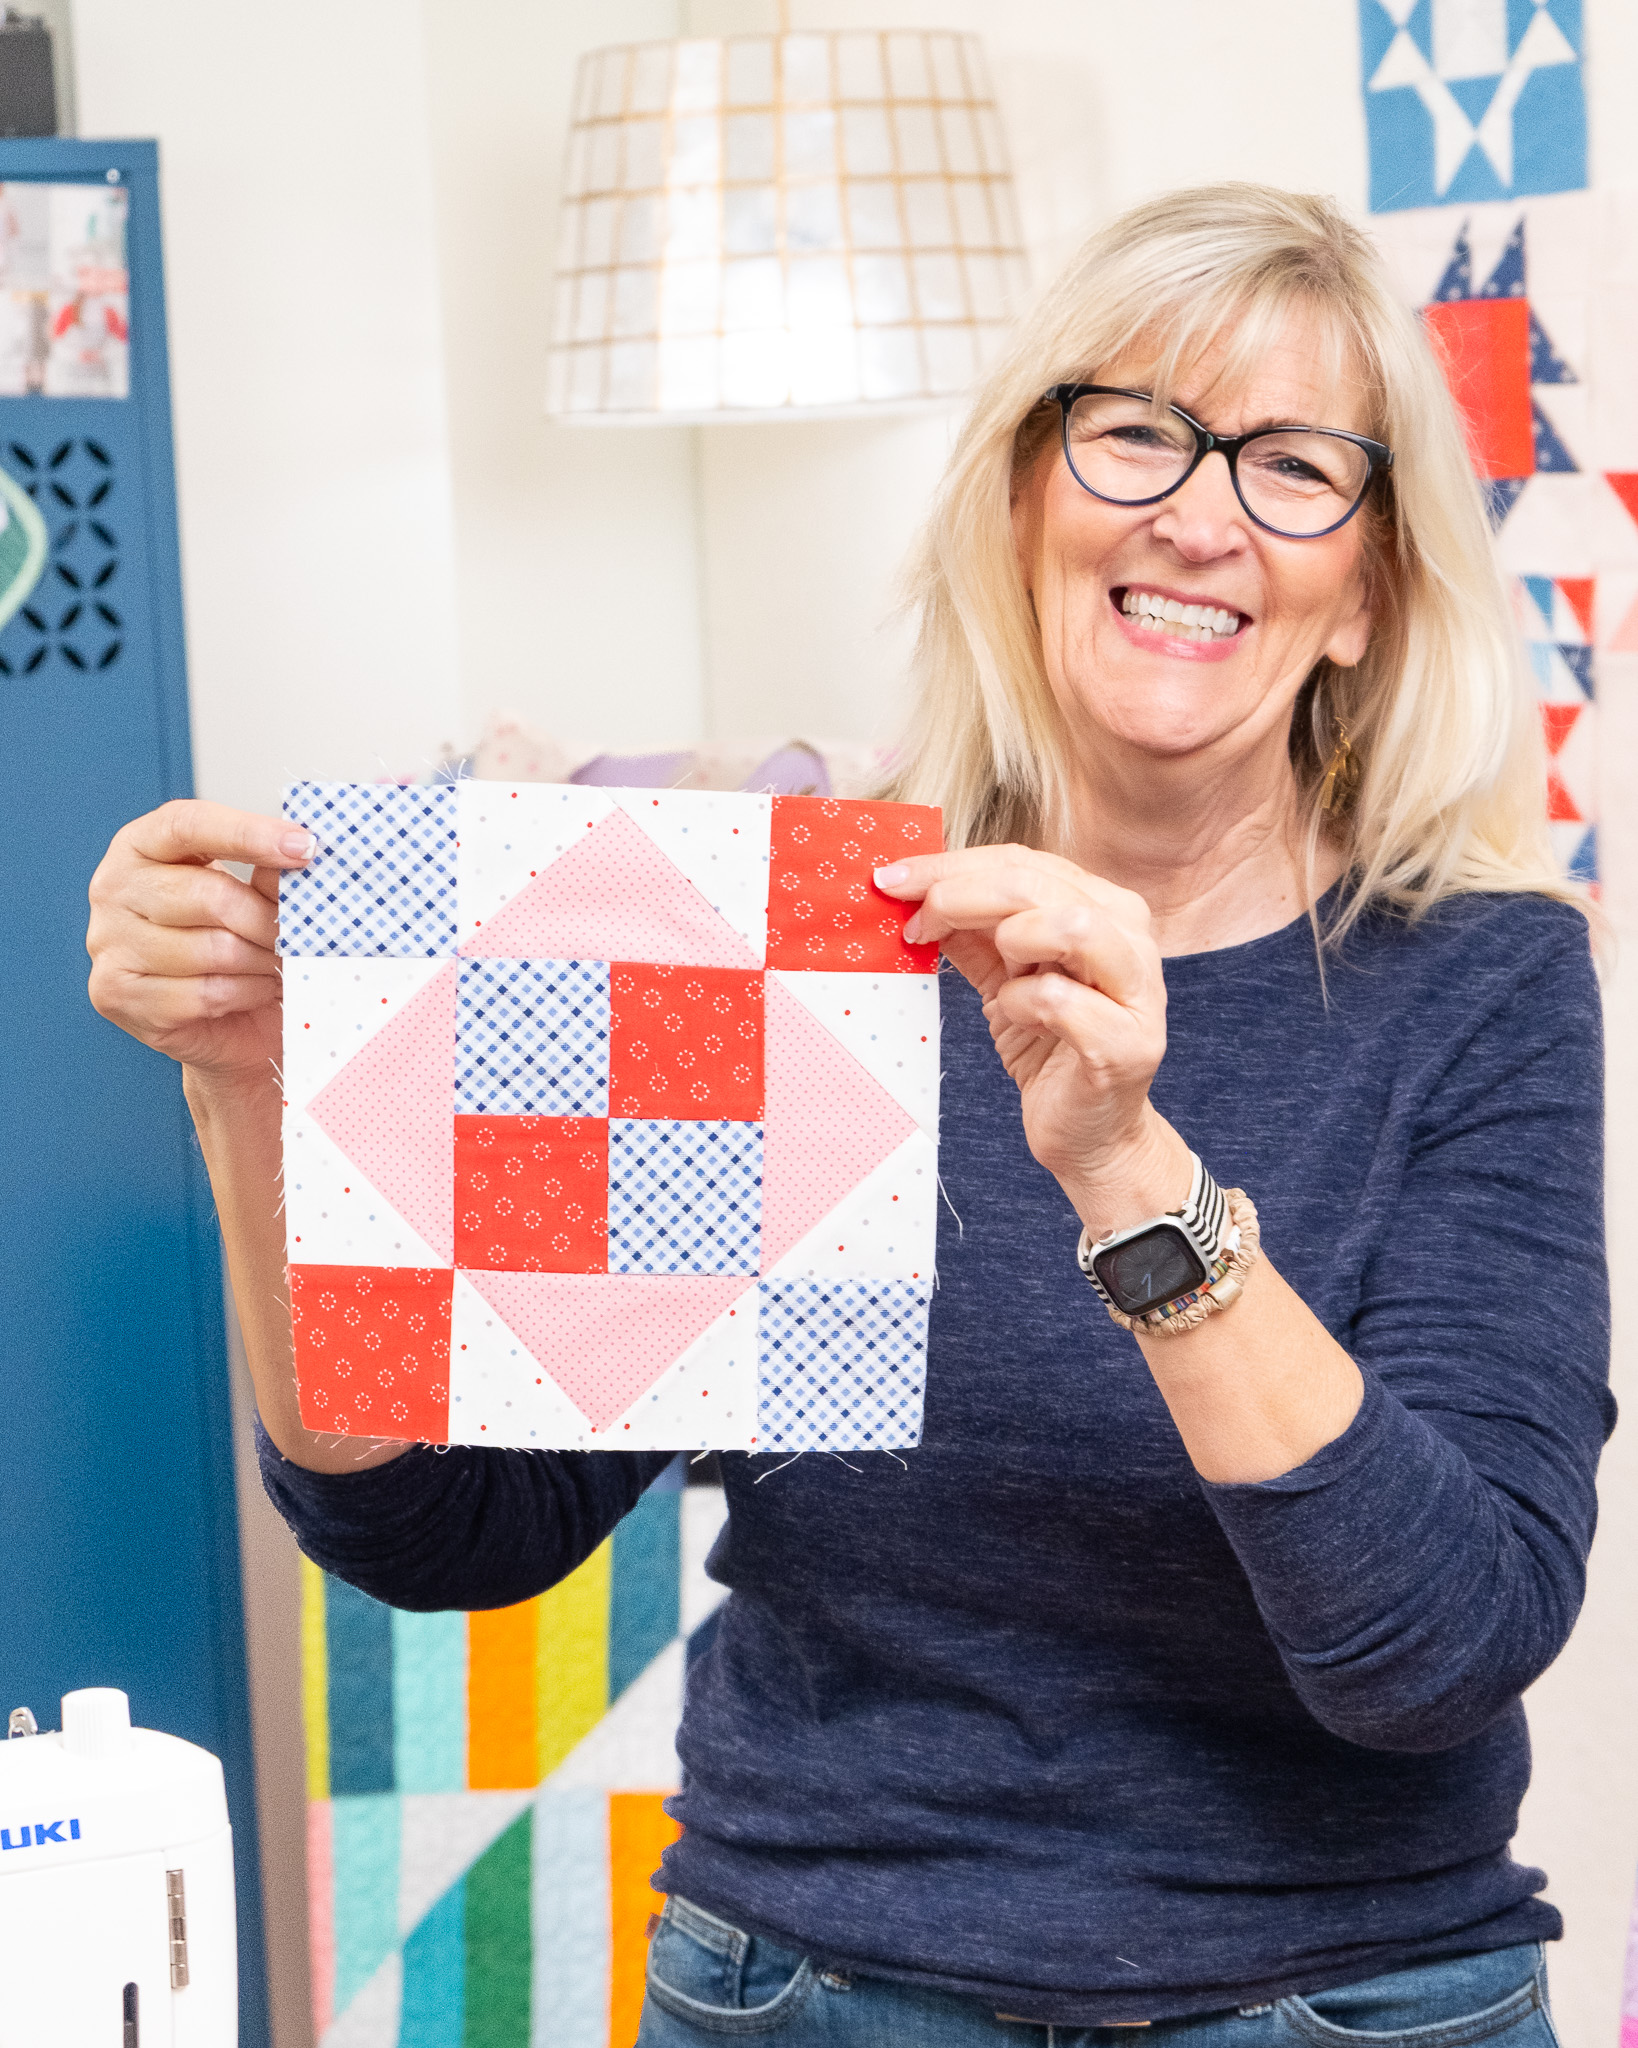
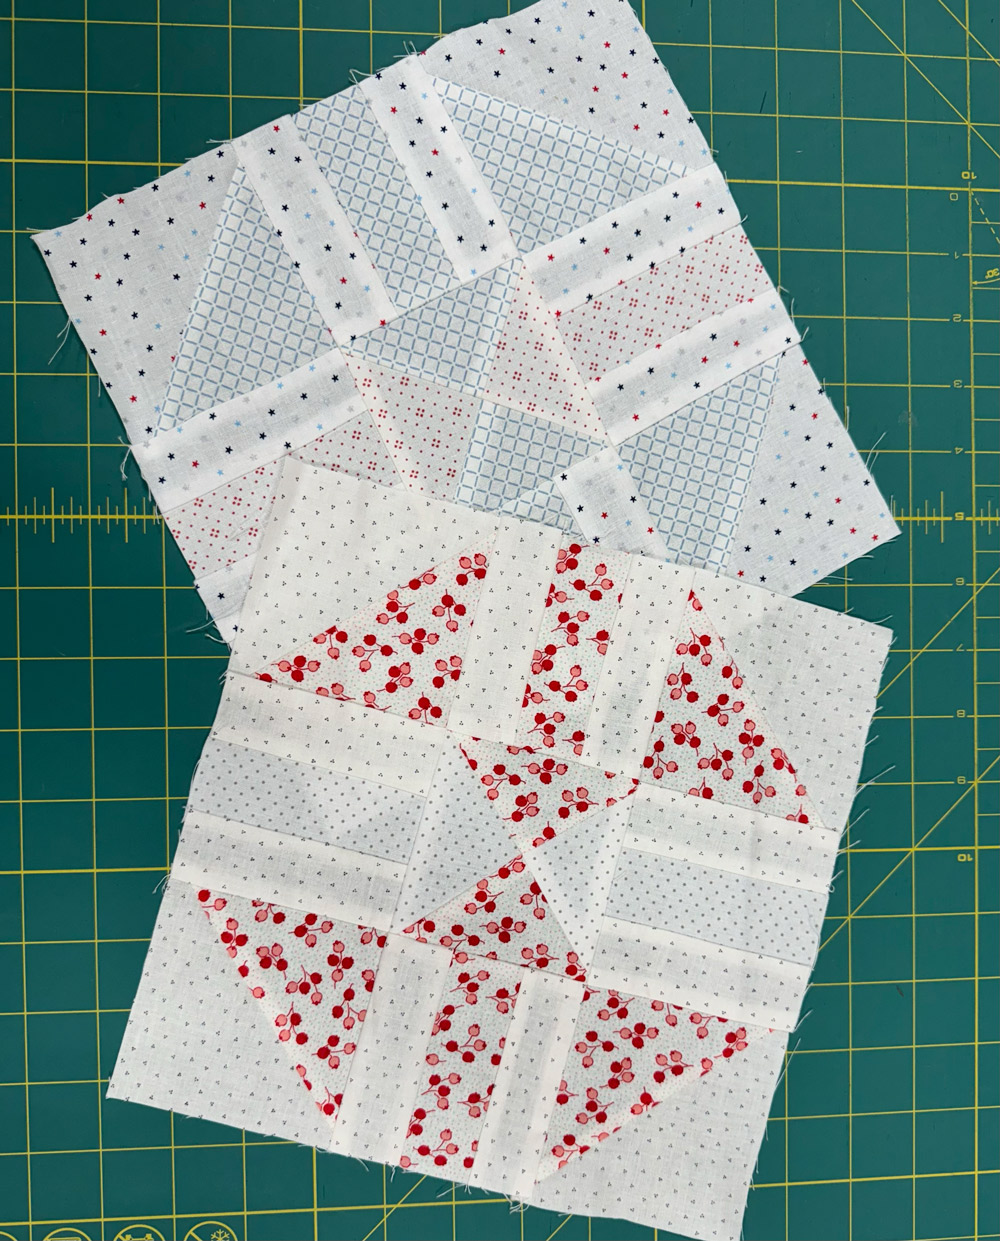
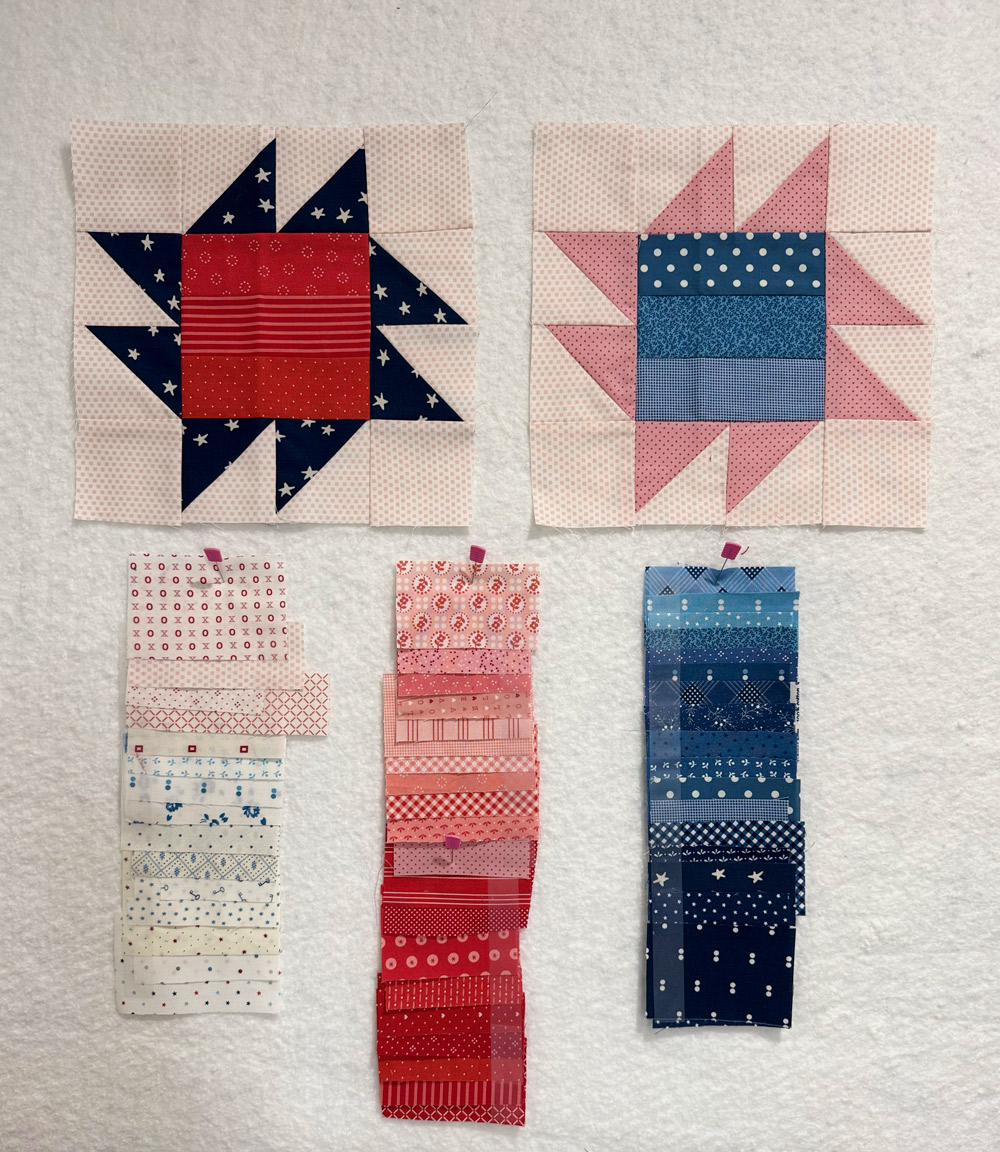
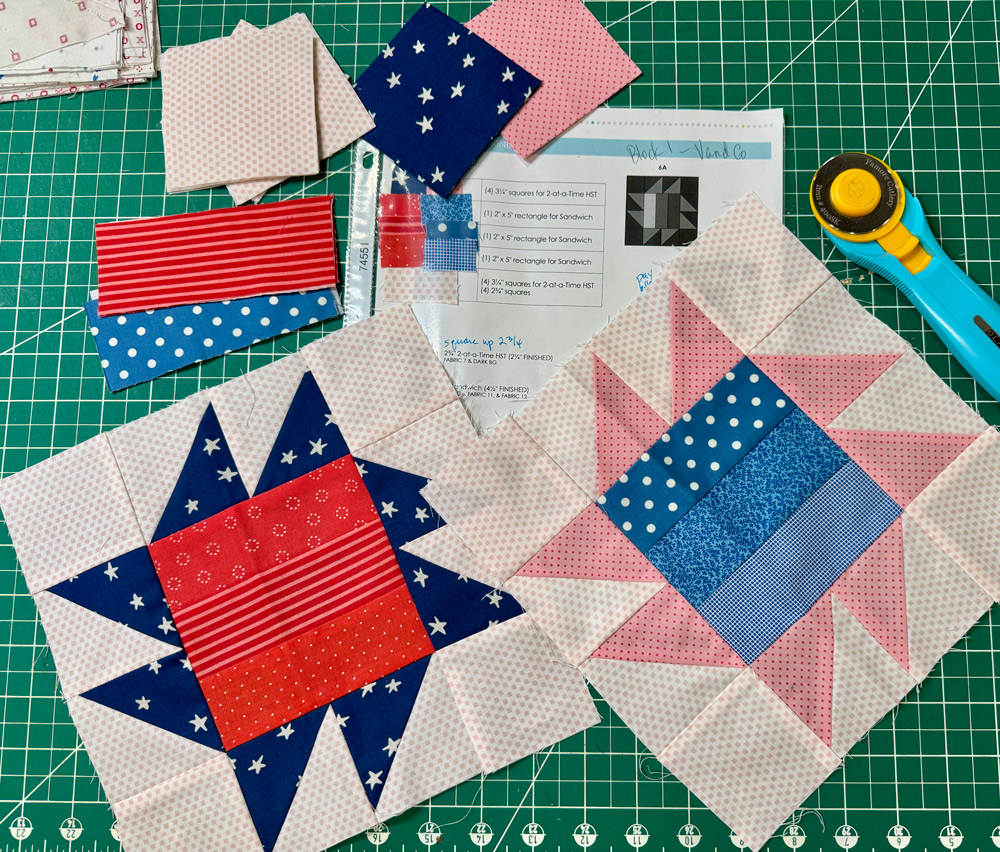
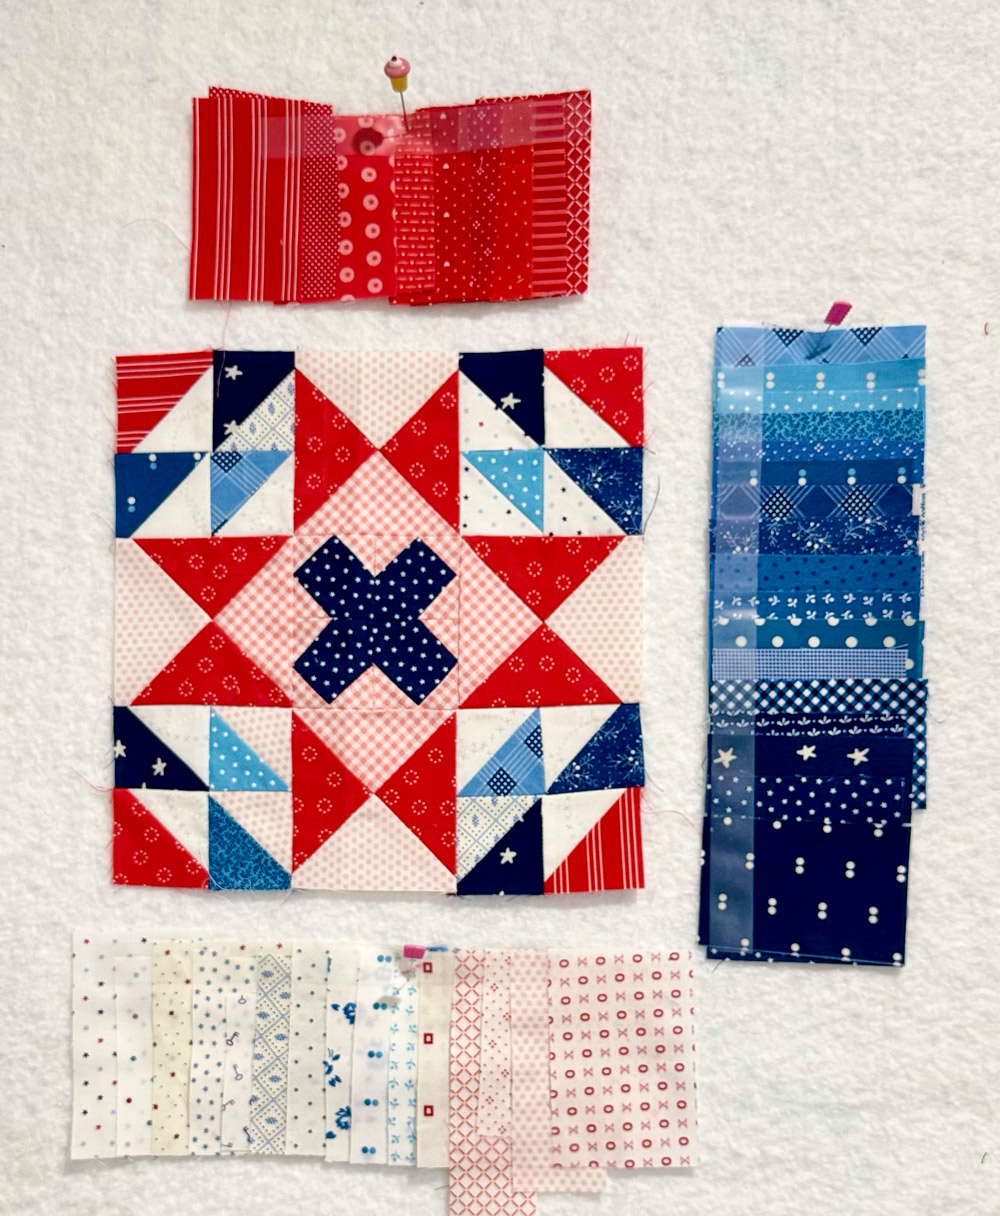
The Dew Drops Block combines half-square triangles, quarter-square triangles, and a central four-patch unit to create a design that is structured, yet intricate. The layout mesmerizing with shapes that gently lead your eye from the center outward.
I love my color palette this week, and want to make more of these blocks, wait, did I say that last time?
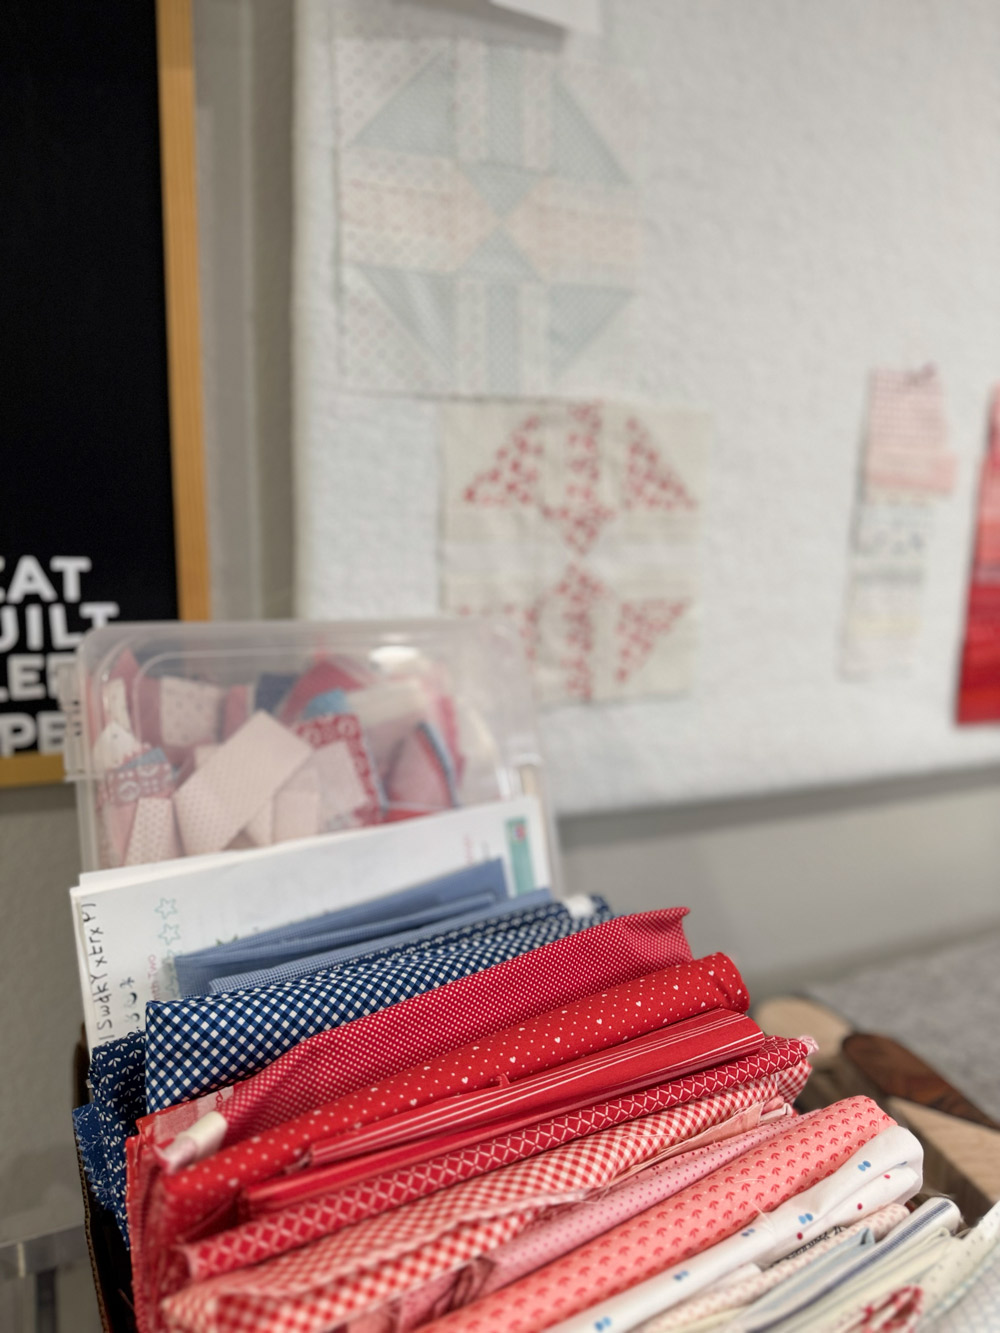
I think I say that every time, so forgive my obsessive desire to make more and more quilts! Blues, creamy neutrals, and reds added warmth and helped me stay in that vintage-faded look. I really enjoyed piecing this one—it went together smoothly, and I am happy how my points lined up.
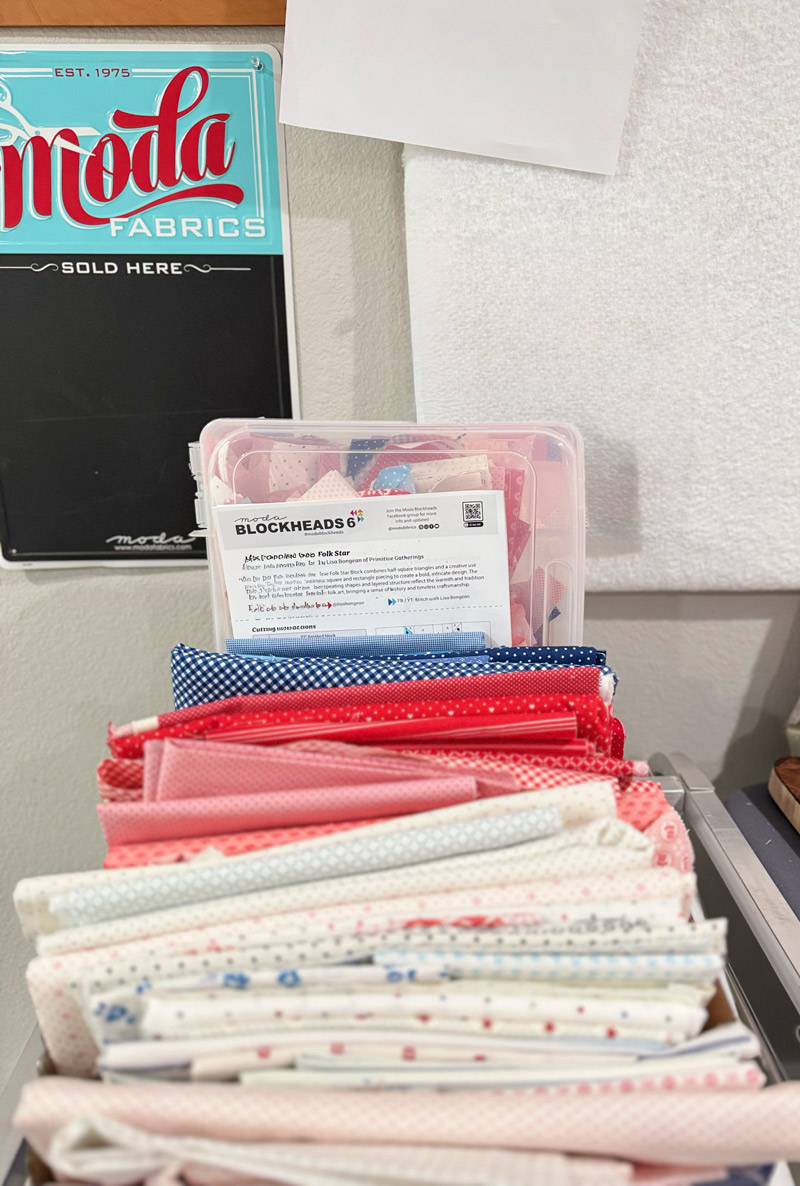
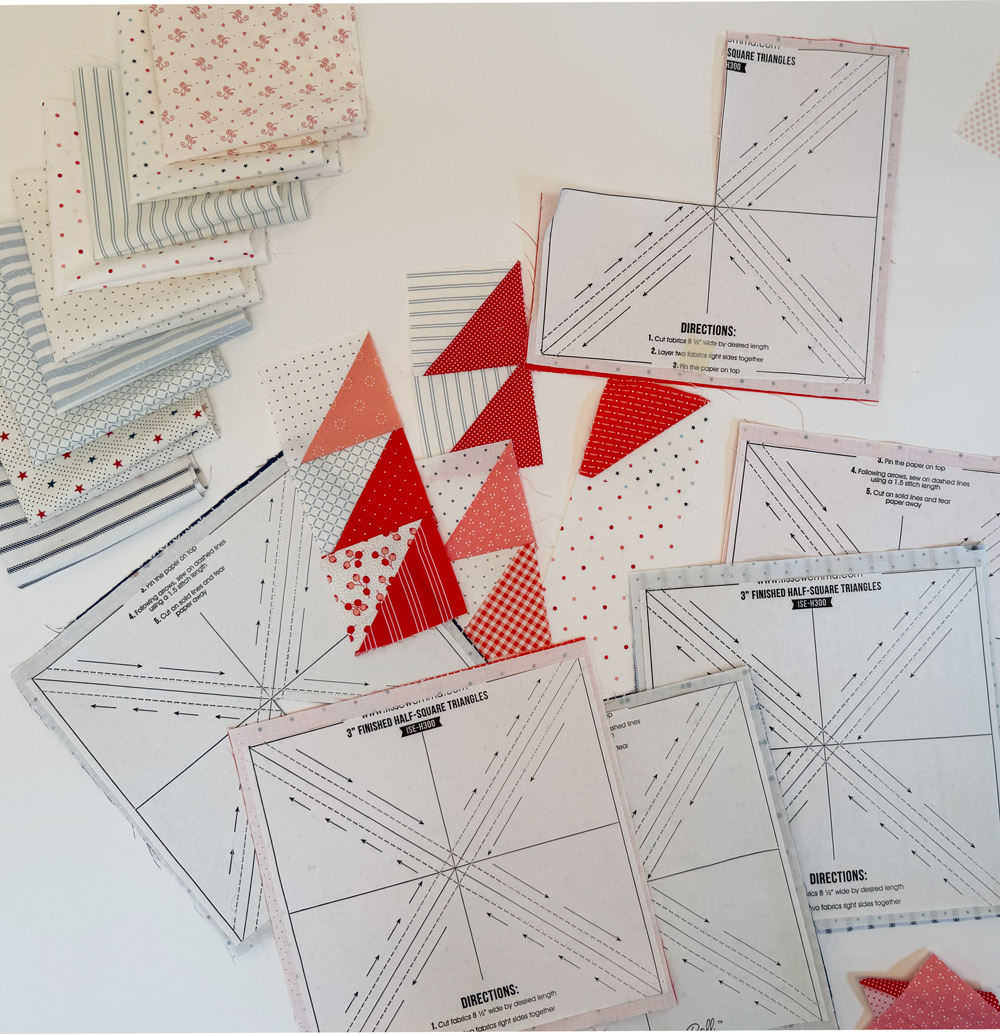
Since I like to do things scrappy, I pieced lots of 3″ half square triangles using It’s Sew Emma’s triangle papers. This way I have an assortment ready. I cut off what I need and trim down to the size needed for each block.
Meet the Designer: Chelsi Stratton
If you’ve been in the quilting world for even a short while, you’ve likely come across Chelsi Stratton’s work. She’s a designer known for timeless patterns, warm palettes, and fabric collections she creates alongside her mother, Sherri McConnell, for Moda Fabrics.
Chelsi brings a lovely mix of tradition and fresh perspective to every design. Her patterns are approachable yet polished—perfect for both newer quilters and seasoned stitchers looking for something classic with a twist. She also shares her creative process, design tips, and quilting life across multiple platforms. Be sure to follow her and stay inspired!
-
Instagram: @chelsistratton
-
Facebook: Chelsi Stratton Designs
Give her a follow—you’ll love the glimpse into her quilting world, family life, and her collaborations with Sherri.
Watch & Stitch Along
Head over to the Moda Blog to read more about Chelsi’s inspiration behind Dew Drops, and don’t miss the how-to video tutorial for this week’s block. Whether you’re cutting into your favorite prints or sticking with solids, there’s plenty of room to make this block your own.
Let the Dew Drops Fall
This is the kind of block that looks different with every color combo—soft and subtle, bold and graphic, or somewhere in between. Be sure to share your version using #ModaBlockheads and #ModaBlockheads6, and don’t forget to tag @modafabrics and @chelsistratton so we can all admire your work!
There’s something truly special about how this quilt is coming together—one block at a time, one stitch at a time, yet I still haven’t decided on my setting. I need to get to work on that very soon!
Until next week, happy sewing.
Details about this program, click here.
Follow each of the designers listed below.
Chelsi Stratton- This week’s designer
Vanessa Christenson – Download the pattern here.
Lynne Hagmeier -Download the pattern here.
Anne Sutton -Download the pattern here.
Kiley Ferons-Download the pattern here.
If you are not a member of the Blockheads 6 Facebook group, you can join here.
I can’t wait to see your progress each week.
-Modalissa

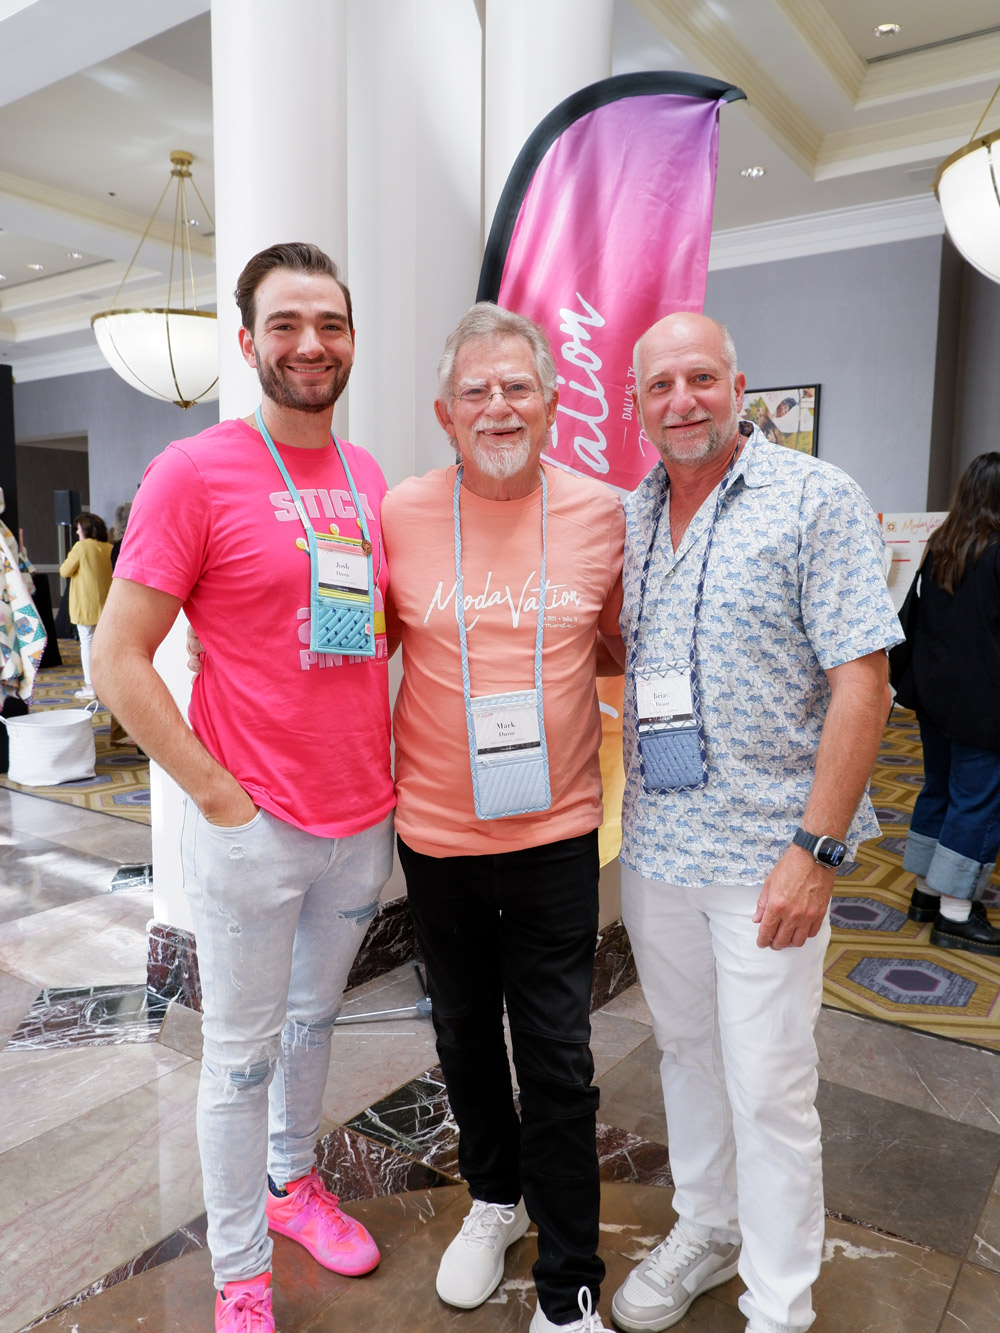
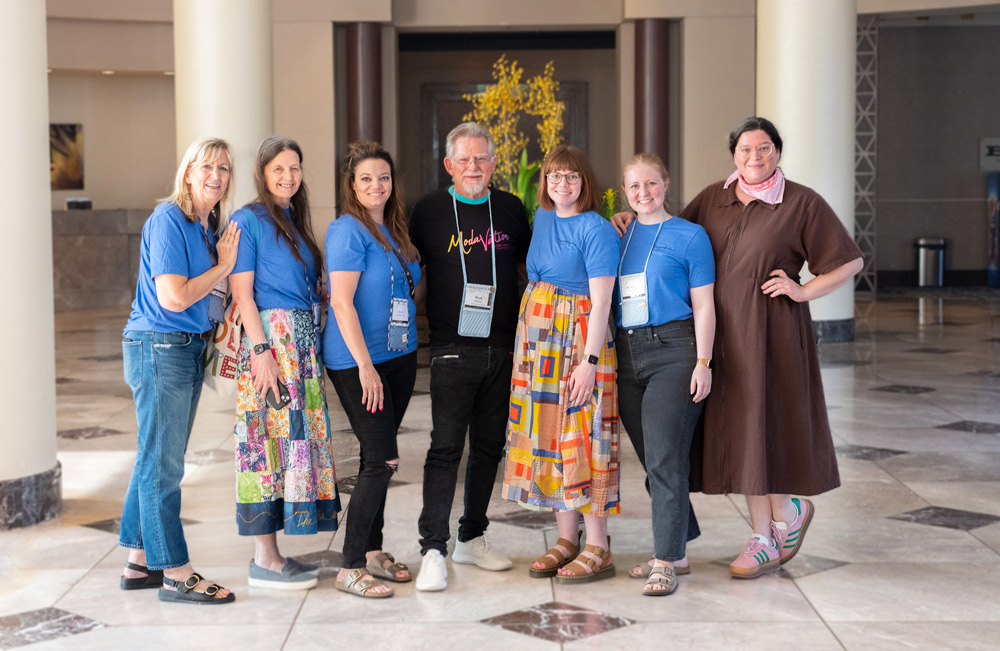
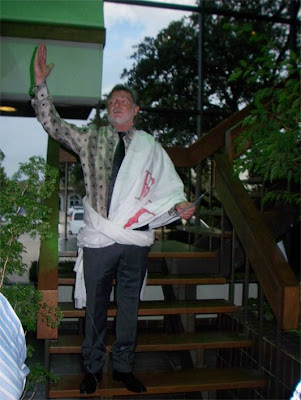 Our fearless leader, Mark Dunn had been toga-ed by the Ombres. He took their shenanigans all in stride.
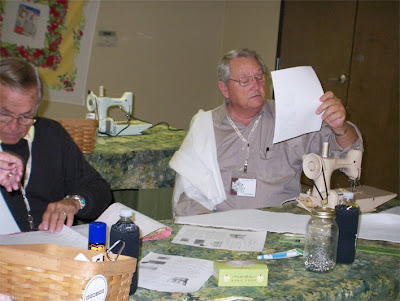 Al Lamborn and Ed Wilson study their instructions before they start sewing on their Purse. Later named, MEURSE (Man-Purse) Thank you to Mary Ann Yeager for supplying all the featherweight machines for the reps to sew on. I have heard through the grapevine that one of the reps has since taken up quilting. (Don’t worry John your secret is safe with me)