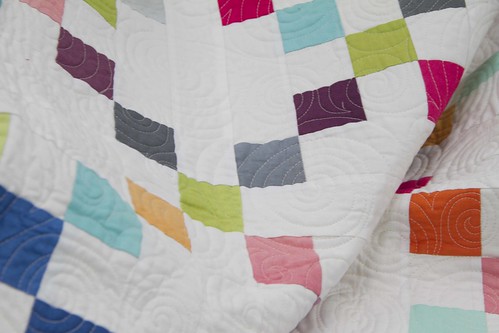
Travel Pillowcases

Travel Pillowcases
I have been having so much fun making travel pillowcases. 
All you really need is 14″ of fabric plus a band. 
It is pretty cool how the construction of this pillowcase is done.
 Don’t get me wrong making the standard pillowcases with the
 sausage technique is absolutely amazing. 
The travel pillowcases are made completely different using 1 width of fabric. 
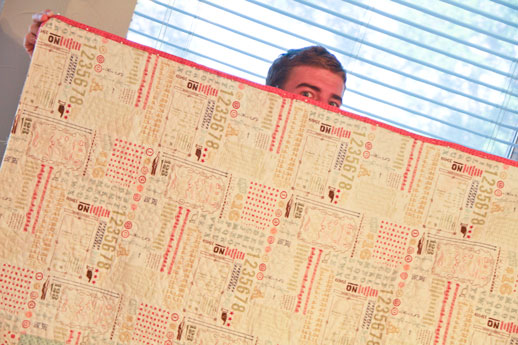
These are fun to keep in the car for road trips or the occasional road side pillow fights!
How about using them as pillowcases/gift bags!

FABRIC SUPPLIES

Body- 14″ by 44″
Trim- 1 3/4″ x 14″
Band- 8″ x 14″

INSTRUCTIONS

1. Trim- Fold in half lengthwise and press
2. Band- Fold in half lengthwise and press
3. Lay the body of the pillow case face up and layer the raw edges of 
the trim and band. Pin in place.
4. Sew along the 14″ side keeping all the layers together .
5. Press
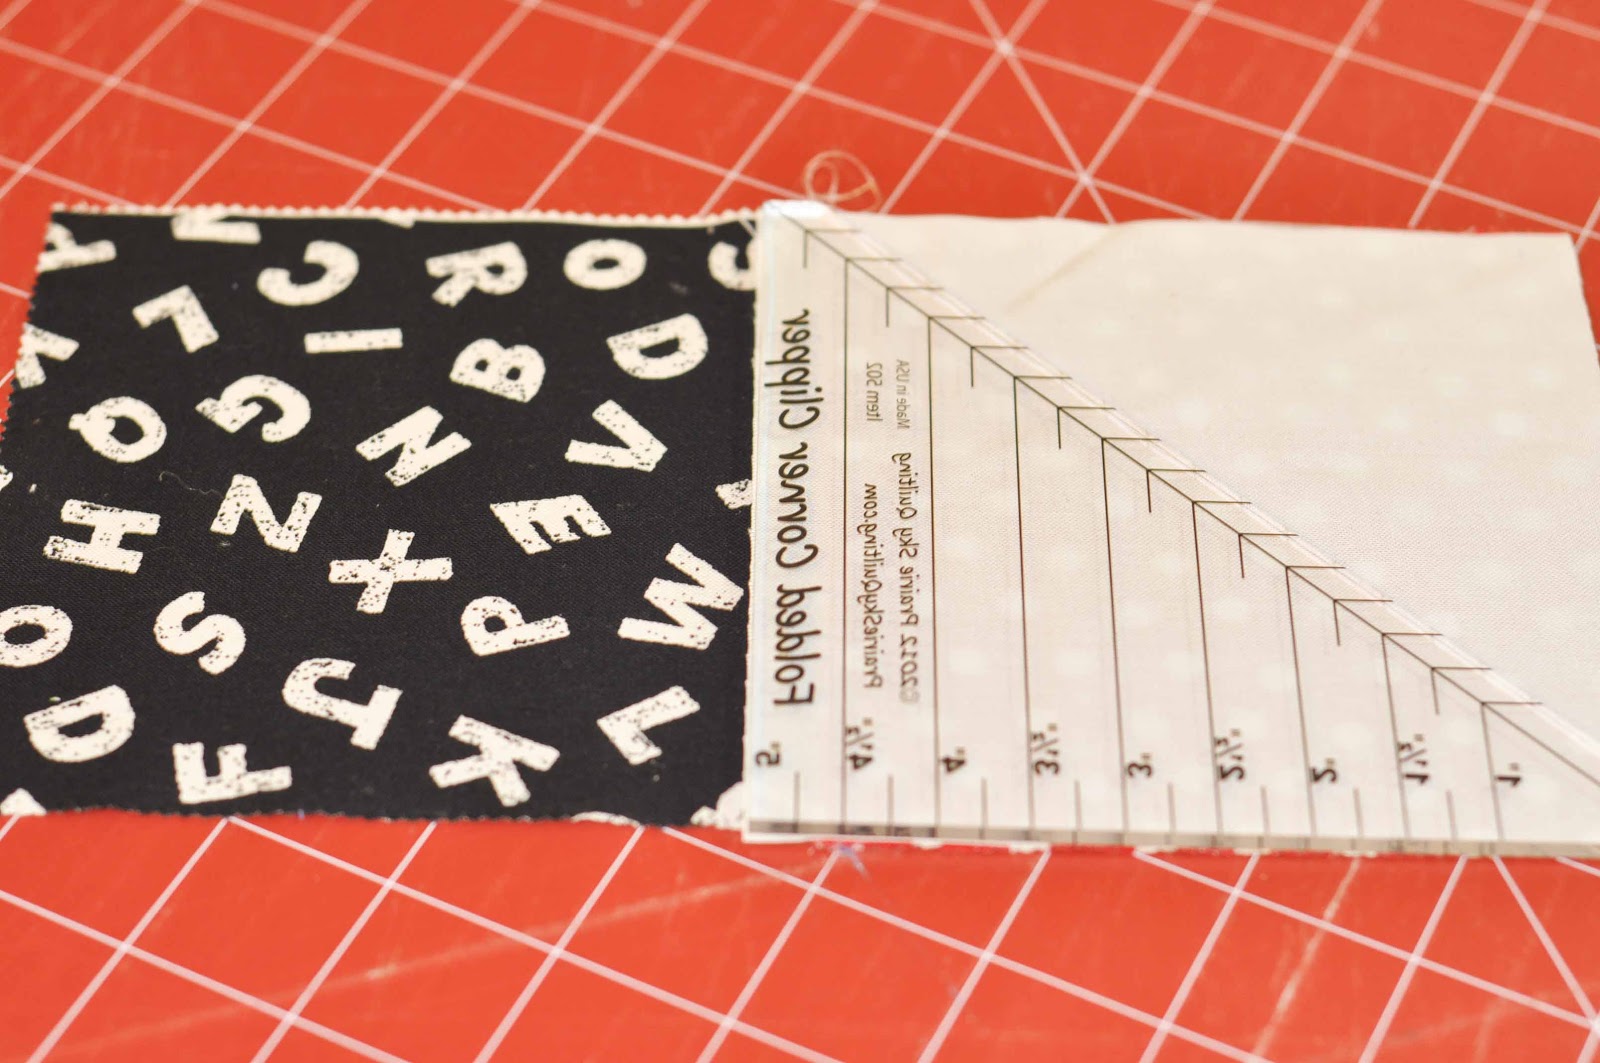
( this is where it can be a bit tricky to understand from written directions)
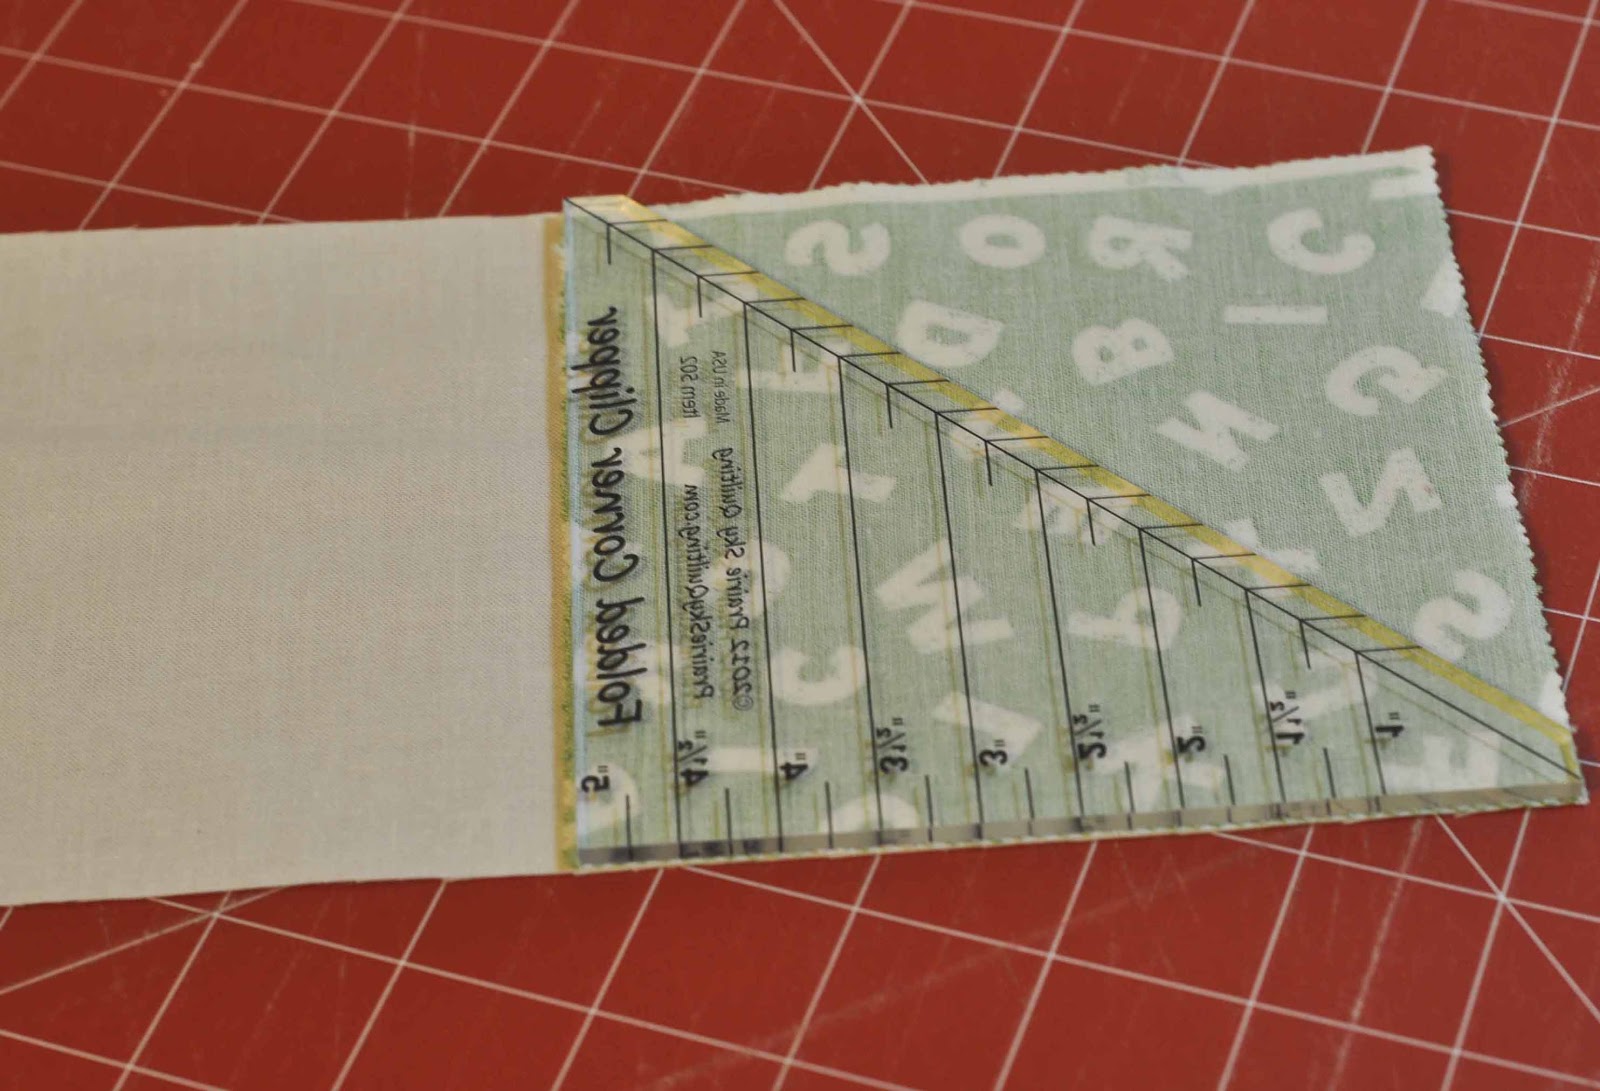
6. On the opposite end of the pillow case, fold under 6″. 
Press. Fold under 1/4″ of the 6″ and press to create a hem.
look close at the words on picture
7. Fold body right sides together.
8. Fold the flap over the top of the band creating an envelope and pin in place.
9. Sew the 2 side seams.
10. Trim corners to eliminate any bulk.
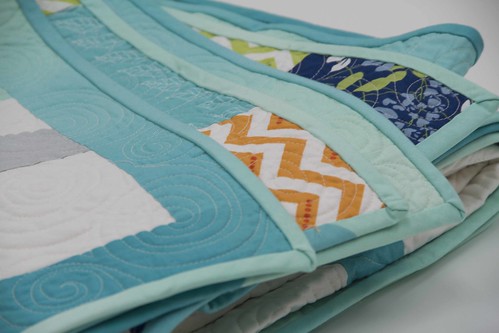
11. Turn the pillowcase right sides out. The envelope flap will hold 
the pillow in 
place and cover the top 6″ of the side seams.
12. Press and add a 12″ x 18″ travel pillow.
thank you Carolyn Tover for the machine embroidery
Doing some research on travel pillows and found that the size of 
pillows can vary by manufacturer. You may want to decide what size 
your travel pillow is before cutting and vary the  pattern slightly.
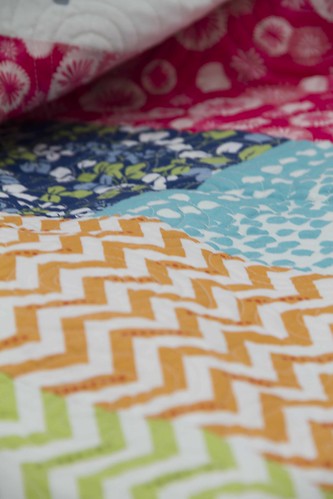
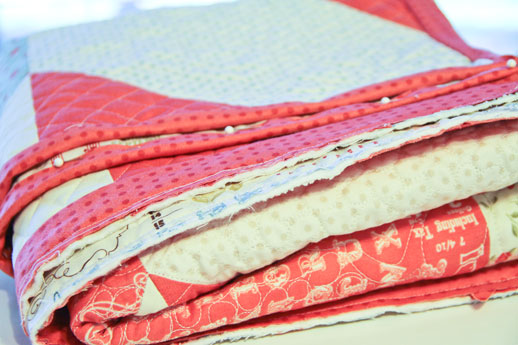
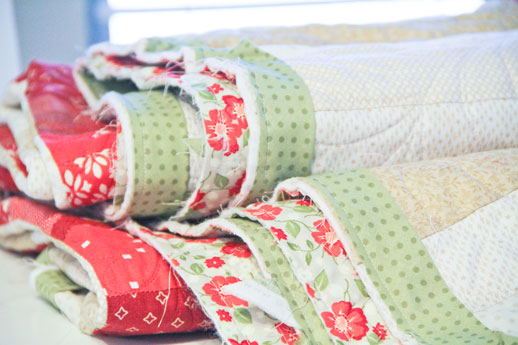
For some of the pillowcases I used flannels.
top-Apple Jacks by Tim & Beck
Marmalade by Bonnie & Camille
bottom 2- Cottons from Bear Country School by Berenstain Bears
Sleep tight!
-modalissa

Ombre Jelly Roll quilt

Have you fallen in love with Vanessa’s Simply Color fabric line?
I know I have.
Vanessa has ombre mini jelly rolls that include only her ombre fabrics.
The jelly rolls are a little misleading because at first glance they look like a nice
little set of spring colors. Once the jelly roll is opened, the colors burst as the
ombre colors flow creating a full pop of color. The quilt shown below
was made from 1 ombre jelly roll and a bella solid background.

ombre nine patch12_6

ombre nine patch12 
 Look how cool the binding and border is using a ombre fabric also.


ombre nine patch12_20


Now for the backing…
Just as colorful as the front.

ombre nine patch12_22 
Of course I had to use fat quarters from the Simply color  collections  for my quilt back.
Are you nervouse about just chopping up a bunch of fabrics to piece your backings?
Lynne Wilson has come up with patterns to help you through the process.
Each of the patterns will make a backing up to a certain size.
What a great way to use up your stash! OR use new fabrics like I did!! Ha ha!
I have a reversible quilt that is full of color!
The pattern line is BACK IT UP.


ombre nine patch12_9

 For the pattern to make the quilt top, click HERE.
I also made a version with grey solid as the background. These fabrics are so addictive
 that I couldn’t make just one!!

Berenstain Bears star quilt

Bear Country School
 Are you looking for something fun and quick to make?
All you need is
 1 charm pack, 
3/4 yd background fabric,
1/3 yd inner border,
 1 1/2 yds for border and binding
The entire pattern is listed below but the following pics are some 
step by steps so you can see how easy this ruler makes sewing “off” corners. 
Blocks like snowballs etc are perfect to use this technique
 and there is no marking involved.
Quilt measures 48″ x 48″
Folded Corner Clipper, Stock #502
Prairie Sky Quilting

 With fabrics right side together, place the ruler on the fabric and trim. 
(the EXTRA trimmed triangles can be sewn together and used for another project.)
see how the ruler lines up at the point and includes the seam allowance
sew 1/4″
this method can also be done on pieces that are already sewn together such as the two squares above.
add the bella solid square
trim
sew
I also sewed all my “extra” triangles together as shown in the background.
To download the pattern to make this quilt, click HERE.
charm pack star12_5
Welcome to Bear Country
by Berenstain Bears is in stores now.
charm pack star12_11
 This is a great pattern to make using any charm pack!!

Have fun.
-modalissa

Friday Funny

I am checking in after a whirlwind Market and Festival with a lame Friday Funny. I wanted you to know that I was alive and recuperating from a very long and great couple of months!!
I am back in the saddle. 
Here goes.
FRIDAY FUNNY
Check your shampoo bottle label.
I don’t know WHY I didn’t figure this out sooner!!!!
It’s the shampoo I use in the shower!

When I wash my hair, the shampoo runs down my whole body and (duh!) printed very clearly on the shampoo label is this warning, FOR EXTRA VOLUME AND BODY! No wonder I have been gaining weight!!!

Well! I have gotten rid of that shampoo and I am going to start using Dawn dish soap instead.

Their label reads, DISSOLVES FAT THAT IS OTHERWISE DIFFICULT TO REMOVE. Problem Solved!!!

If I don’t answer the phone I’ll be in the shower!!!

Sweet Celebrations blog hop

Welcome Welcome. I am honored to be one of the stops on the tour along with such talented people. Sweet Celebrations features projects from 21 designers or as we call them chefs.
 Chef is code word so that our families think we are spending more time in the kitchen than in the sewing room.
Why I am on the hop? Because I had the honor of compiling this project. However I did not do it alone. I had lots of help from Angela Yosten and Jenny Garland who helped hatch the entire project.
I also wanted to give a shout out to Chelair Etter who took care of making sure each chef had the ingredients necessary to complete their project. Thanks also to the great crew at Stash Books for putting together such a great book that can be used throughout the year.
The book was started a year and a half ago so to see the actual book and the great projects inside is such a great surprise to see how it all came together.

Throughout the hop you will see a few of the projects in the book so I am not going to duplicate those images. However I am going to show you the pages titled, Celebrate the Designers. That is really what this blog hop is all about, celebrating the designers and all the work they put into this project. I am lucky enough to have my hands on an early copy of the book. I also have many pages flagged for the projects that I want to make!

If you are a storeowner, you can meet some of the chefs at market. They will be there doing a book signing in the United Notions booth.

If you are coming to Quilt Festival in Houston, there will be a Moda Bake Shop booth, showcasing some of the projects from the book as well as all the projects online at the bakeshop.

 Leave a comment telling me what your favorite part of quilting is and I will draw a winner for this little bag of treats that includes 8 different 2 1/2″ charm packs called Moda Candy.

My recipe is from a friend of mine, Debbie Outlaw. The recipe has been around for so long no one knew what it’s original name was…………so I took the liberty to rename it, Outlaw’s Pumpkin Muffins.

here is a link to the recipe.

Hop on over to Little Miss Shabby to see what she is saying today about Sweet Celebrations.

Modern Fall Quilt

kennedy modeling my newest quilt
Can you modernize Halloween or possibly the 
celebration of Thanksgiving? Both Holidays are certainly the beginning 
of the fall holiday season in the United States, 
but neither holiday would be considered modern.
I love the season,
I love the colors
and I love the weather
during this time of year 
AND
I was inspired to sew.
I didn’t know what project but I had a color palette in  mind.
So I was looking back through my notebook of project sheets.
I have always
loved
 the Wee Woodland pattern so I choose some “fall colors”, 
grabbed
some candy corn and peanuts,
 threw them in a bowl for a sewing snack and started 
yet
another project.
The working title for this quilt was Modern Fall. It was my excuse 
to get to sew with
 orange, grey, magenta and greens and a 
natural grey pindot background 
without having to worry 
about the fabrics matching my house.
Whoa, wait a minute, did I give you the impression that 
anything in my house matches? 
It doesn’t, eclectic to say the least.
My kids are kind of tired of helping me hold up quilts for pictures,
so I solicited some help from my niece, Kennedy.
She is interested in photography, so I held the quilts
and she took the pictures. We have pictures from all different angles.
There is something about clicking that shutter button multiple times so it
sounds like a professional photographer.
I think that only applies to fashion photography not quilts.
 click, click, click
 I think it was a test to see how long I could hold my 
arms straight up over my head holding the quilt.
quilting by Natalia Bonner
Close up of quilting shown on Natalia’s site.
 
Enough with the quilt pictures. 
My arms were tired. 
It was time to change places,
I was behind the camera and she was in front.
 This quilt is easy and fun to make using an assortment of 10″ squares. Pattern info here.
My other niece Avery came home and helped “model” some
of the other quilts to 
be shown in future posts.
Thank goodness they still like to help Aunt Izzy.

what’s up?

The 2 months before each Market is so hard for me.
Everything I am working on is top secret.
It drives me crazy to see all the fun things people are doing
and I am sewing under the veils of secrecy.
So I just wanted to drop you a few peeks at my projects.
More to come.
Let me just say NEW Minick Simpson/ future McCalls Magazine
Maggi Honeyman is working her magic on it right now!
This one is done and you will see it soon.

I blogged about this one here, during a tutorial for the Folded Corner Ruler.
What I didn’t show is the back. The folded corner ruler give you “extras” that are perfectly paired. I just had to sew the pieces together to make half square triangles. 

I told Bo I was finished taking a picture of the quilt
 but from the look on his face he doesn’t seem to trust me.
The kid does not like his picture taken!

Another quilt in the works!
Thanks for the quilting Natalia.
I have plenty of binding projects! Probably my least favorite part of the entire process.