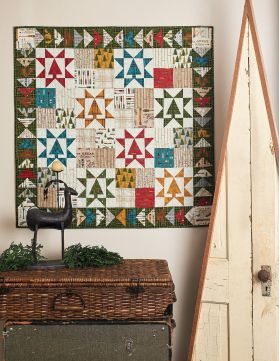
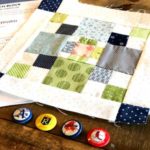
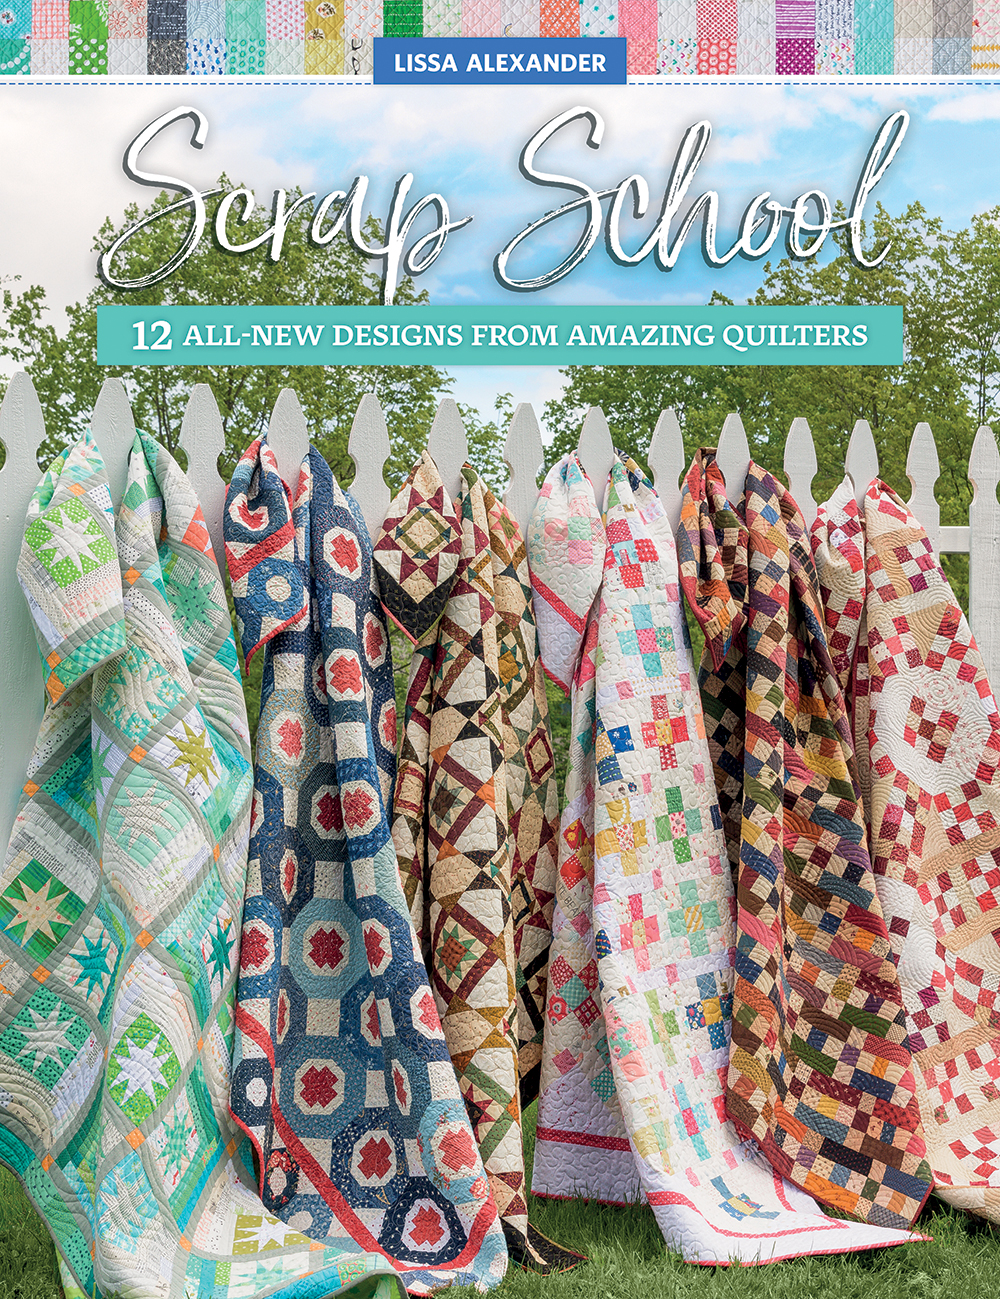
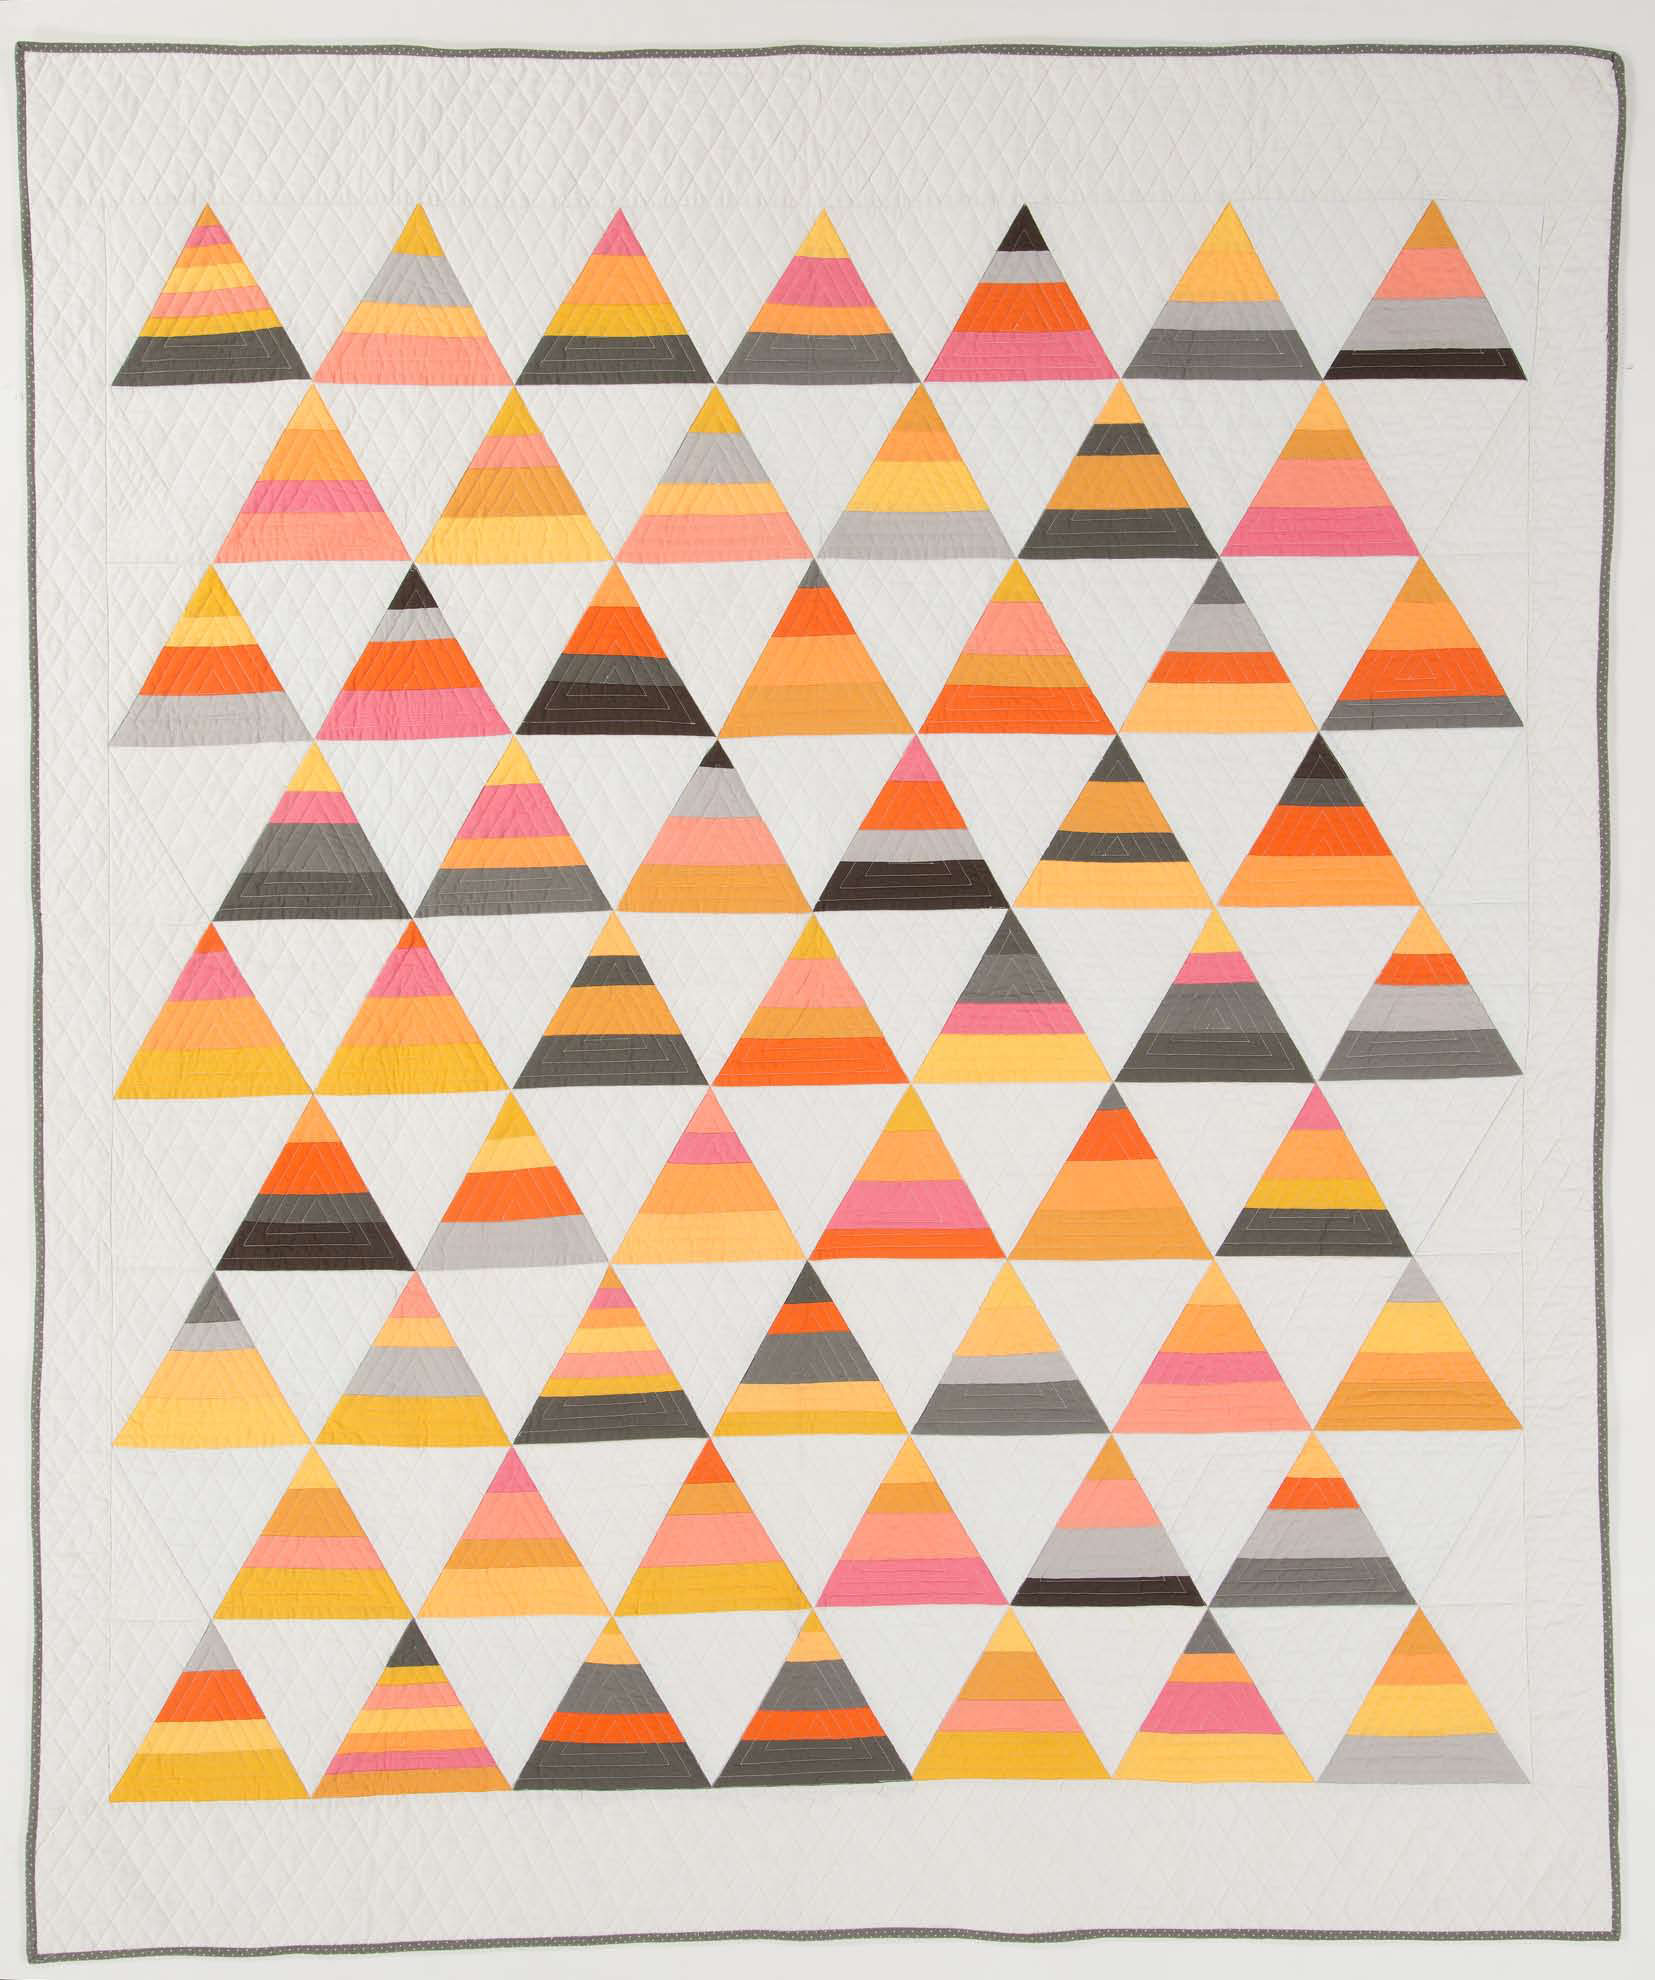
Welcome everyone and thank you for taking a break in your Holiday shopping and planning to visit my blog for my last block installment in the BLOCKHEADS 3 series. I have a story to tell and if you make it all the way to the end there is also a chance to win a Layer Cake, so here goes.
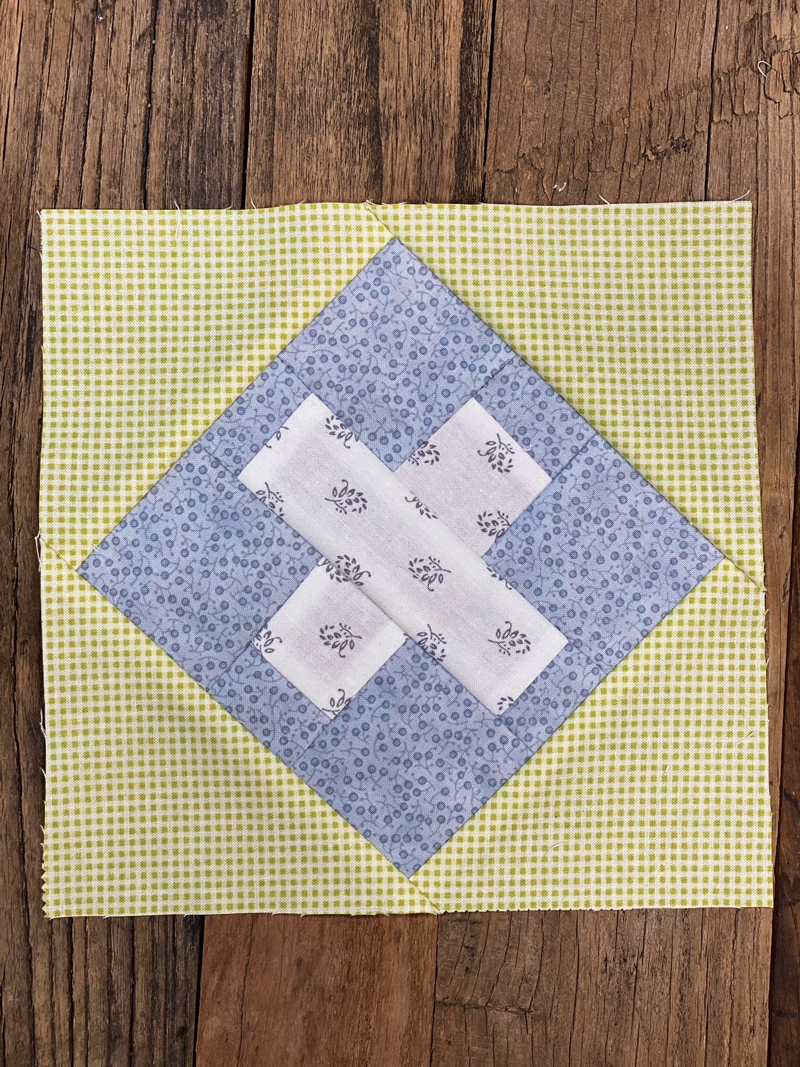
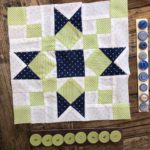
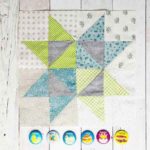
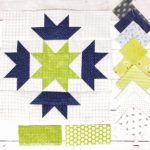
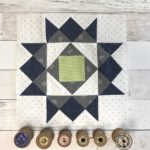
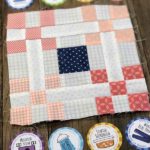
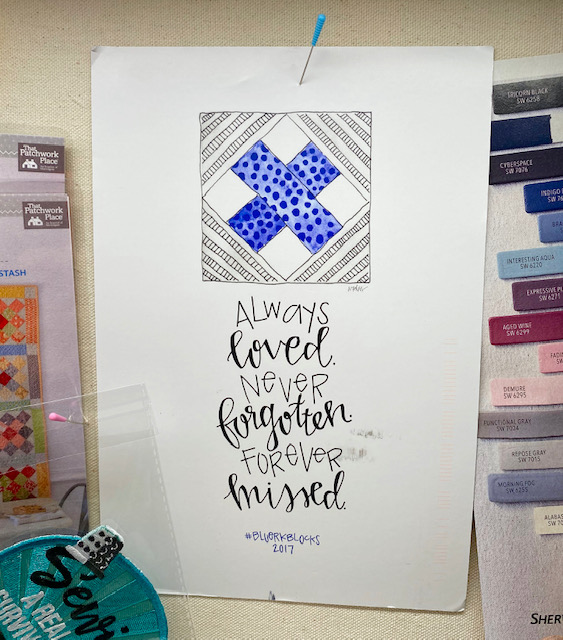
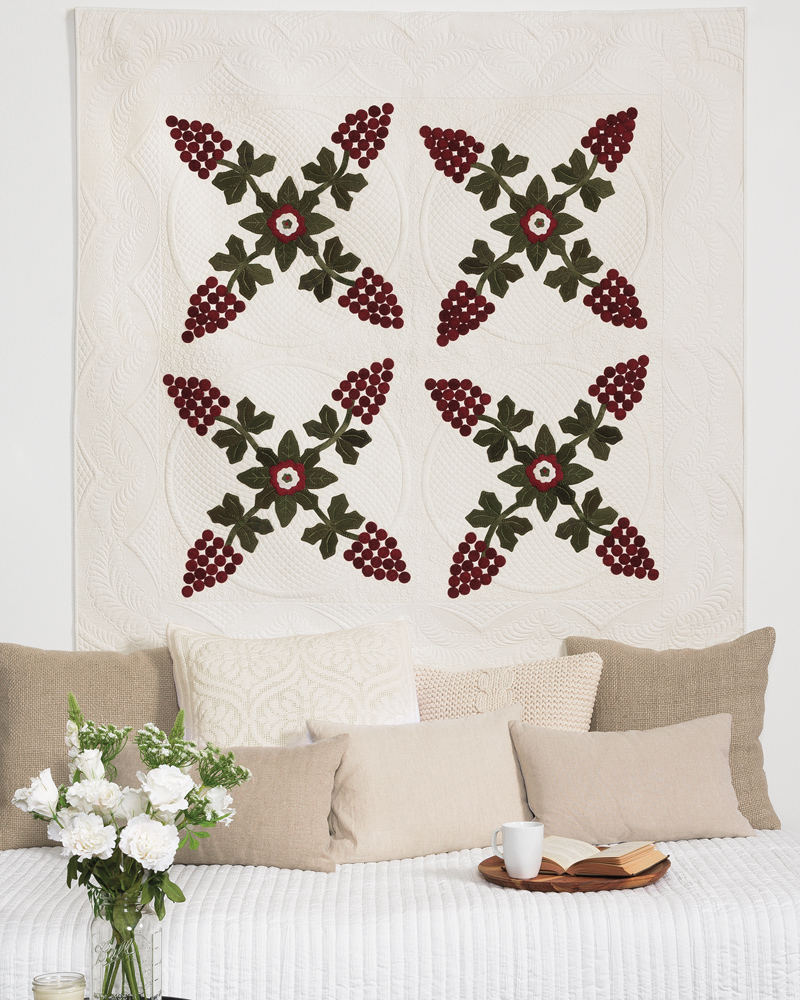
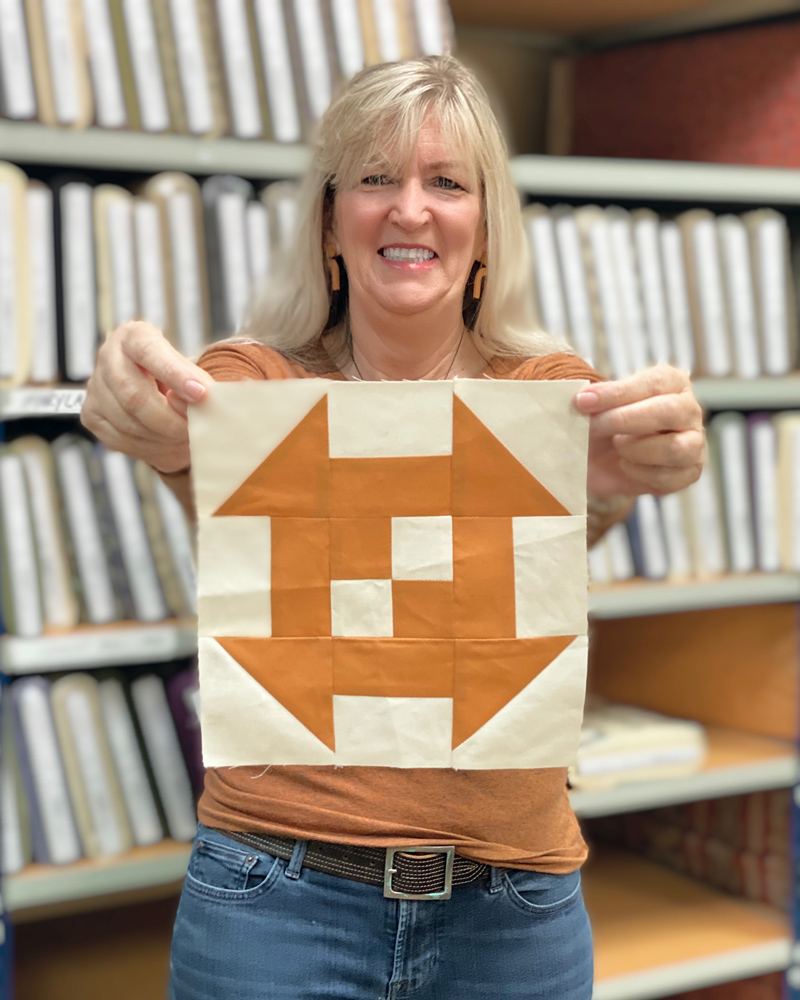
Back in October of 2019 when we were planning Blockheads each of the designers all sent in their sketches. I am a big fan of anything plus mark and so I included a sketch. Then came 2020 and it has gone by so fast I had forgotten to add my inspiration to the block. It was in the midst of the election I was making my block and that is when I decided to name it X marks the spot embracing the power of making an X to cast your vote. Making an X is certainly old school but that is my story to tell.
If you would like to download my BLOCKHEADS pattern, please click here. But keep reading for the giveaway.
About the same time I was making my block and I had the most gut wrenching feeling.
I am a big fan of Jessica Bloomberg – @CraftyCop and what all she does to support families of police officers that have been killed in the line of duty.
Did I subconsciously copy the block that she uses for these quilts?
Was it too late to change my block?
I did my research and my block was different but I couldn’t stop thinking about her mission. I contacted Jessica and asked if I could share her story. On one of her profile I found this
…crafty cop who likes to read, garden, cook & craft all after the shift is over. That really doesn’t tell it all but does anyone’s profile tell the whole story?
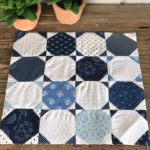
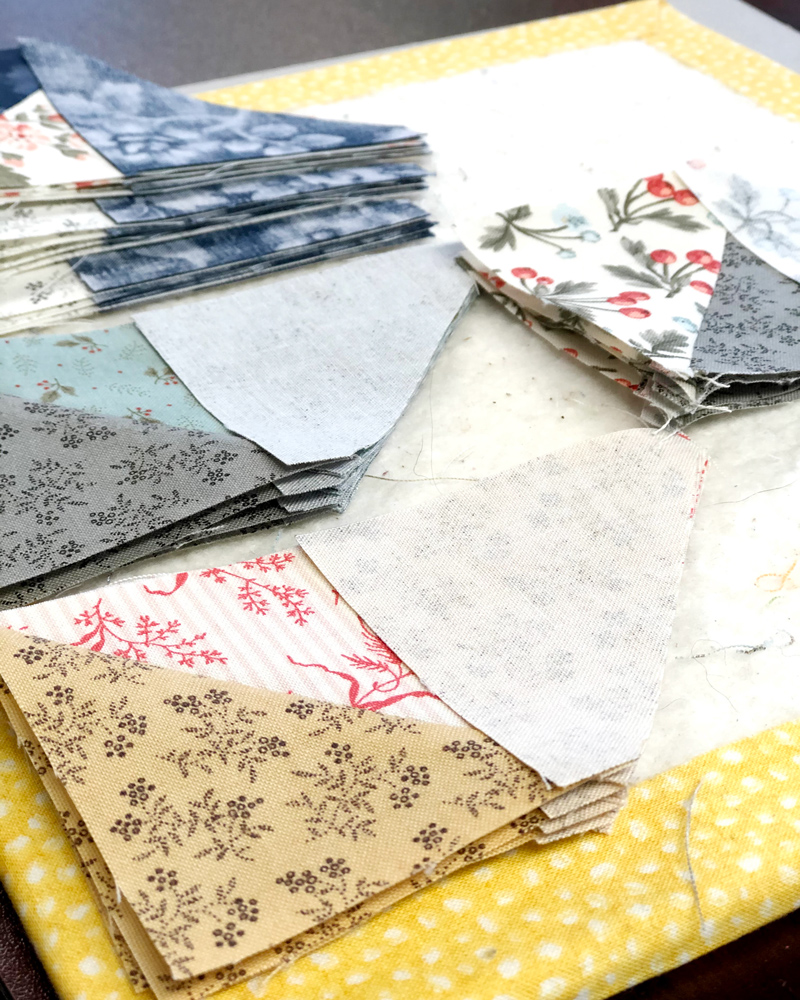
Jessica is a police officer in Stamford Connecticut. She started making quilts for families of police officers killed in the line of duty and word has spread. When Jessica first reached out to fellow quilters to make blocks, the outpouring was incredible. She received hundreds of blocks and was able to make quilt with little to no cost. Individuals jumped in to help quilt, people donated fabric for backs and batting.
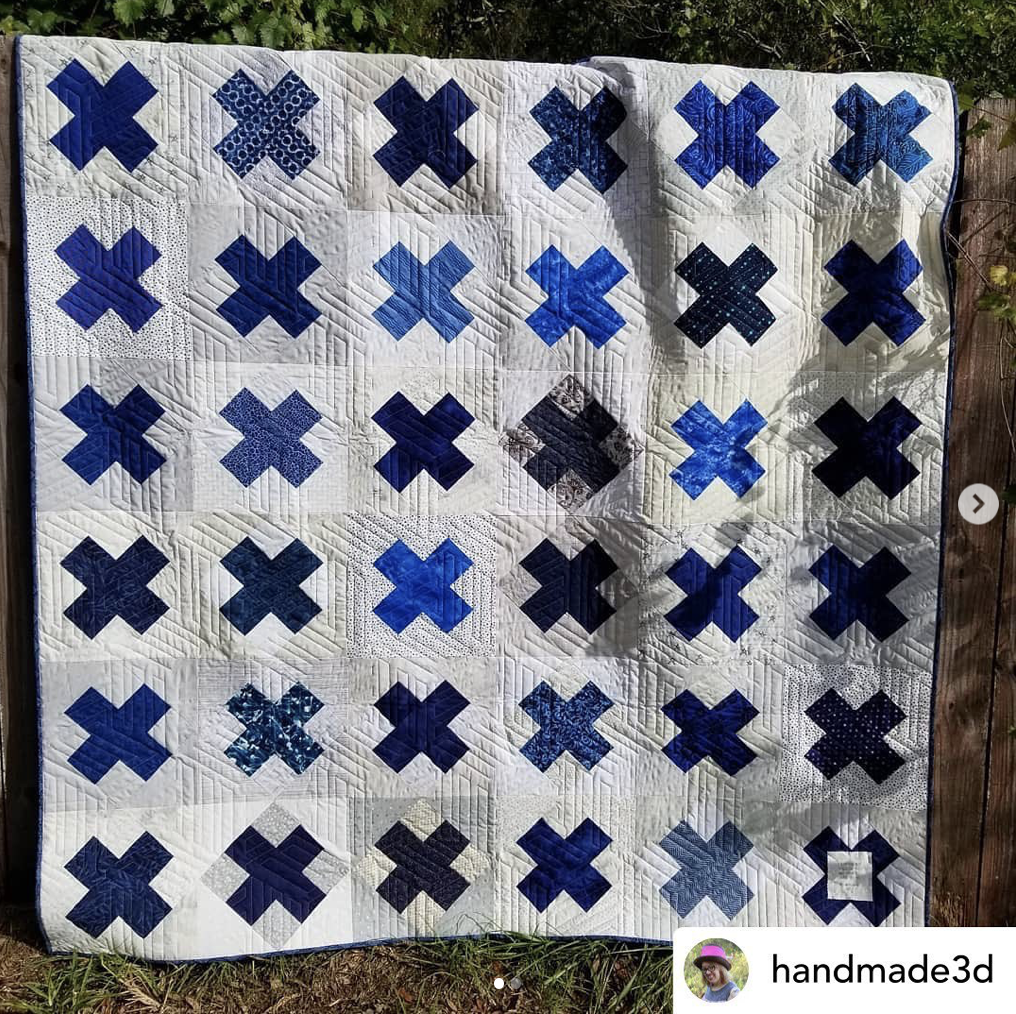
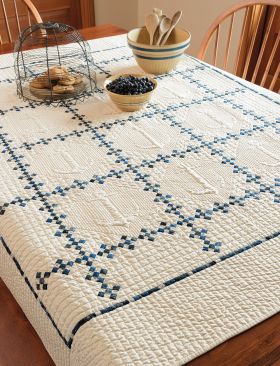
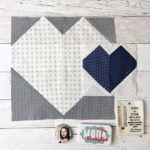
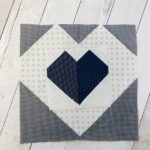
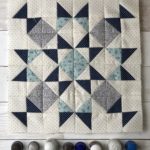
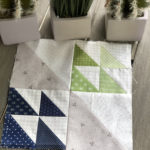
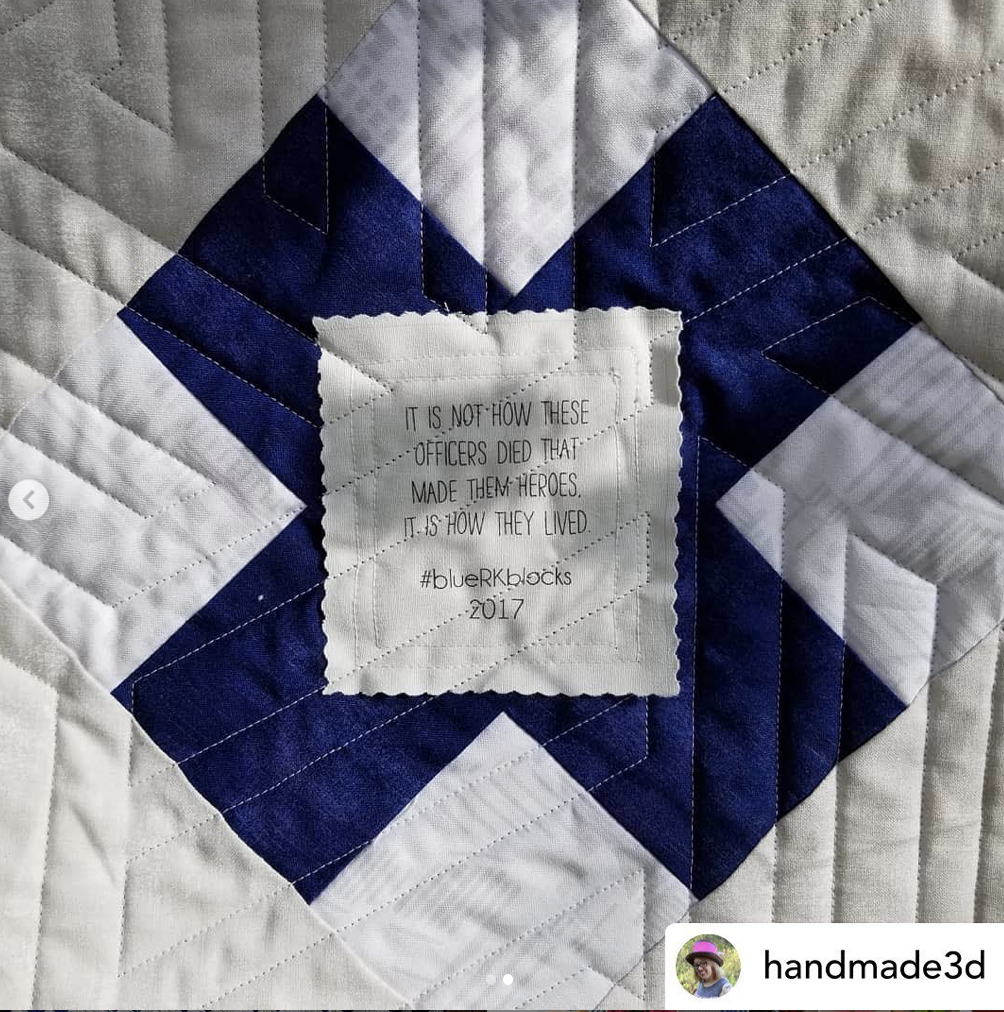
This is an example of one of the quilts that was made. Each quilt also gets a label for the front. If you are making a quilt, let Jessica know and she will send you a label to use.
These pictures are used with permission from Jessica. I highly encourage you to follow Jessica @craftycop to read some of the stories.
I asked Jessica what she needs and she said the hardest thing is getting the quilts to the families. Here is the rest of her reply.
If you want to learn more about this or get involved follow the hashtag #bluerkblocks. If YOU know of a police officer killed in the line of duty, I hope you’ll send me a DM so we can give that family a quilt too.
Anytime there is a need quilters come together. That is our jive, that is our community, that is what we do.
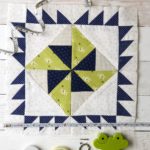
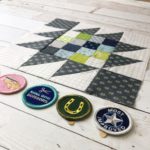
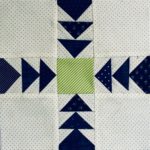
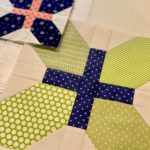
So, I made a new version of my block to use in my quilt so I will have a little representation of Jessica and the BlueRKblock program.
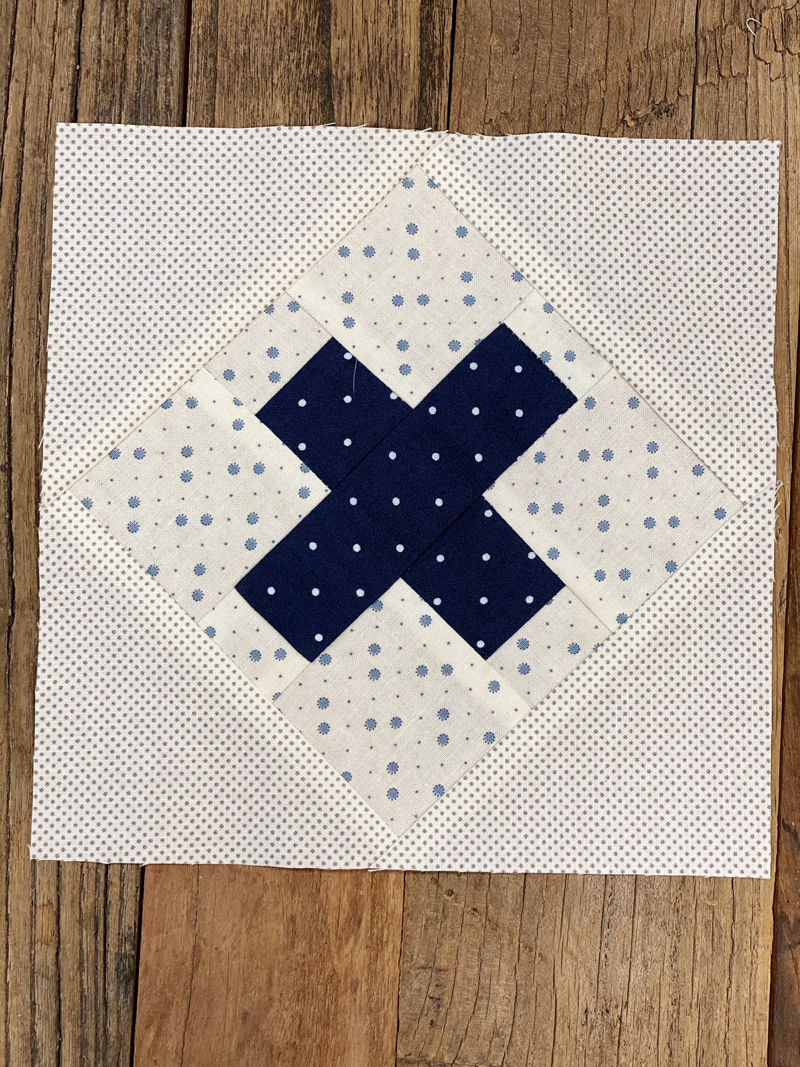
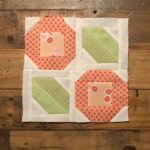
I started out this post worried that my block was the exact block, so I can’t end this post with out giving you the link to the actual block pattern supplied by Jen of RasberryStitches.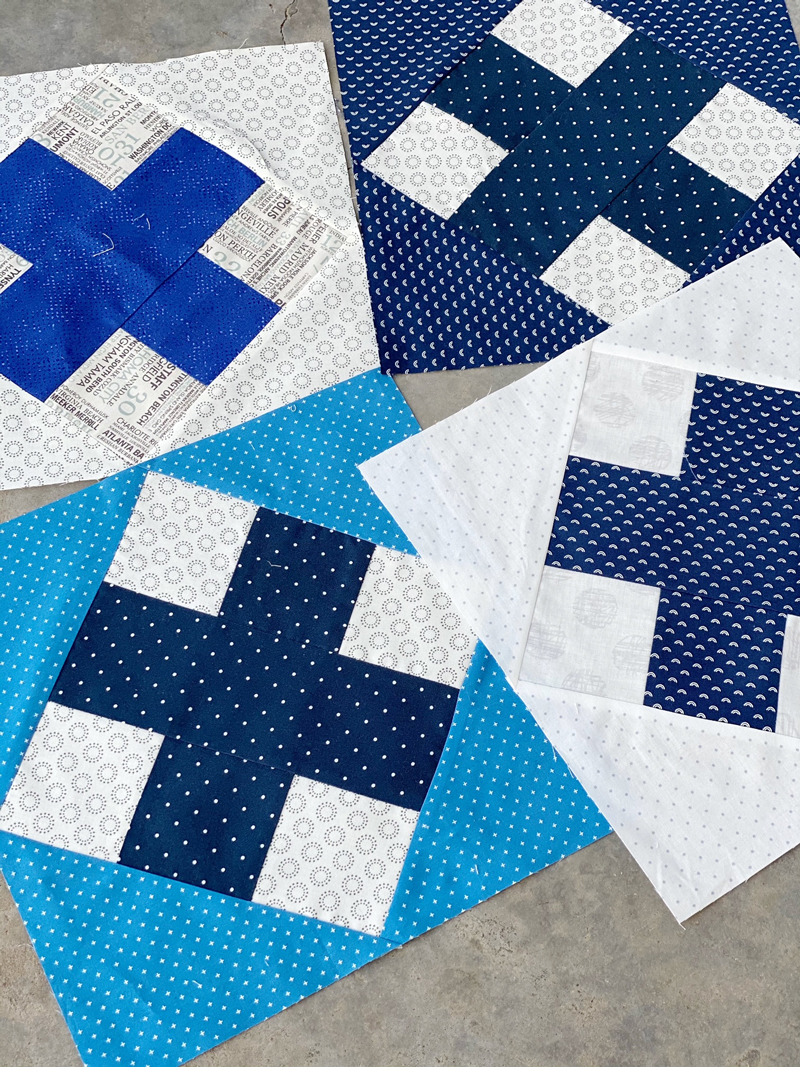
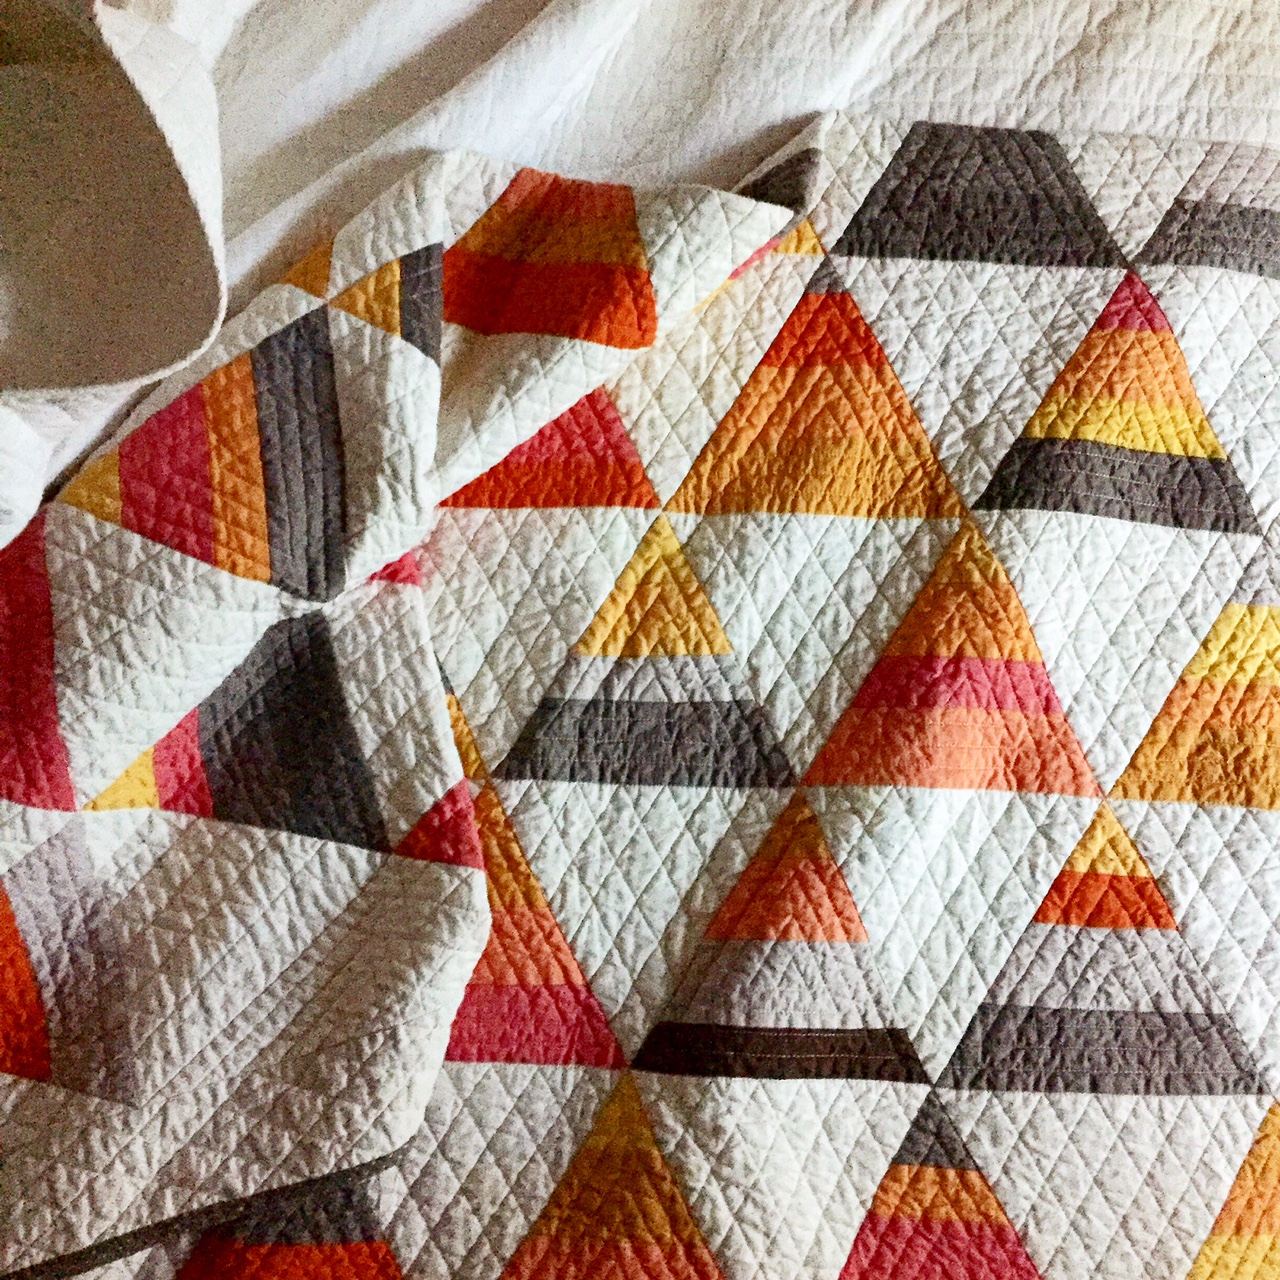
The block goes fast and as I cut into any thing blue I am making 12.5 BlueRKblocks.
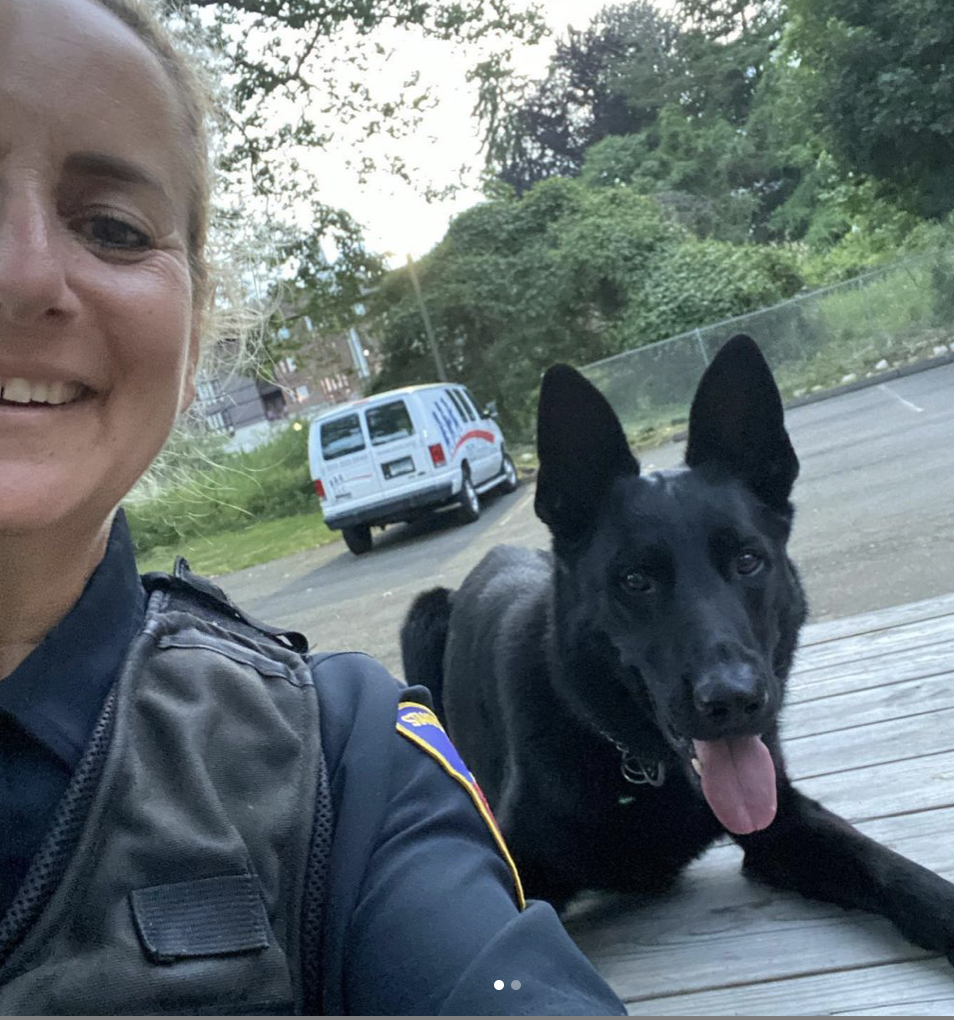
I cannot end this post without sharing this cute picture of Jessica and service dog, Knox. Please share this with your friends and if you know of a family that needs a quilt, let Jessica know. More importantly if you are able to deliver a quilt to a family, let her know also. 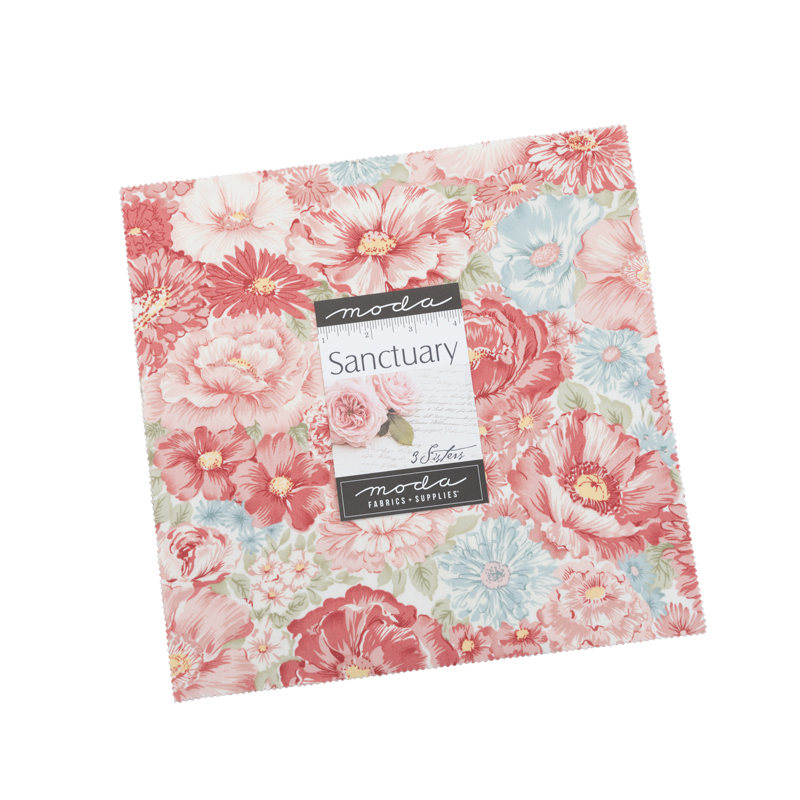
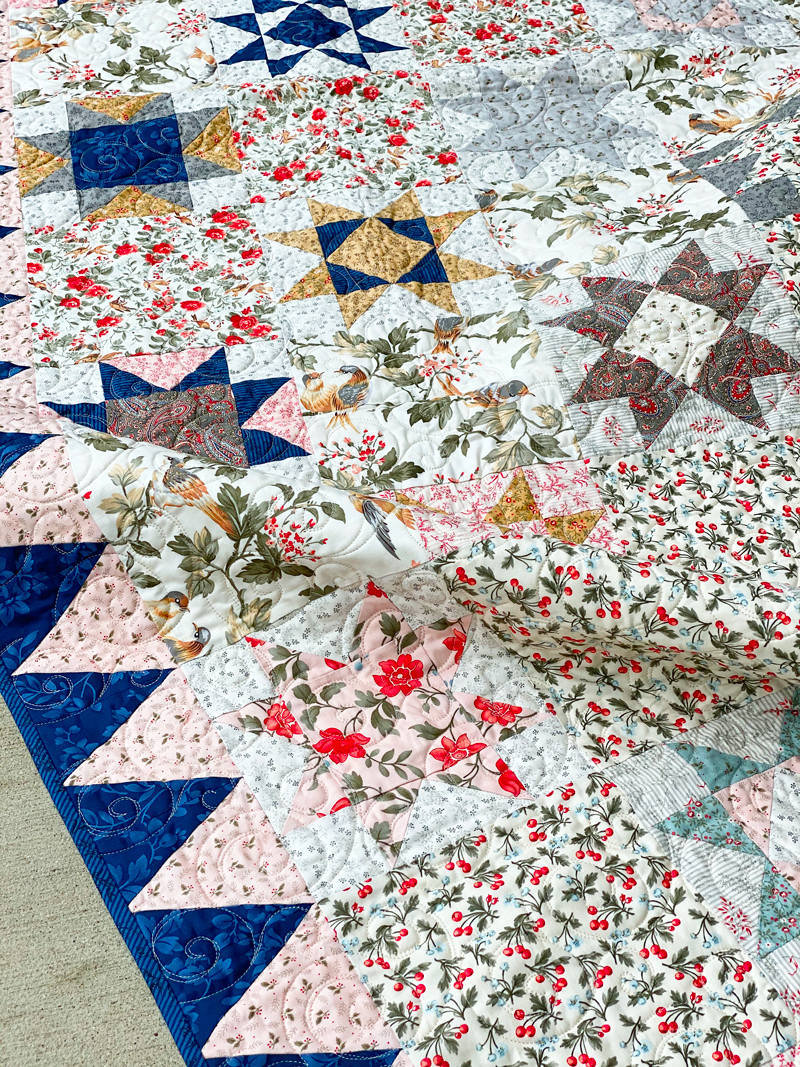
I can’t believe this is my last block to post for Blockheads. It has been quite a year and I have enjoyed the journey with so many new online friends, and yes they do count as real friends. Moda has been generous to donate a Sanctuary Layer Cake by 3 sisters as my giveaway this week.
DO you have a goal for 2021? What are you thinking about as we end this year and hope for a safe 2021? Let me know, leave a comment for a chance to win this layer cake. The winner will be announce Tuesday night, Dec. 23rd.
 Until then Merry Christmas,
-Lissa


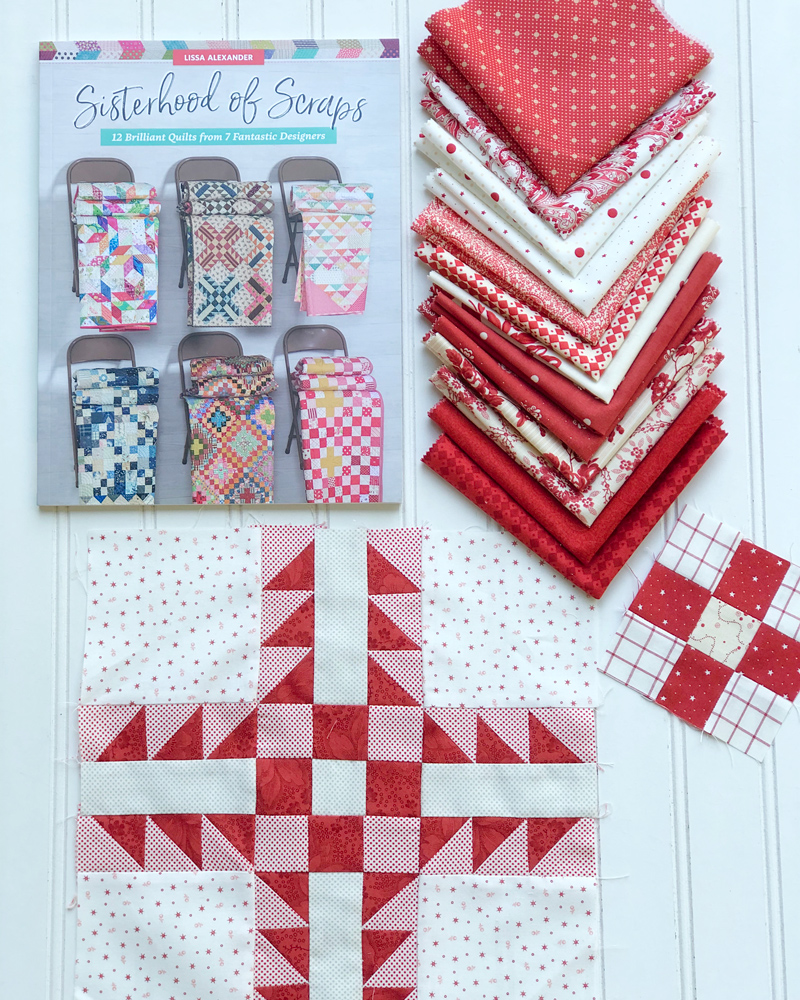


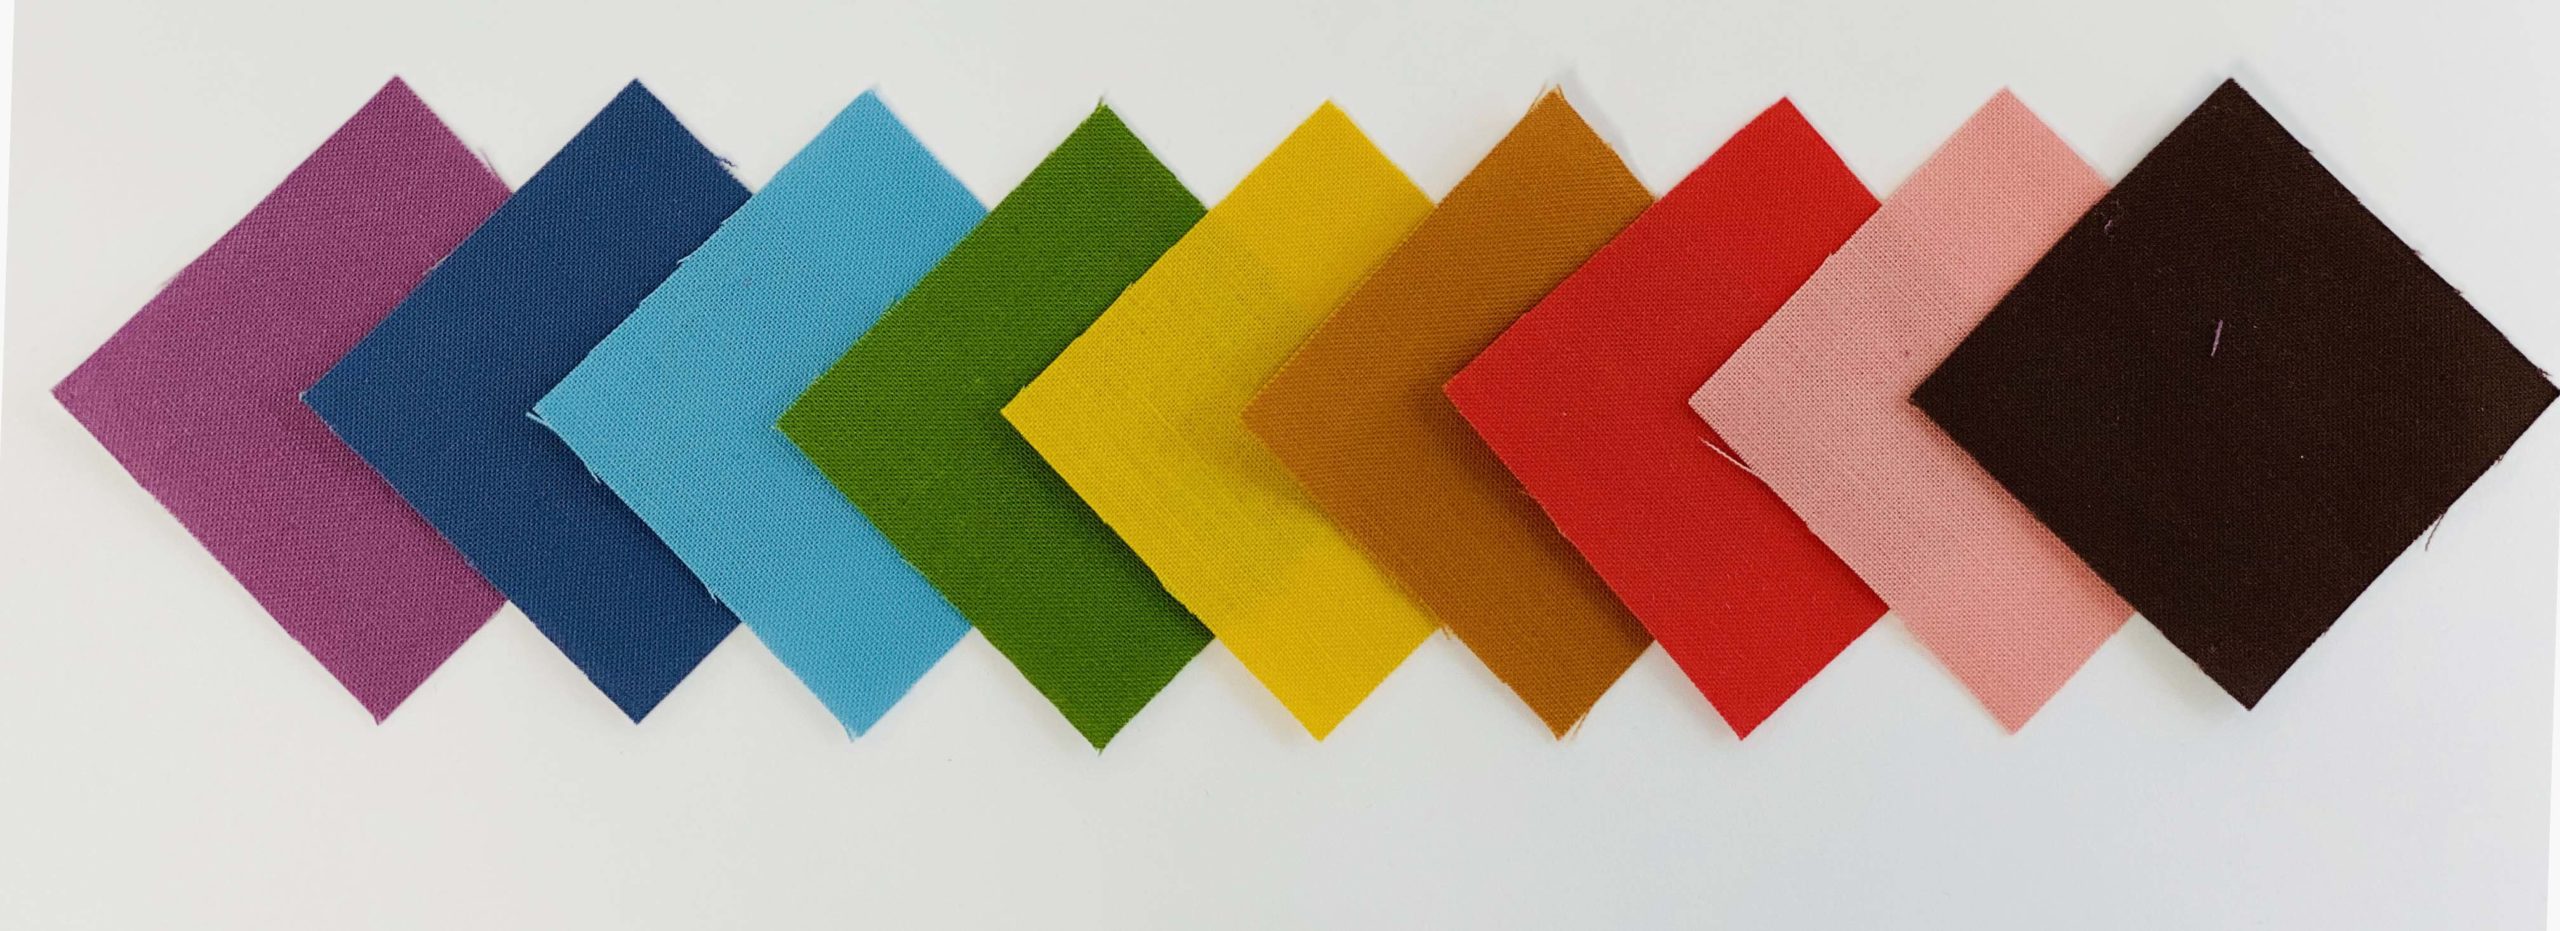
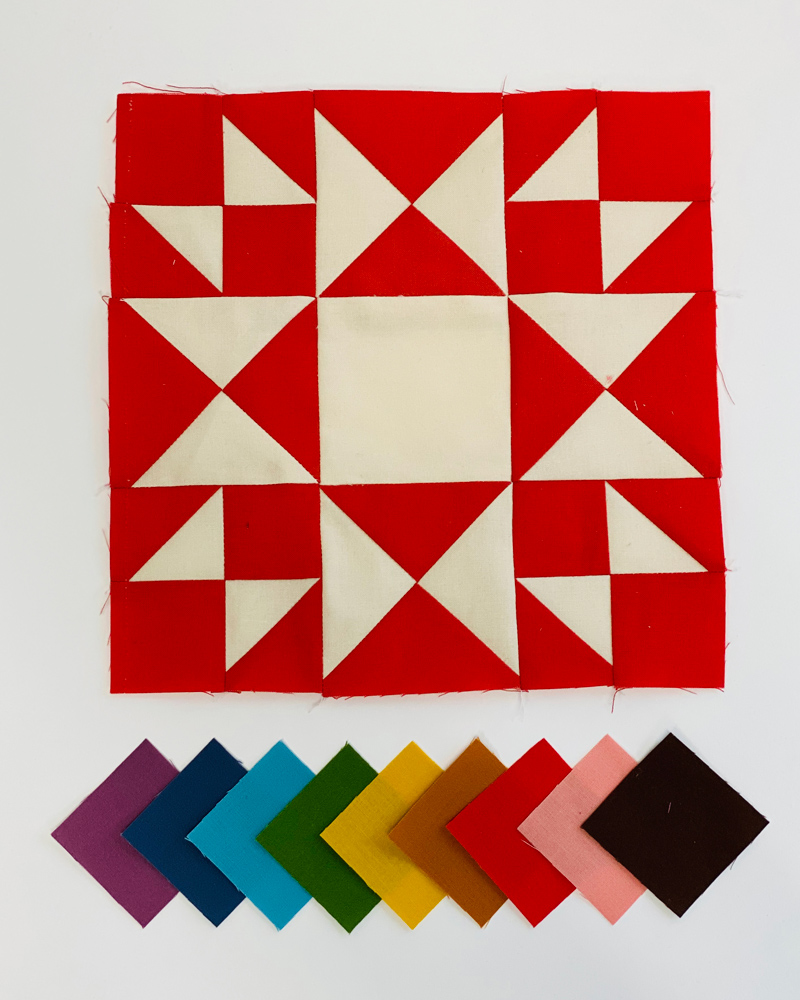

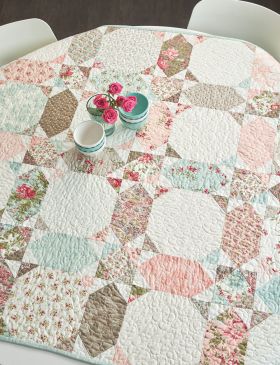
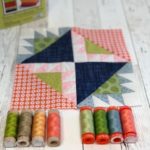
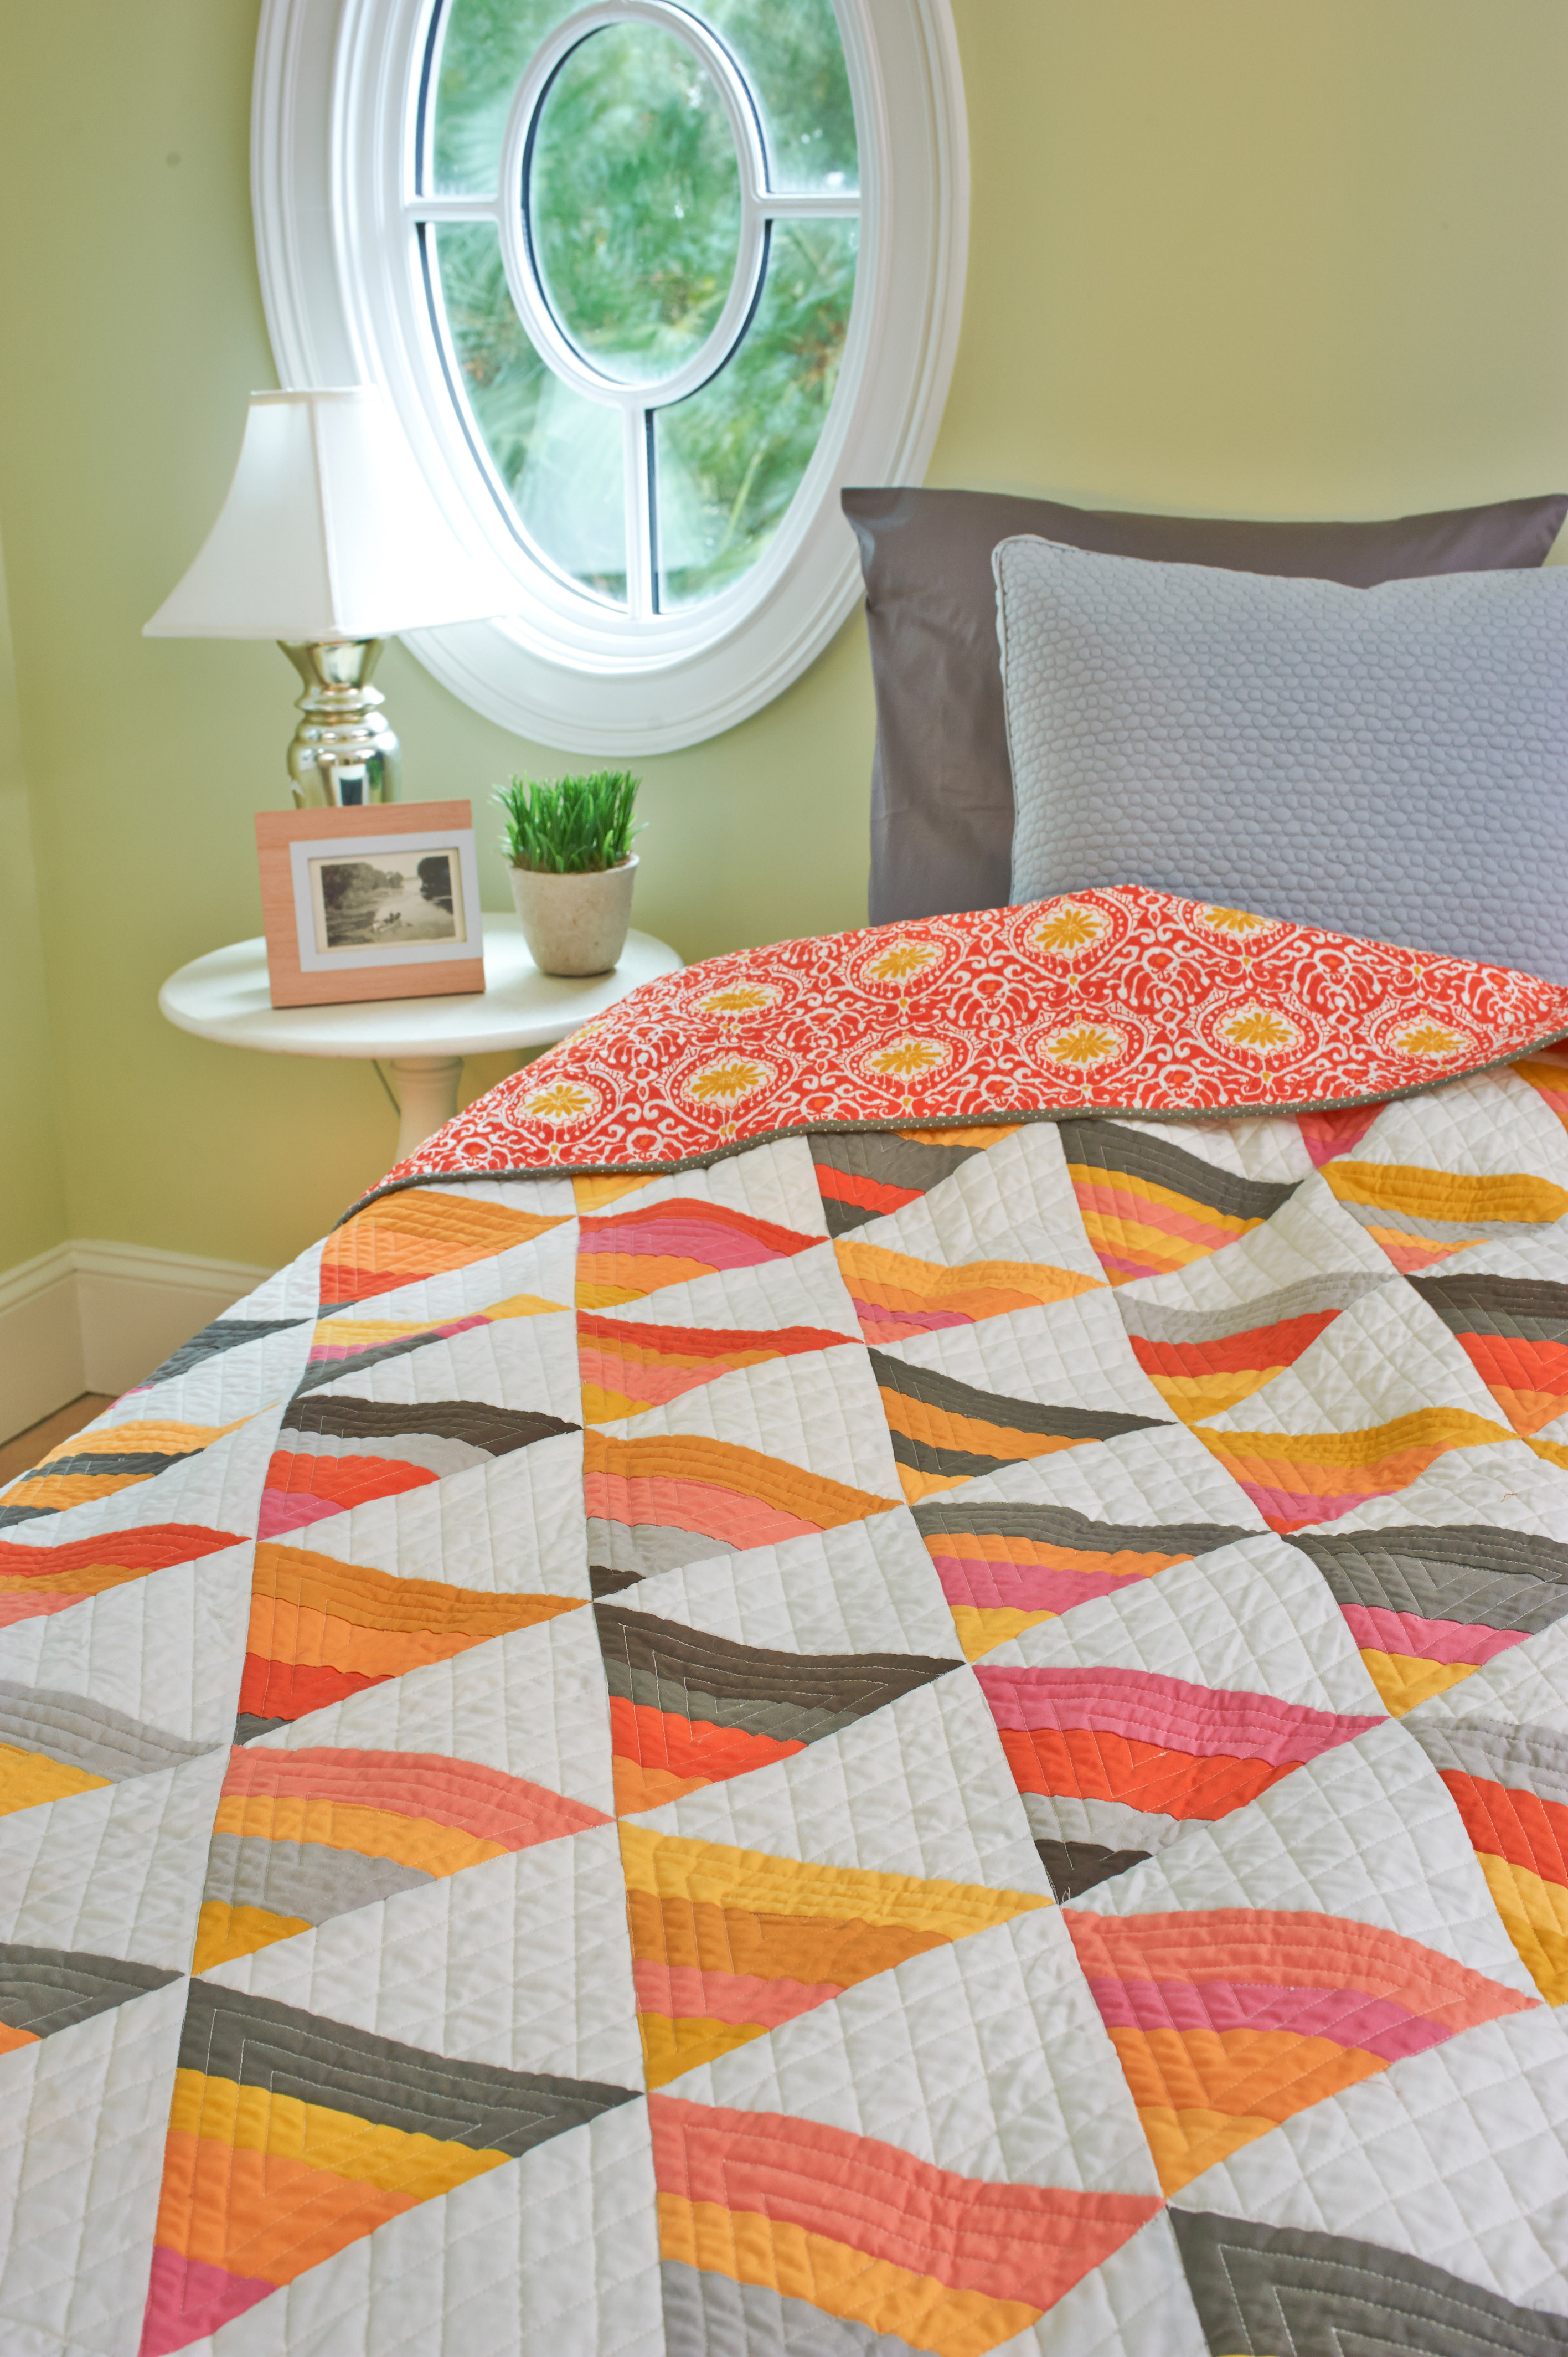 And here are the details if you want to make your own version using Bella solids.