Friday Funny
Hope you enjoy this as much as I did! Isn’t life great?
tootles for now.
I have to do some more laundry. This washer doesn’t hold much!
-modalissa
Friday Funny
Hope you enjoy this as much as I did! Isn’t life great?
tootles for now.
I have to do some more laundry. This washer doesn’t hold much!
-modalissa


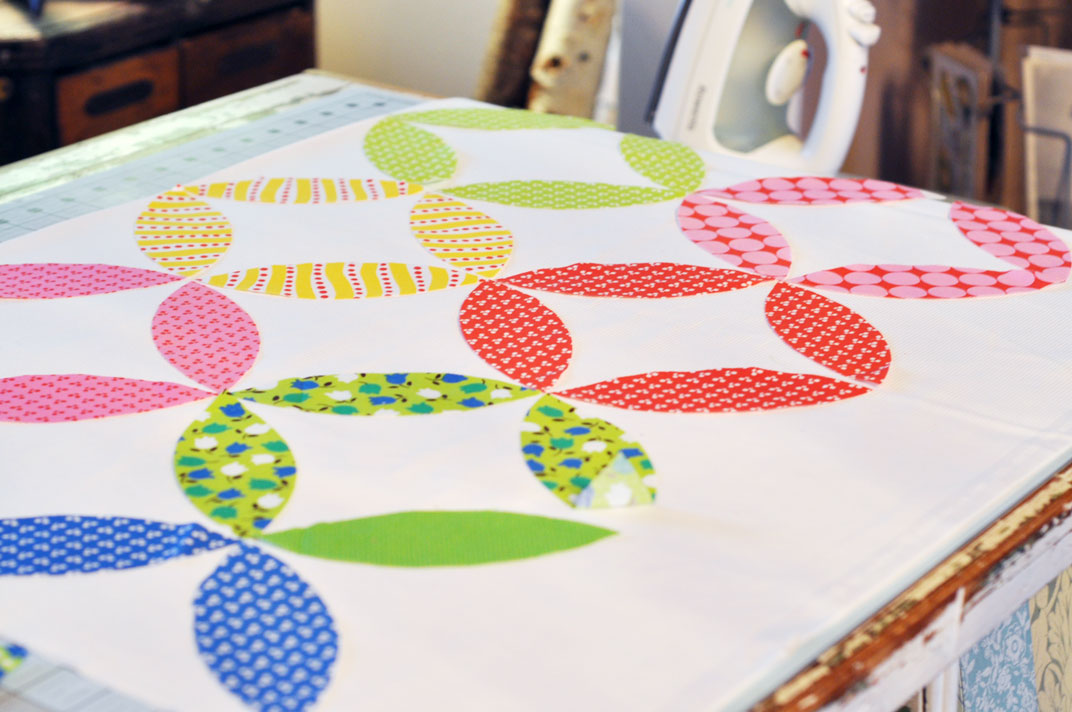


Big chunky flowers with ric rac for stems and a button or fabric yo yo for the center? I didn’t have any green ric rac, so use your imagination. It would be too cute!
Send me pics of what you make.
Click here for the full details about these rulers by Sue Pelland.
Here is the Video how to.
Enjoy!
-modalissa


This weekend is my 30th high school reunion.
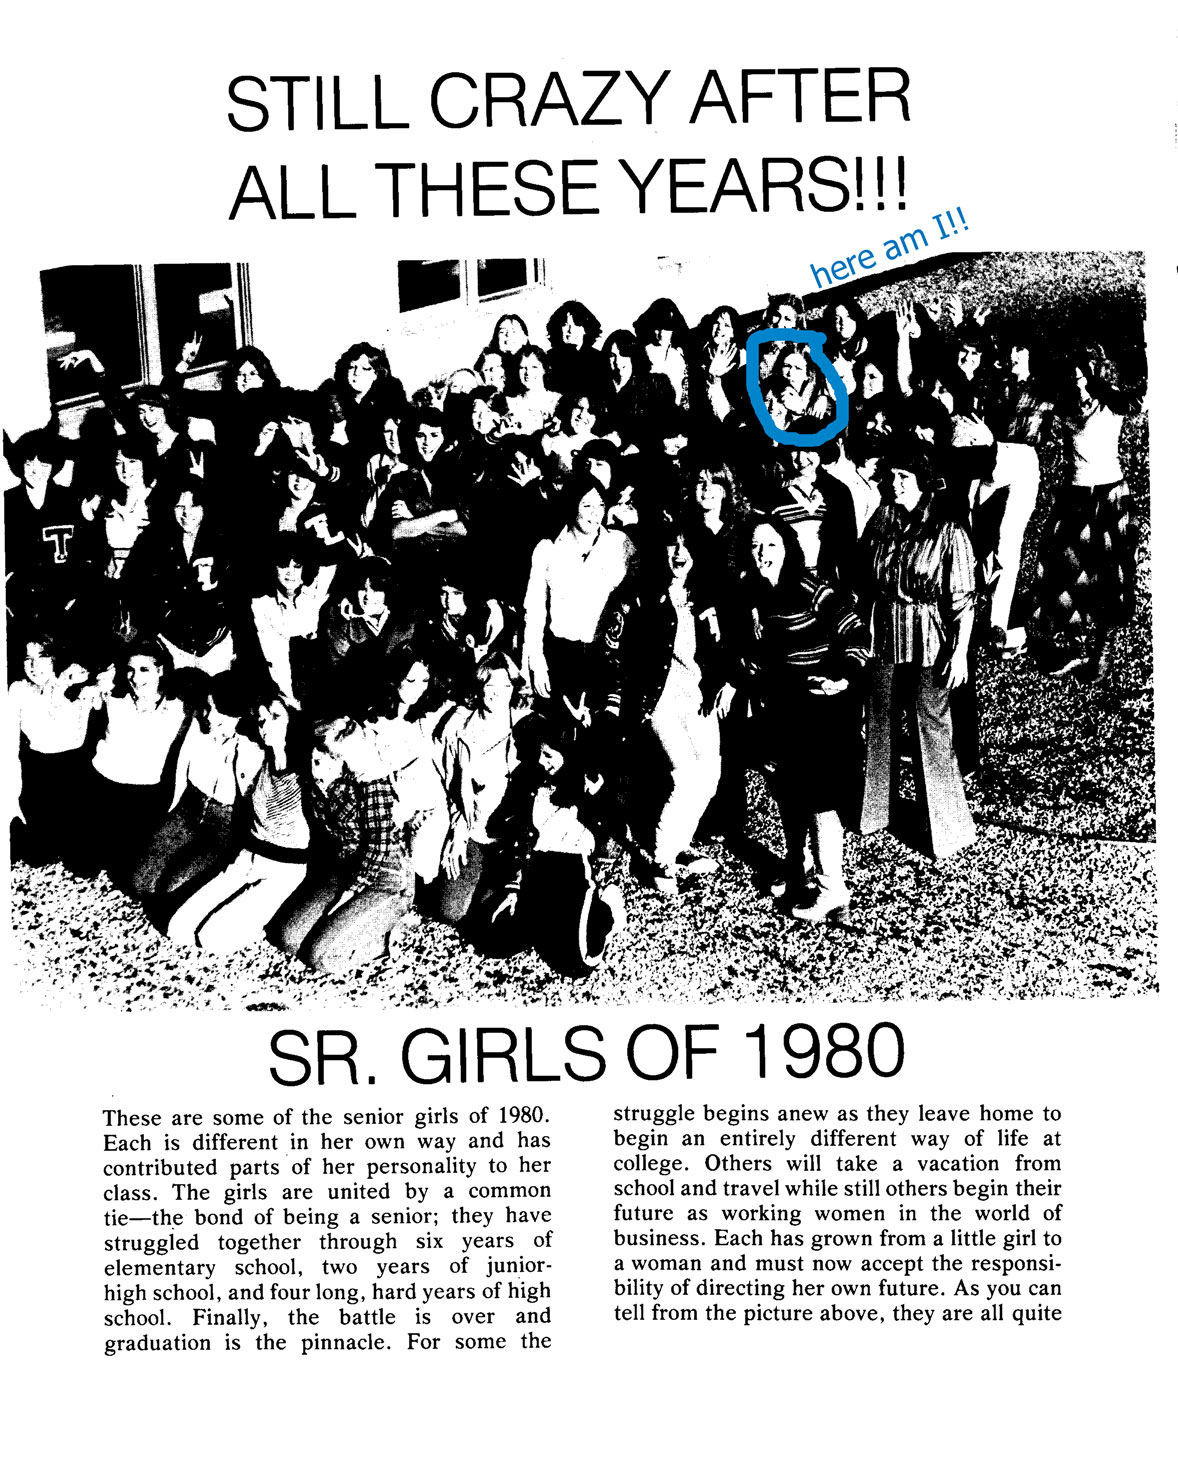
We were lined up in groups and were given a number to pin on the front of our shirt. I was accidentally given one of the other gals number. I turned and handed it to her and she did the same to me. This was a closed tryout where the judges “supposedly” did not know who we were. I knew who they were, so I did not have much faith in this concept.
We pranced our cute little selves into the gymnasium, ready to conquer the world.
I made it through the routine and quietly walked into the dressing room. Then, with tears in my eyes, I ran out of the gym, hopped into my brown station wagon and headed for home. (Hmmm!, another sign of my future – I drove a station wagon in high school – I was destined to have a large family!)
For the rest of the year, I often thought what would have happened if I didn’t trade numbers. Remember, the judges supposedly did not know who we were? The gal that I switched numbers with made drill team and went on to be captain or lieutenant or something like that. If only I was wearing her number?!
My mom knew me all to well when she gave me this gift for my 17th birthday.

I remember her saying it was VERY EXPENSIVE. Really?!? A 17 yr old with a necklace of scissors and thimbles? At the time, I was not to impressed. I have come to love this necklace not only because of the sewing motifs but because of my mom’s faith in me. Oh, I forgot to tell you she was one of the Temple Texas High Kickers team. From time to time she still likes to show us a high kick or two, just to impress the grand kids. However, she didn’t seem to care that I had failed as a high kicker but she was proud that I succeeded as an artist. Thanks Mom!
Don’t tell anyone but….. Traci, Sherri and a few others are going to put our artistic talents to work and shoe polish every one’s car in the parking lot. Those were the days!! Where has the time gone?
GO LIONS!!

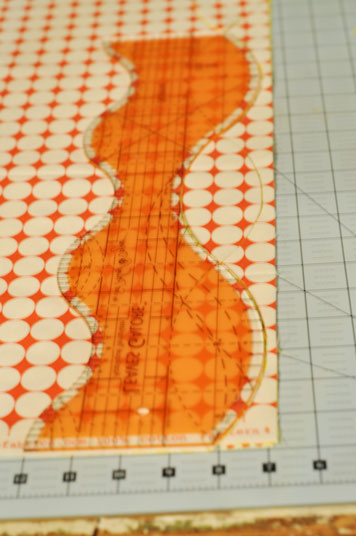
– make 2 cuts resulting in 3 strips
– cut the strips at least 2″wide
– the total of the width of the 3 strips equals 10″

I do not what your “sewing time” is like but I have had to learn to sew with interruptions. Sitting down to sew a few seams while the rolls are cooking. This gives me 10 more minutes of stitching before dinner goes on the table. I do have a reputation for a wonderful dinner and sometimes burnt rolls. Sometimes sewing for just 10 minutes is tough and I can’t STOP! The following tips help me keep my projects in order for when I do return to them.

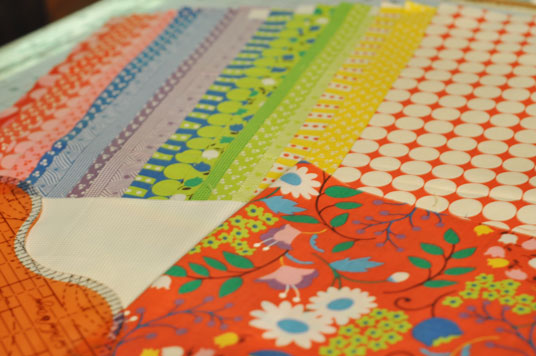
Very systematically, I cut the sections and layer them in one stack. The above pieces are cut from 10″ squares so I placed the cut pieces on a layer cake cardboard. This makes the stack easy to move as needed.

I sew on an old school teachers desk so I have these great pull outs on 2 sides to hold my fabrics. And a diet cherry limeade from sonic is a must.

I start chain sewing working in the following order:
Join row 1, piece 1 to row 1, piece 2.
Then row 2, piece 1 to row 2, piece2.
Then row 3, piece 1 to row 3, piece 2.
This basically gives you the first 2 vertical rows chain sewn together. Do not cut the threads between the rows. The threads are what help keep the rows in order.


Then repeat the process with the third row pieces. Starting at the beginning section of your chain, add the 3rd piece to each of the pieces as shown below. Notice how the threads are not cut and the chain sewing keeps feeding the next section?


The chain can be cut after every 3rd section. This keeps each block together and ready to sew together.


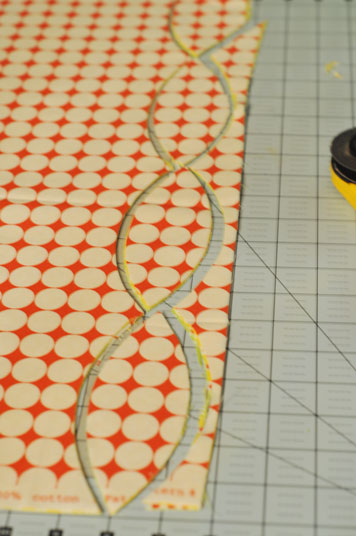
Each set of 2 squares makes a positive / negative block.


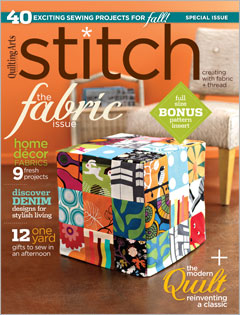
Quilting Arts, STITCH magazine has a great
article about Liesl Gibson of Oliver + S.

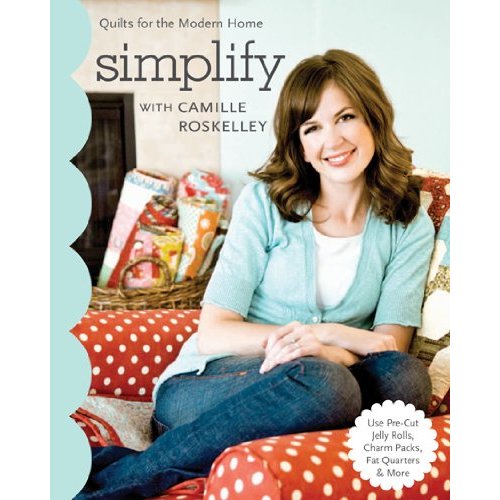
And magically, look at the ad on the back cover. Boy, that marketing person over at MODA is a genius.
She must have learned it all from her boss.


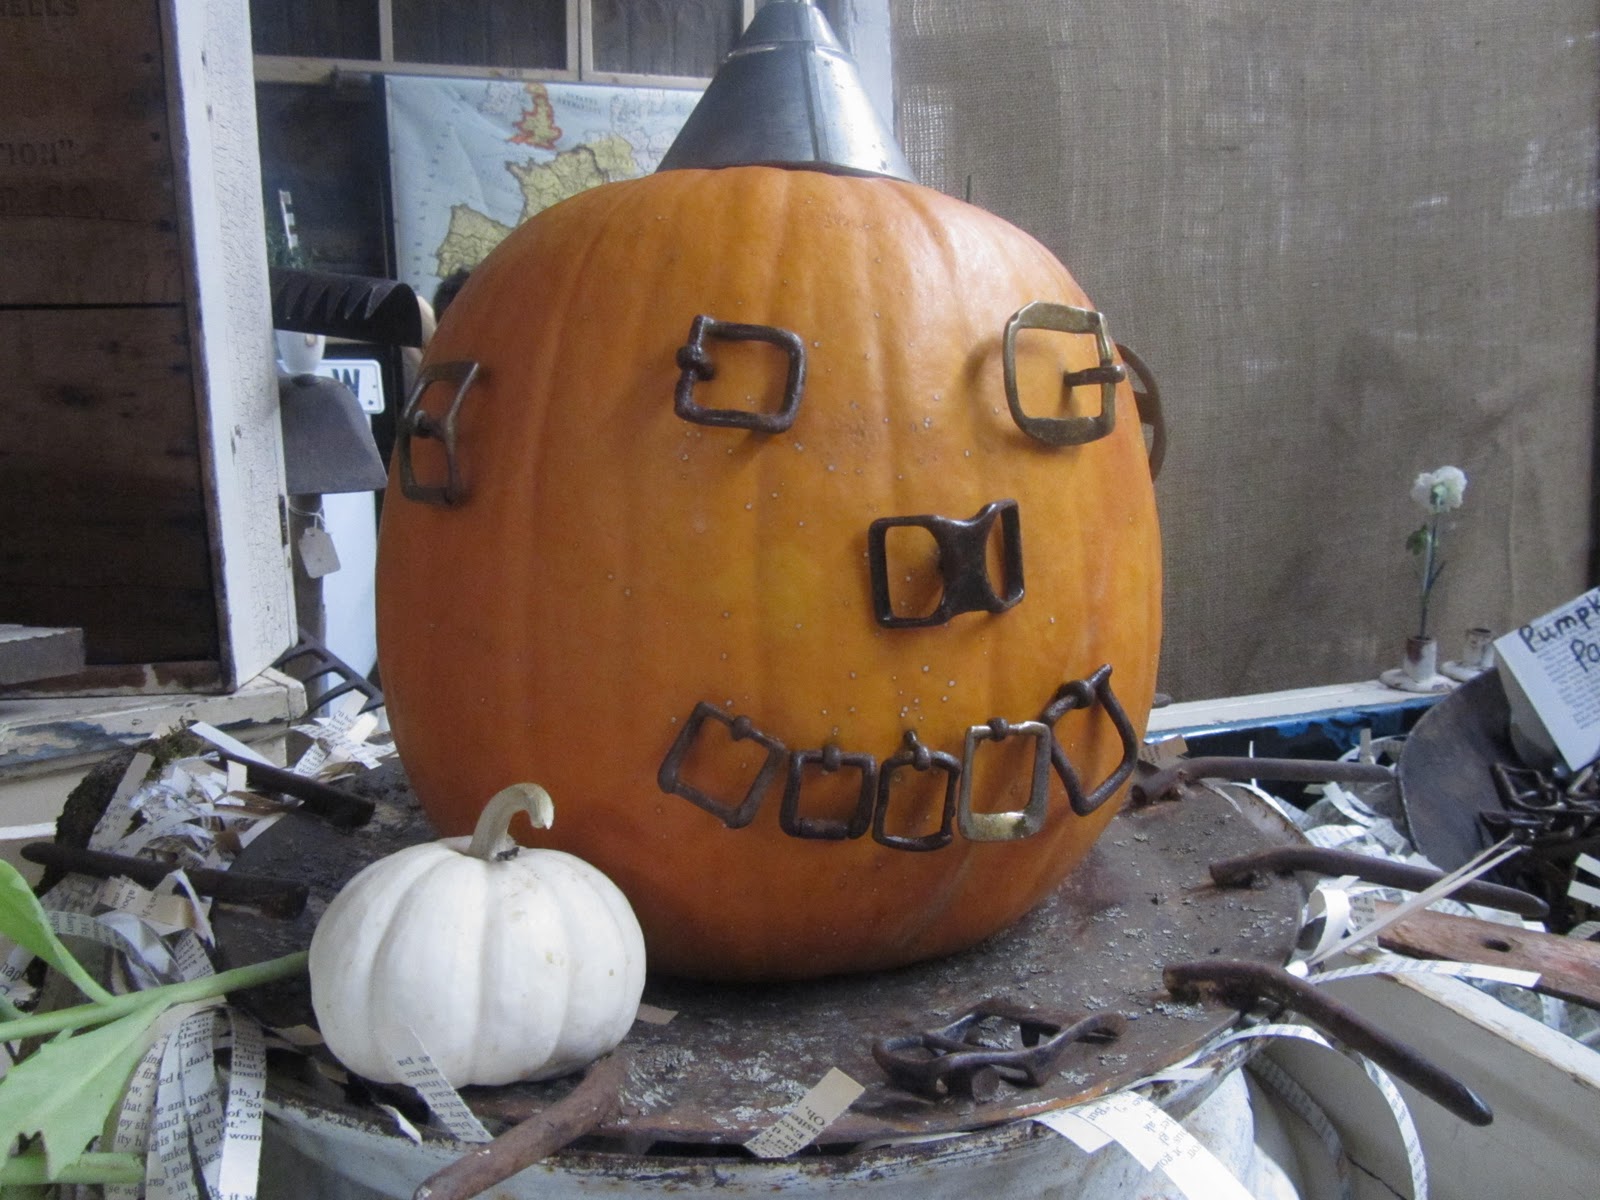
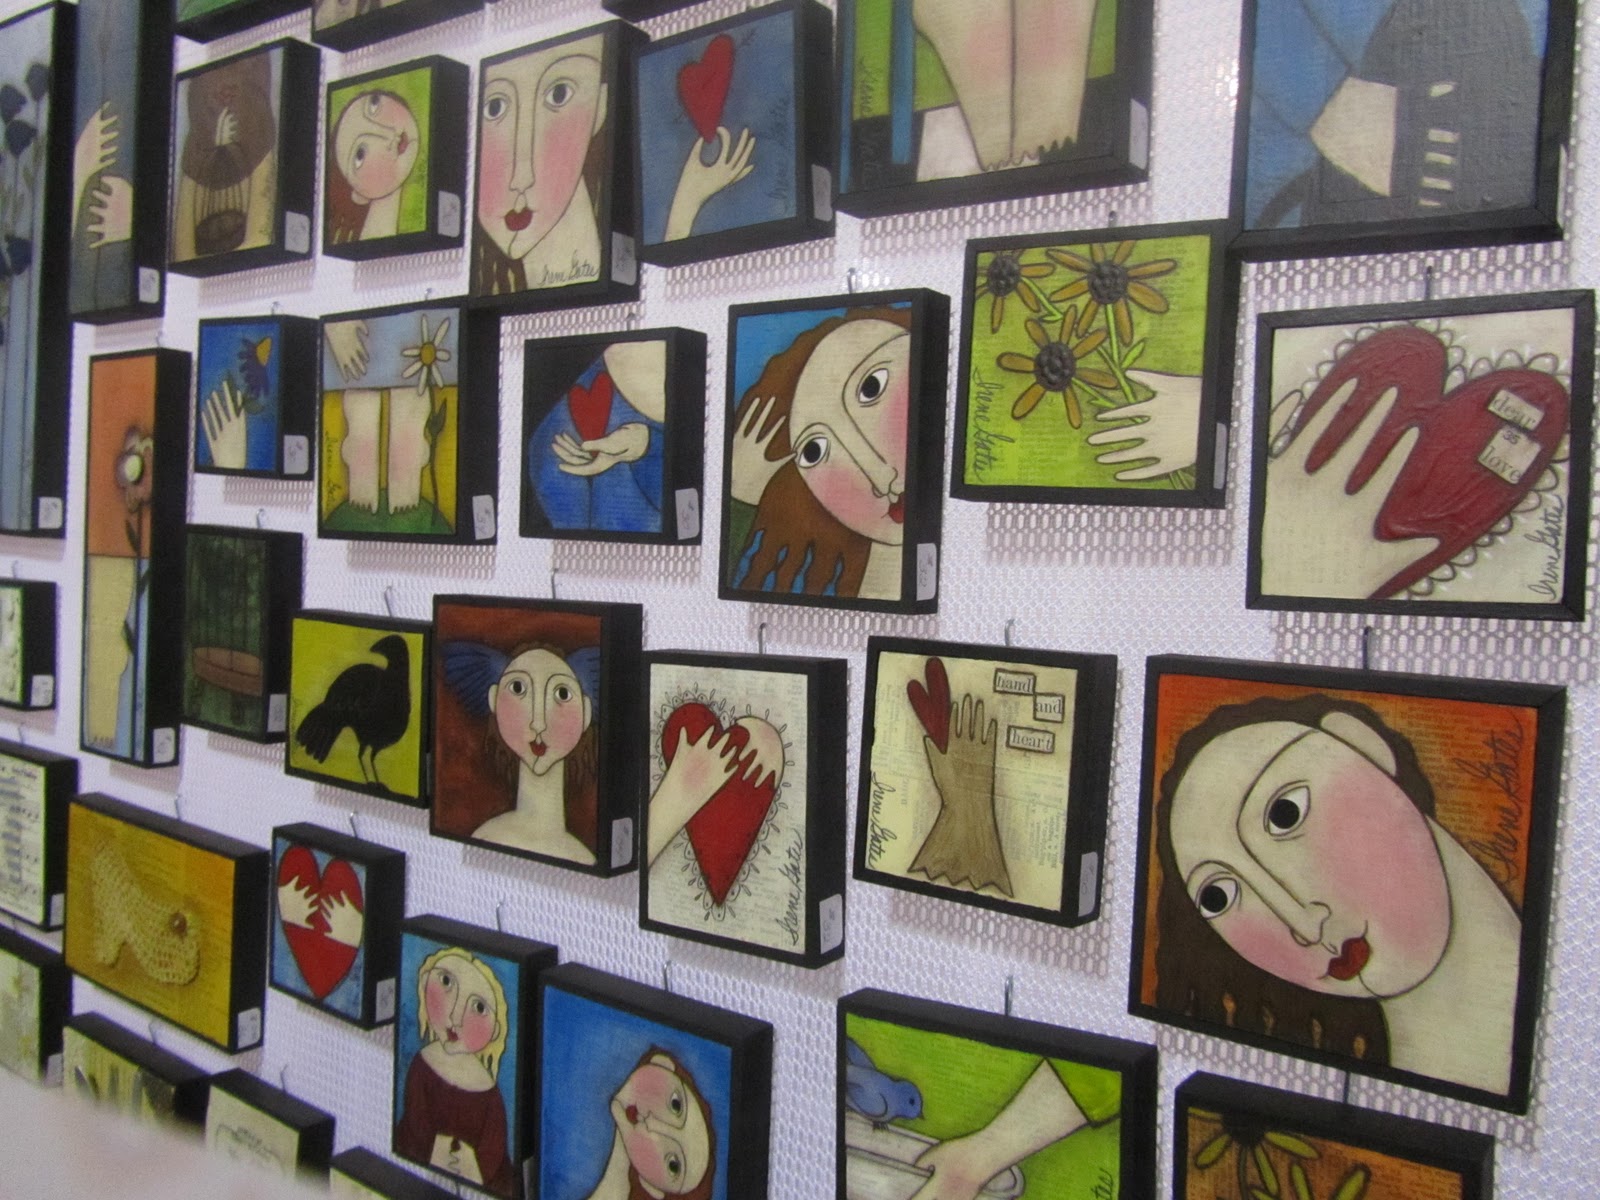
The word “junk” is a funny word. It is relative. My husband likes to call all our stuff junk, I call it treasures. The Junk Bonanza had many artisans that have taken found things and have created works of art. Jewelry, yard art, reclaimed furniture were just a few of the things that could be found here. The feast for the junk senses made it hard to take pictures and “shop” at the same time.
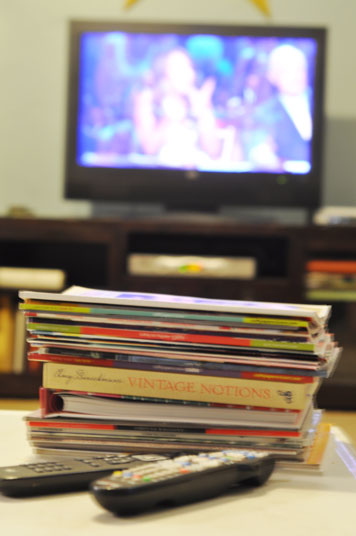
I was glad to see the familiar face of Amy Barickman from Indygo Junction. She was signing her newest book.

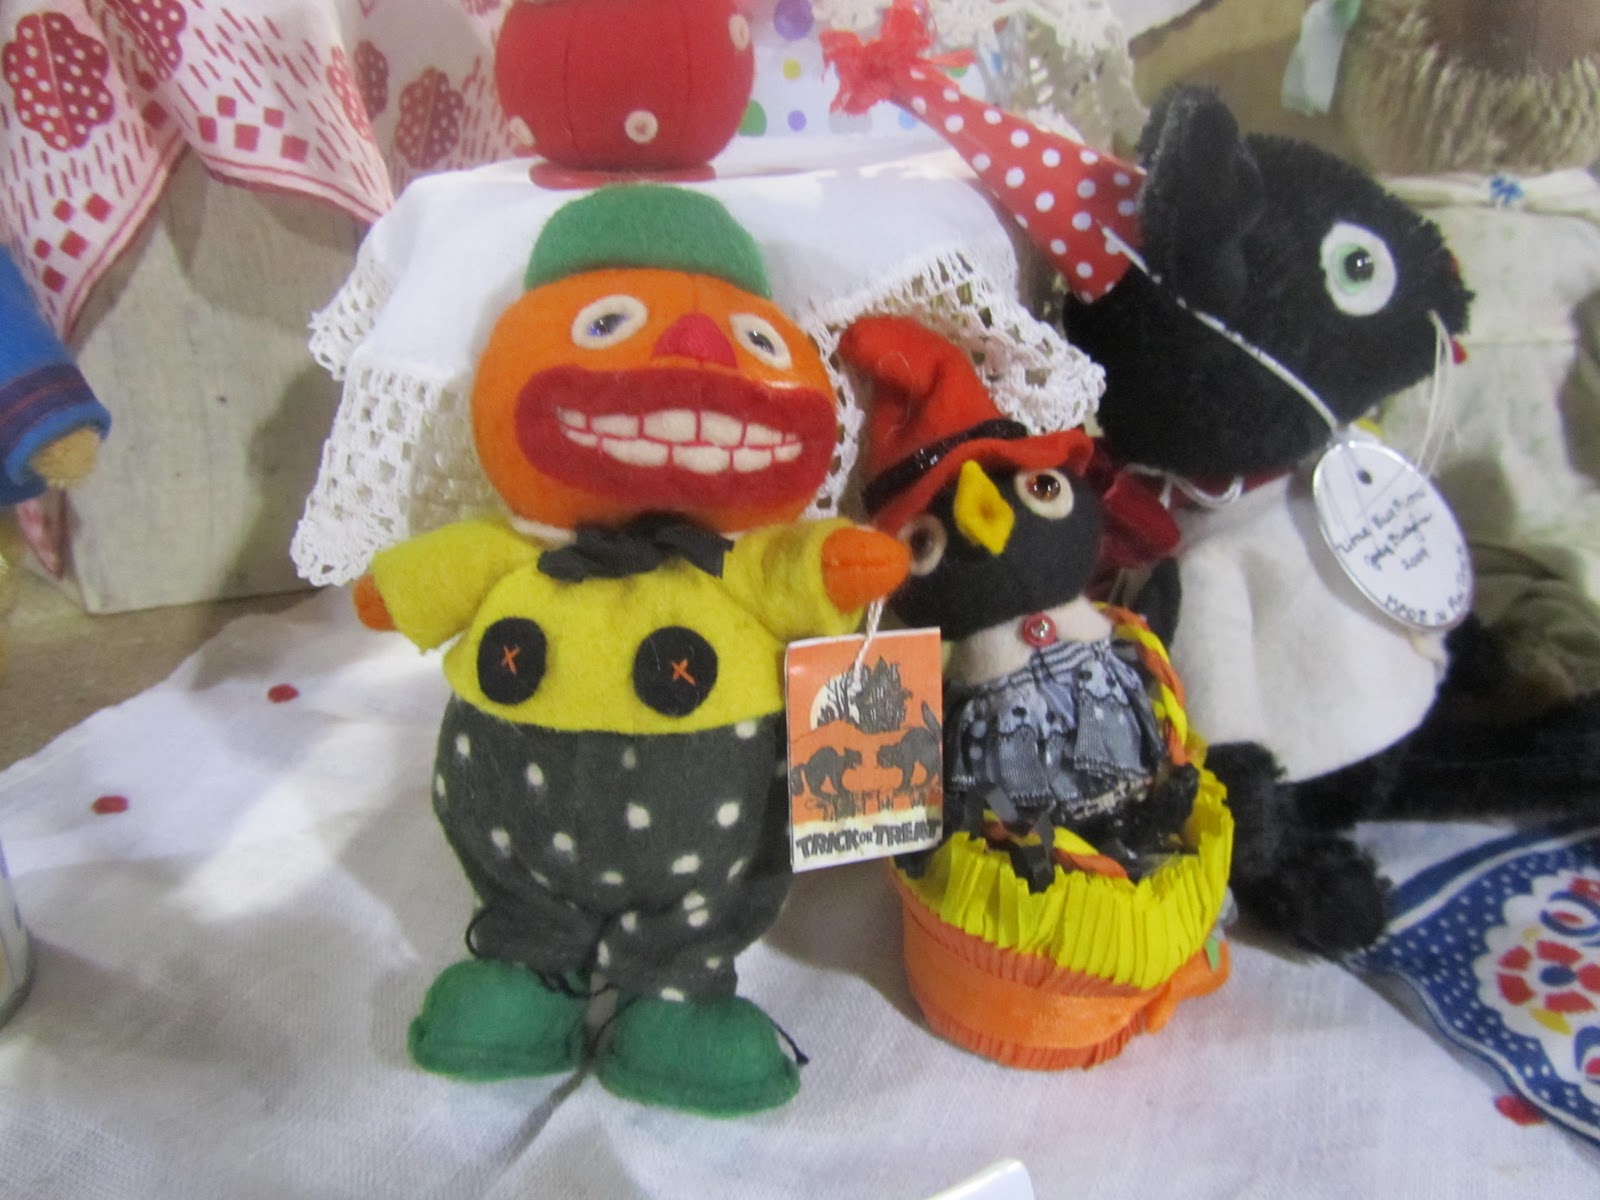
Many of you know that I have a love of the quirky, unusual and unique. (I think I just described my husband and kids!)I am under going counseling for this sickness but you sometimes have to bear with me on my pics.
How cool is this? They had made corsages from old baseballs and softballs along with a cluster of antique buttons in the center. I can’t begin to tell you hany many baseballs I have gone through having 4 boys playing ball! If I had only thought of this I would be rich OR have alot of corsages!

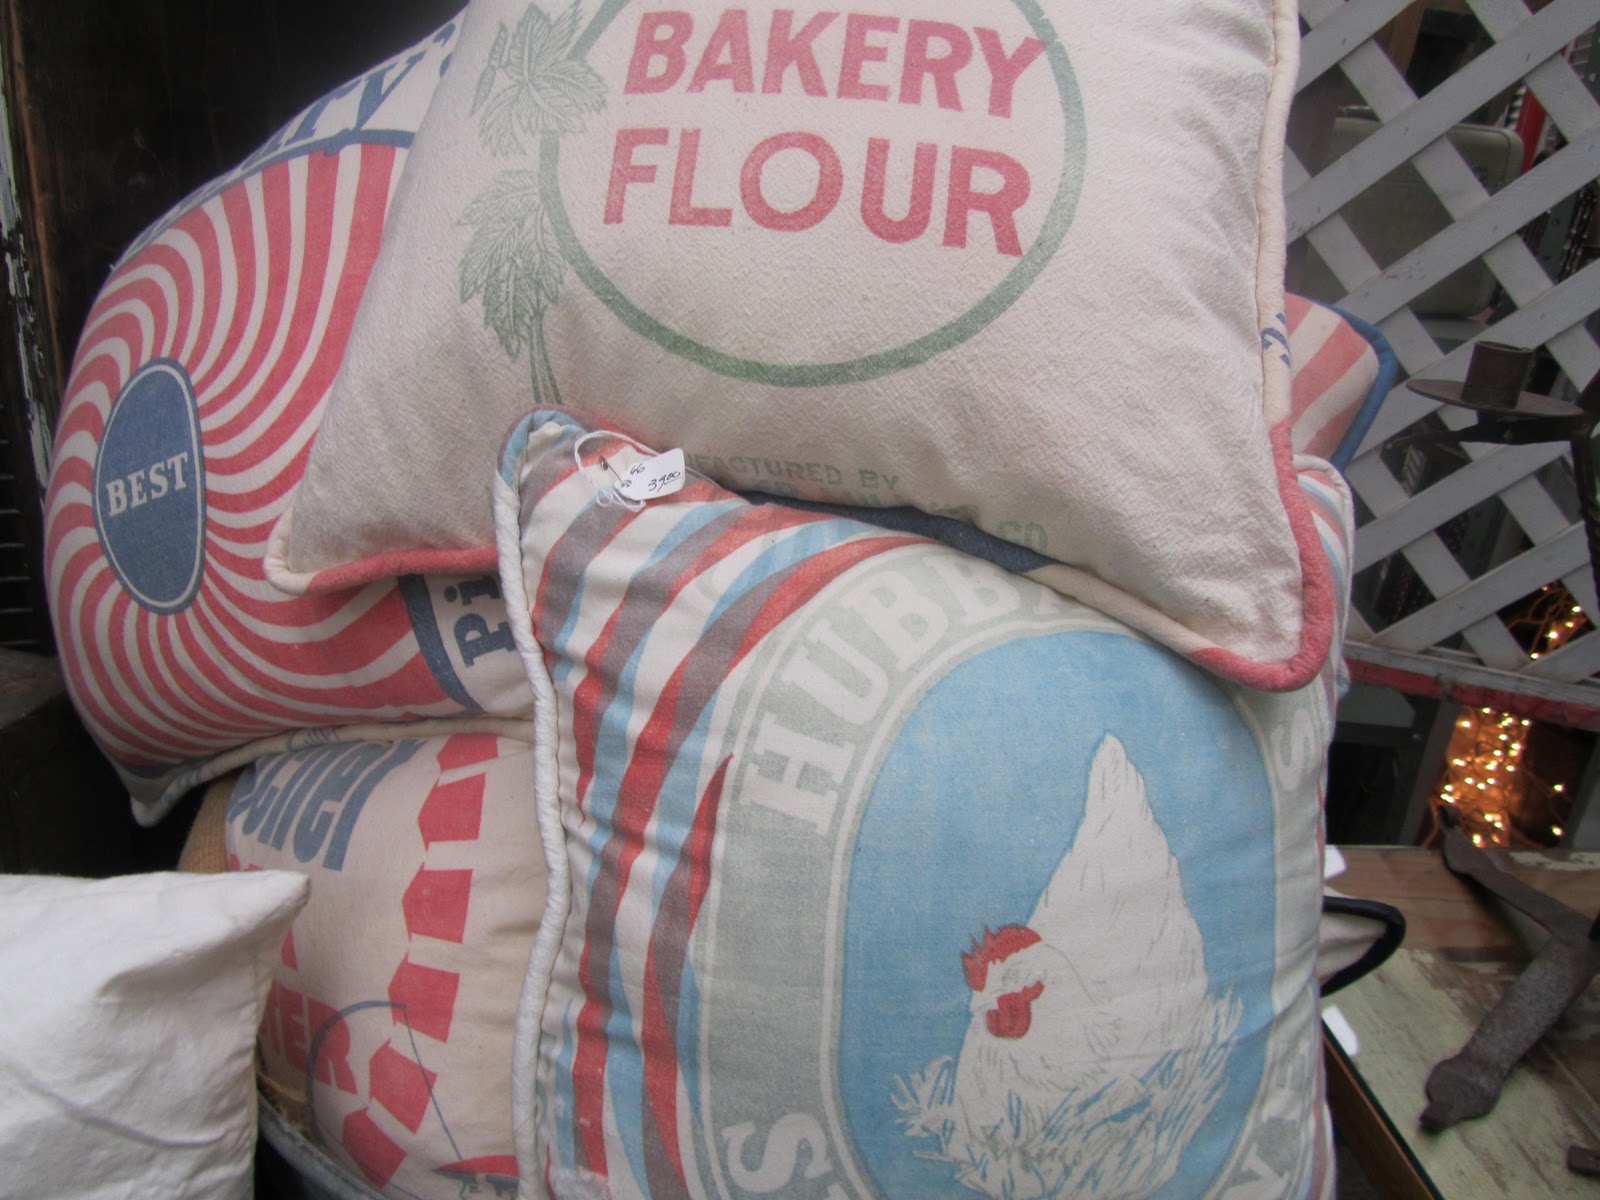
Feed Sack pillows stacked as high as you could see. The soft aged color on these pillows take on a life of their own.
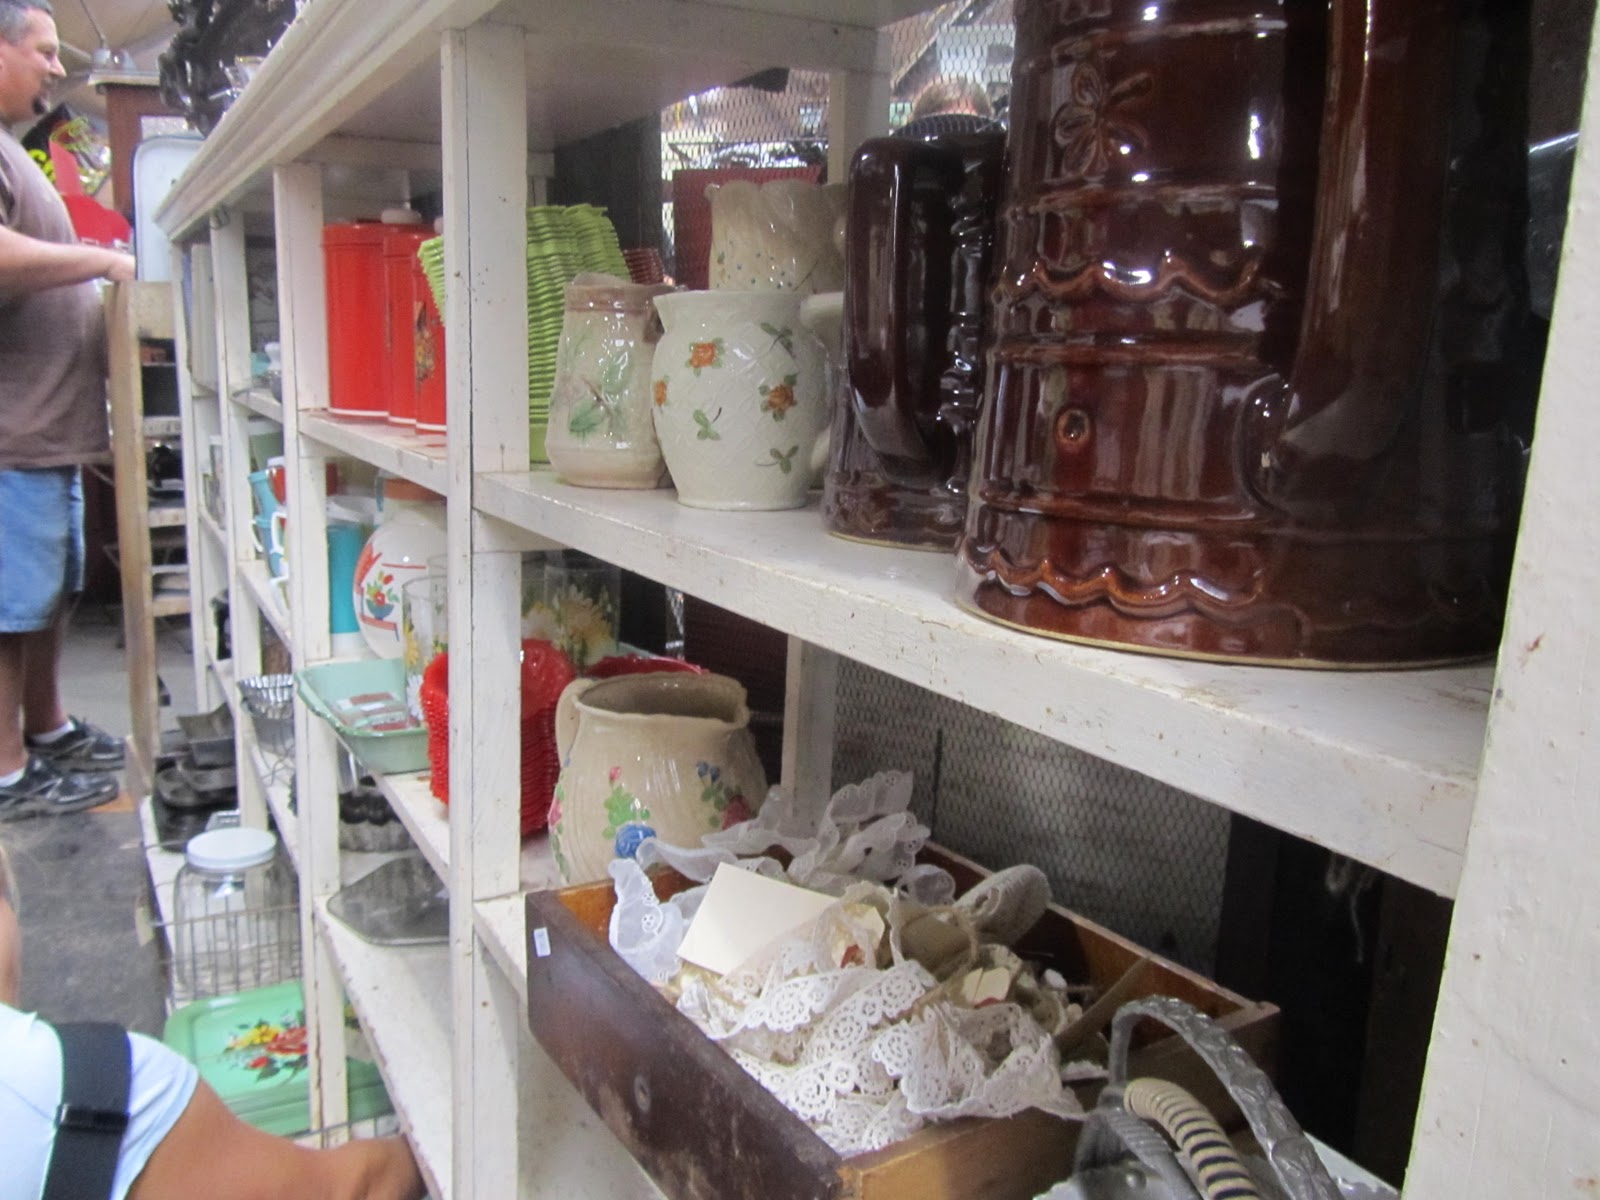
Rows and rows of crocks, vintage dishes, jars of buttons, dominios, and dice. Bingo Cards, optical lenses, glasses, iron work, wool blankets, license plates, typewriter keys, bed spring coils, bowling pins,
Living in Texas our seasons are often very short. Halloween is my favorite season. Do you not call Halloween a season? It isthe official beginning of THE EATING SEASON. It all begins with halloween candy, carmel apples, and carmel popcorn. The season does not end until after Christmas! THE DIET SEASON begins January 1st, but more on that later.
Bins of Maps. I love the color and feel of these maps.

Becasue I did more shopping than taking pics, here is a list of the 100 vendors for you to roam off and kill a couple hours of time.
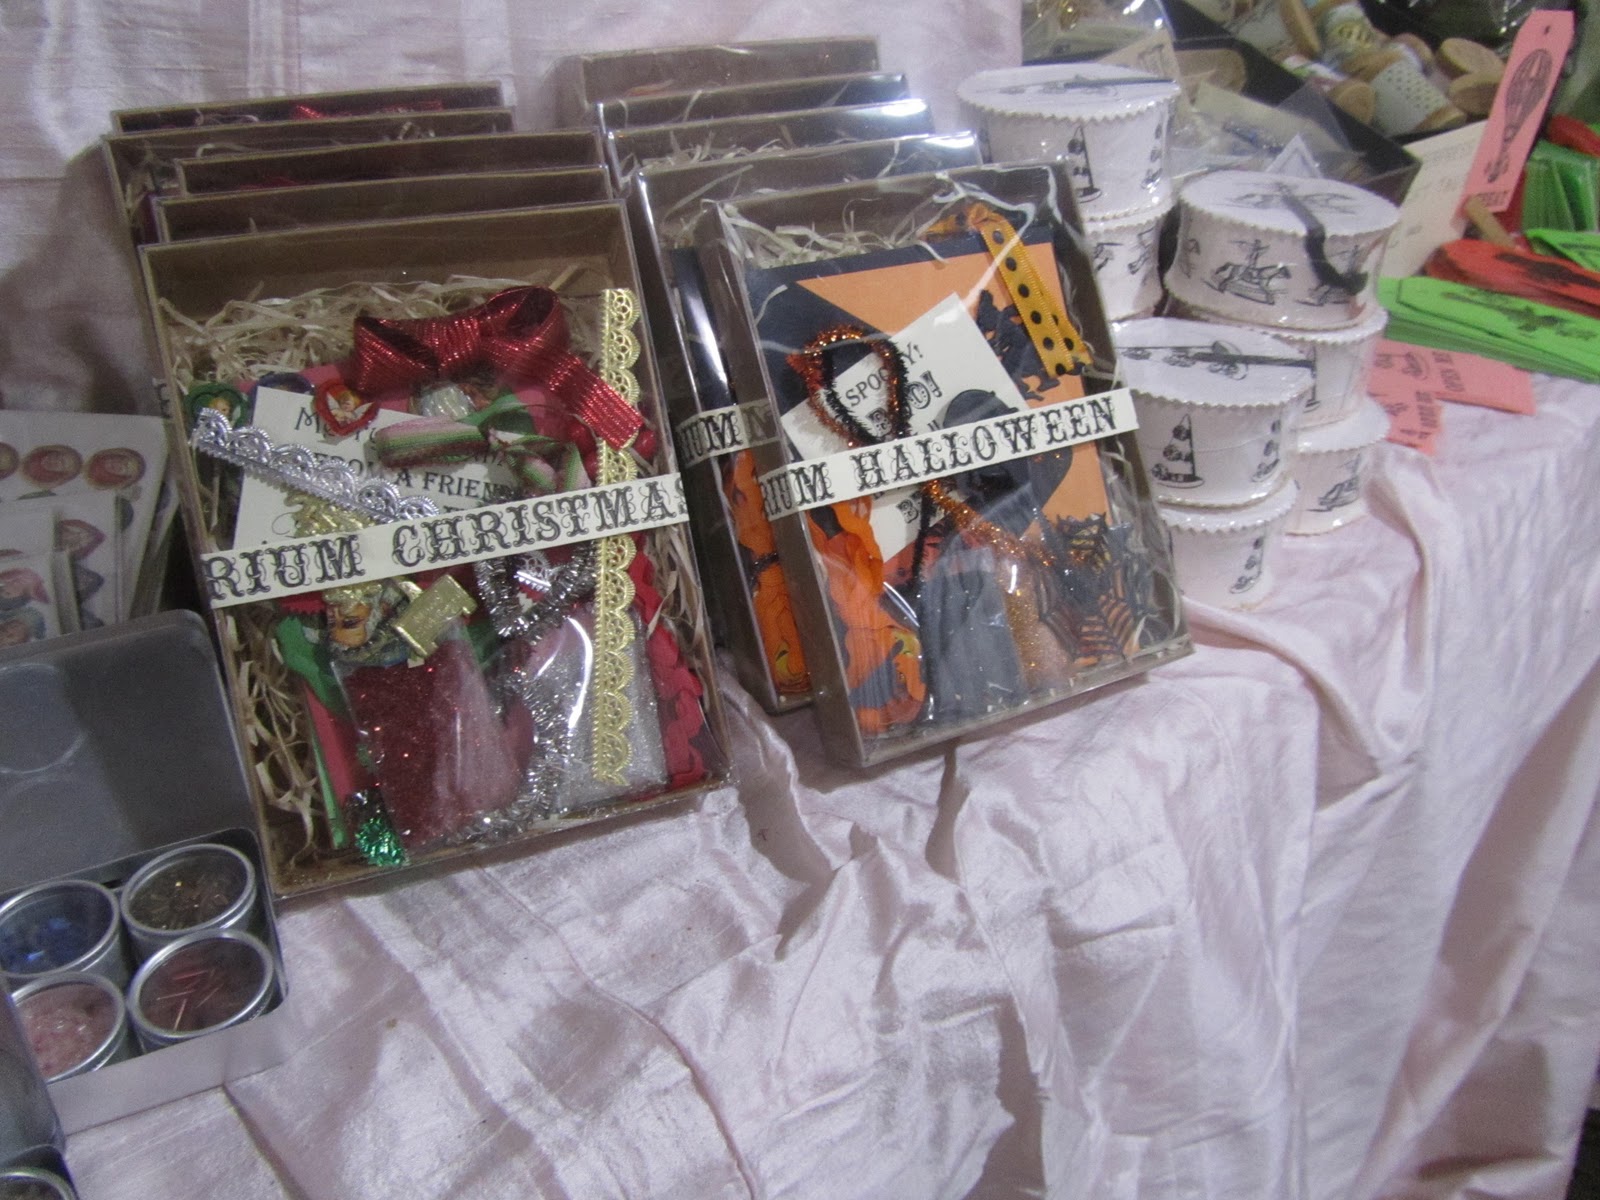
Tinsel Trading’s booth was full of trinkets and treasures. Their whole booth “glittered”.

Earth Angels featured several artists making their booth hard to ever leave. I sat by her at breakfast one morning and she is a “hoot.” Read her blog and I think you will agree.
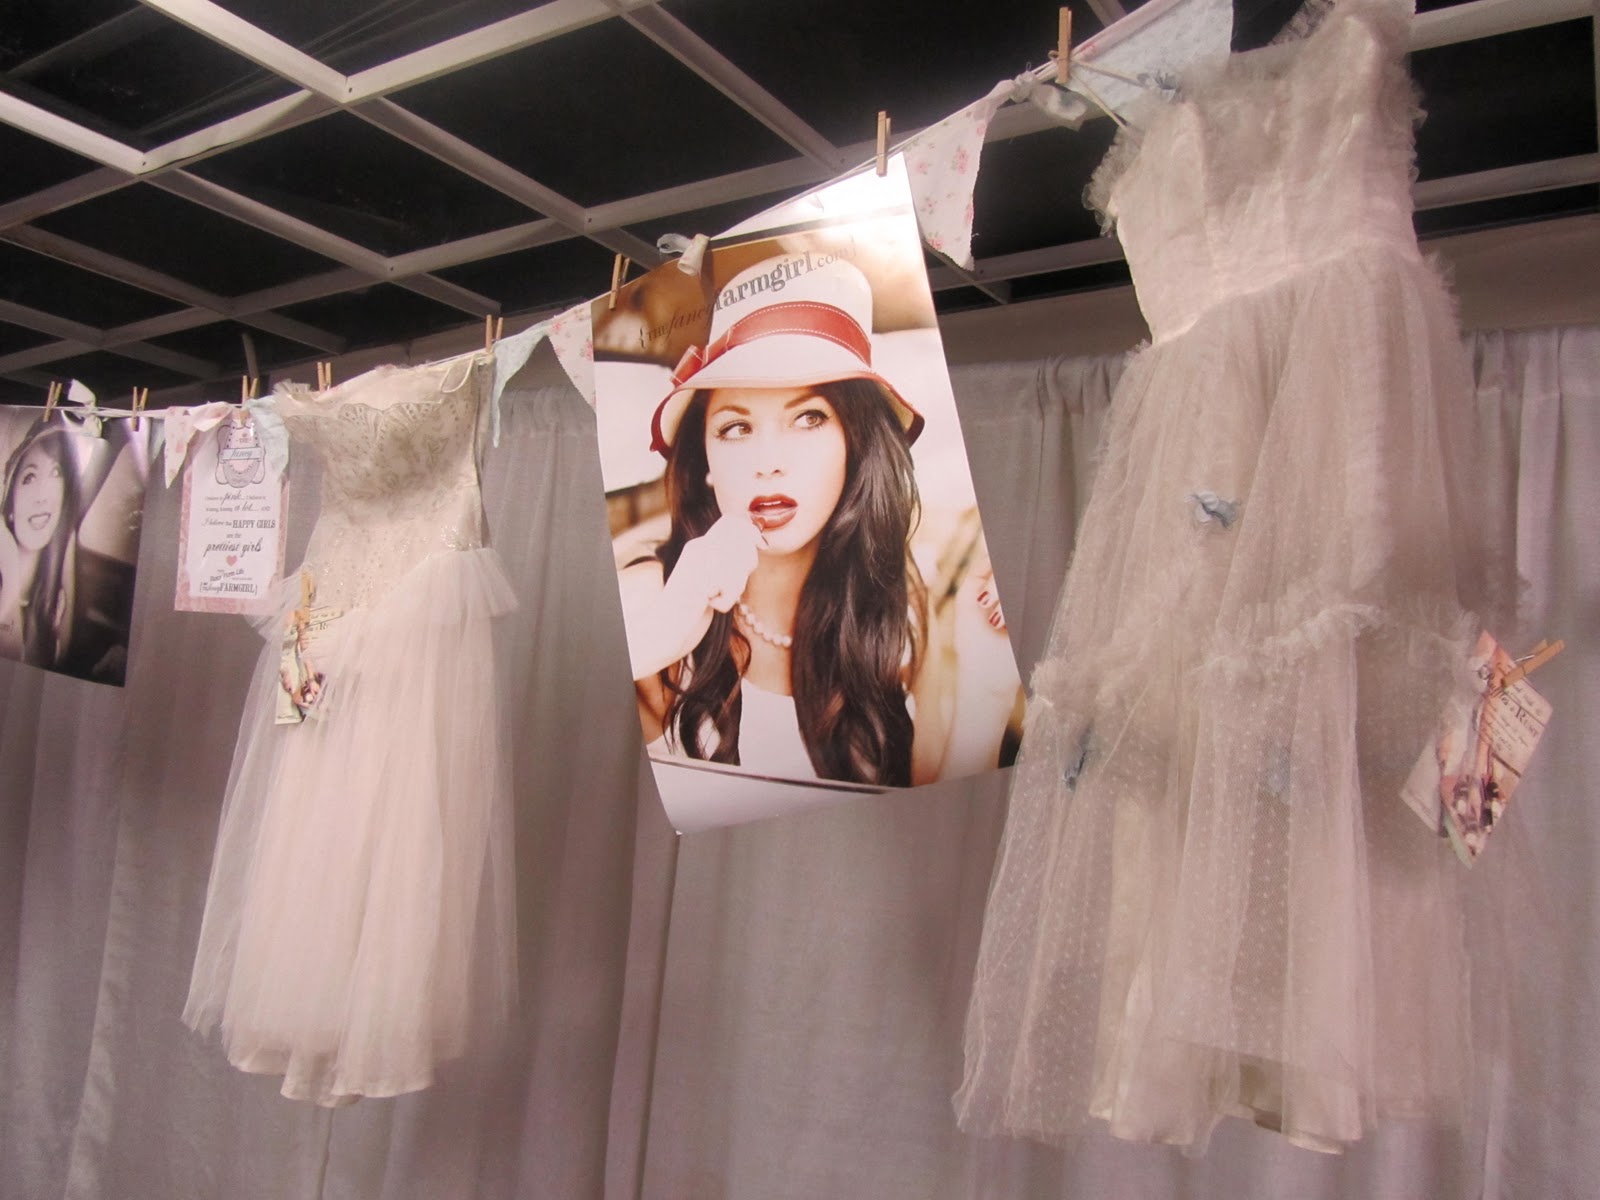
Tiffany from Fancy Farm Girl is adorable. Please go her site just to see the prettiest chicken coop ever!! Yes, I know “pretty” and “chicken coop” are words that should NOT be used in the same sentence, but trust me…
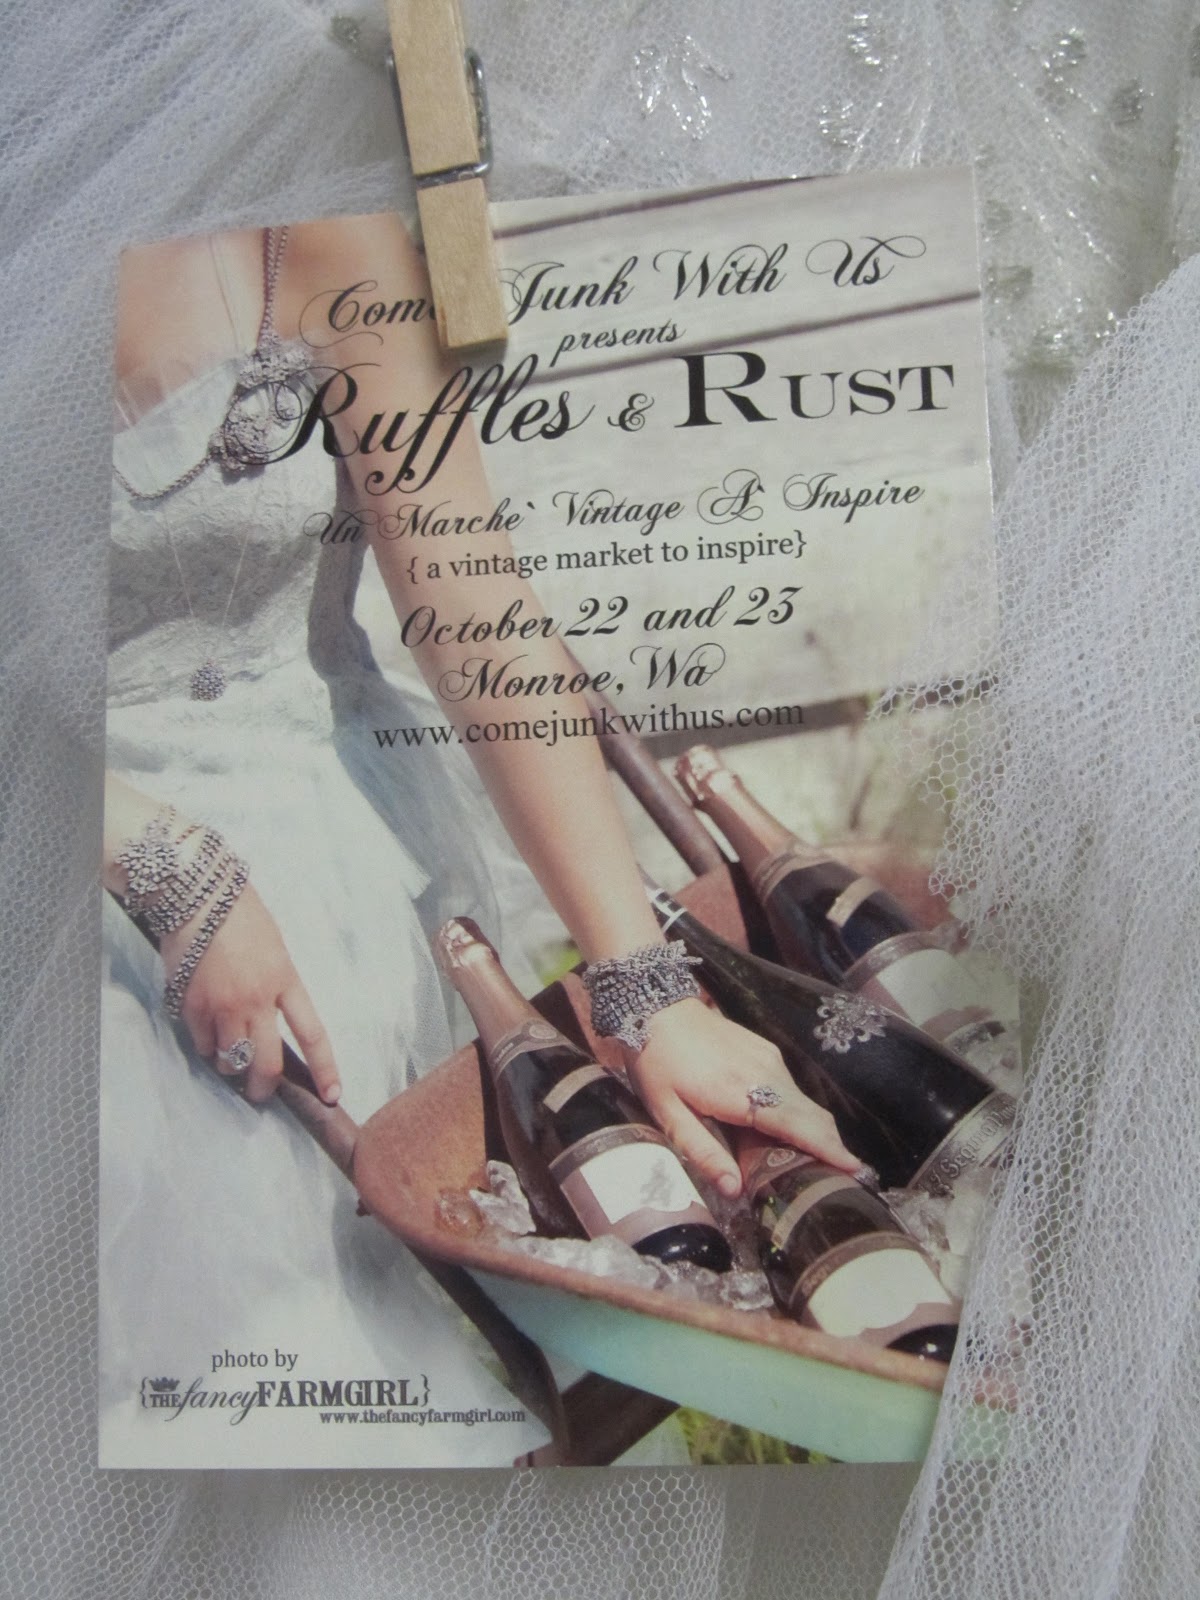
She will also be part of Ruffles and Rust show. (What a great name for a show!)
When: October 22 and 23, 2010
Where: Evergreen State Fairgrounds in Monroe Washington-The Display Hall
Some of the best vendors from around the Pacific Northwest
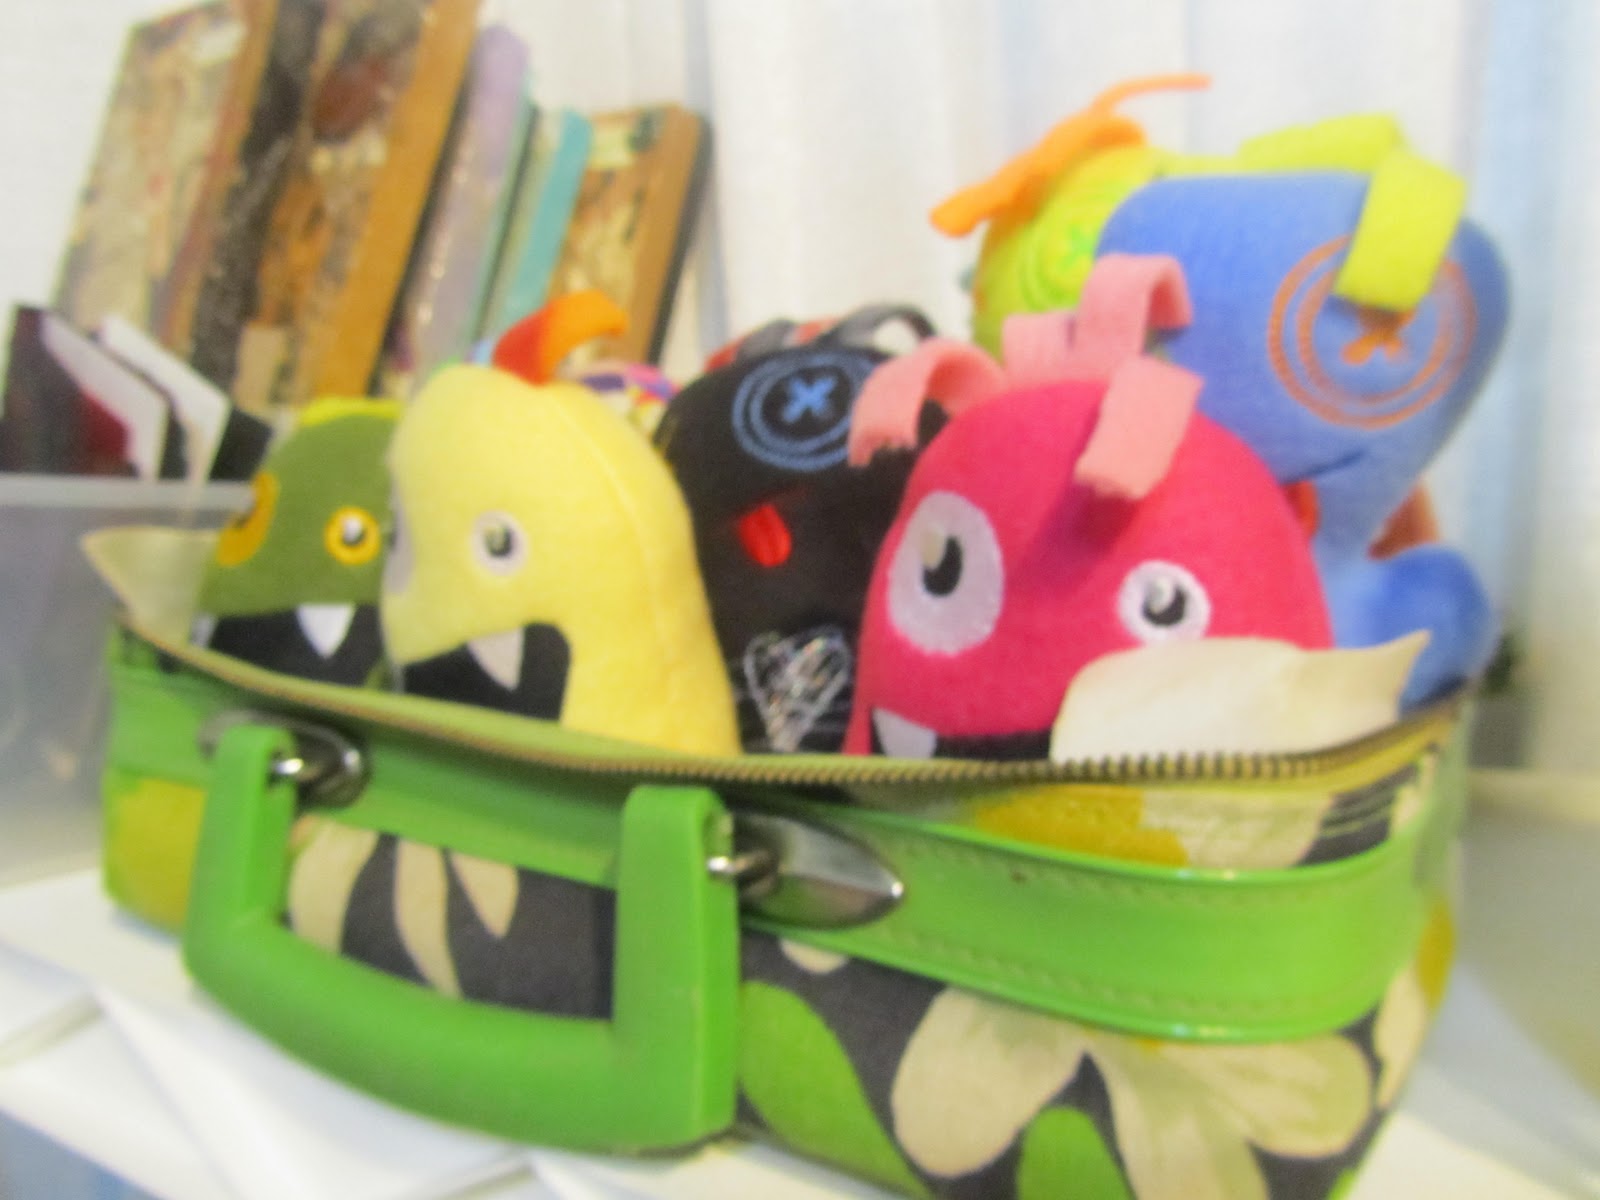
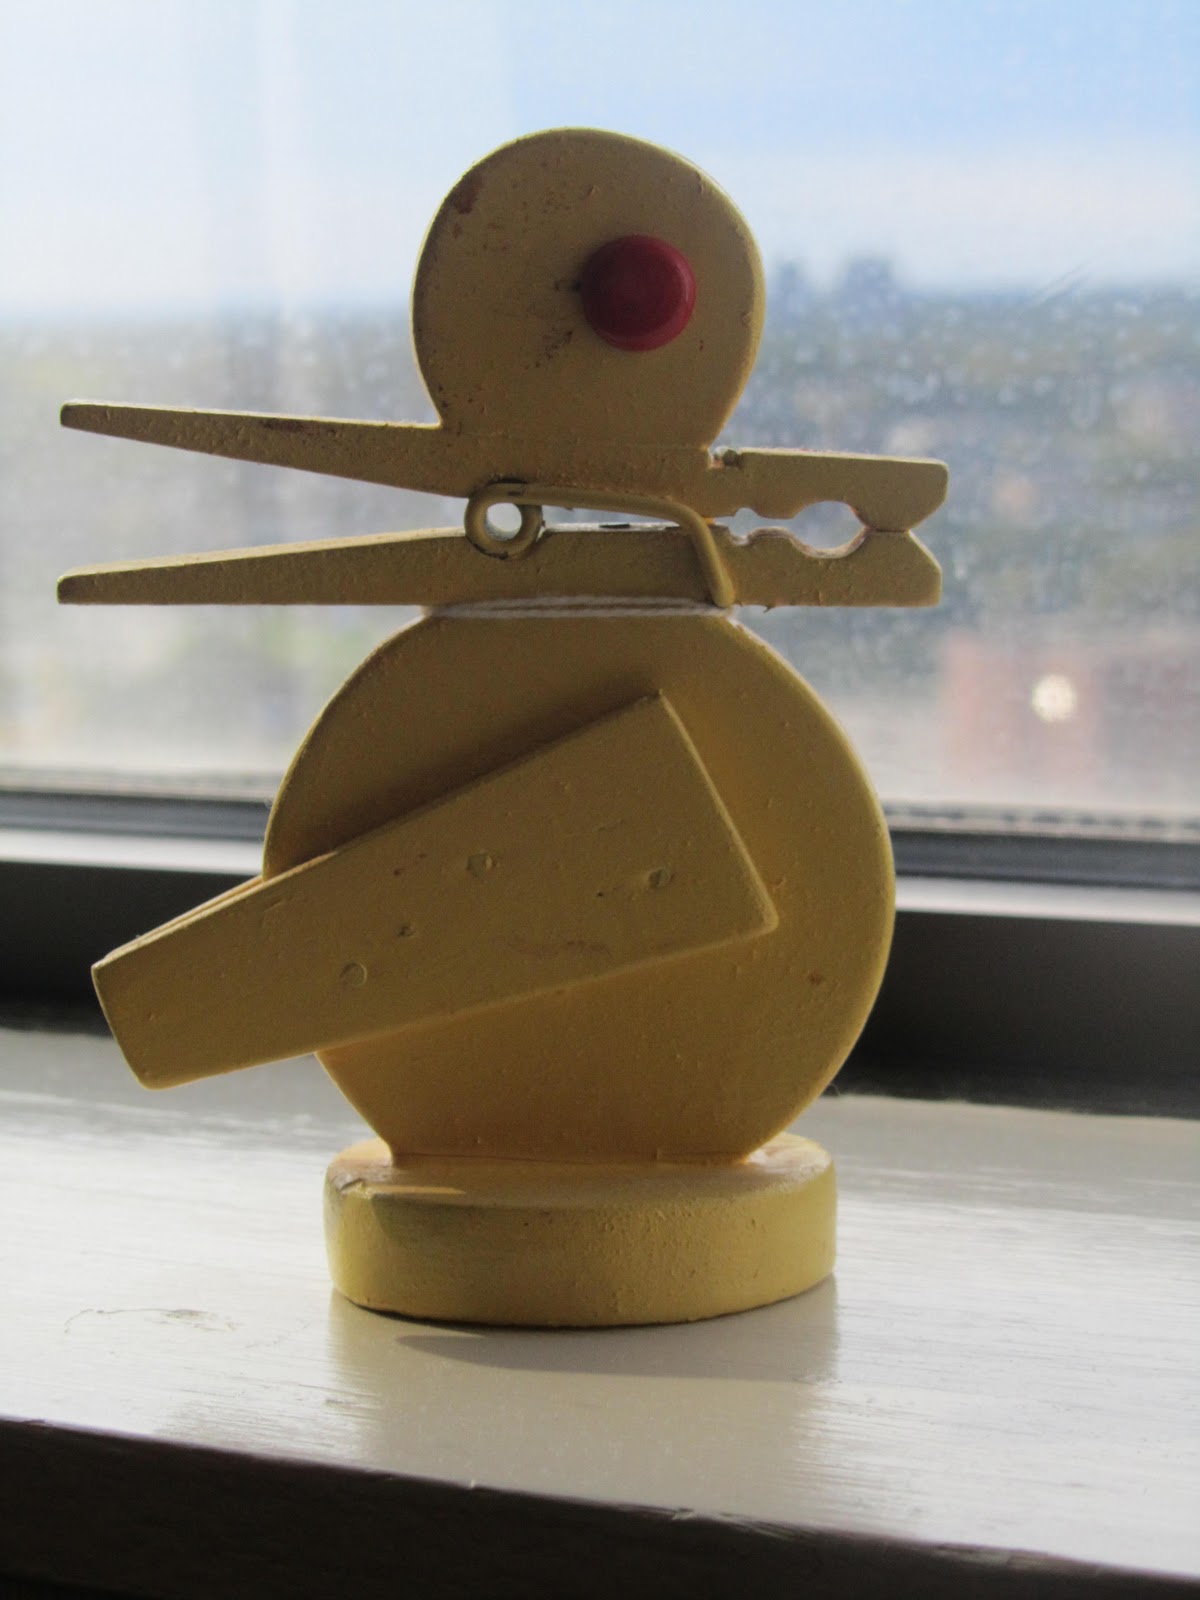
This makes me smile. How cute are those guys in the fabulously retro suitcase?


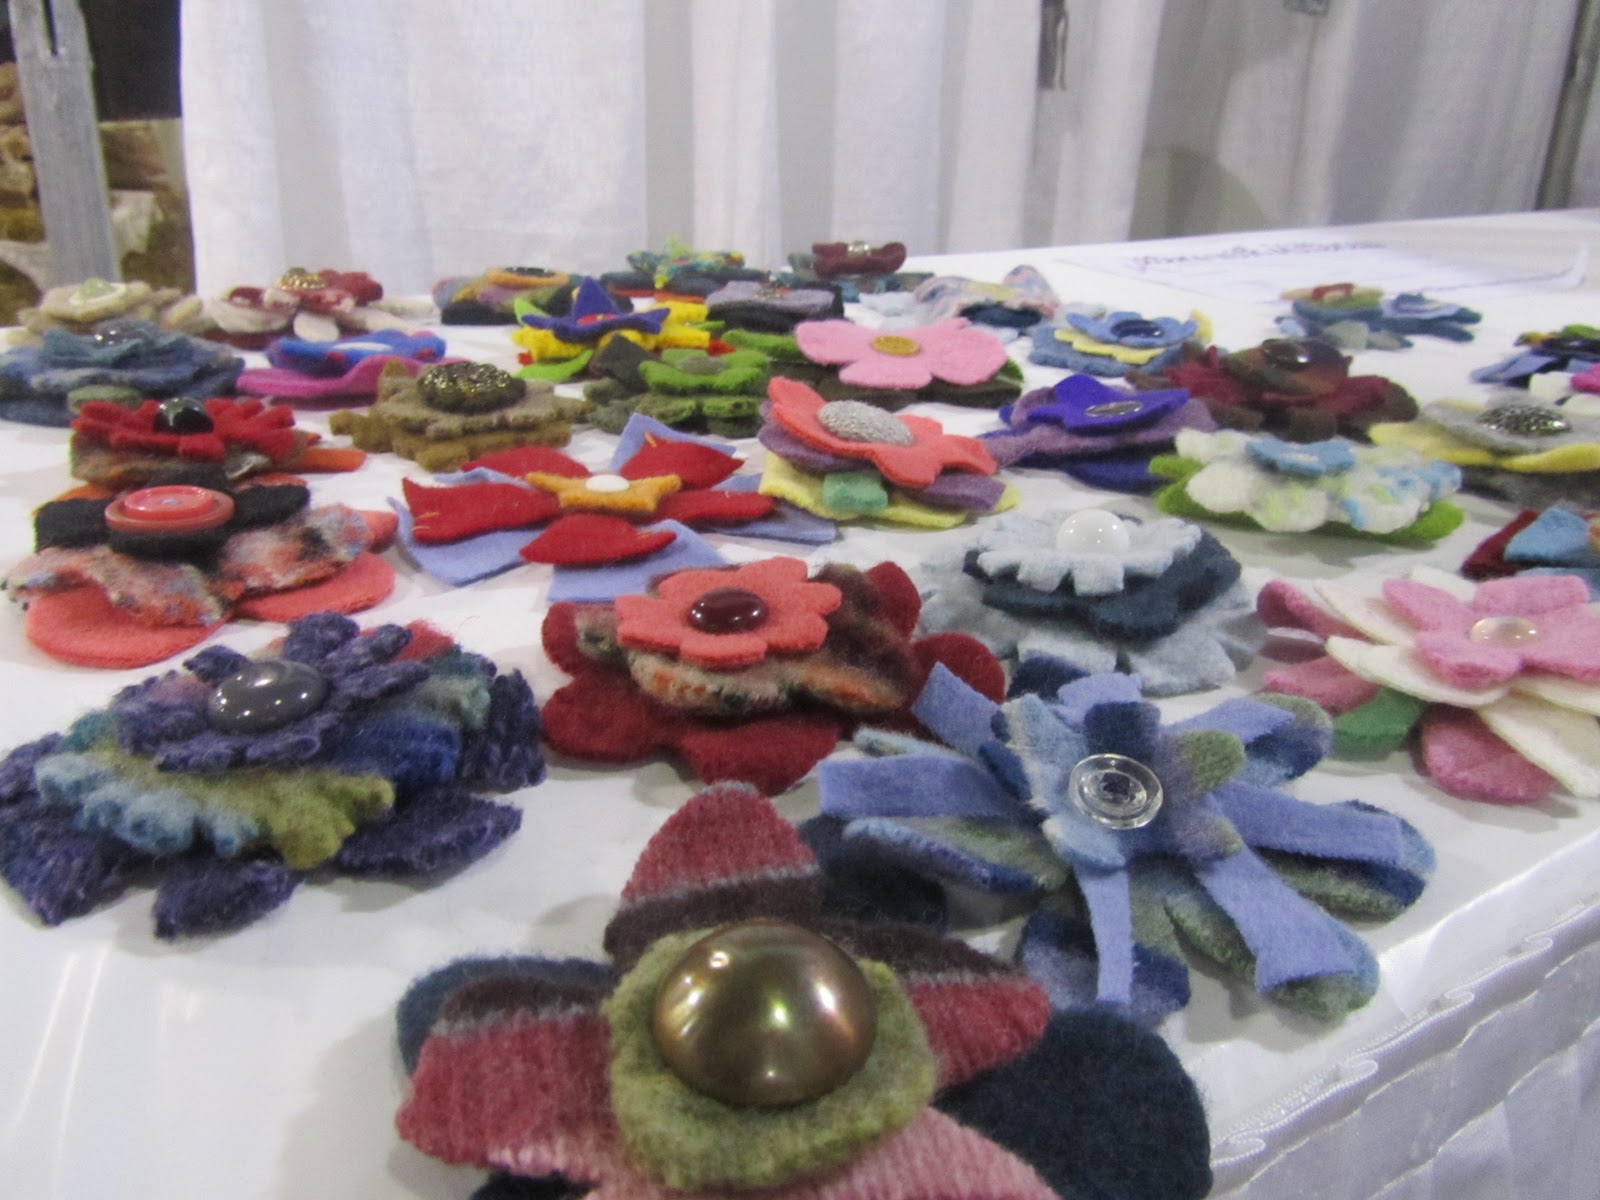
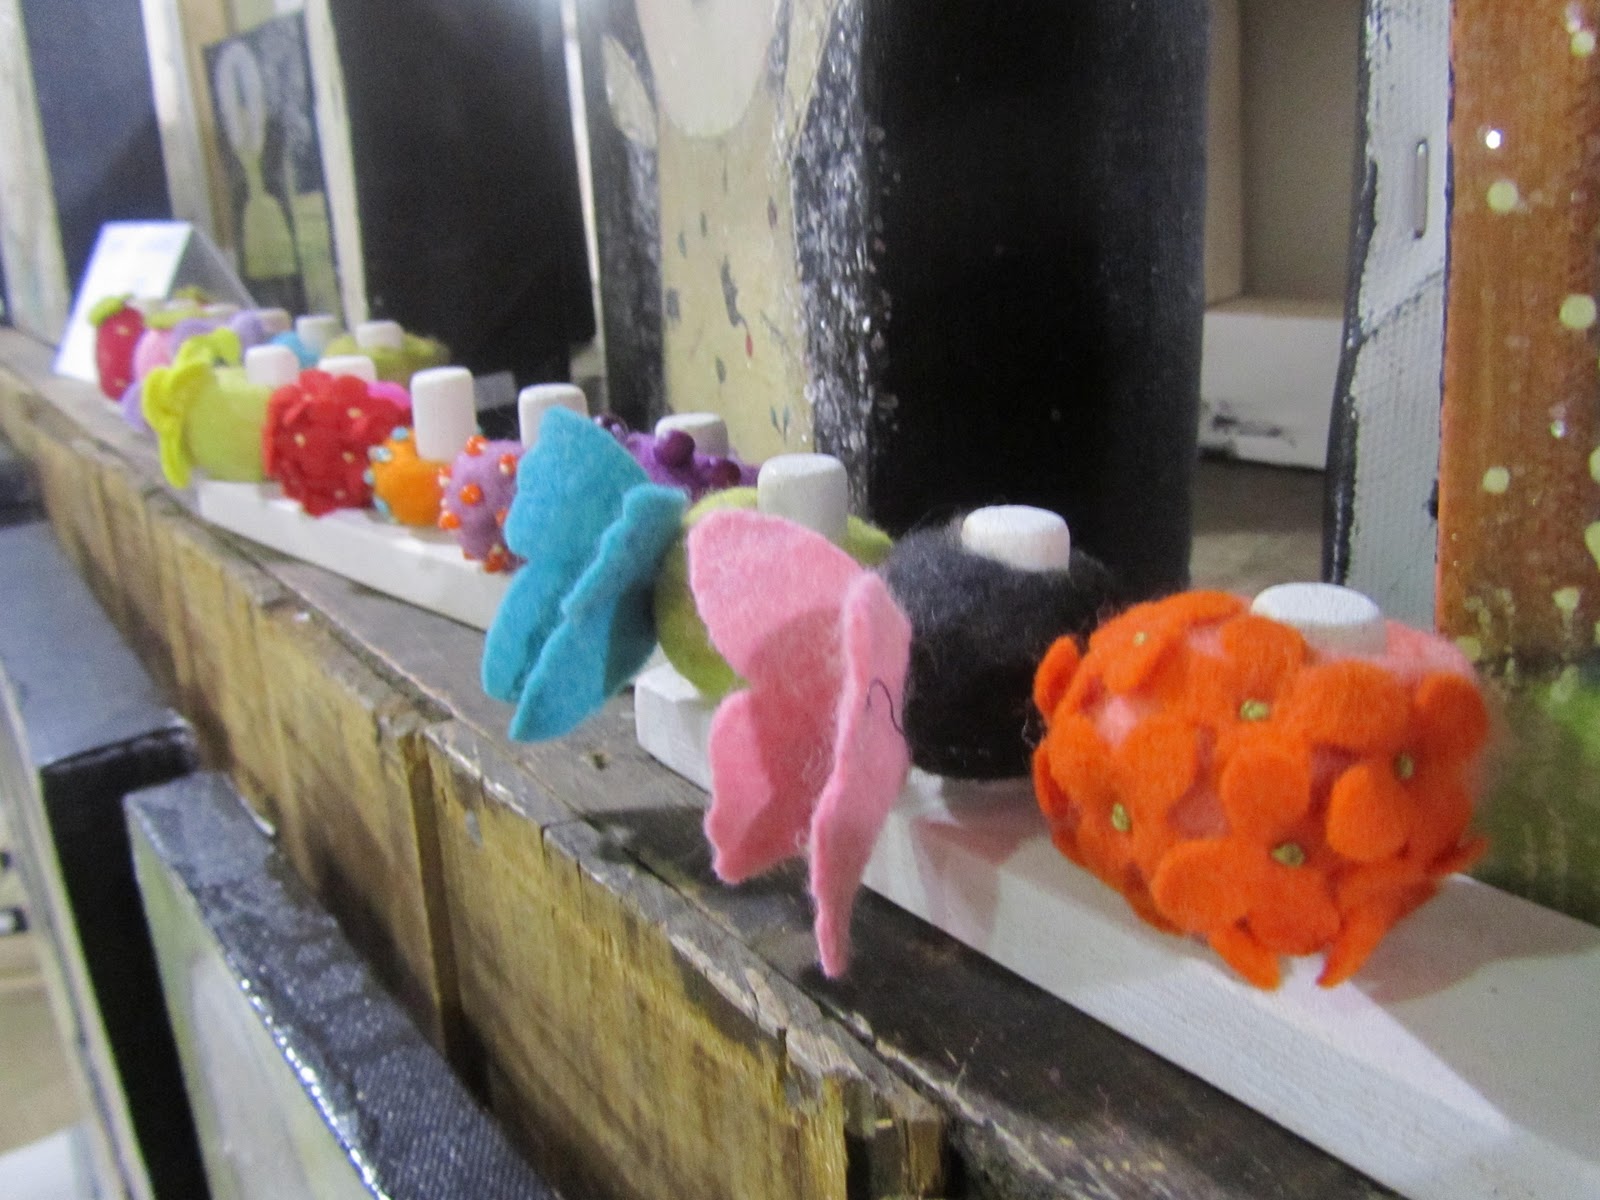
Wool pins and jewelry!


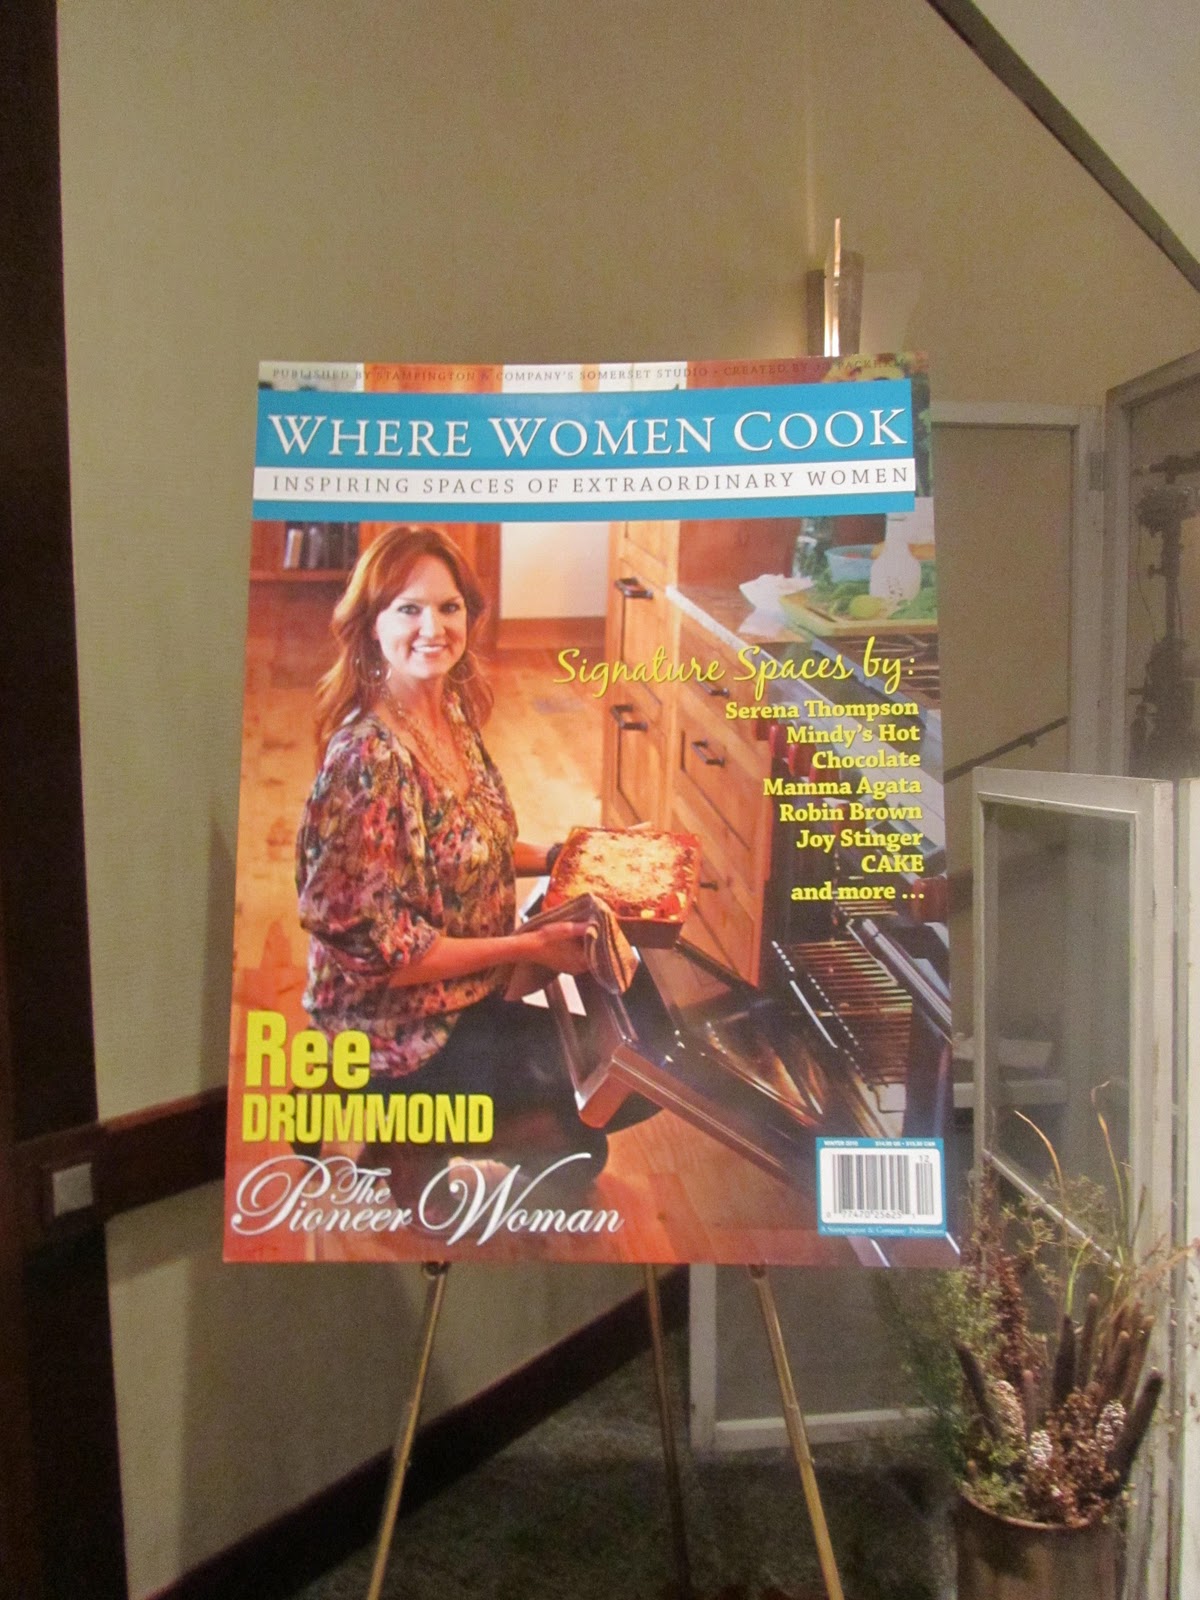
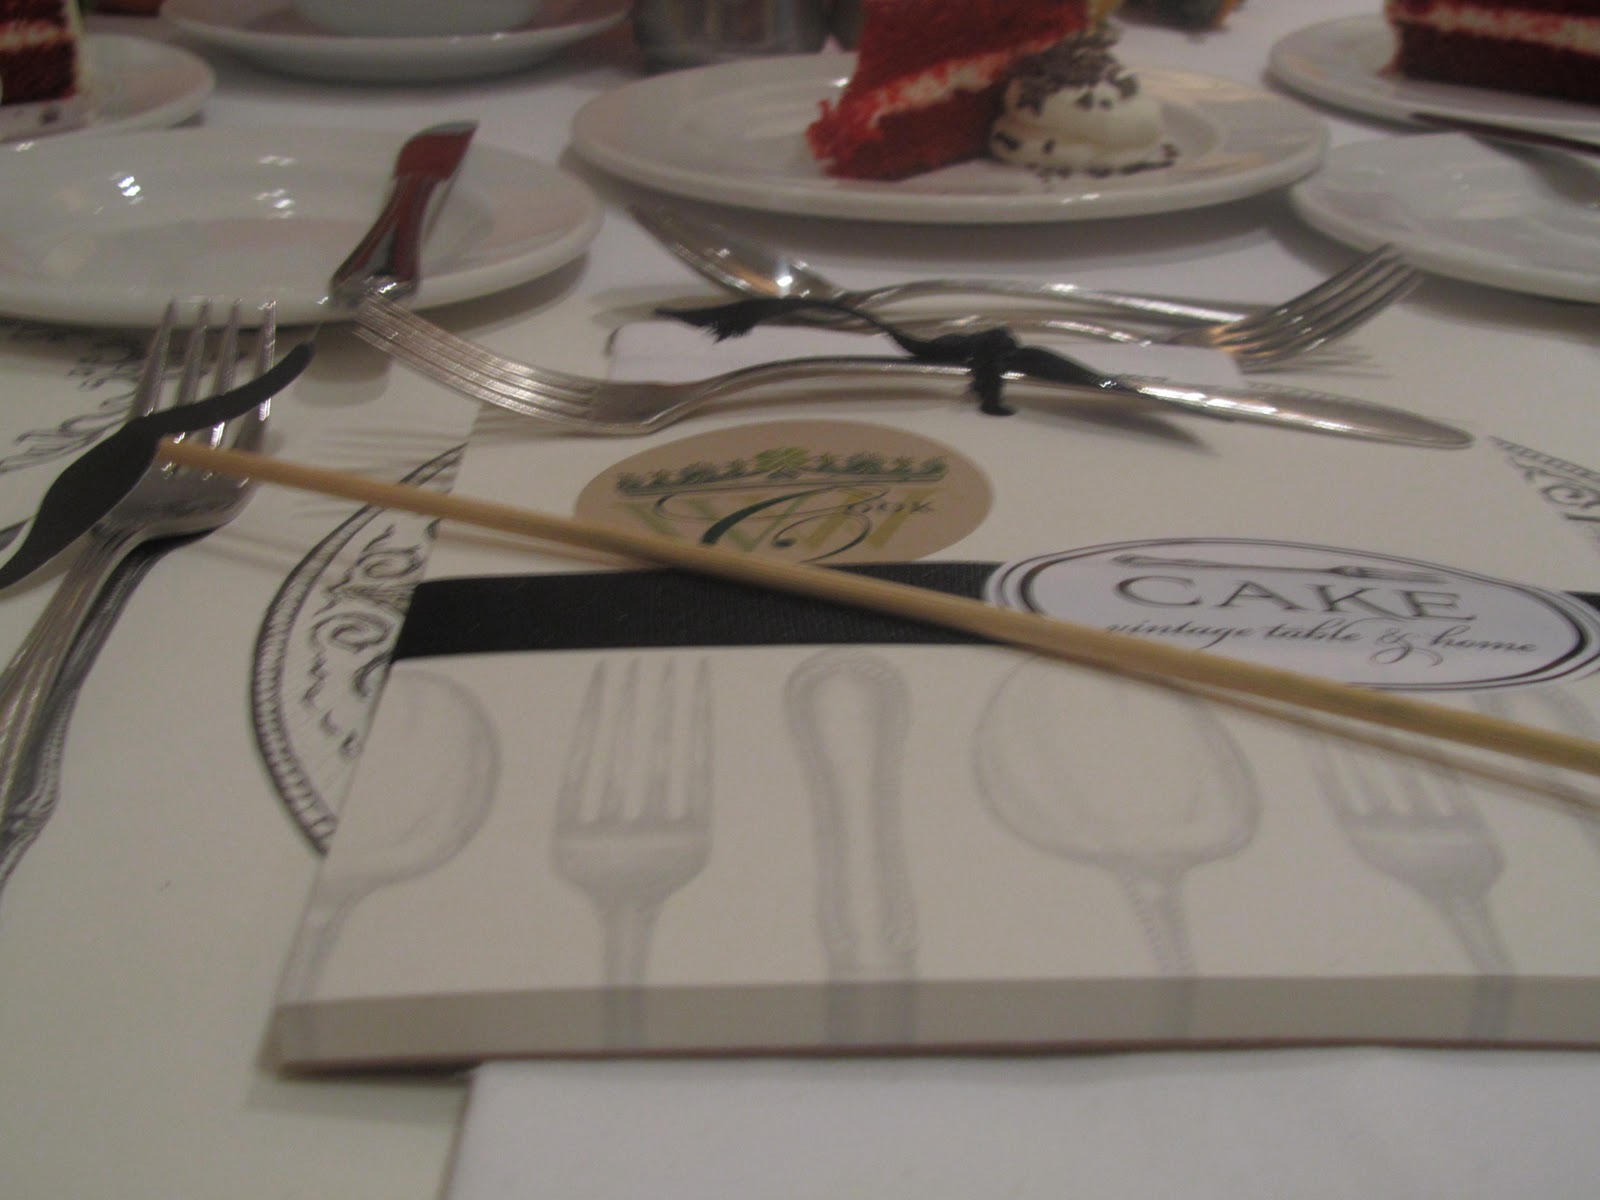
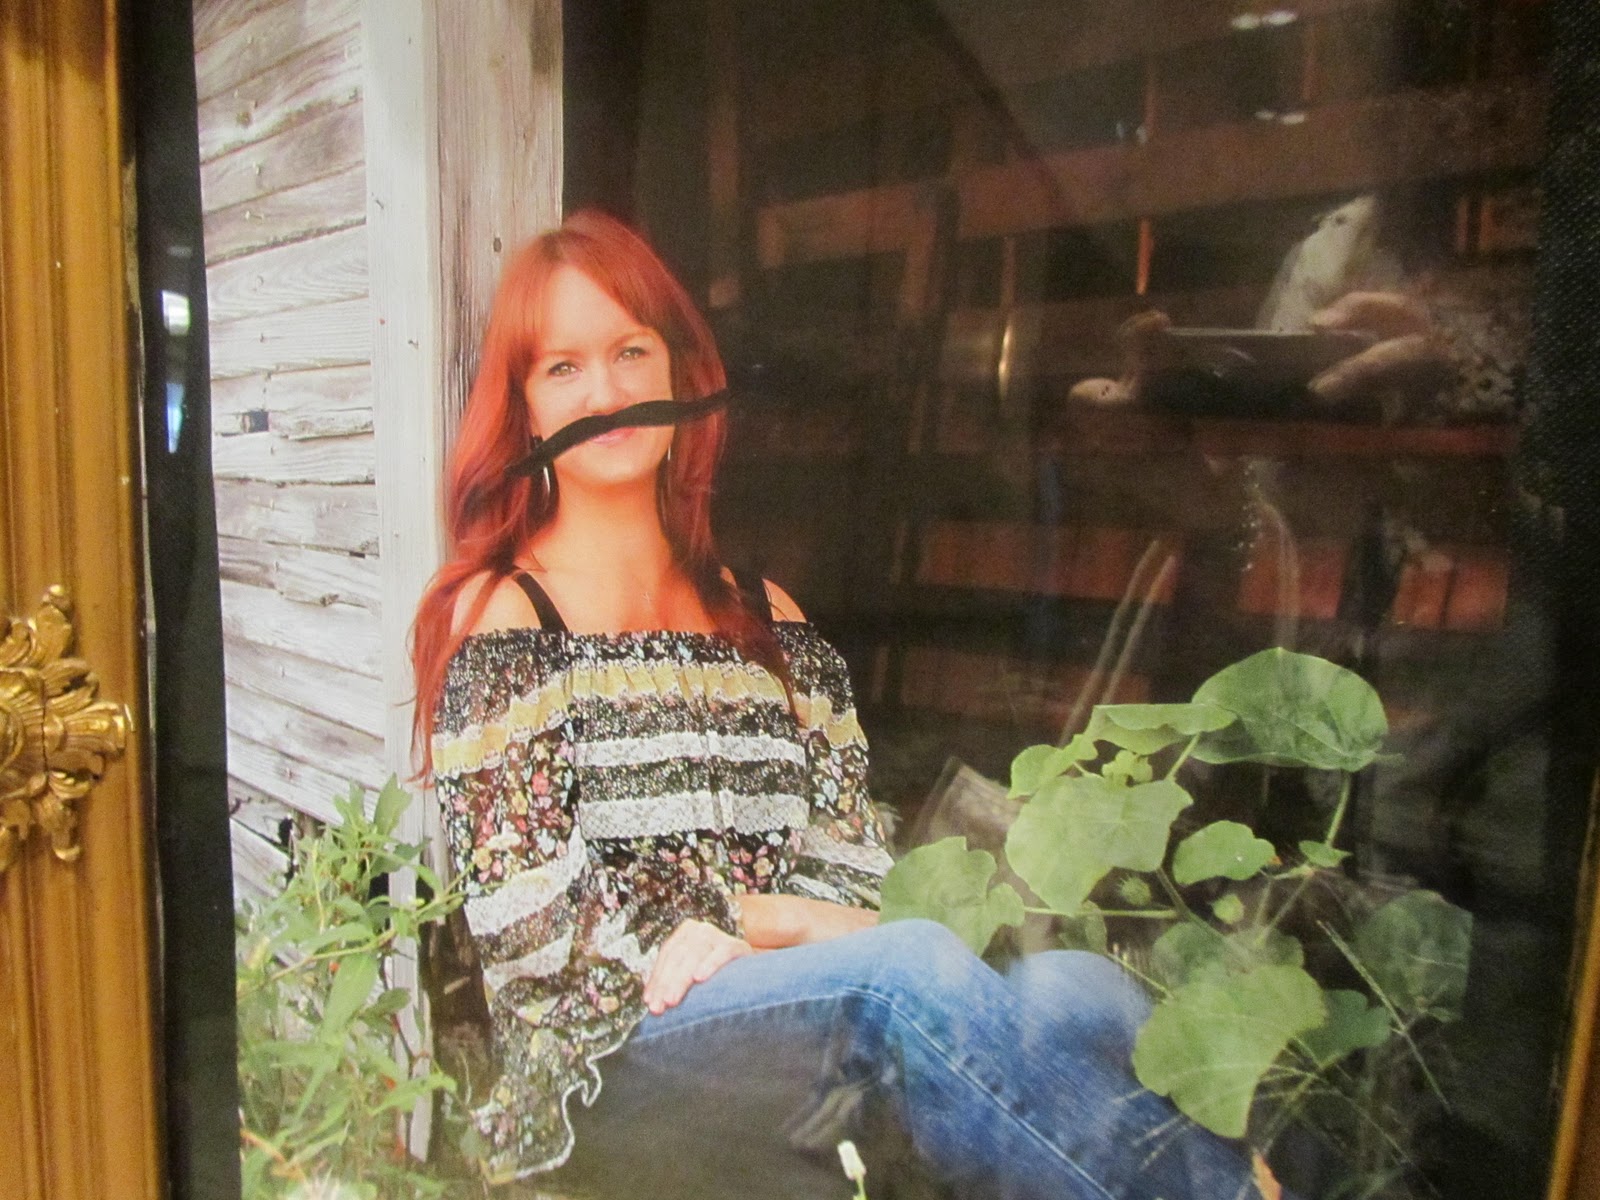
I have squeezed in a few minutes to make a blog post about this event. The day so far, classes, shopping the booths at THE HANDMADE MARKET and a nice intimate lunch with Ree Drummond of Pioneer Woman fame and 500 other people. Each meal is sponsored by a different company. This was the place setting for Ree’s luncheon. A wonderful notepad tied with ribbon and a silver fork from CAKE vintage table & home. We each had a mustache on a stick. If you are a follower of The Pioneer Woman you know she calls her husband the Marlboro Man, hence the mustache on a stick. Also we were allowed to east dessert first- (did I tempt you also with the snippet of the yummy red velvet cake sitting in the corner of this pic?)
The afternoon was full of more classes from jewelry making to wool ornaments and more shopping.
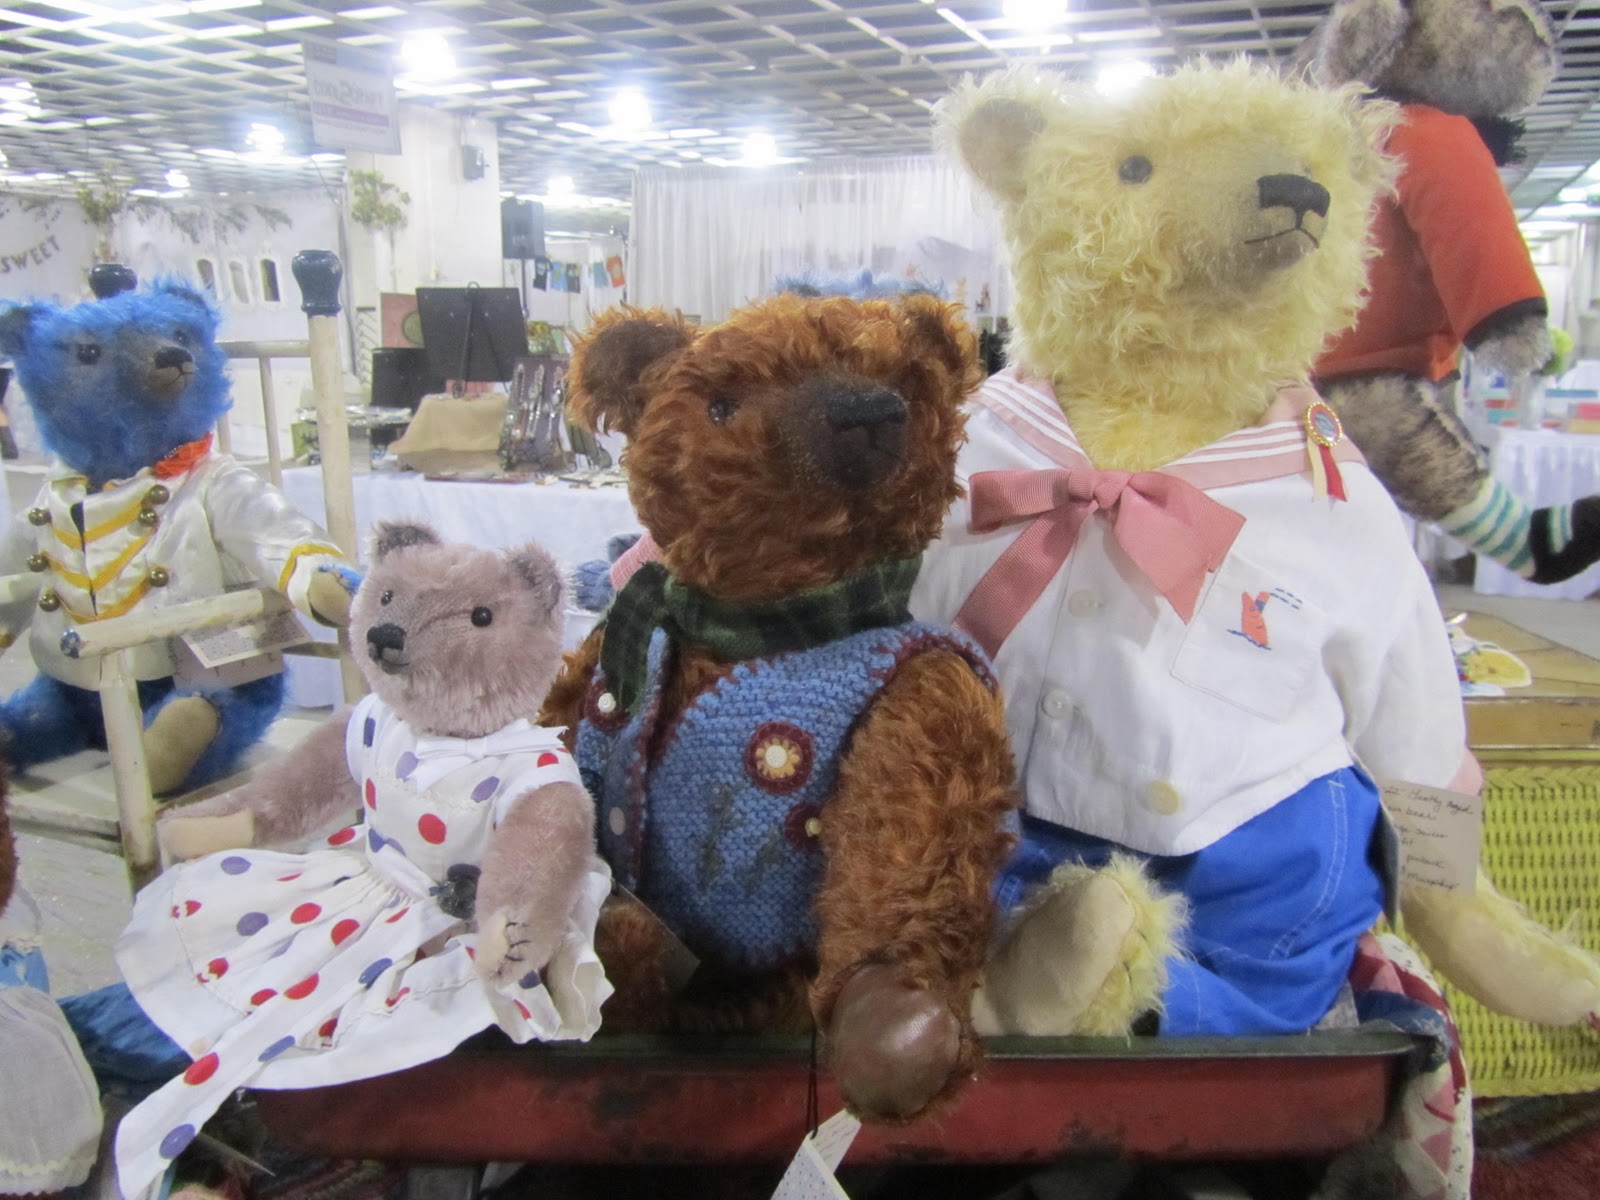
I caught up with Kaari Meng from French General doing a make it and take it project. (her class was sold out so I didn’t do that) My fav Connie and Mary from Country Threads are here with a booth full of pumpkins and all kinds of goodies.