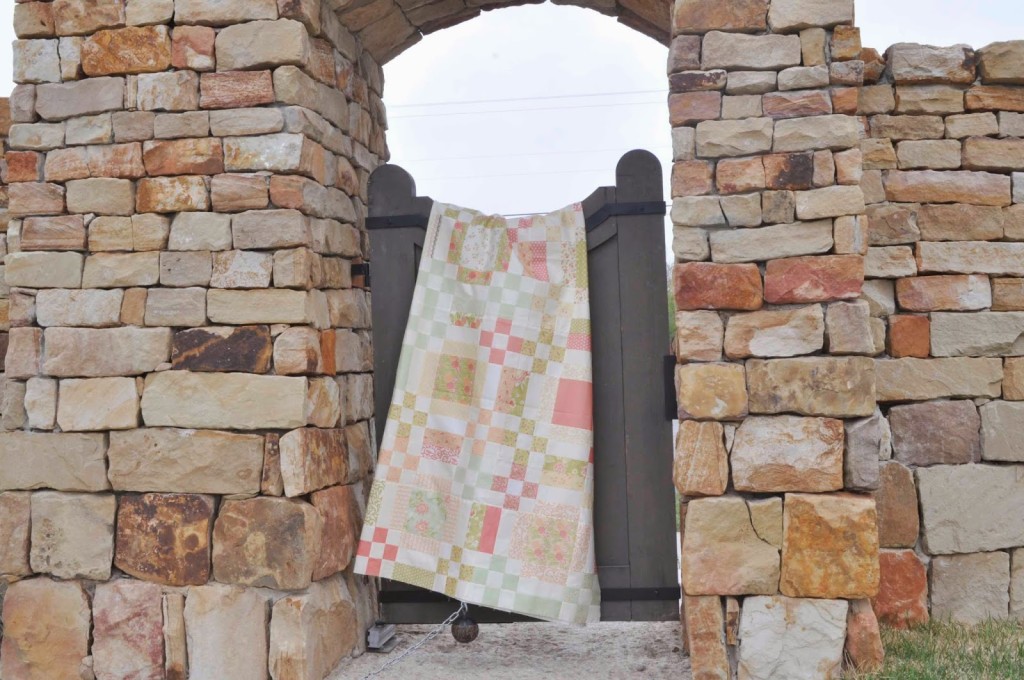
I am sure you have seen this quilt all over the Internet by now.
A very talented and uber creative Jane Davidson of QuiltJane has started this quilt along and today is my day to post my version of this quilt.
First I have to tell you a little story. Jane participated in my Low Volume Burgoyne Surrounded #APQquiltalong project.
 |
| Quilt Jane’s version |
|
|
|
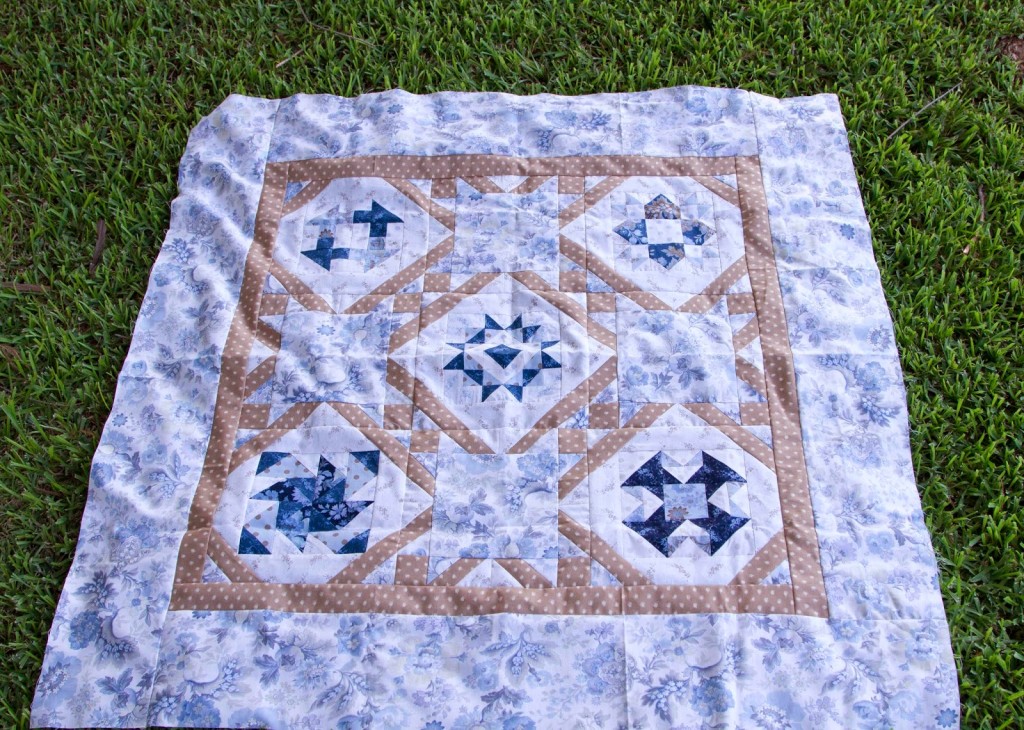
| Here is my version |
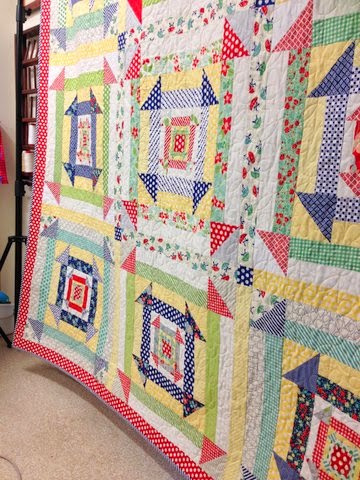
The Fabric and value placement that Jane used in her quilt creating an entirely new design. The quilt is not even recognizable as the traditional Burgoyne Surrounded pattern.
So when it came time to make my version of Jane’s Nested Churn Dash, I thought I would get all artsy fartsy and make the fabrics start as a pinwheel in the middle and spiral out to the edge. I was going to shade each piece as if you were looking into the eye of a tornado.
I was going to ….. was the tricky part of that plan. Didn’t happen!
Instead I opted for Positive Negative.
I am really into that right now.
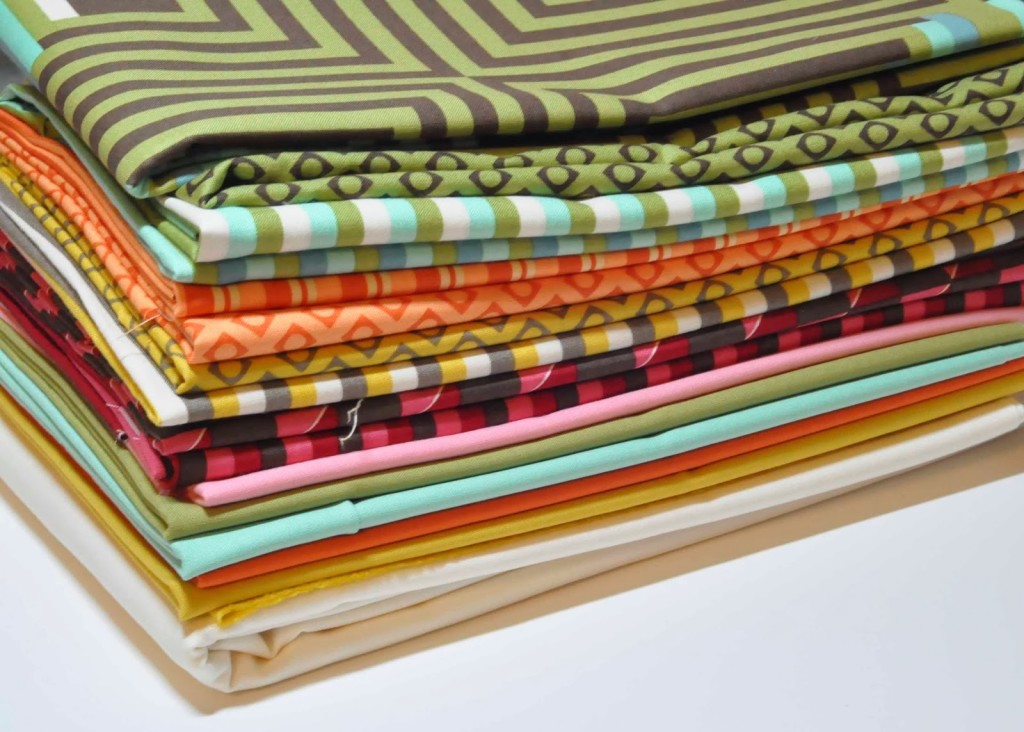
Everywhere there was a light I used dark instead and to keep the design simple I used Bella Snow in place of the prints in the design.
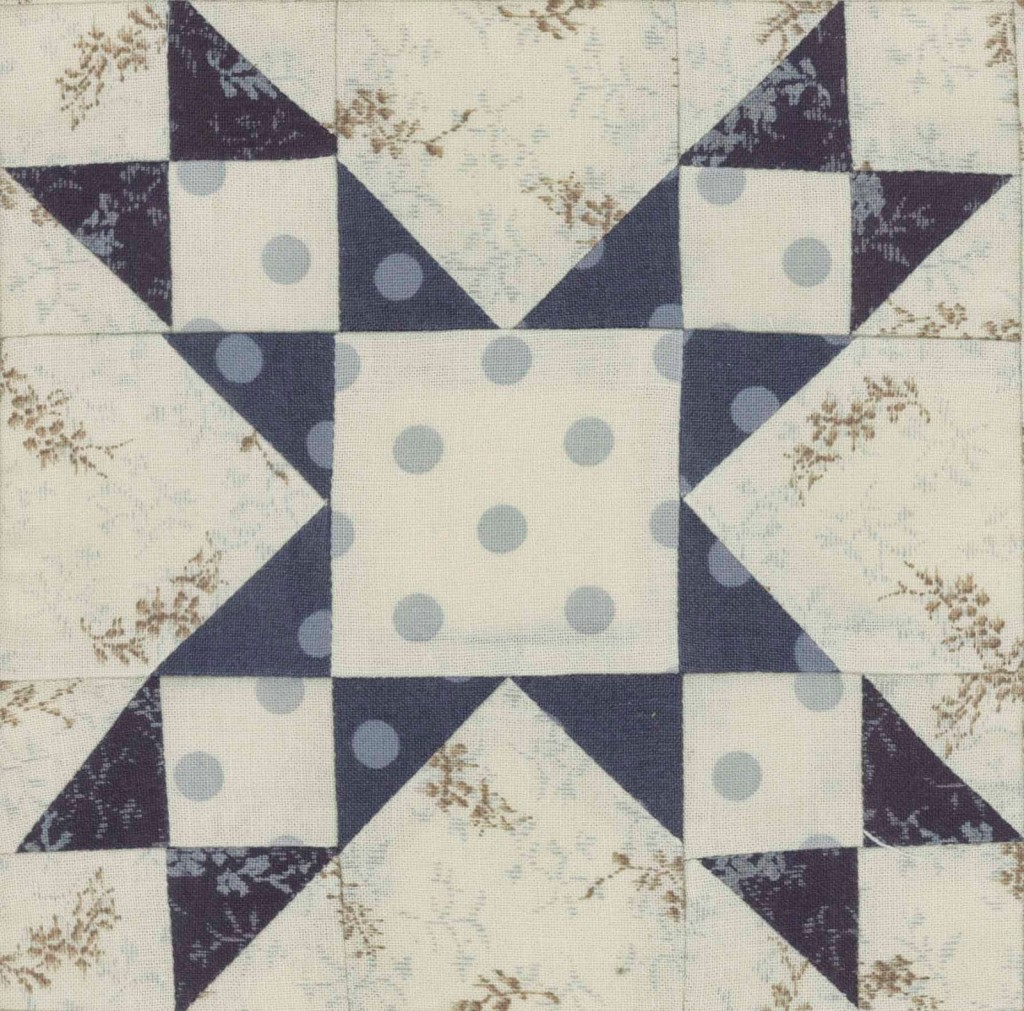
Now let me tell you this did get a little tricky because I was actually sewing backwards from what the pattern said and what my mind knew of the design. I loved how one single block came out.
That is all Jane asked us to do, one single 24″ block to make a mini quilt.
But, of course I saw that Miss Rosie was making a big quilt and Jane had done that super duper quilt for the #APQquiltalong. I couldn’t just stop at one block. I am a little competitive like that.
For the big version, I made every other block positive backgrounds and the other negative backgrounds. Confusing?
In cutting the fabric pieces the only thing that changed was what I used for the center square, so this was actually quite easy once I got the hang of it.
Here are the pieces for one of the 4″ blocks.
Here is a different block design. I just rotated the bar sections.
Now I have flipped the half square triangle sections.
Then by swapping out the center square, I have a negative version of my first block.
It really was fun playing with the simple possibilities to achieve a few different block designs.
If you are making this quilt, Jane has given all kinds of options to make your
I wanted to show you one more.
Forgive me, because it is really hard to tell from a single picture what exactly this ruler does. It is called Bloc_Loc. It comes in a variety of sizes. I just happen to own the 2 1/2″ and the 4 1/2″ ones which is exactly what I needed to make this quilt.
The center of the ruler has an 1/4″ indentation. The ruler slides right up to the seam allowance and locks in place. This ruler only works if you press your seam to one side.
Here is a video that explains how cool this is.
Once you square up the blocks you will have this cute little pile of scraps.
I love the 4″ blocks all by themselves as well.
Just to update you on the list of blogger’s participating. Check them out.
Be sure and post your pictures to the
Flickr Group to win some beautiful Aurifil thread packs and other great prizes.
Use #NestedChurnDash on IG, FB, Flickr and twitter. Winners will be announced 30th July 2014.
Can’t wait to see your version of this quilt.