You can find more specific details about this QAL, such as fabric requirements, at
My Fabric Relish and
Pretty Little Quilts.
There will be a lot of fun information and prizes, so I hope that you
will be able to follow along even if aren’t able to make the quilt!
– See more at: http://www.pixelstopatchwork.com/2014/05/deep-in-heart-of-texas-roadtrip-quilt.html#sthash.p5ek0S3j.dpuf
Welcome to your next to the last stop on the Texas Roadtrip QAL.
By now you have many of the highlights around the state and discovered many of the gems that give Texans our bragging rights.
I was born in Kansas but as the ol’ saying goes….
I got to Texas as fast I could.
Really it was my mom and dad that came to Texas as soon as they could since I was only 5 years old and couldn’t drive when my family moved to Texas. We started out in Lubbock and eventually moved to Dallas when I was 8.
Both my mother and father were native Texans so when I was told about this project I knew I wanted to play along. Making the blocks and reading about many of the parts of the state have brought back many memories of family reunions, road trips, and various adventures along the way. Enough about my families antics. You can read about my roadtrip down memory lane August 17th when I post the final quilt project and link up for prizes.
So today you are here to learn a little about the Texas Hill Country.
The area that defines the Hill Country varies depending on who you ask. It does however cover 25 different counties from as far north as West Austin and south all the way to Bandera and into San Antonio. Bandera, Texas is the Cowboy Capital of Texas. The town still has hitching posts outside many of the stores because it is not uncommon to ride your horse into town. Bandera also has as many honky tonks as it does churches. SIDE NOTE- This weekend, July 26th is the National Day of the American Cowboy. If you happen to visit Bandera, be sure and stop at the O.S.T Restaurant and enjoy your meal in the John Wayne room. I seriously have done this! I won’t share about the Honky Tonks we visited during the family reunion. Yes, Bandera also has a quilt store, Gone Quiltin’.

Everything is bigger in Texas except for maybe our hills, so to have an area of the state know for the hills, granite rocks and native brush tells you we are pretty proud. So if you visit, please no comments on the size of our hills. I could go on and on and tell you about the quaint downtown streets, the antique shopping, the mega outlet malls, the inter tube rides down the river but there is not enough time. You will just have to experience the charm for your self.
Any road trip is sure to include a few stops along the way at any and all quilt shops. So I will list just a few.
You won’t want to miss Creations in Kerrville, Texas.
 |
| They won’t mind that I borrowed this pic from their website. |
Kathy and Julie are precious and have owned this shop for over 34 years so you know they are doing things right.
Another must stop is the Quilt Haus- New Braunfels
Memories by the Yard- San Antonio, Texas
Honey Bee- Austin
Las Colchas – San Antonio
Uptown Blanco Textile Studio ( I haven’t actually been to this one but I will on my next roadtrip.)
There are as many quilts shops as their are longhorns so I also wanted to include a few links that are state wide quilting events. Be sure and check them out.
http://www.rowbyrowexperience.com/texas-row-by-row-experience.htm
http://www.quiltacrosstexas.com/
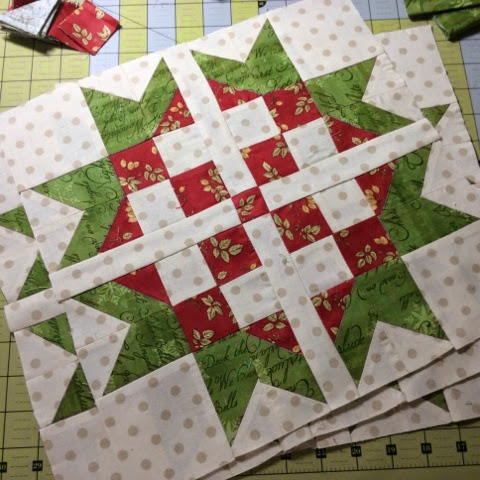
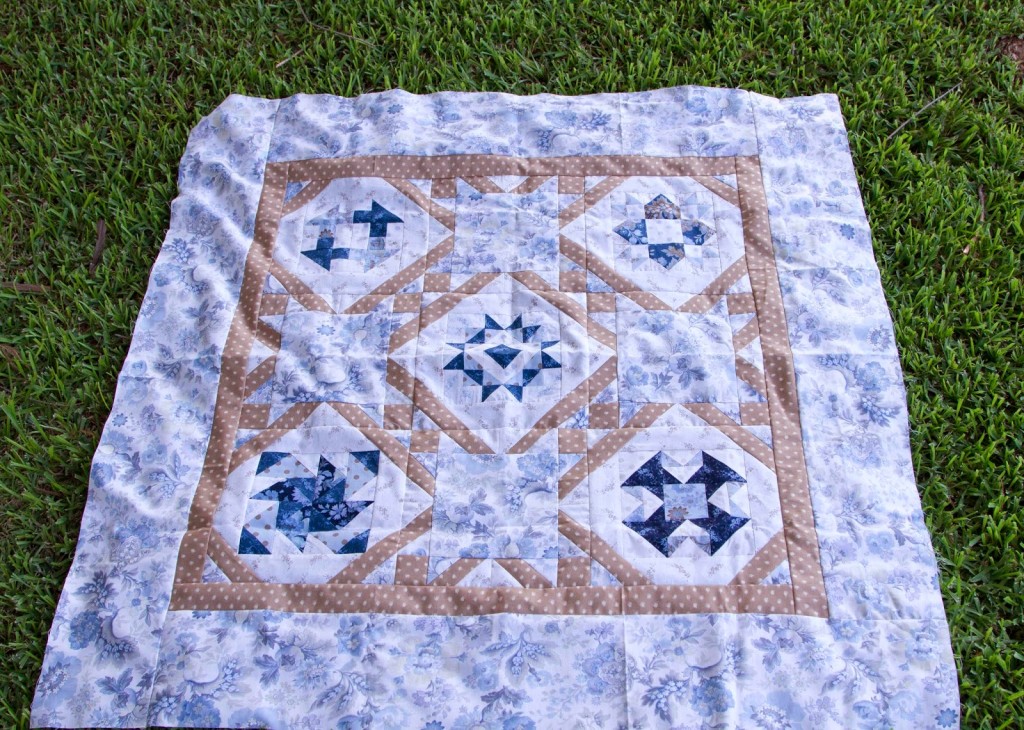
The fun part of this project was we were all making the quilt step by step as the blocks were posted on the QAL. We didn’t have each others quilt blocks in advance. Since I am one of the last to post, I thought I could do a HILL block to represent the hill country but that was too predictable. I choose to do a Bed and Breakfast block.
This area has such great memories for me because many many years ago I was a young stay at home mom. I was making and peddling my wares at various arts and craft shows. This was way before e-bay, etsy and all the other wonderful ways to be able to sell handmade items that they have now.
The Country Peddler show was coming to Fredrickburg, Texas and this was the big time kind of show. I had no idea what I was in for. My husband told me about a gal that he had met coaching the boys t-ball team. He said, “I think the two of you would really hit it off.”
I invited her to come with me for the weekend and to help me out at this show. There wasn’t a single hotel room in town available so we found a charming little bed and breakfast to stay in. The house was on the back side of an existing home so finding it in the dark was an adventure all by itself. We were expecting two rooms as the Inn Keeper described on the phone. When we arrived there was one bedroom, one bath, a few steps along with a small door and a tiny keyhole. Once we opened door there was the most charming small bed inspired by Alice in Wonderland. Charming is all I can say about the decorations and attention to detail. We had a wonderful weekend and like my husband said, we did hit it off and have been best friends for over 25 years.
So when visiting the Texas Hill Country please visit the bed and breakfasts so you can truly experience all the hospitality and charm this area of Texas has to offer.
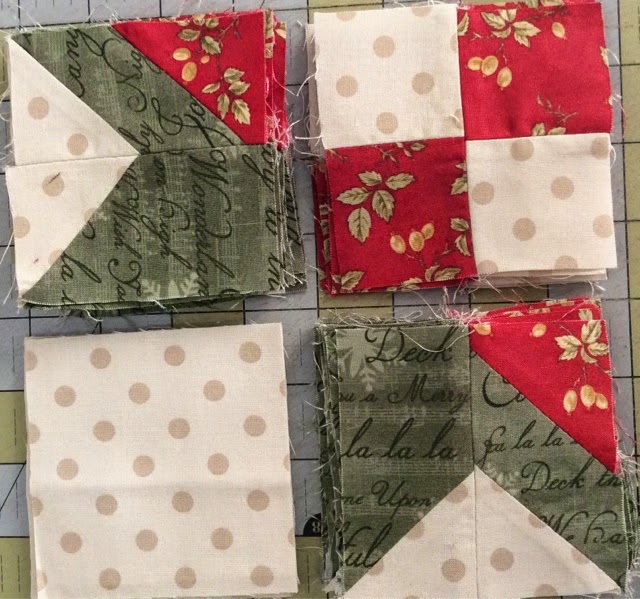
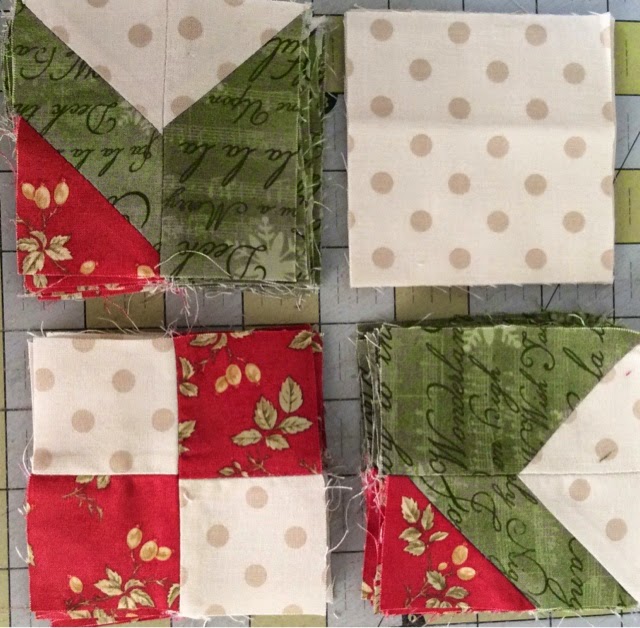
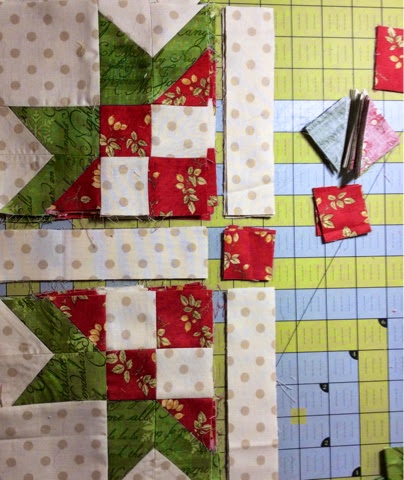
BED and BREAKFAST QUILT BLOCK
|
| Small Alice in Wonderland house |
Here is a link to download the instructions.
If you have missed out on any of the blocks and want to also win some prizes here are the complete details.
The schedule for the QAL is as follows:
You can find more specific details about this QAL, such as fabric requirements, at
My Fabric Relish and
Pretty Little Quilts.
There will be a lot of fun information and prizes, so I hope that you
will be able to follow along even if aren’t able to make the quilt!
– See more at: http://www.pixelstopatchwork.com/2014/05/deep-in-heart-of-texas-roadtrip-quilt.html#sthash.p5ek0S3j.dpuf
June 1 – Quadrant 1 pattern post – Download
June 15 – Quadrant 2 pattern post –
Download
June 22 – Quadrant 3 pattern post – Download
July 6 – Quadrant 4 pattern post – Download
Thank you to Melissa and Christina for organizing such a wonderful project. Thank you to Kay for being my best friend for all this time.
-modalissa